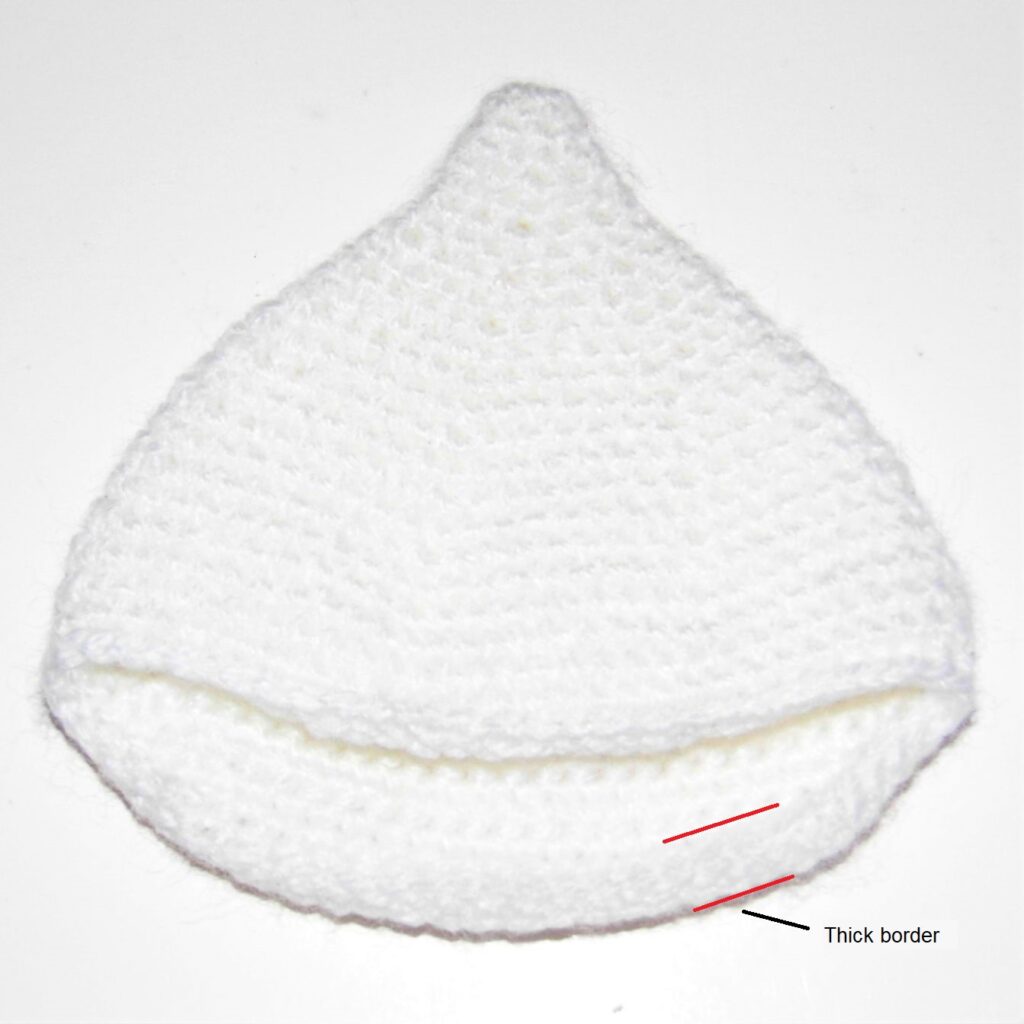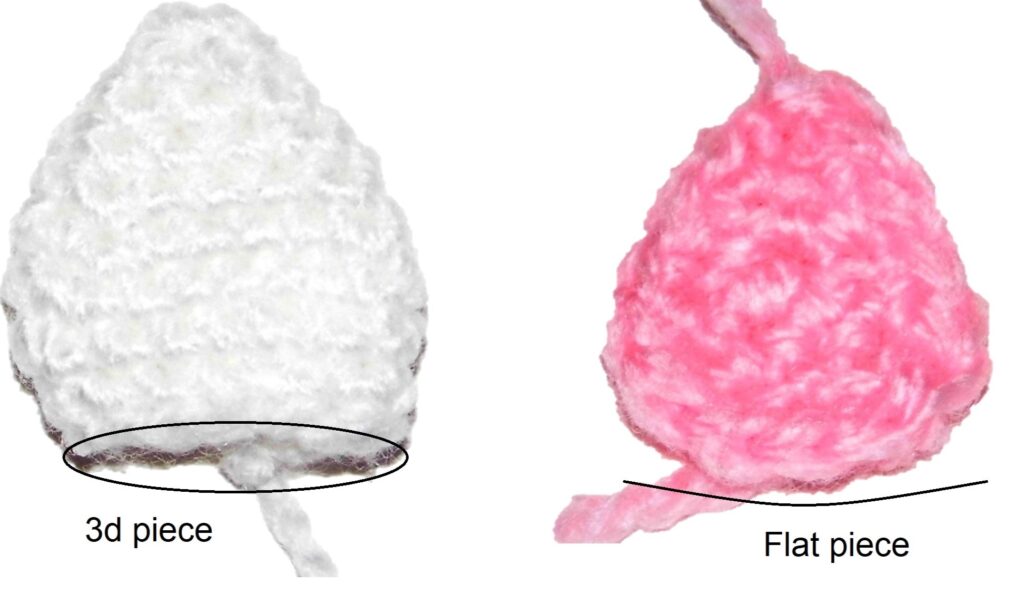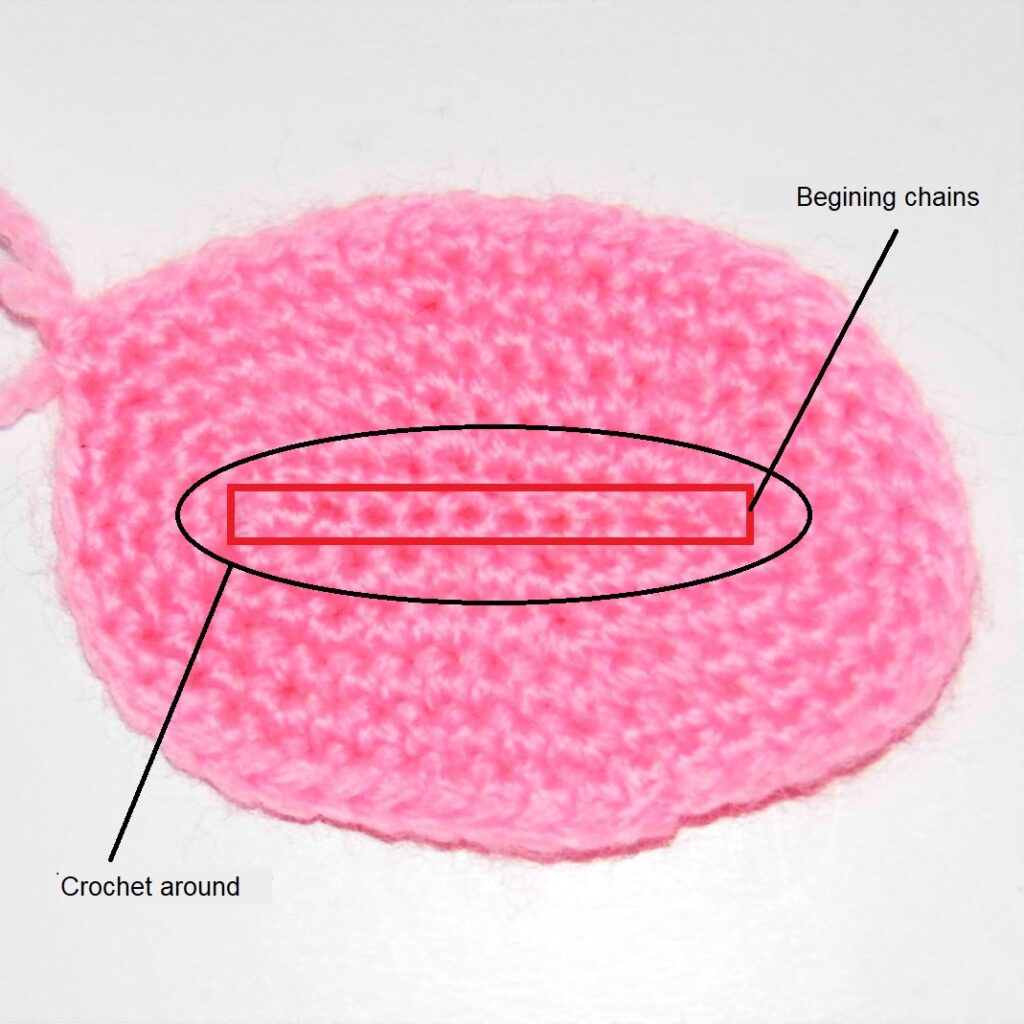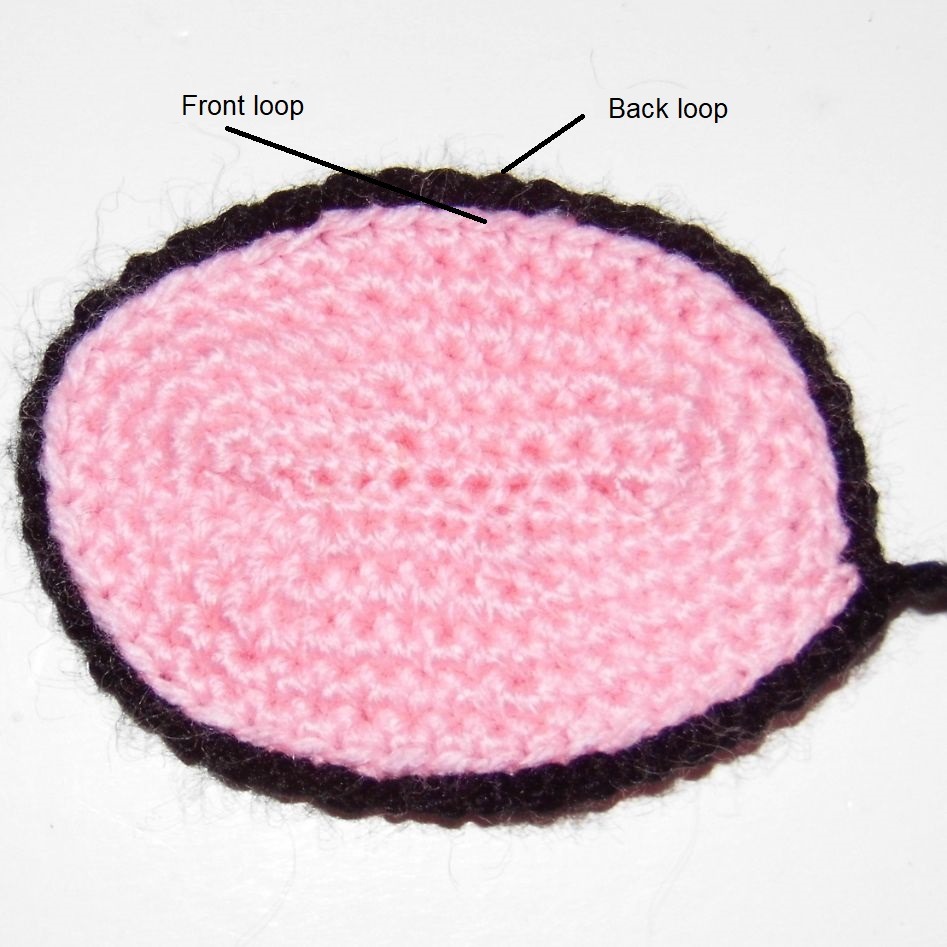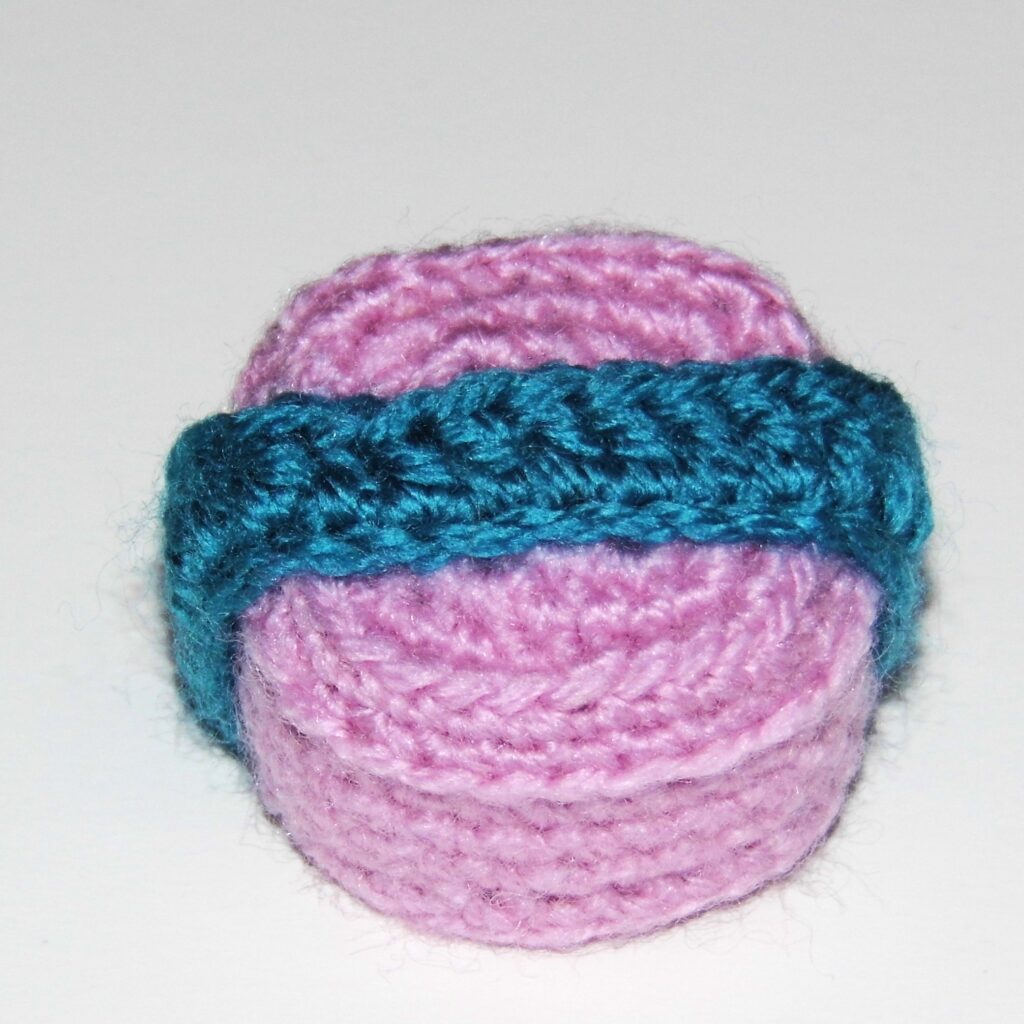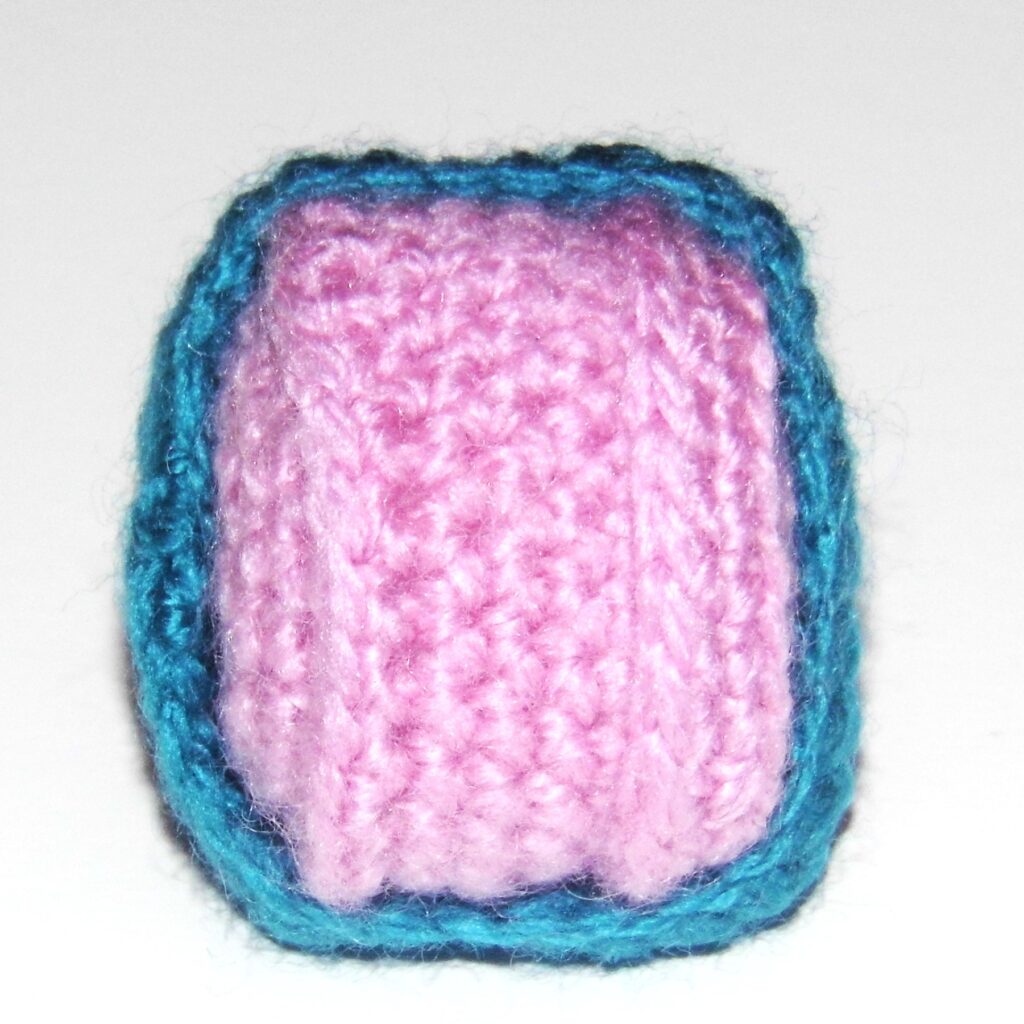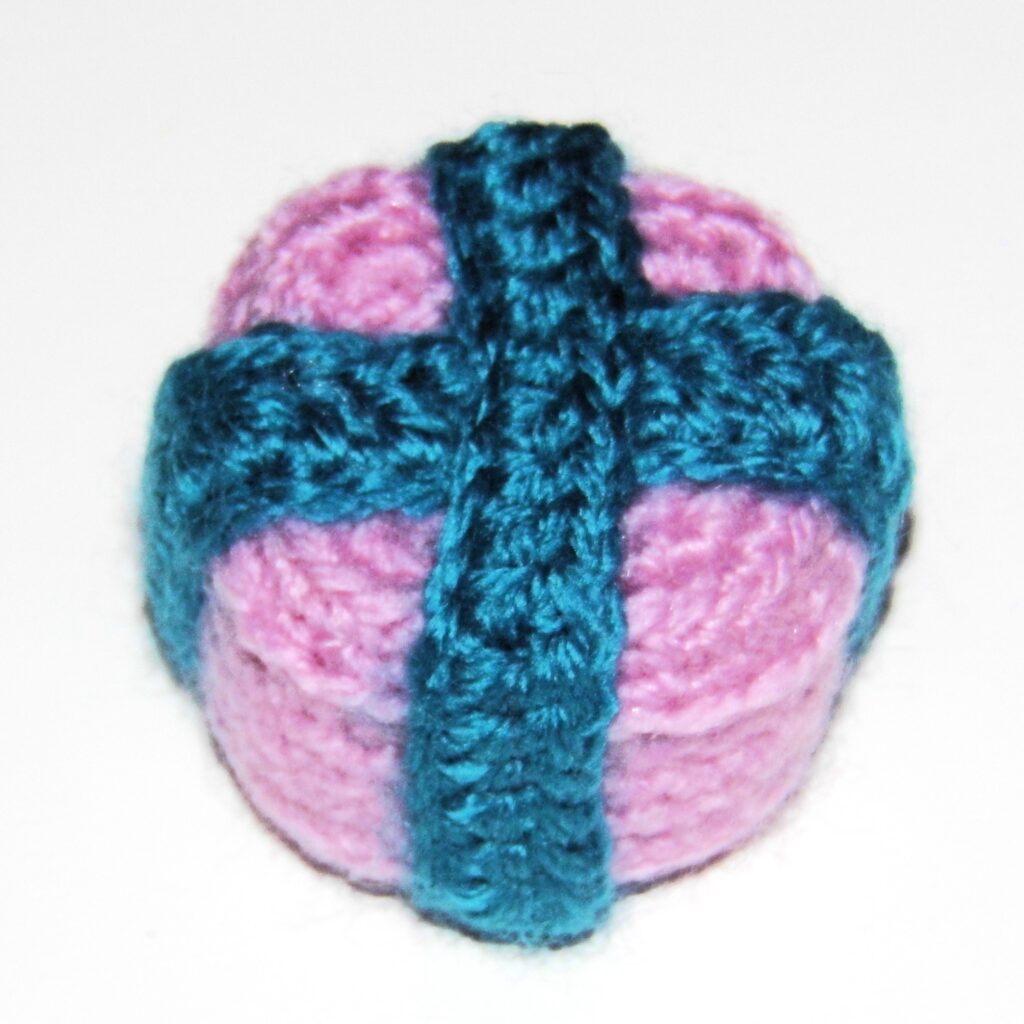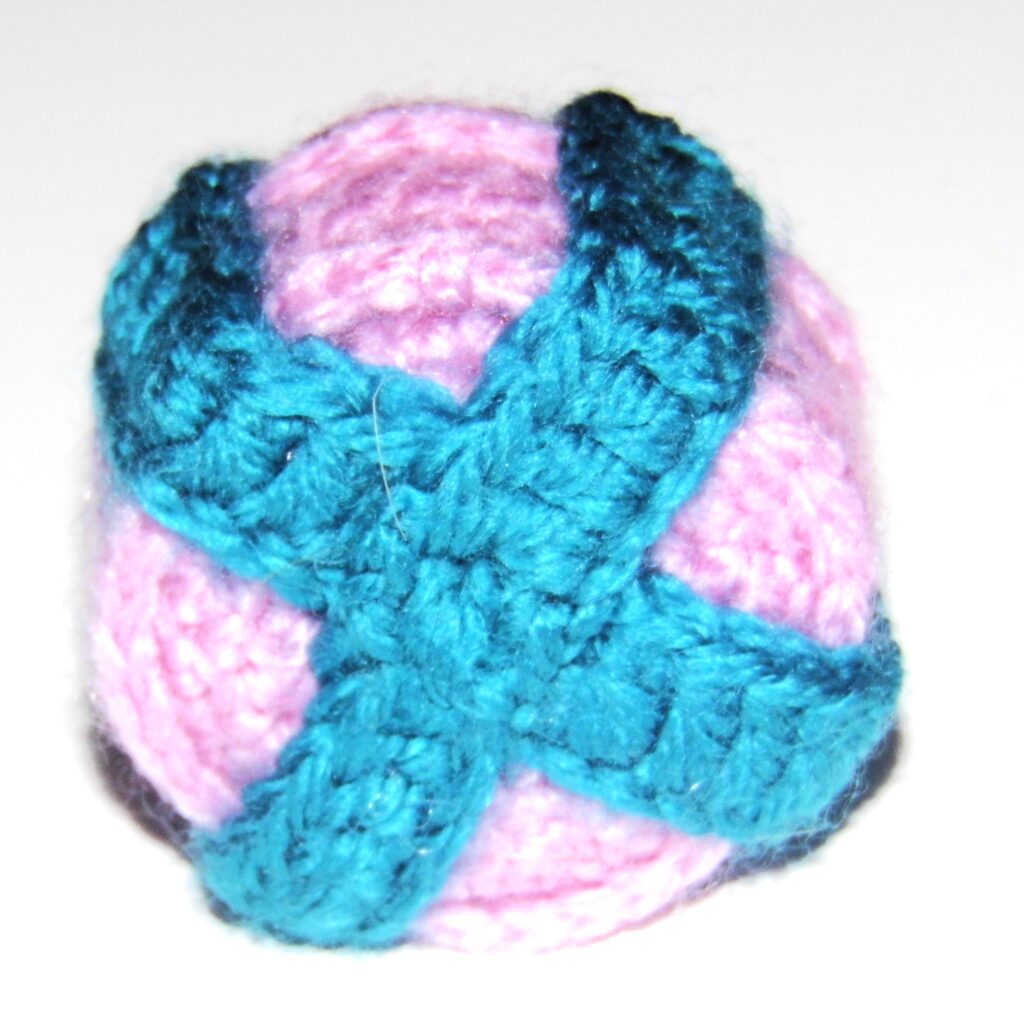
Posted on Leave a comment

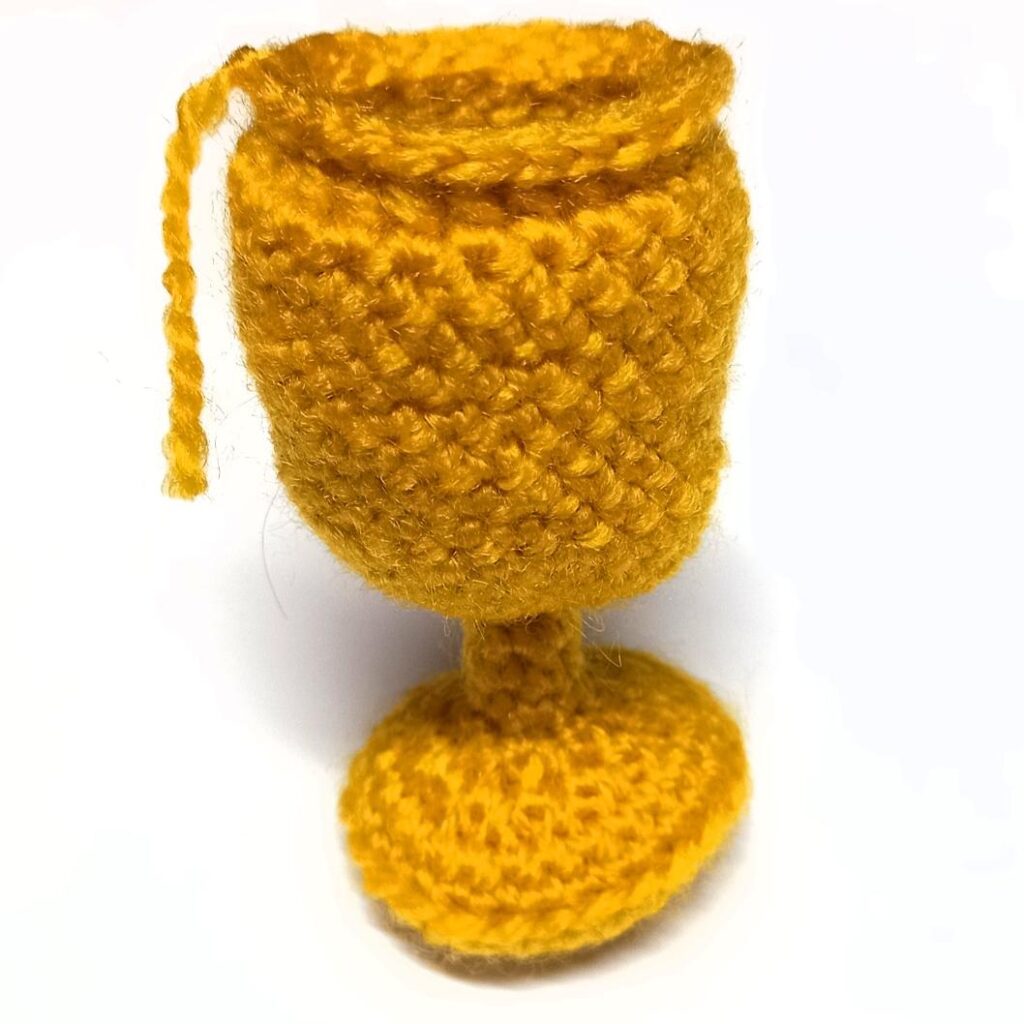
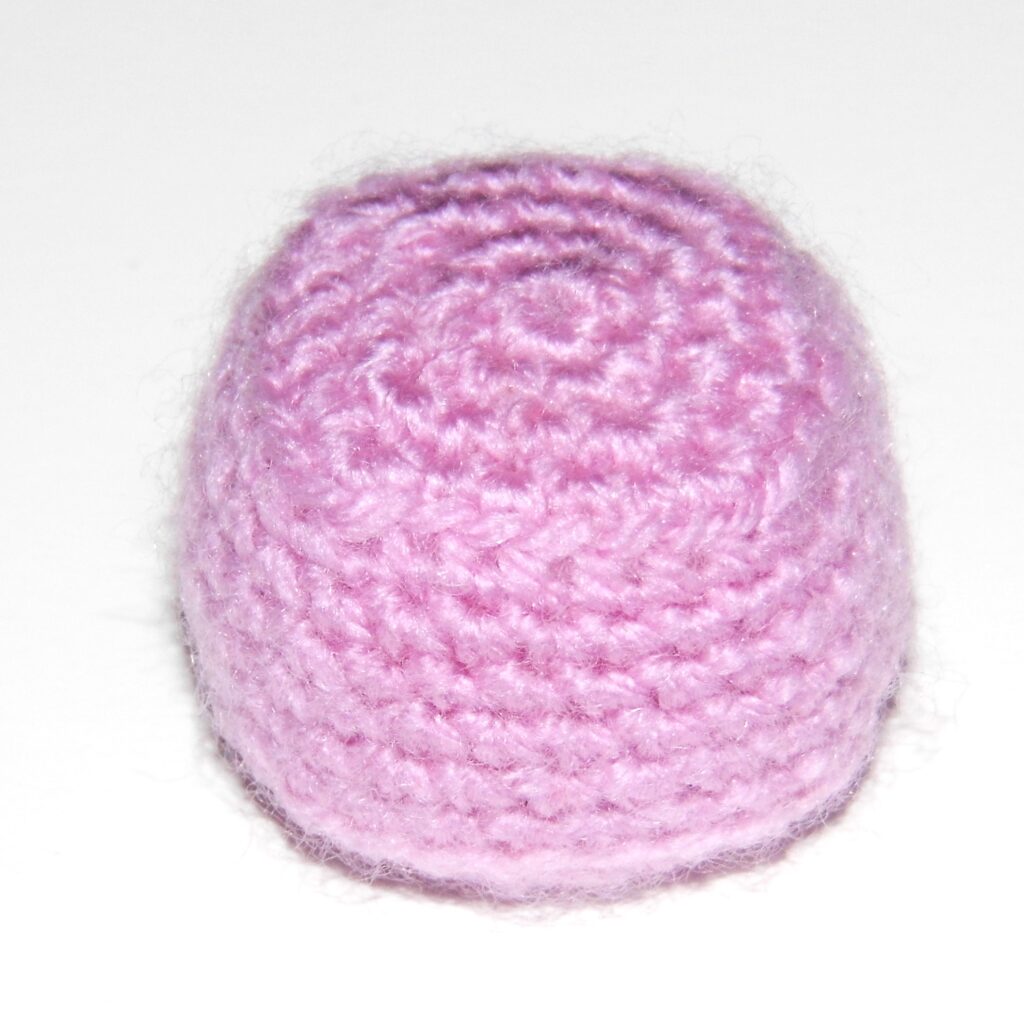
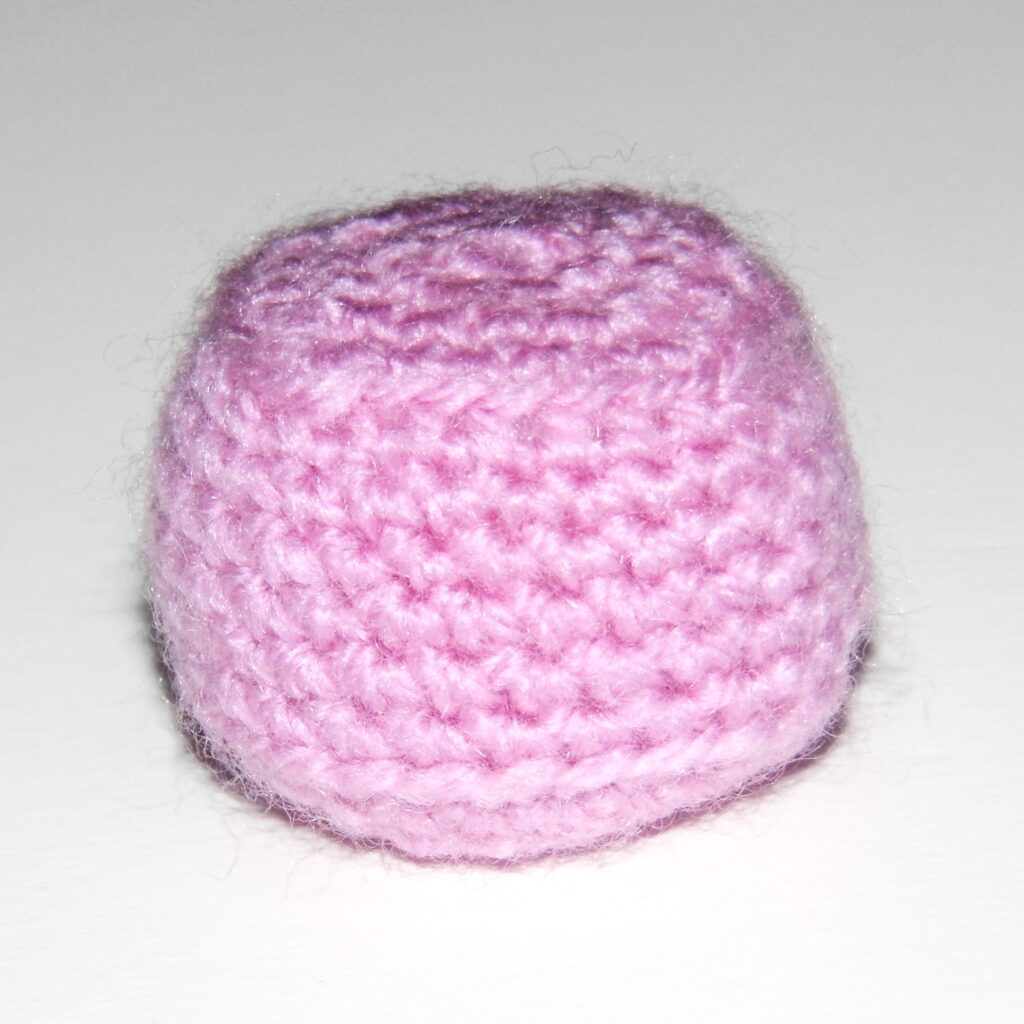
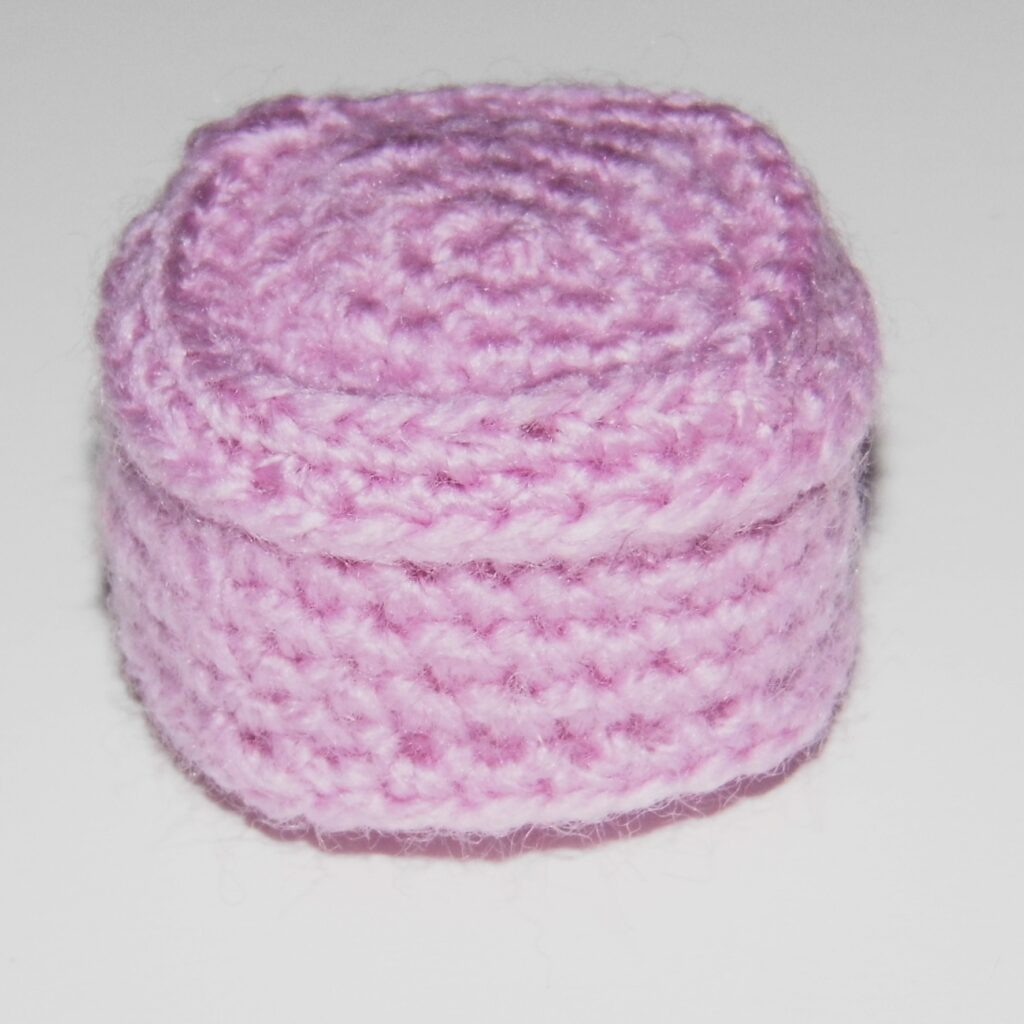
How to close our amigurumis

Do you have difficulties fastening off your amigurumis? Do not miss this tutorial on How to Close our amigurumis.

Fastening off the pieces of our amigurumis correctly is an important task, not only so that the stuff does not come out due to a badly closed last round, but also so that it is aesthetically beautiful.

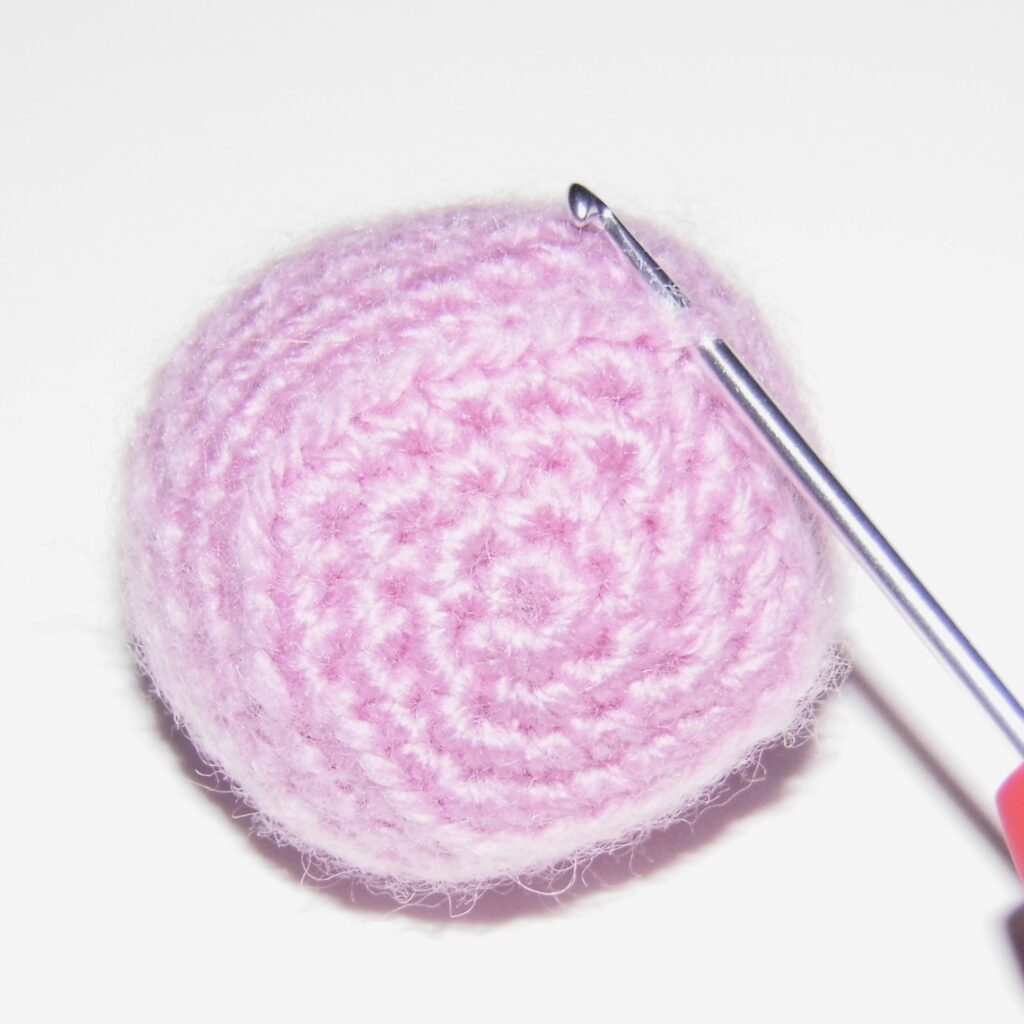
When we crochet our piece in rounds, with spiral rounds and beginning with the magic ring, the ideal is to try to achieve that there are no differences between the last round and the first. Closing the last round can be somewhat difficult, since we usually do not have enough space to decrease the stitches with the crochet hook.

How do we do it then?

We have to use the yarn needle, joining the remaining stitches until we completely close the piece.

Let’s see it step by step. You will see that it is very simple:

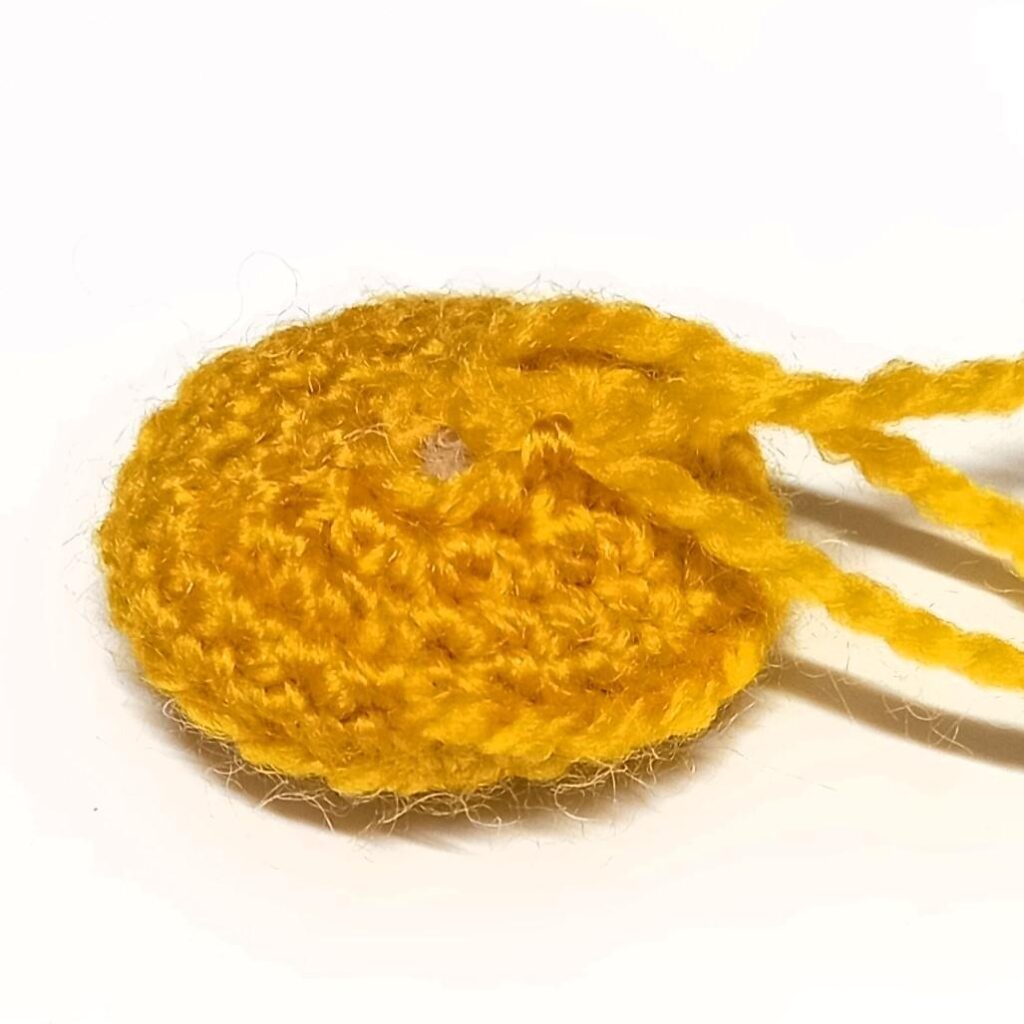
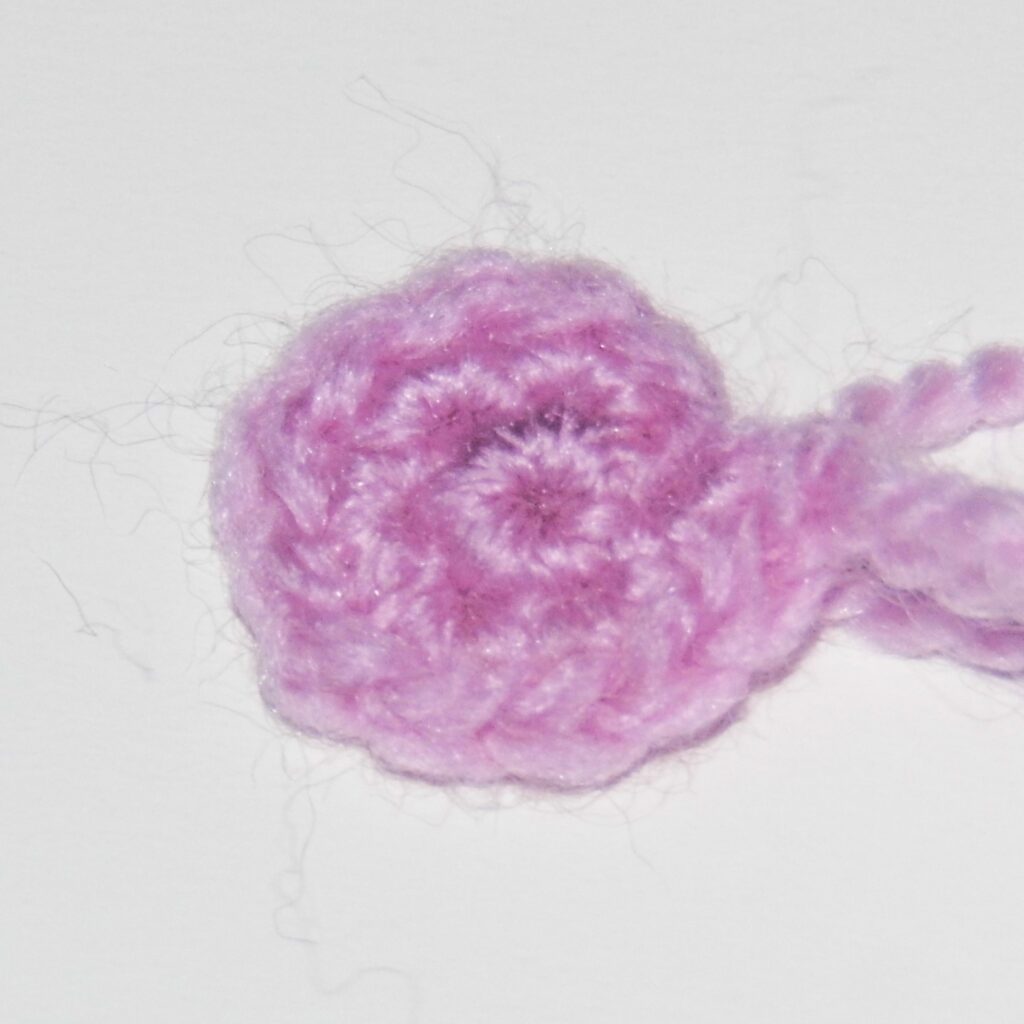
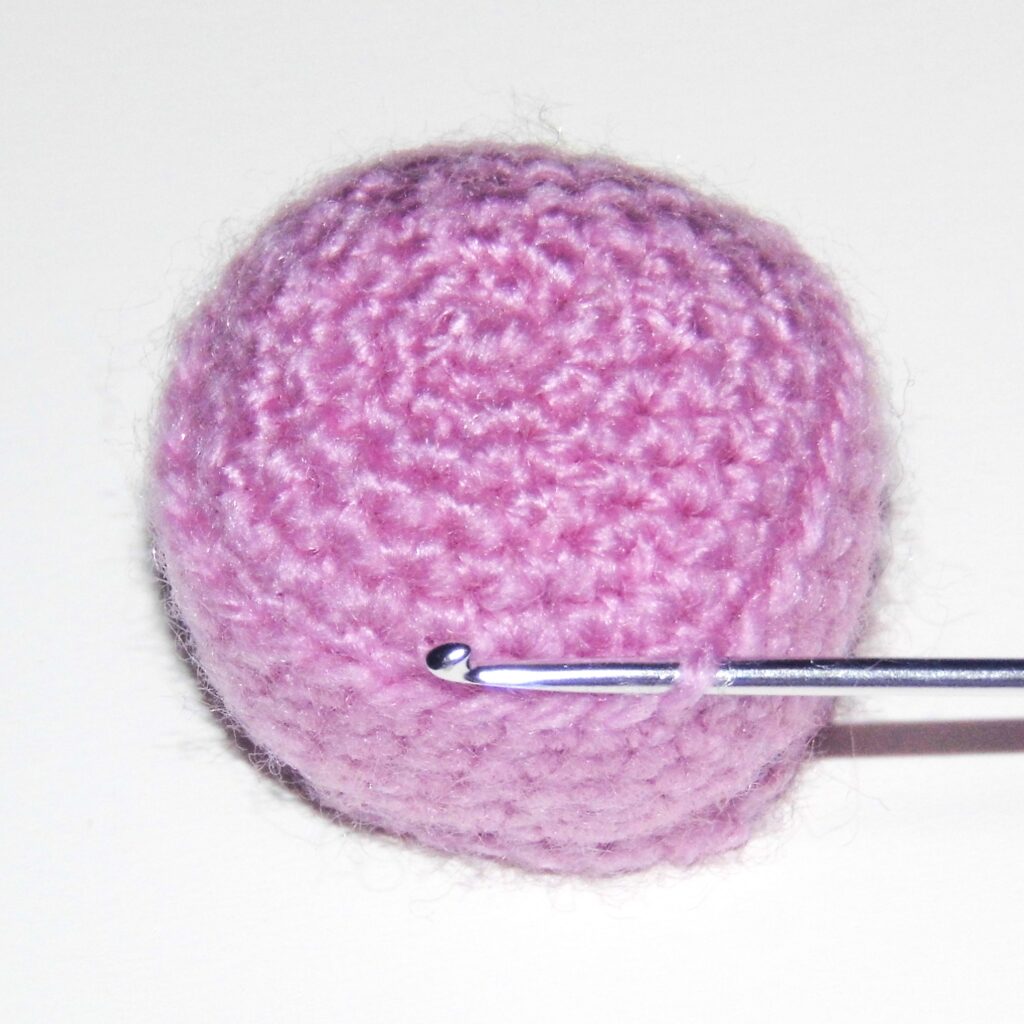
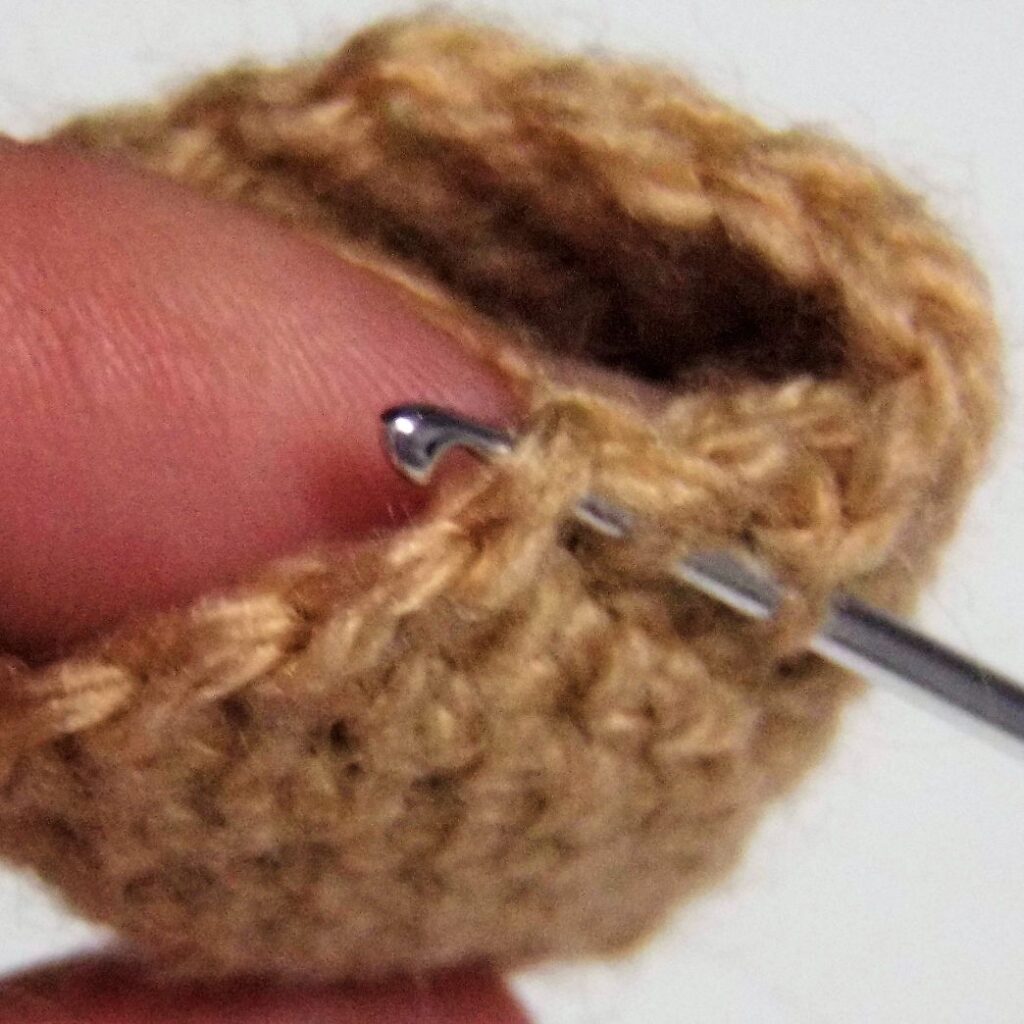
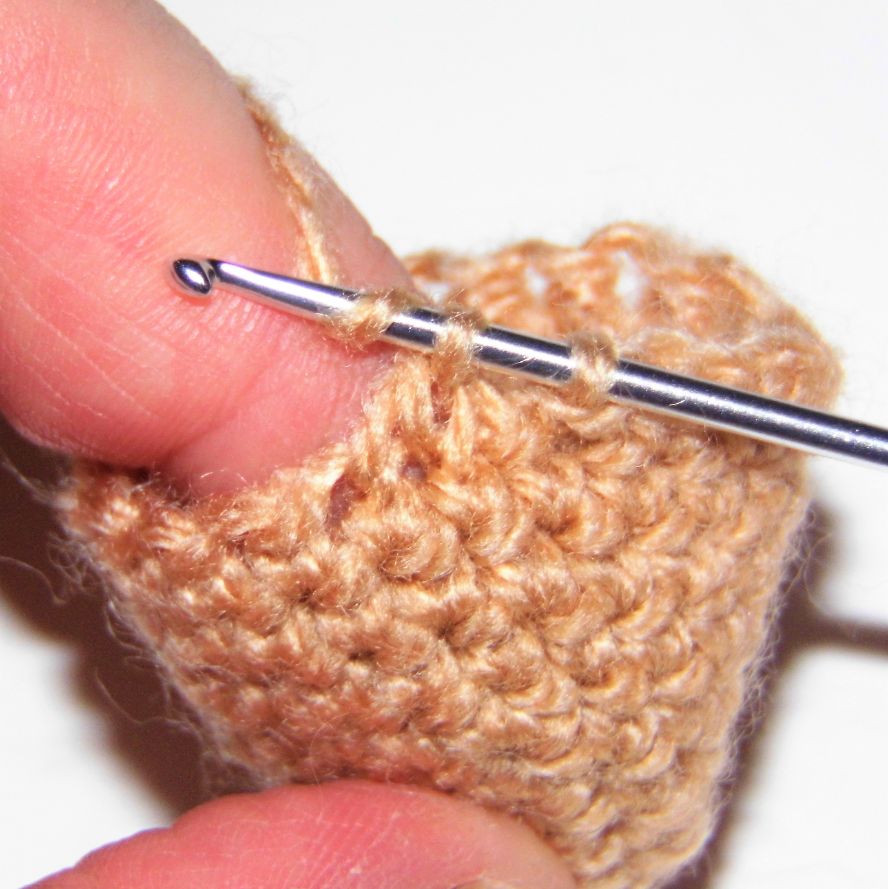
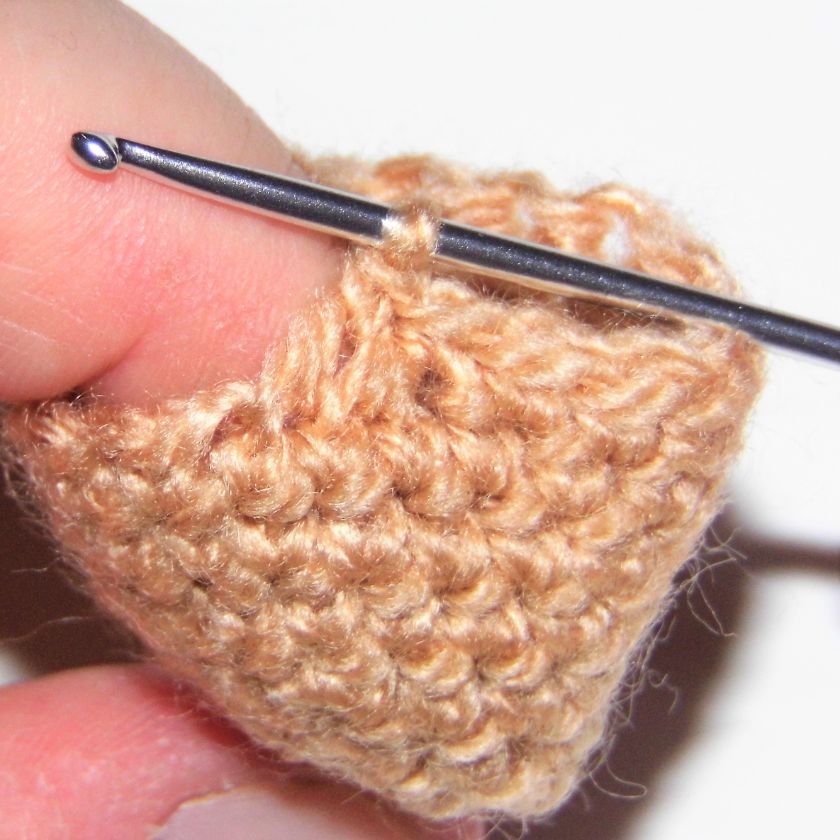
1. Once the last round is over, you must prepare to start closing. To do this, work 1 slip stitch in the next stitch and tie a knot over it. Cut the thread, leaving enough tail to sew around the last round.

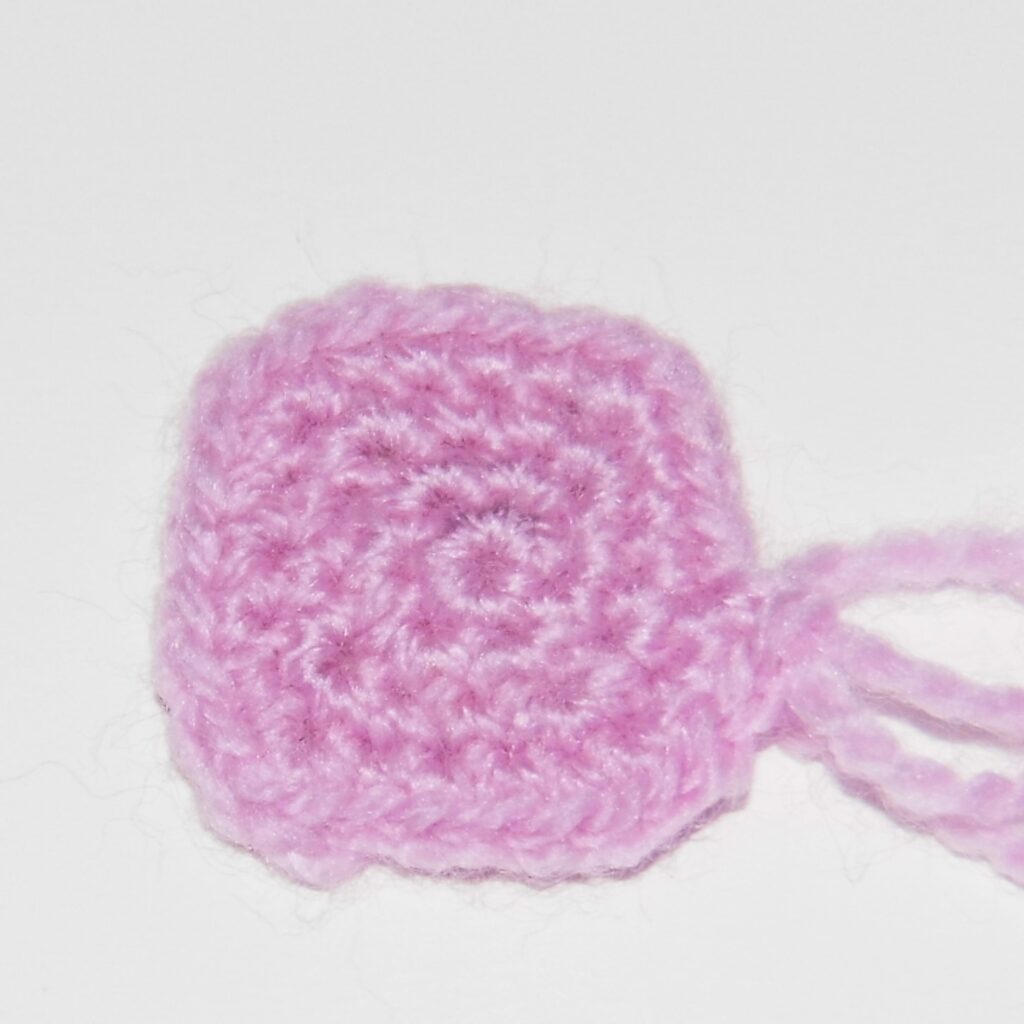
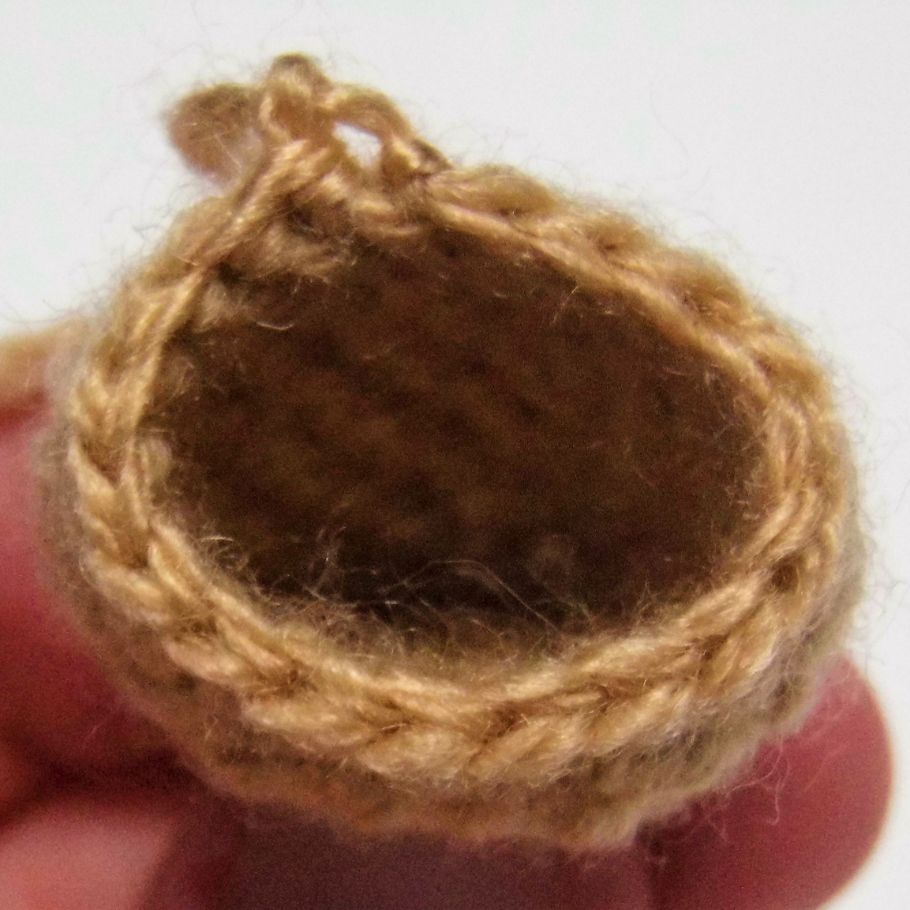
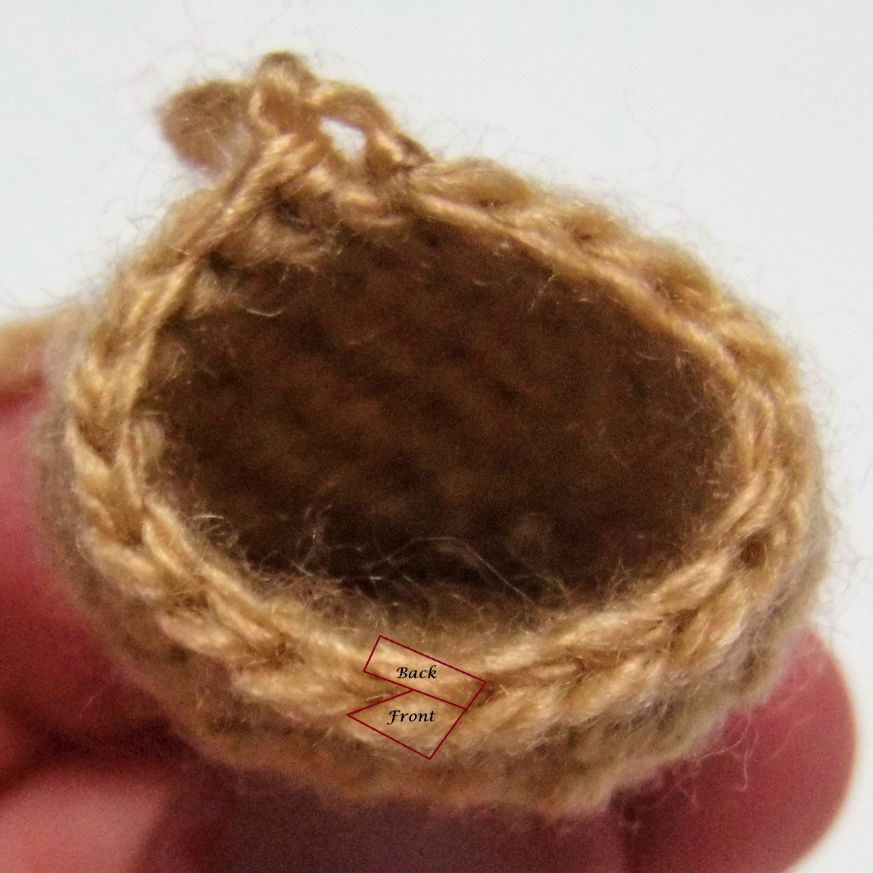
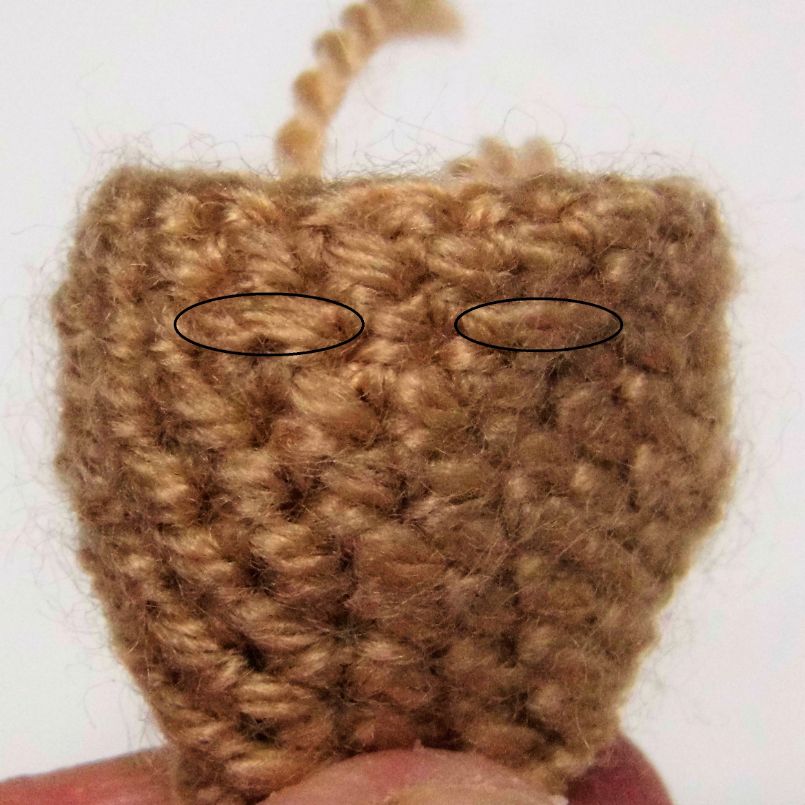
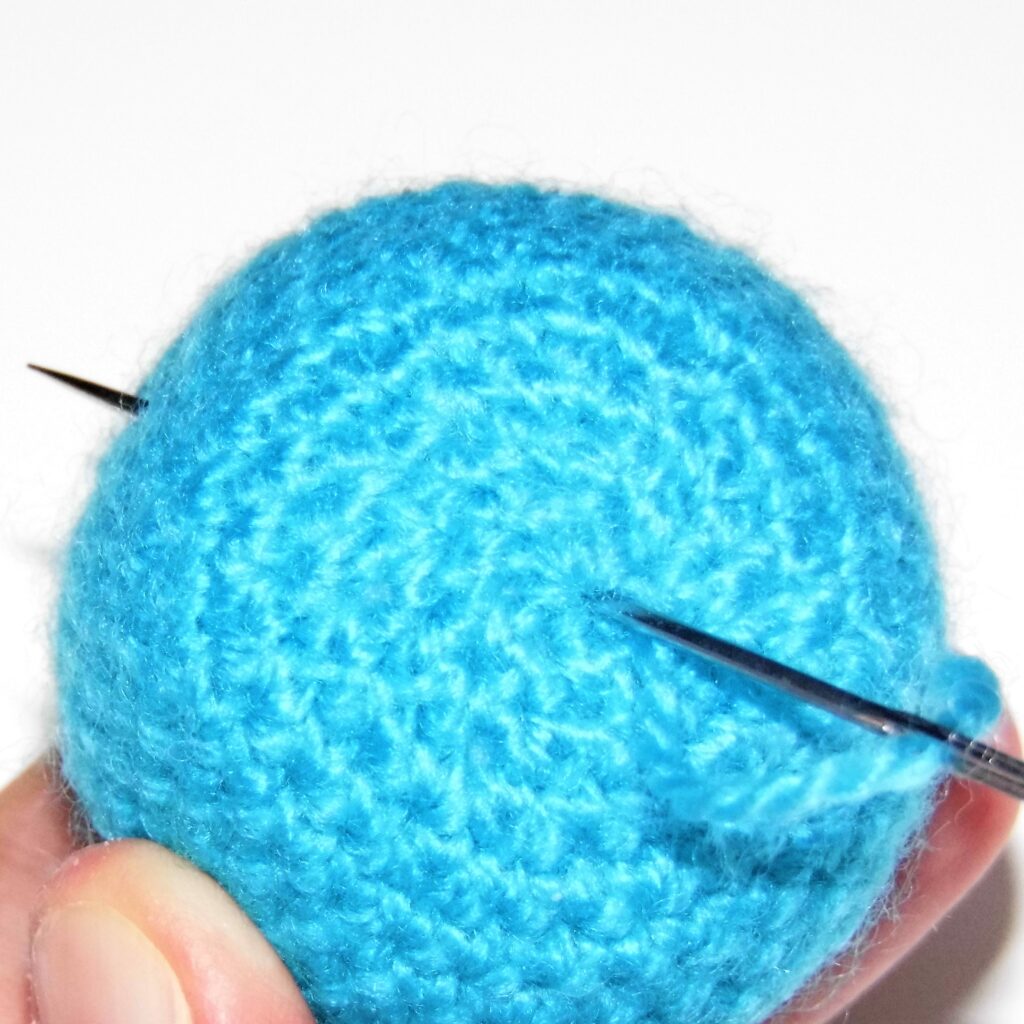
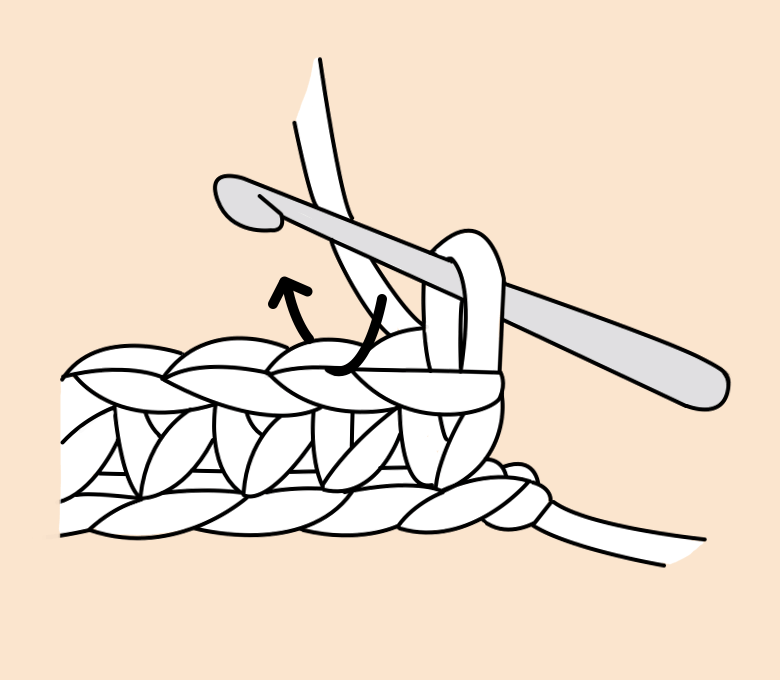
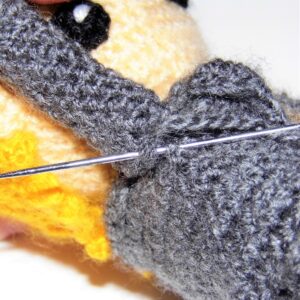
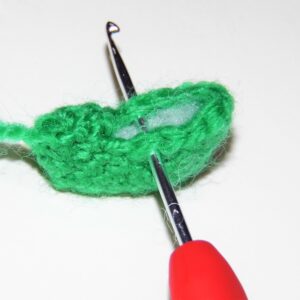
2. Thread the yarn needle with the yarn and pass it through the front  loop of the first 2 stitches as a decrease. To do this, take the 2 loops together and thread the needle through them. Pull the thread a little. You have already joined the first 2 stitches.

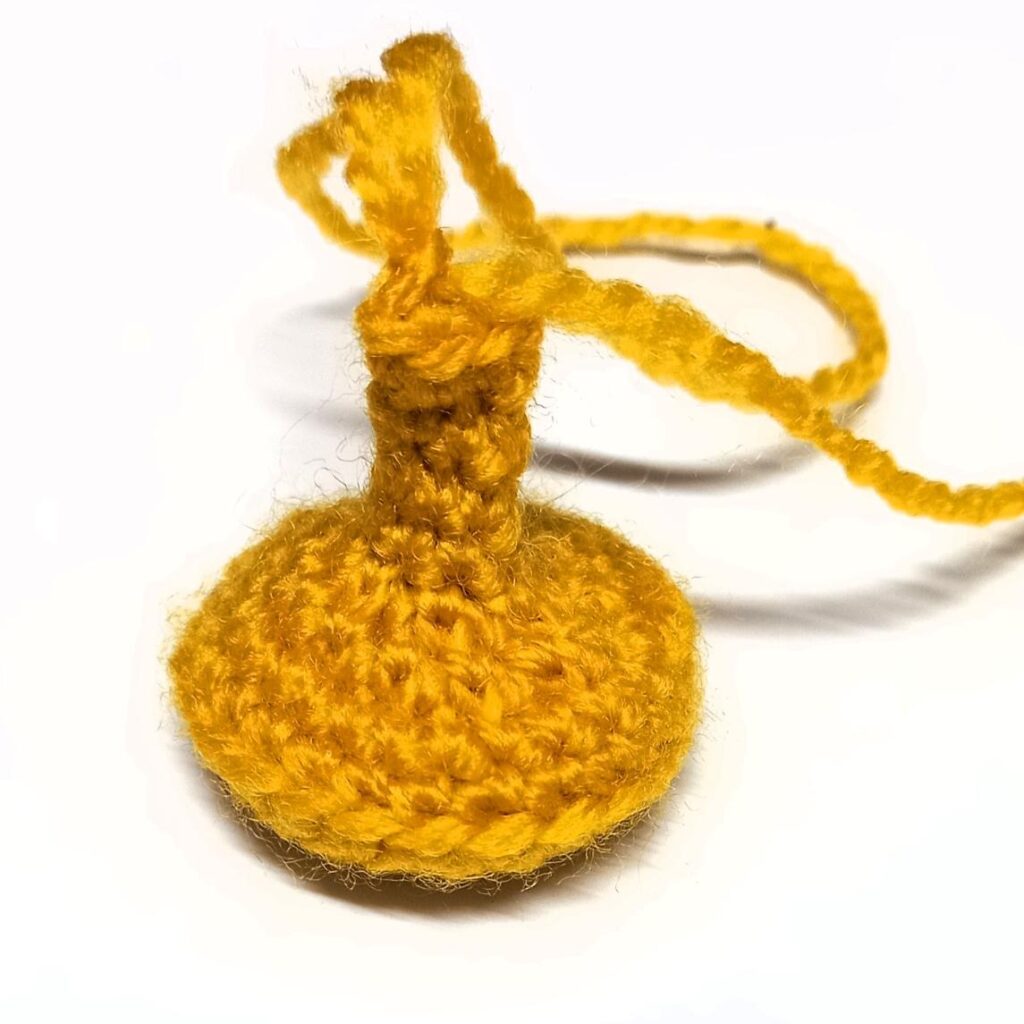
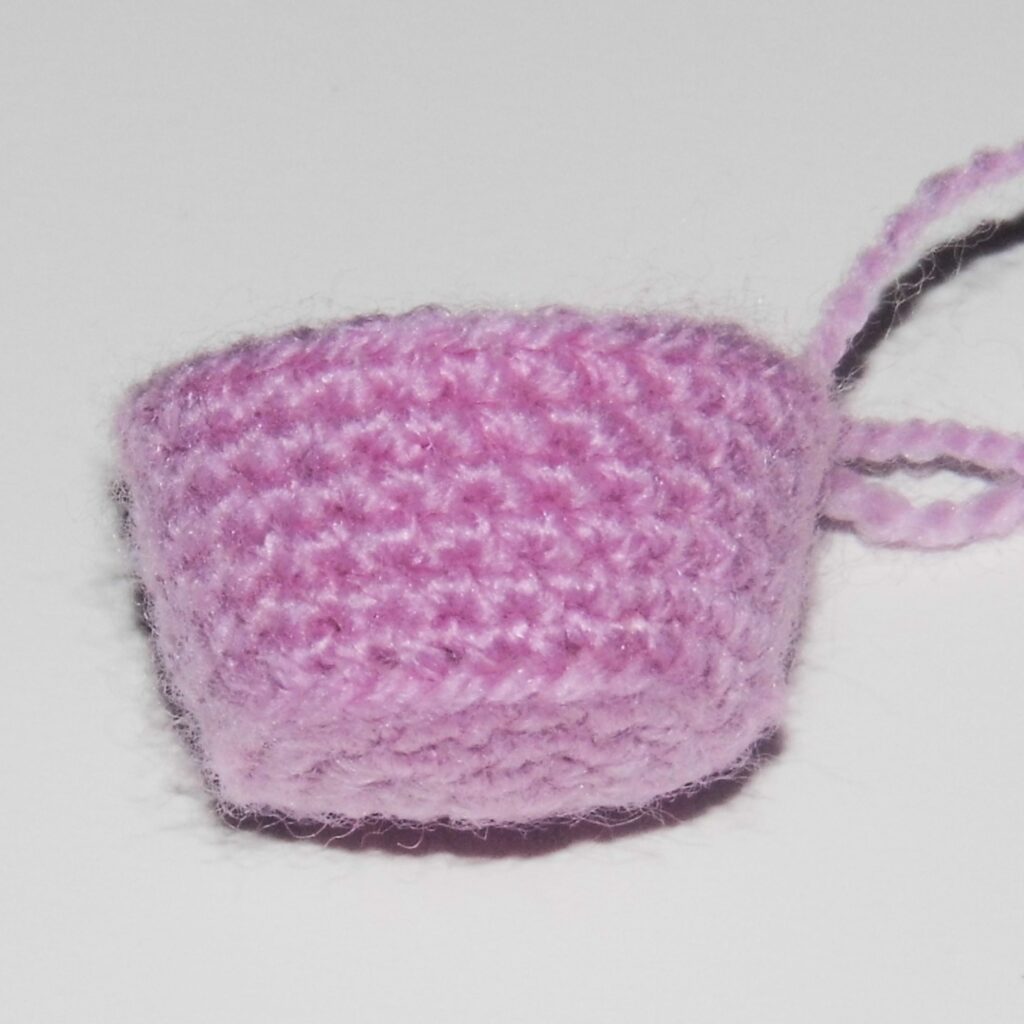
3. Continue taking the next front 2 loops at a time, passing the needle through them to join until you reach the last 2. Pass through them in the same way, but this time form a final knot. Now you have closed the last round.

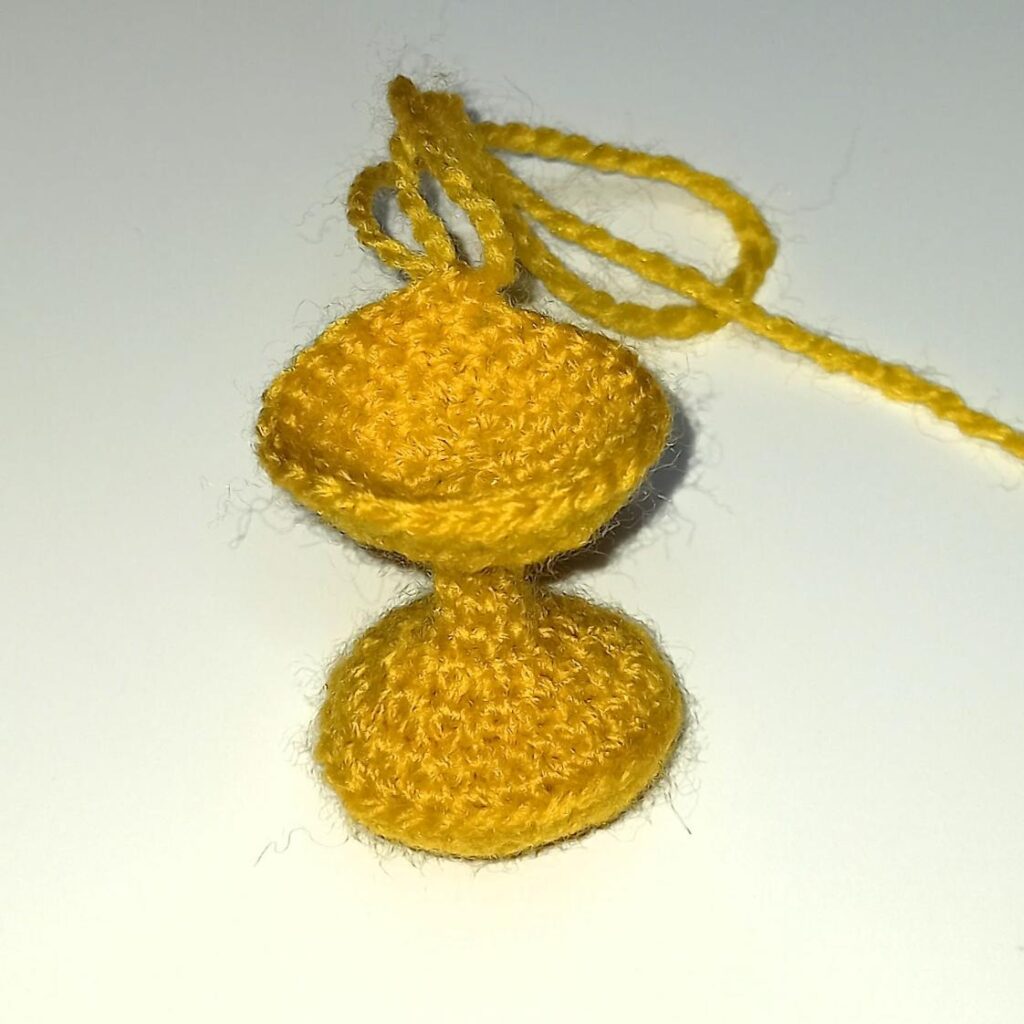
4. All that remains is to fasten off losing the excess thread inside the piece. Introduce it through the center of this last round that you have just closed, go through the amigurumi and cut.

Easy, right? And the result has been perfect.

How to close our amigurumis

This is how I do it, and you? Tell us your method to close your amigurumis in the comments!

Posted on Leave a comment

Chestnut Amigurumi Pattern

Chestnut amigurumi pattern

Enjoy crocheting the Chestnut amigurumi pattern!

It is chestnut time and here in my land, in Galicia, we have the tradition of celebrating the Magosto.

Do you know it? It is a popular festival that takes place in all corners of the community between the end of October and the beginning of November and whose main ingredients are chestnuts, fire and wine.

I remember when I was little the Magosto celebration at school, with the roasted chestnuts prepared by the older ones, the fun games and our faces painted with the charcoal from the bonfires (there was no wine there, of course)

There are several theories about the origin of this tradition.

Some say that it is linked to the end of the chestnut harvest, given the importance of this fruit both in gastronomy and in the Galician economy before the arrival of the potato from America.

Another more magical theory, given that the magosto is usually celebrated at the beginning of November, relates it to the celebration of Samaín, a Celtic tradition later transformed into All Saints’ Day, on November 1. And there is also the saying: “Por San Martiño faise o magosto, con castañas asadas e viño ou mosto” (For San Martín the Magosto is made, with roasted chestnuts and wine or grape juice) (San Martin is celebrated on November 11)

They say that at that time Celtic rituals were performed that linked wine with life and chestnuts with death, each roasted chestnut symbolizing a soul that was freed from purgatory. How curious, right?

To celebrate this tradition with you I bring you a small gift:

Chestnut Amigurumi Pattern

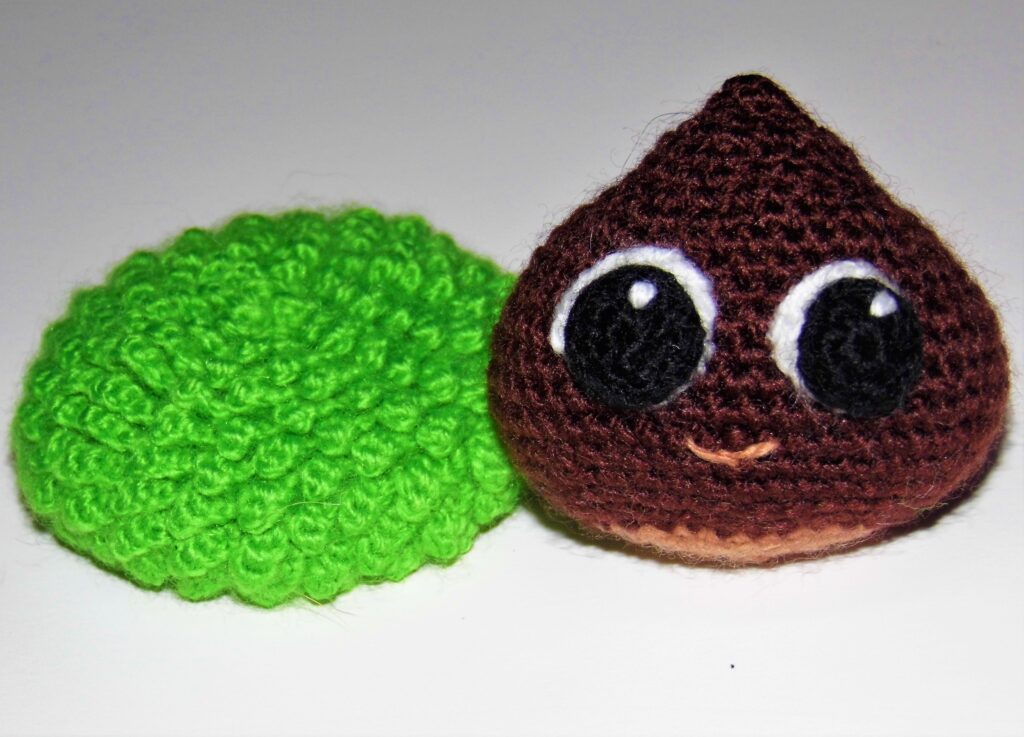
It is a simple pattern, with which you can crochet a funny chestnut with its bur, Kawaii style and like all my designs “totally soft”

Patrón en español

Let’s begin!

Size: 2,7” / 7 cm

Difficulty: Medium

Estimated time: 8 h

Hook: 2 mm

MATERIALS
– Yarn of different colors: white, black, brown, light brown, light green.
– Thickness of the yarn: 3 mm.
– Hook according to the thickness of the yarn.
– Yarn needle.
– Fiberfill.
ABBREVIATIONS
sc: single crochet
st: stitch
ch: chain
inc: increase
dec: decrease
BLO: Back Loops Only  
Fill the doll with fiberfill as you crochet.

BODY

With Brown yarn

1. Work 4 sc in magic ring.

2. “1 sc, inc”, repeat (6).

3. 1 sc in each st (6).

4. “1 sc, inc”, repeat (9).

5. Inc in every st (18).

6. and 7. 1 sc in each st (18).

8. “2 sc, inc”, repeat (24).

9. “1 sc, inc” 3 times, 6 sc, “1 sc, inc” 3 times, 6 sc (30).

10. “2 sc, inc” 3 times, 6 sc, “2 sc, inc” 3 times, 6 sc (36).

11. and 12. 1 sc in each st (36).

13. 1 sc, “1 sc, inc” 6 times, 6 sc, “1 sc, inc” 6 times, 5 sc (48).

14. to 17. 1 sc in each st (48).

18. 3 sc, “1 sc, dec” 6 times, 6 sc, “1 sc, dec” 6 times, 3 sc (36).

19. and 20. 1 sc in each st (36).

21. 4 sc, “2 sc, dec” 3 times, 6 sc, “2 sc, dec” 3 times, 2 sc (30).

22. Change to light brown yarn and work 5 sc, “1 sc, dec” 3 times, 6 sc, “1 sc, dec” 3 times, 1 sc (24).

23. 1 dec, “2 sc, dec” 5 times, 2 sc (18).

24. “1 sc, dec”, repeat (12).

25. Dec in every st (6).

Fasten off. Sew the hole with the yarn needle.

CHESTNUT BUR

With light green yarn

1. Work 6 sc in magic ring.

2. From this round and the next ones you are going to work in back loops only: Inc in every st (12).

3. BLO “1 sc, inc”, repeat (18).

4. BLO “2 sc, inc”, repeat (24).

5. BLO “3 sc, inc”, repeat (30).

6. BLO “4 sc, inc”, repeat (36).

7. BLO “5 sc, inc”, repeat (42).

8. BLO “6 sc, inc”, repeat (48).

9. BLO “7 sc, inc”, repeat (54).

10. and 11. BLO 1 sc in each st (54).

12. BLO “7 sc, dec”, repeat (48).

13. 1 sc in the post of each st (48).
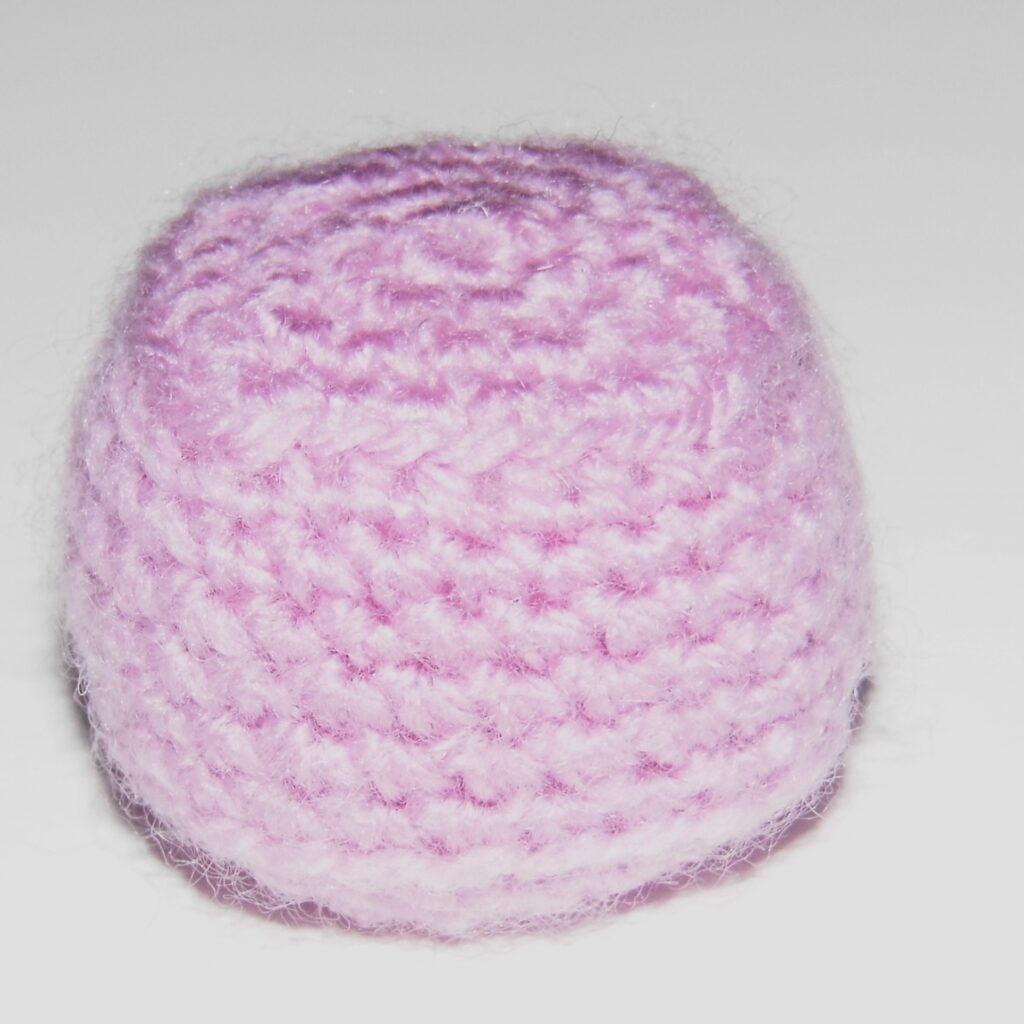
 Fasten off.

COMPLETE THE BUR

With light green yarn

Start working in the free loops from the final round until the beginning of the piece. Work the following sequence: “1 sc, ch 3, 2 slip st in the chains, 1 slip st in the point origin of the chains, 1 sc in the next st” Repeat to the end.

Fasten off.

EYES (x2)

Background

With White yarn

1. Work 6 sc in magic ring.

2. Inc in every st (12).

Fasten off.

Pupil

With black yarn

1. Work 6 sc in magic ring.

2. 1 sc in each st (6).

Fasten off.

Sew the pupil attached to the bottom of the white background and the whole eye leaving 10 sc of separation from the pointed part of the chestnut and 3 sc of separation between them in the middle part. With white yarn embroider the twinkle.

Centered under the eyes, leaving 1 sc of separation, embroider the mouth with light brown yarn.

Finished!

I hope you enjoy crocheting this cute chestnut and that you liked the history of this tradition!

Remember that if you crochet it you can send me the photos by email or comment on what you want here in the post.

See you soon!

If you liked the Chestnut Amigurumi Pattern, you may want to see other patterns related to Galicia:

Posted on Leave a comment

Dennis Ball (Shopkins) amigurumi pattern

Dennis Ball (Shopkins) amigurumi pattern

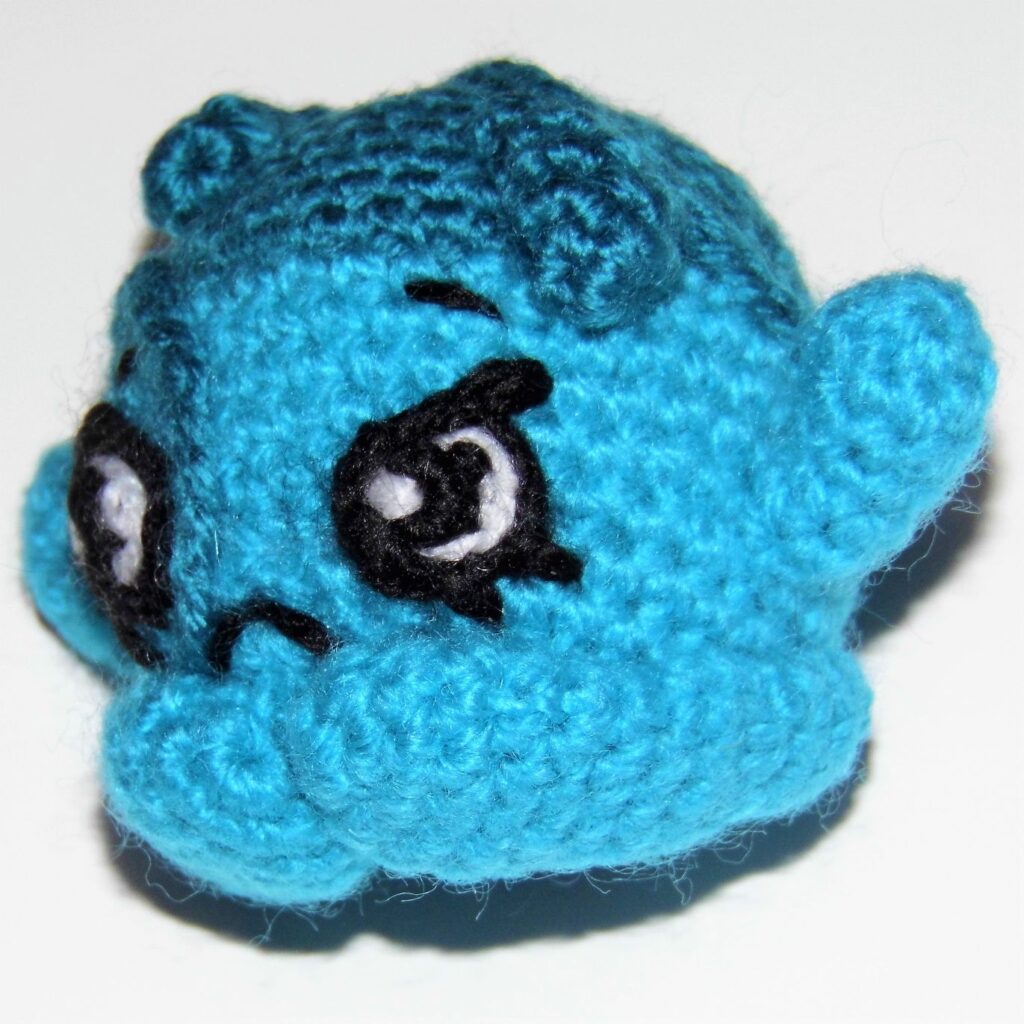
Today I bring you the Dennis Ball (Shopkins) amigurumi pattern that I was asked for a few days ago and that I did not know but that I thought was very cute and original.

This character is a small tennis ball with an angry face because it is the favorite toy of dogs and it even has drops of spit from them on its forehead.

It’s from the Shopkins figure collection that is based on products that you can buy in stores with a kawaii style and that is why I liked it to turn it into amigurumi.

It is a very simple amigurumi that will help you practice if you are just starting out or distract you if you feel like getting away for a while.

Let’s start!

Size: 2” / 5 cm

Difficulty: Low

Time: 4 h

Crochet Hook: 2 mm

MATERIALS

  • Yarn of different colors: white, black, greenish blue, Turquoise color
  • Thickness of the Yarn: 3 mm.
  • Hook according to the thickness of the yarn..
  • Yarn needle
  • Fiberfill.

ABBREVIATIONS

  • sc: single crochet
  • st: stitch
  • ch: chain
  • inc: increase
  • dec: decrease

Fill the doll with fiberfill as you crochet.

If you have doubts, visit: Amigurumi Tutorials

HEAD / BODY

With greenish blue yarn

1. Work 6 sc in magic ring

2. Inc in every st (12).

3. “1 sc, inc”, repeat to the end of the round (18).

4. “2 sc, inc”, repeat (24).

5. “3 sc, inc”, repeat (30).

6. and 7. 1 sc in each st (30).

8. “4 sc, inc”, repeat (36).


9. 1 sc in each st (36).

10. Change to turquoise color yarn and work 1 sc in each st (36).

11. to 14. 1 sc in each st (36).


15. “4 sc, dec”, repeat (30).

16. and 17. 1 sc in each st (30).

18. “3 sc, dec”, repeat (24).

19. “2 sc, dec”, repeat (18).

20. “1 sc, dec”, repeat (12).

21. Dec in every st (6)

Fasten off. Sew the hole with the yarn needle.

LEGS (x2)

Don’t stuff them

With turquoise color yarn

1. Work 6 sc in magic ring

2. Inc in every st (12).

3. and 4. 1 sc in each st (12).

5. “2 sc, dec”, repeat (9).

6. to 9. 1 sc in each st (9).

10. 3 dec, 3 sc (6).

11. and 12. 1 sc in each st (6).

Fasten off. Sew the hole with the yarn needle.

ARMS (x2)

With turquoise color yarn

1. Work 8 sc in magic ring.

2. and 3. 1 sc in each st (8).

4. 2 dec, 4 sc (6).

5. and 6. 1 sc in each st (6). Fasten off.

EYES (x2)

With black yarn

1. Work 6 sc in magic ring

2. 3 sc, change to White yarn and work 3 sc (6)

3. Change to black yarn and work in back loops only 1 sc in each st (6). Fasten off. With white yarn embroider the twinkle.

DROPS (x2)

Don’t stuff them

With greenish blue yarn

1. Work 6 sc in magic ring

2. 1 sc in each st (6).

3. “1 sc, dec”, repeat (4).

4. and 5. 1 sc in each st (4).

Fasten off. Sew the hole with the yarn needle.

STRIPE

With greenish blue yarn

Ch 80.

ASSEMBLY

Eyes:

Sew them from round 13 to round 16 leaving 4 sc of separation.

Embroider with black yarn the 3 eyelashes.

Dennis Ball (Shopkins) amigurumi pattern

Stripe:

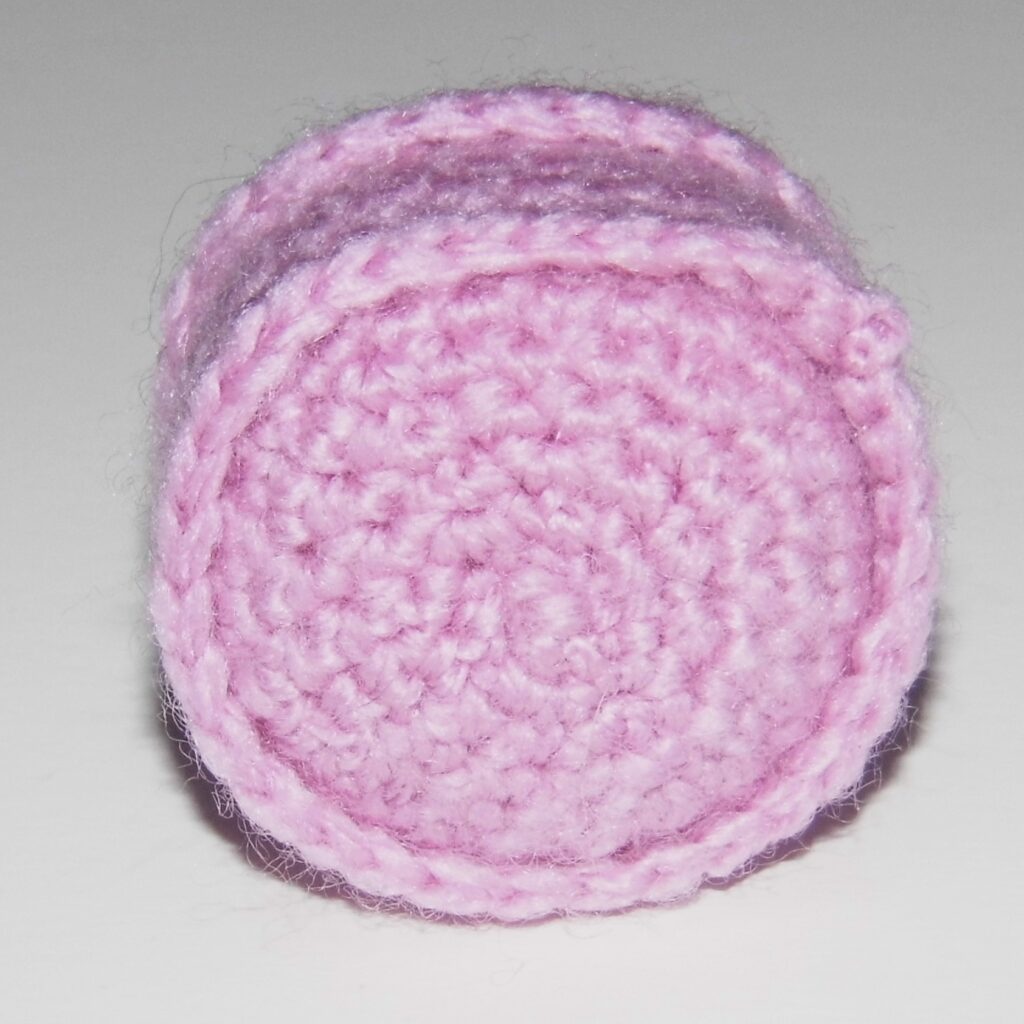
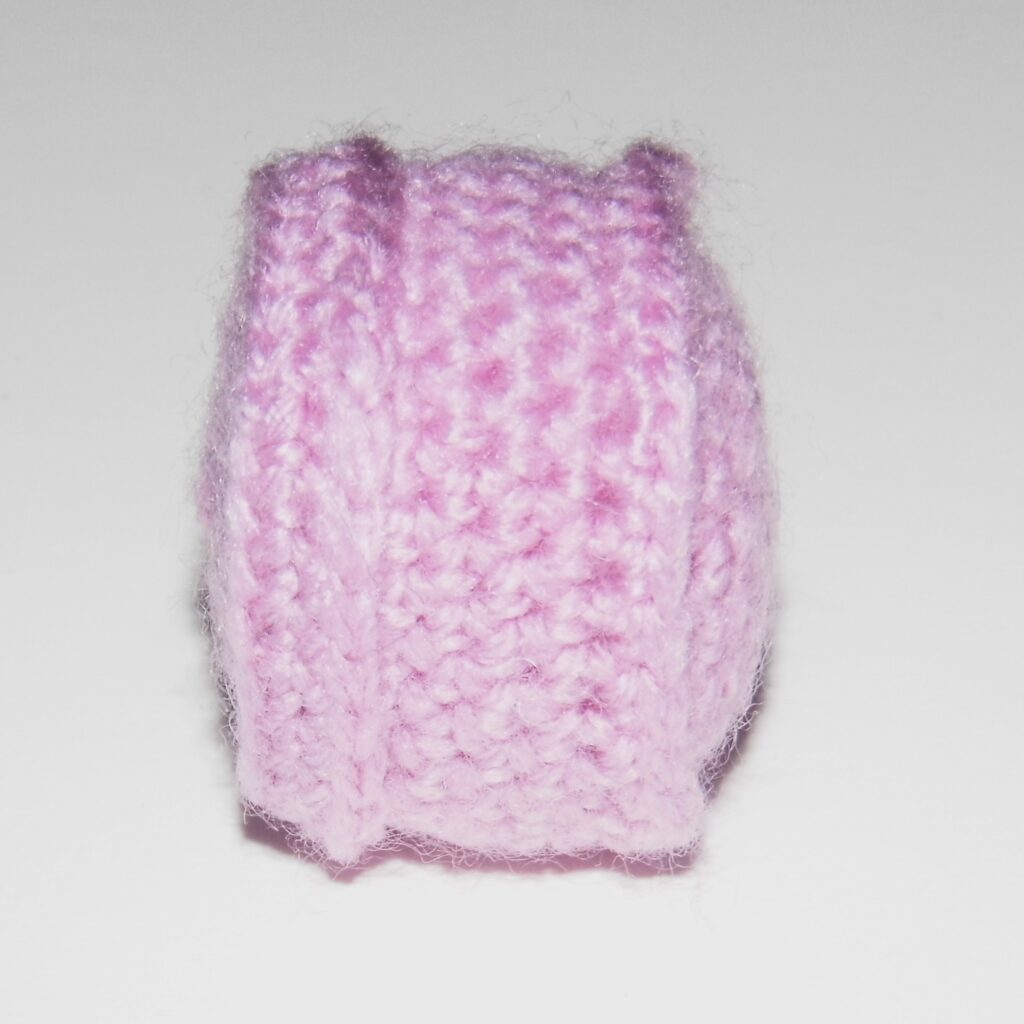
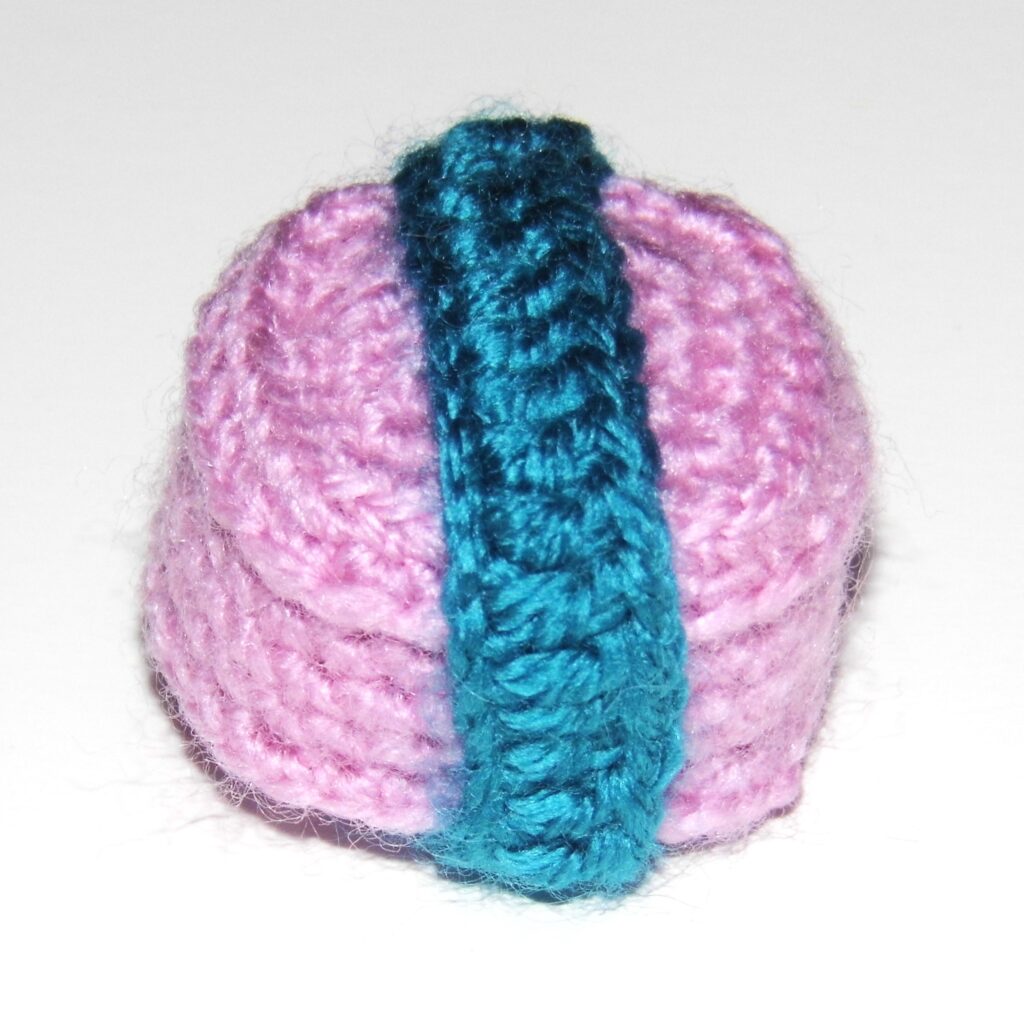
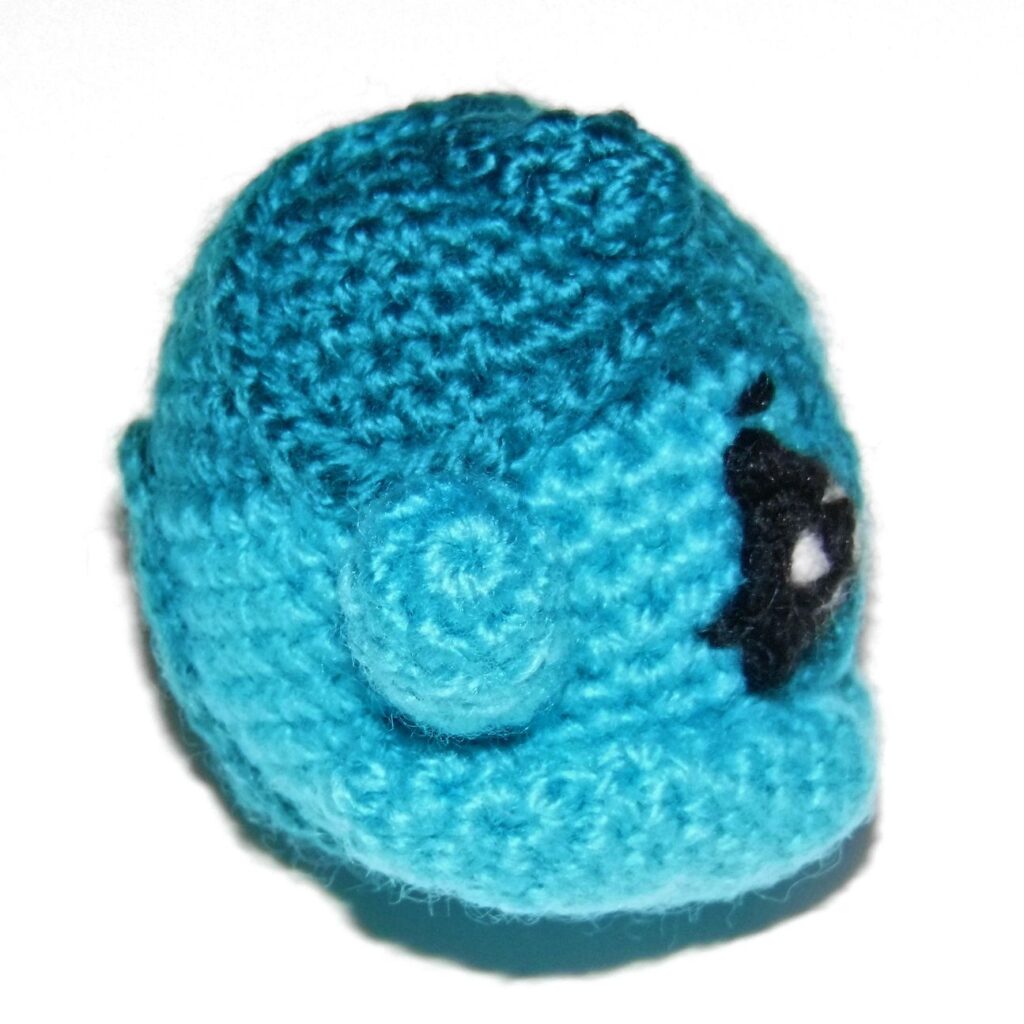
Sew it around the body forming several curves as shown in the images. It should cross the magic ring of the head and go around the inside of the right eye. Join the ends of the piece under the body.

Eyebrows:

Embroider them with black yarn over the eyes, leaving 1 sc from them in the lower part and 3 sc in the upper part. They will be 2 sc long.

Legs:

Sew them with the magic ring of each one centered under the eyes, leaving 2 sc of separation from the eyes. Place them with the curve that they have in the narrowest part adjusted to the curve of the body.

Arms:

Sew them leaving 4 sc of separation from the eyes in their central part. Place them so that the curve they have is oriented upwards.

Drops:

Sew one of them over the left eye, curving it slightly. Place the other one over the other eye but at the height of the magic ring of the head.

Mouth:

Embroider with black yarn an inverted U-shaped mouth to give it an angry expression.

Dennis Ball (Shopkins) amigurumi pattern

Finished!

I hope you enjoyed crocheting Dennis Ball (Shopkins) amigurumi pattern!

Posted on Leave a comment

How to sew the arms of our amigurumis

Sew the arms of our amigurumis

Are you looking for your amigurumis to have a natural posture? Do you find the raised arms in the shape of a cross unsightly? Don’t miss this tutorial: Sew the arms of our amigurumis

When finishing an amigurumi it is very important that we sew the pieces correctly, because their final appearance depends on it. A poorly sewn piece can easily come off and cause problems. Similarly, a poorly placed can make it ugly and spoil its design.

Sewing the arms of an amigurumi seems simple, but many times they can be too upright, in the shape of a cross, making the design ugly.

Today I am going to show you how to sew the arms so that our amigurumi does not have a forced appearance and at the same time, its arms maintain movement.

In my designs, the arm piece is left open, that is, we do not close its last round, which helps us to sew them in a simple way. Let’s see how:

1. Put the arm in place with a pin.

2. Look at the last round of the arm as if it had 2 parts: the upper half (shoulder) and the lower half (armpit).

One trick to avoid stiffness is to not overstuff the end of the arm.

3. Sew the top half stitches to the body on the row you placed it on.

Continue sewing around the piece to finish at the bottom that you need to sew lower (2-3 rows lower).

In this way, the arm is united, but continues with the open form, which allows its mobility.

4. To finish off, insert the excess yarn from the top to lose it in the fabric. That way the arm will be a little lower.

Sew the arms of our amigurumis

As you can see, in a simple way you will ensure that your amigurumis retain a natural appearance and maintain the movement of their arms.

I hope you liked this tutorial about Sew the arms of our amigurumis and above all it was useful to you.

See you soon!

Posted on Leave a comment

Shamrock Keychain Amigurumi Pattern

Happy St. Patrick’s Day!

Enjoy the free Shamrock Keychain Amigurumi Pattern

Although the origin of this celebration is Irish, in an increasingly globalized world, it can be said that today it is celebrated worldwide, including Spain and of course, my land, Galicia.

Our common Celtic roots connect us historically and culturally with Ireland.

Thus, for example, the Tower of Hercules, in A Coruña, has Celtic elements, among which the statue of King Breogán stands out, who, according to Irish legends, founded Brigantia and built a Tower so high that it allowed one to see the coasts of Ireland.

Breogán is considered the mythological father of the Galician people, Galicia being poetically described as “Fogar de Breogán” (Home of Breogán) and this is even reflected in the Galician anthem.

To celebrate, I bring you a small detail that, as you know, is one of the symbols of Saint Patrick’s Day:

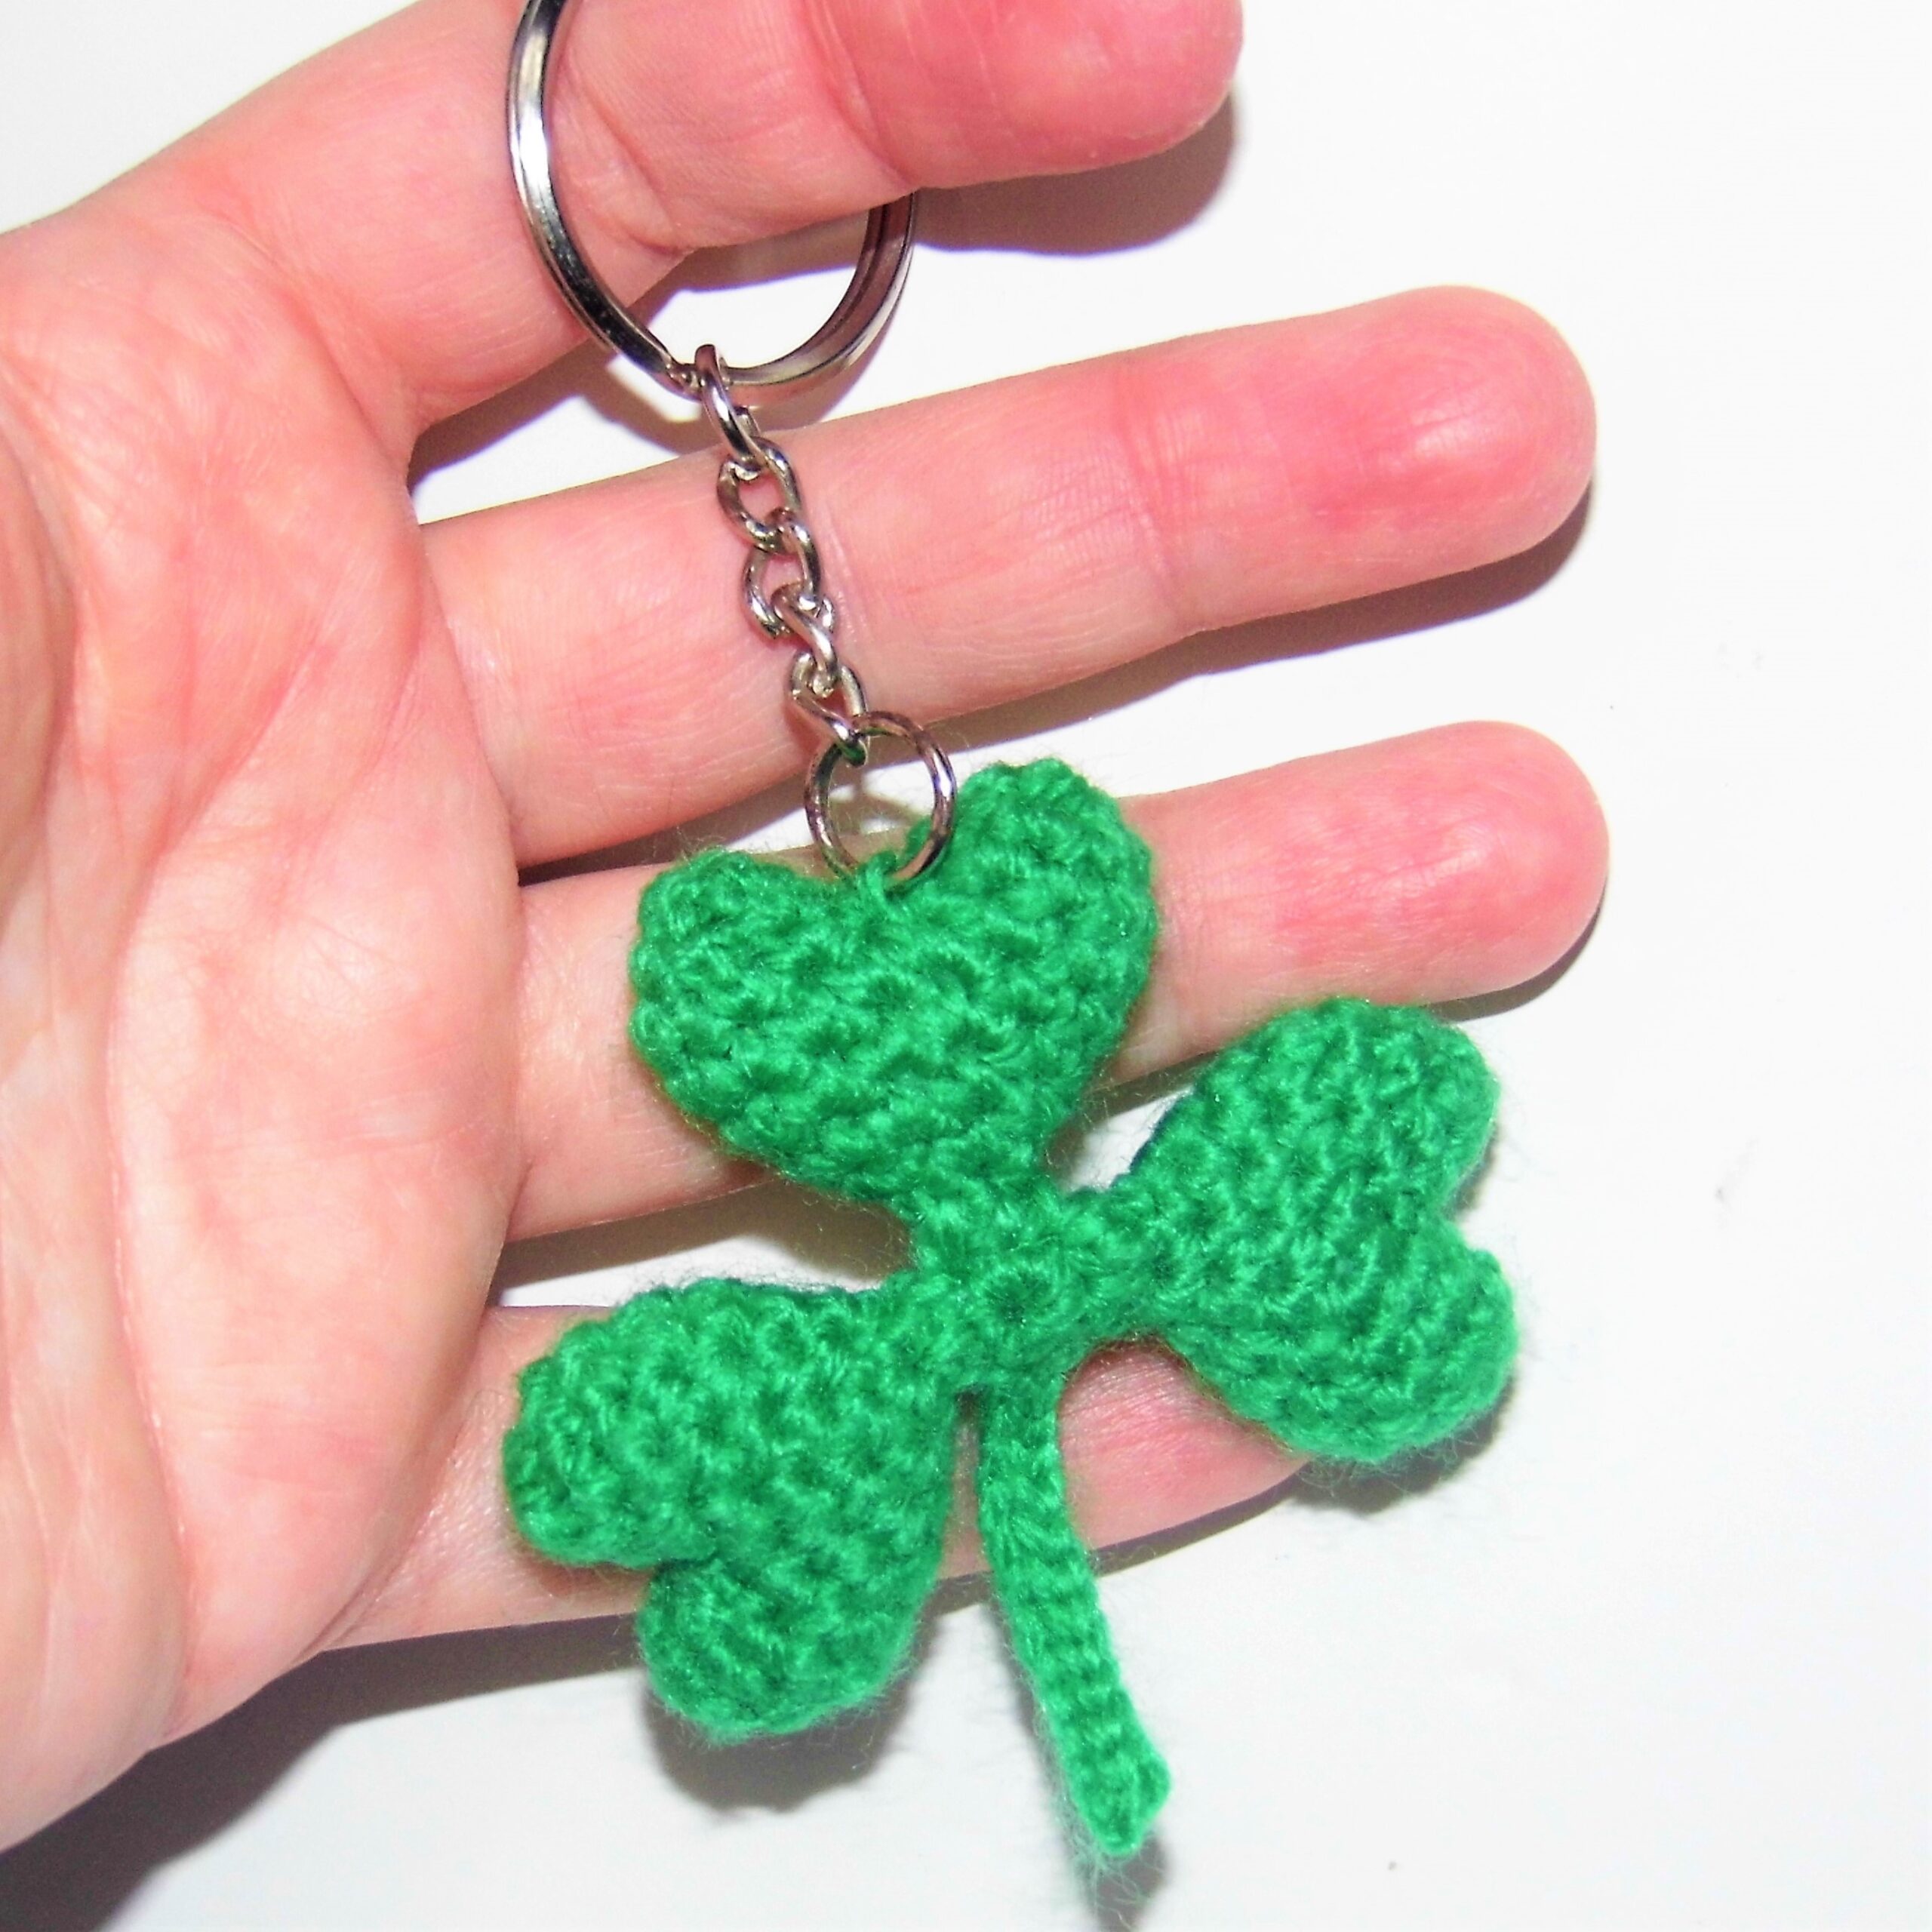
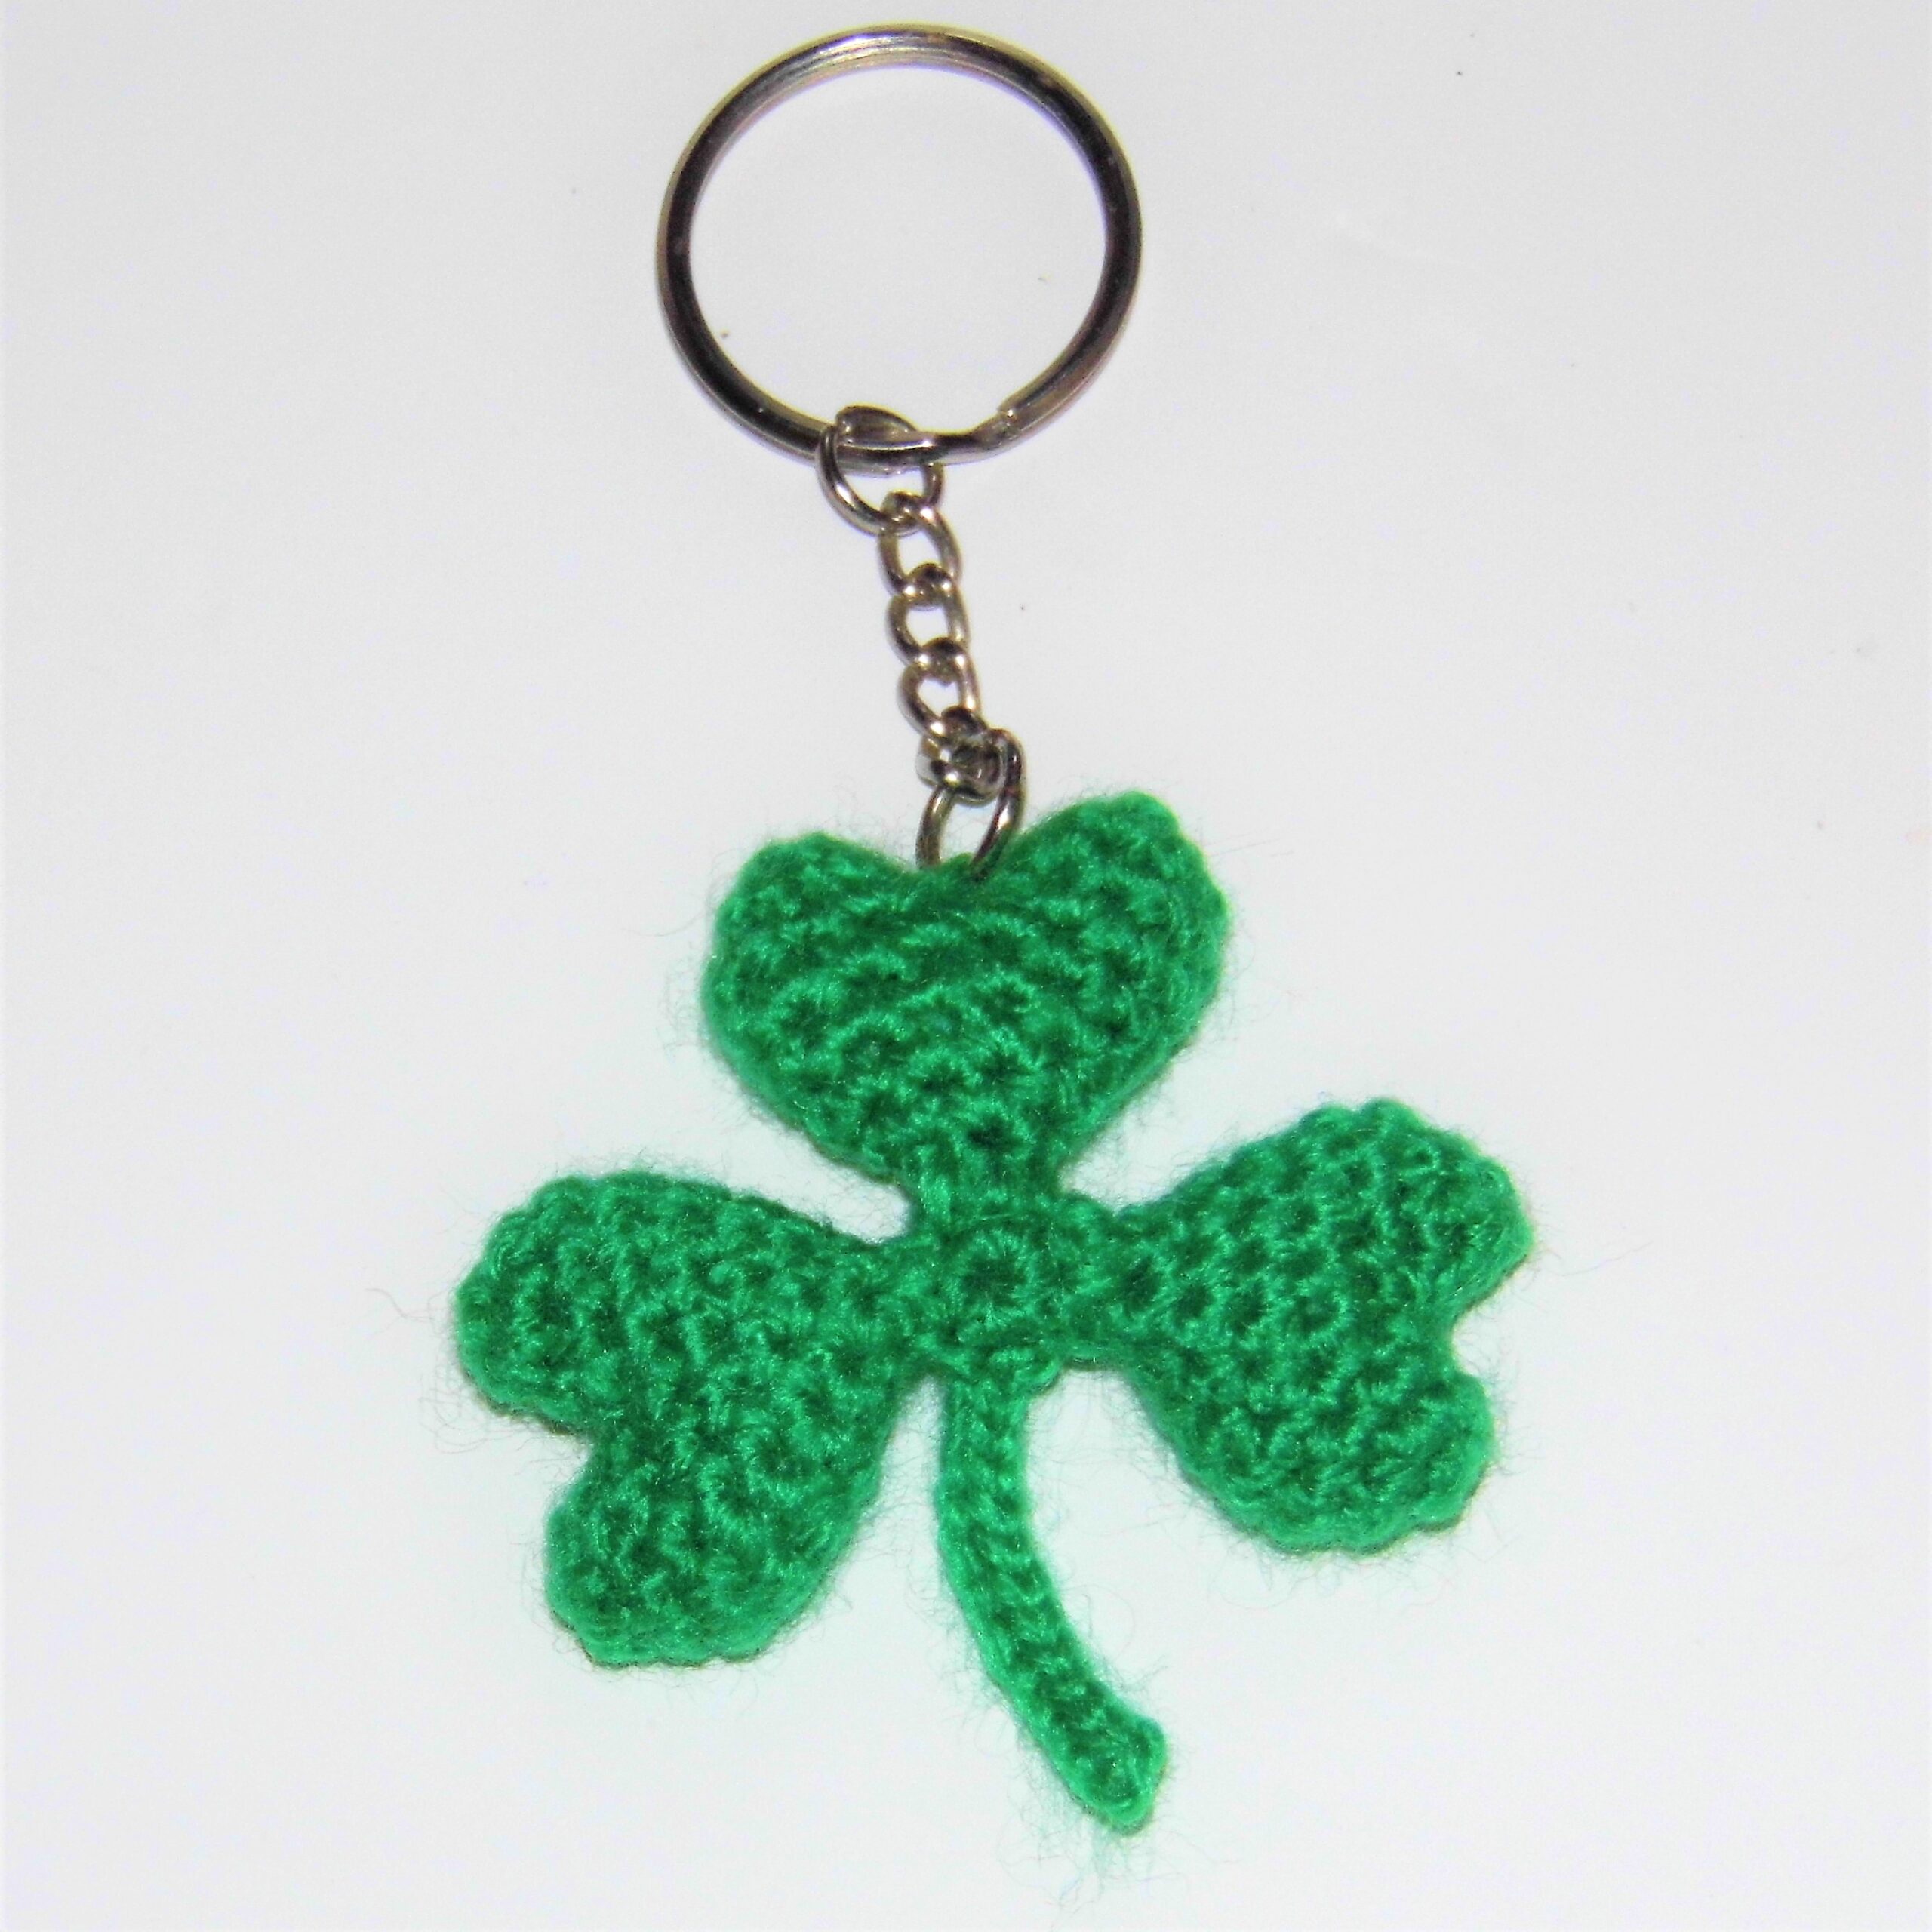
Shamrock Keychain Amigurumi Pattern

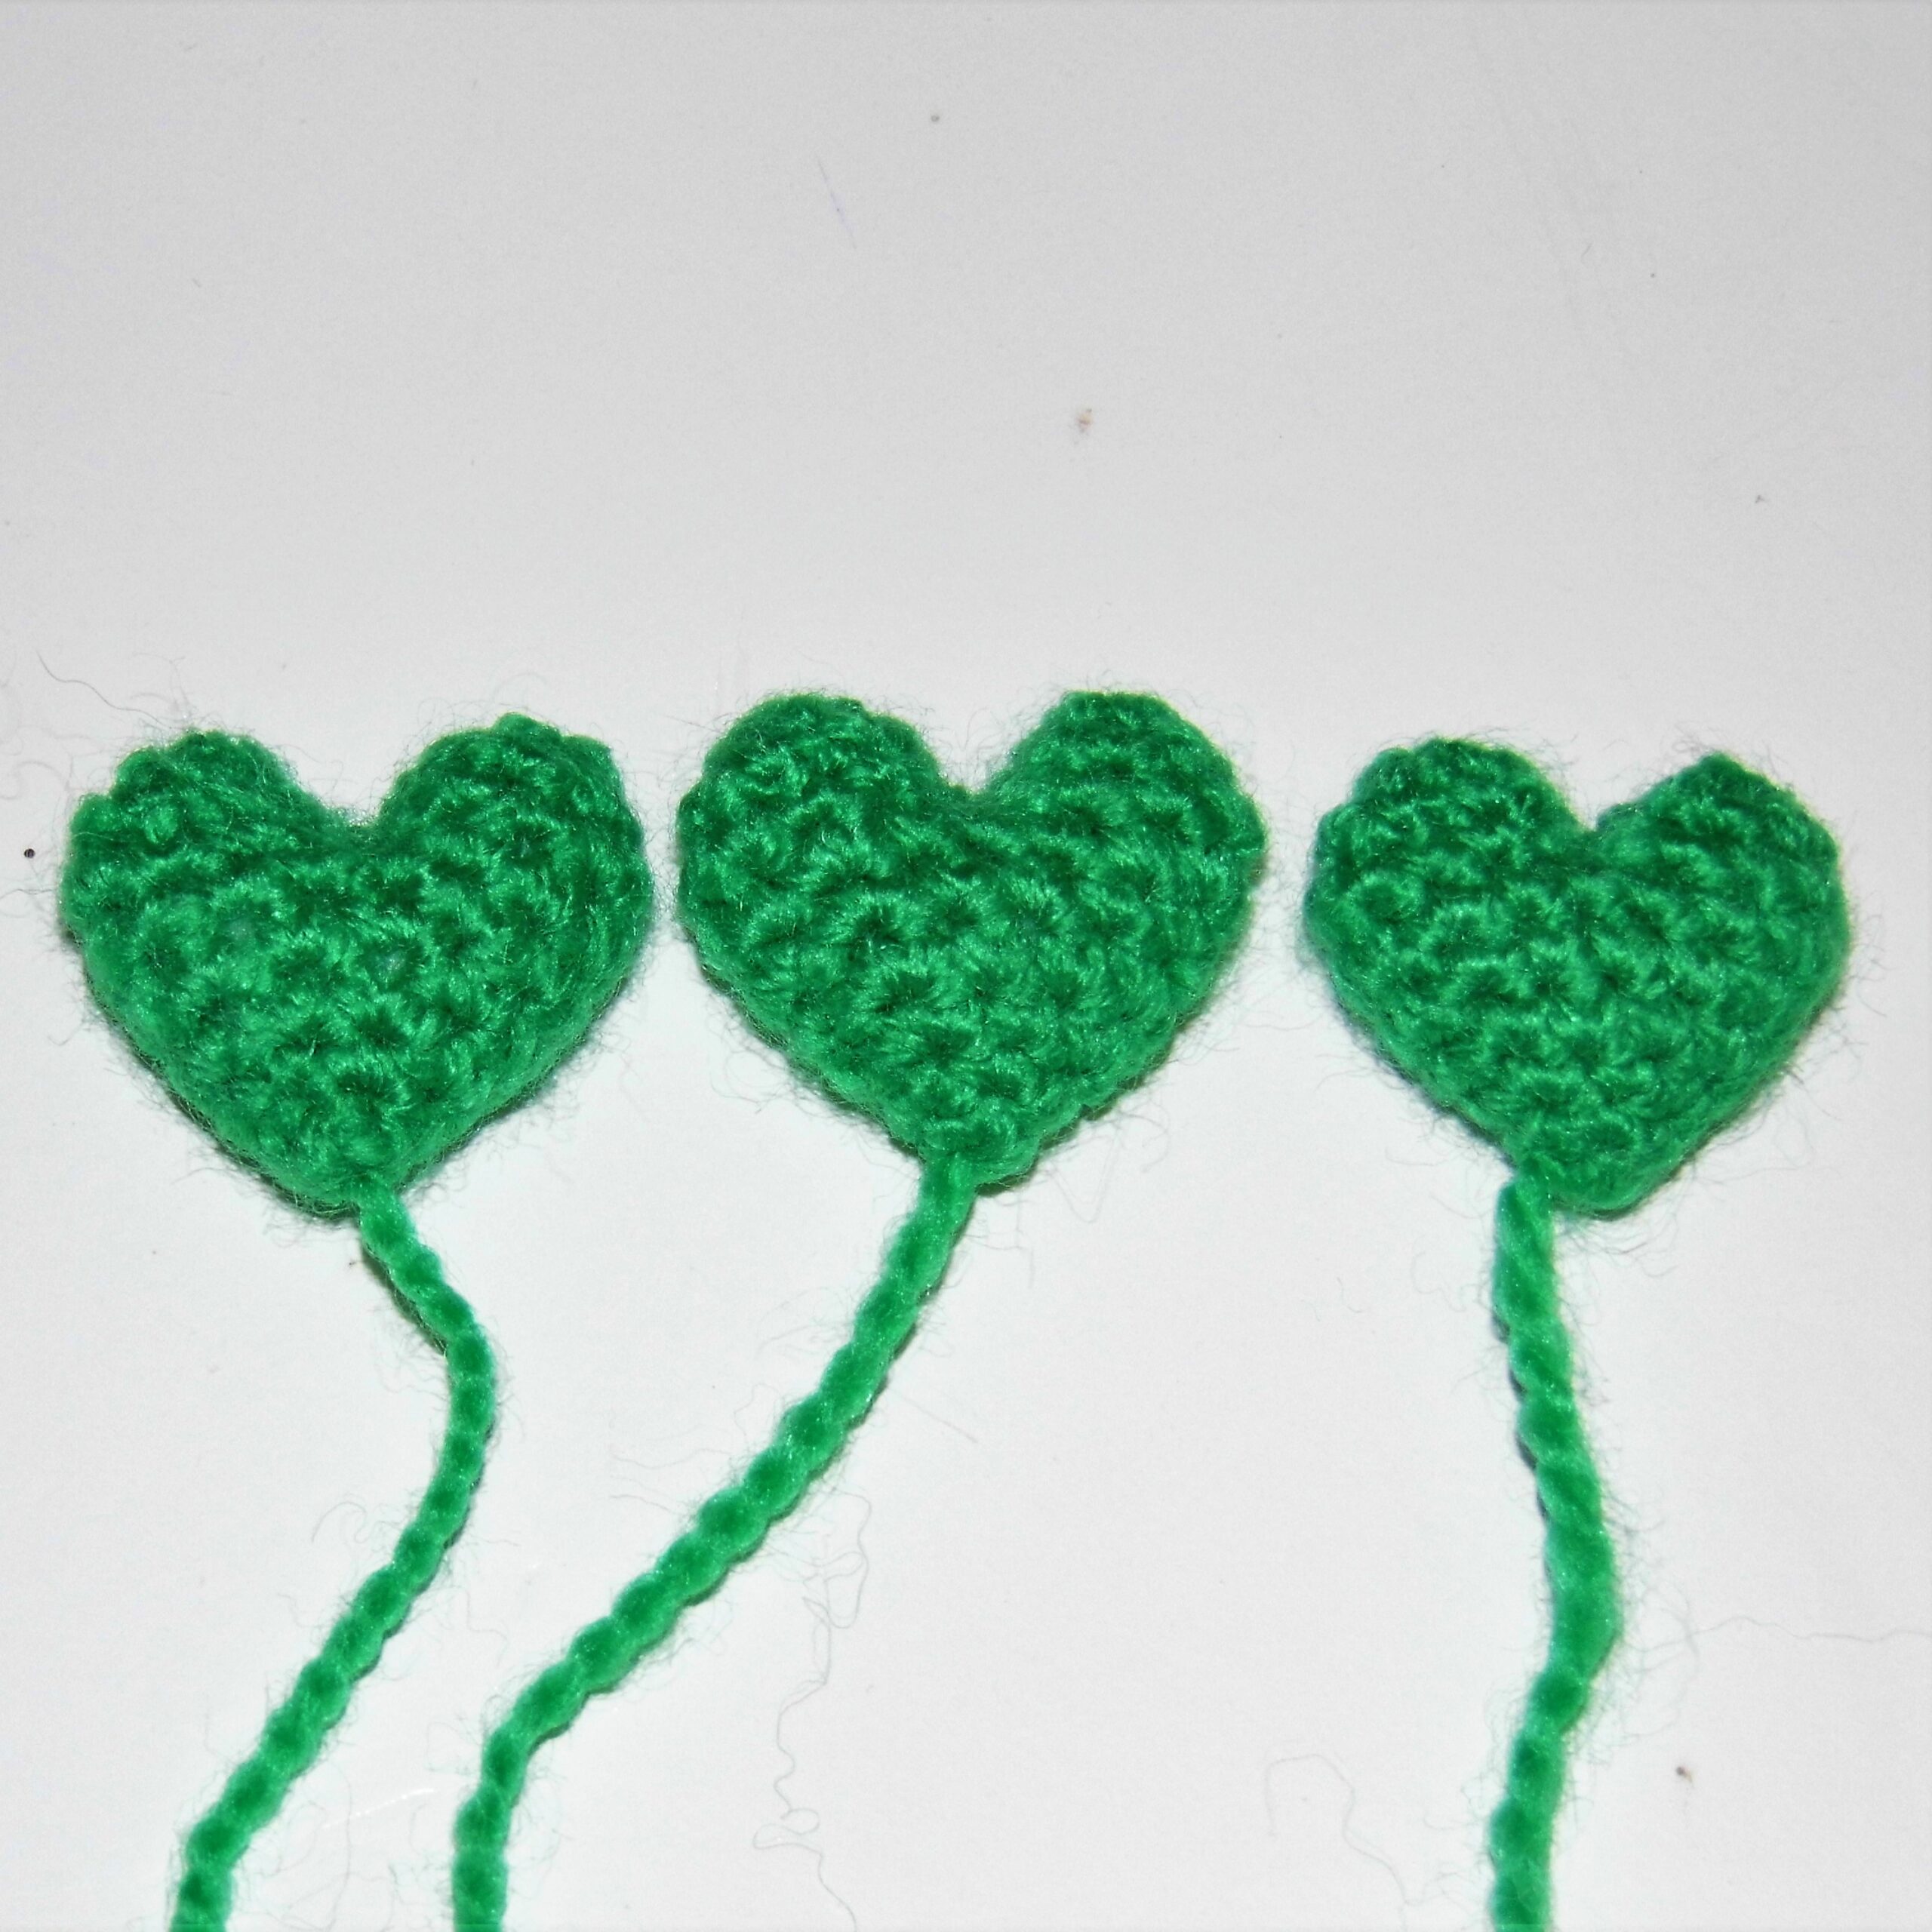
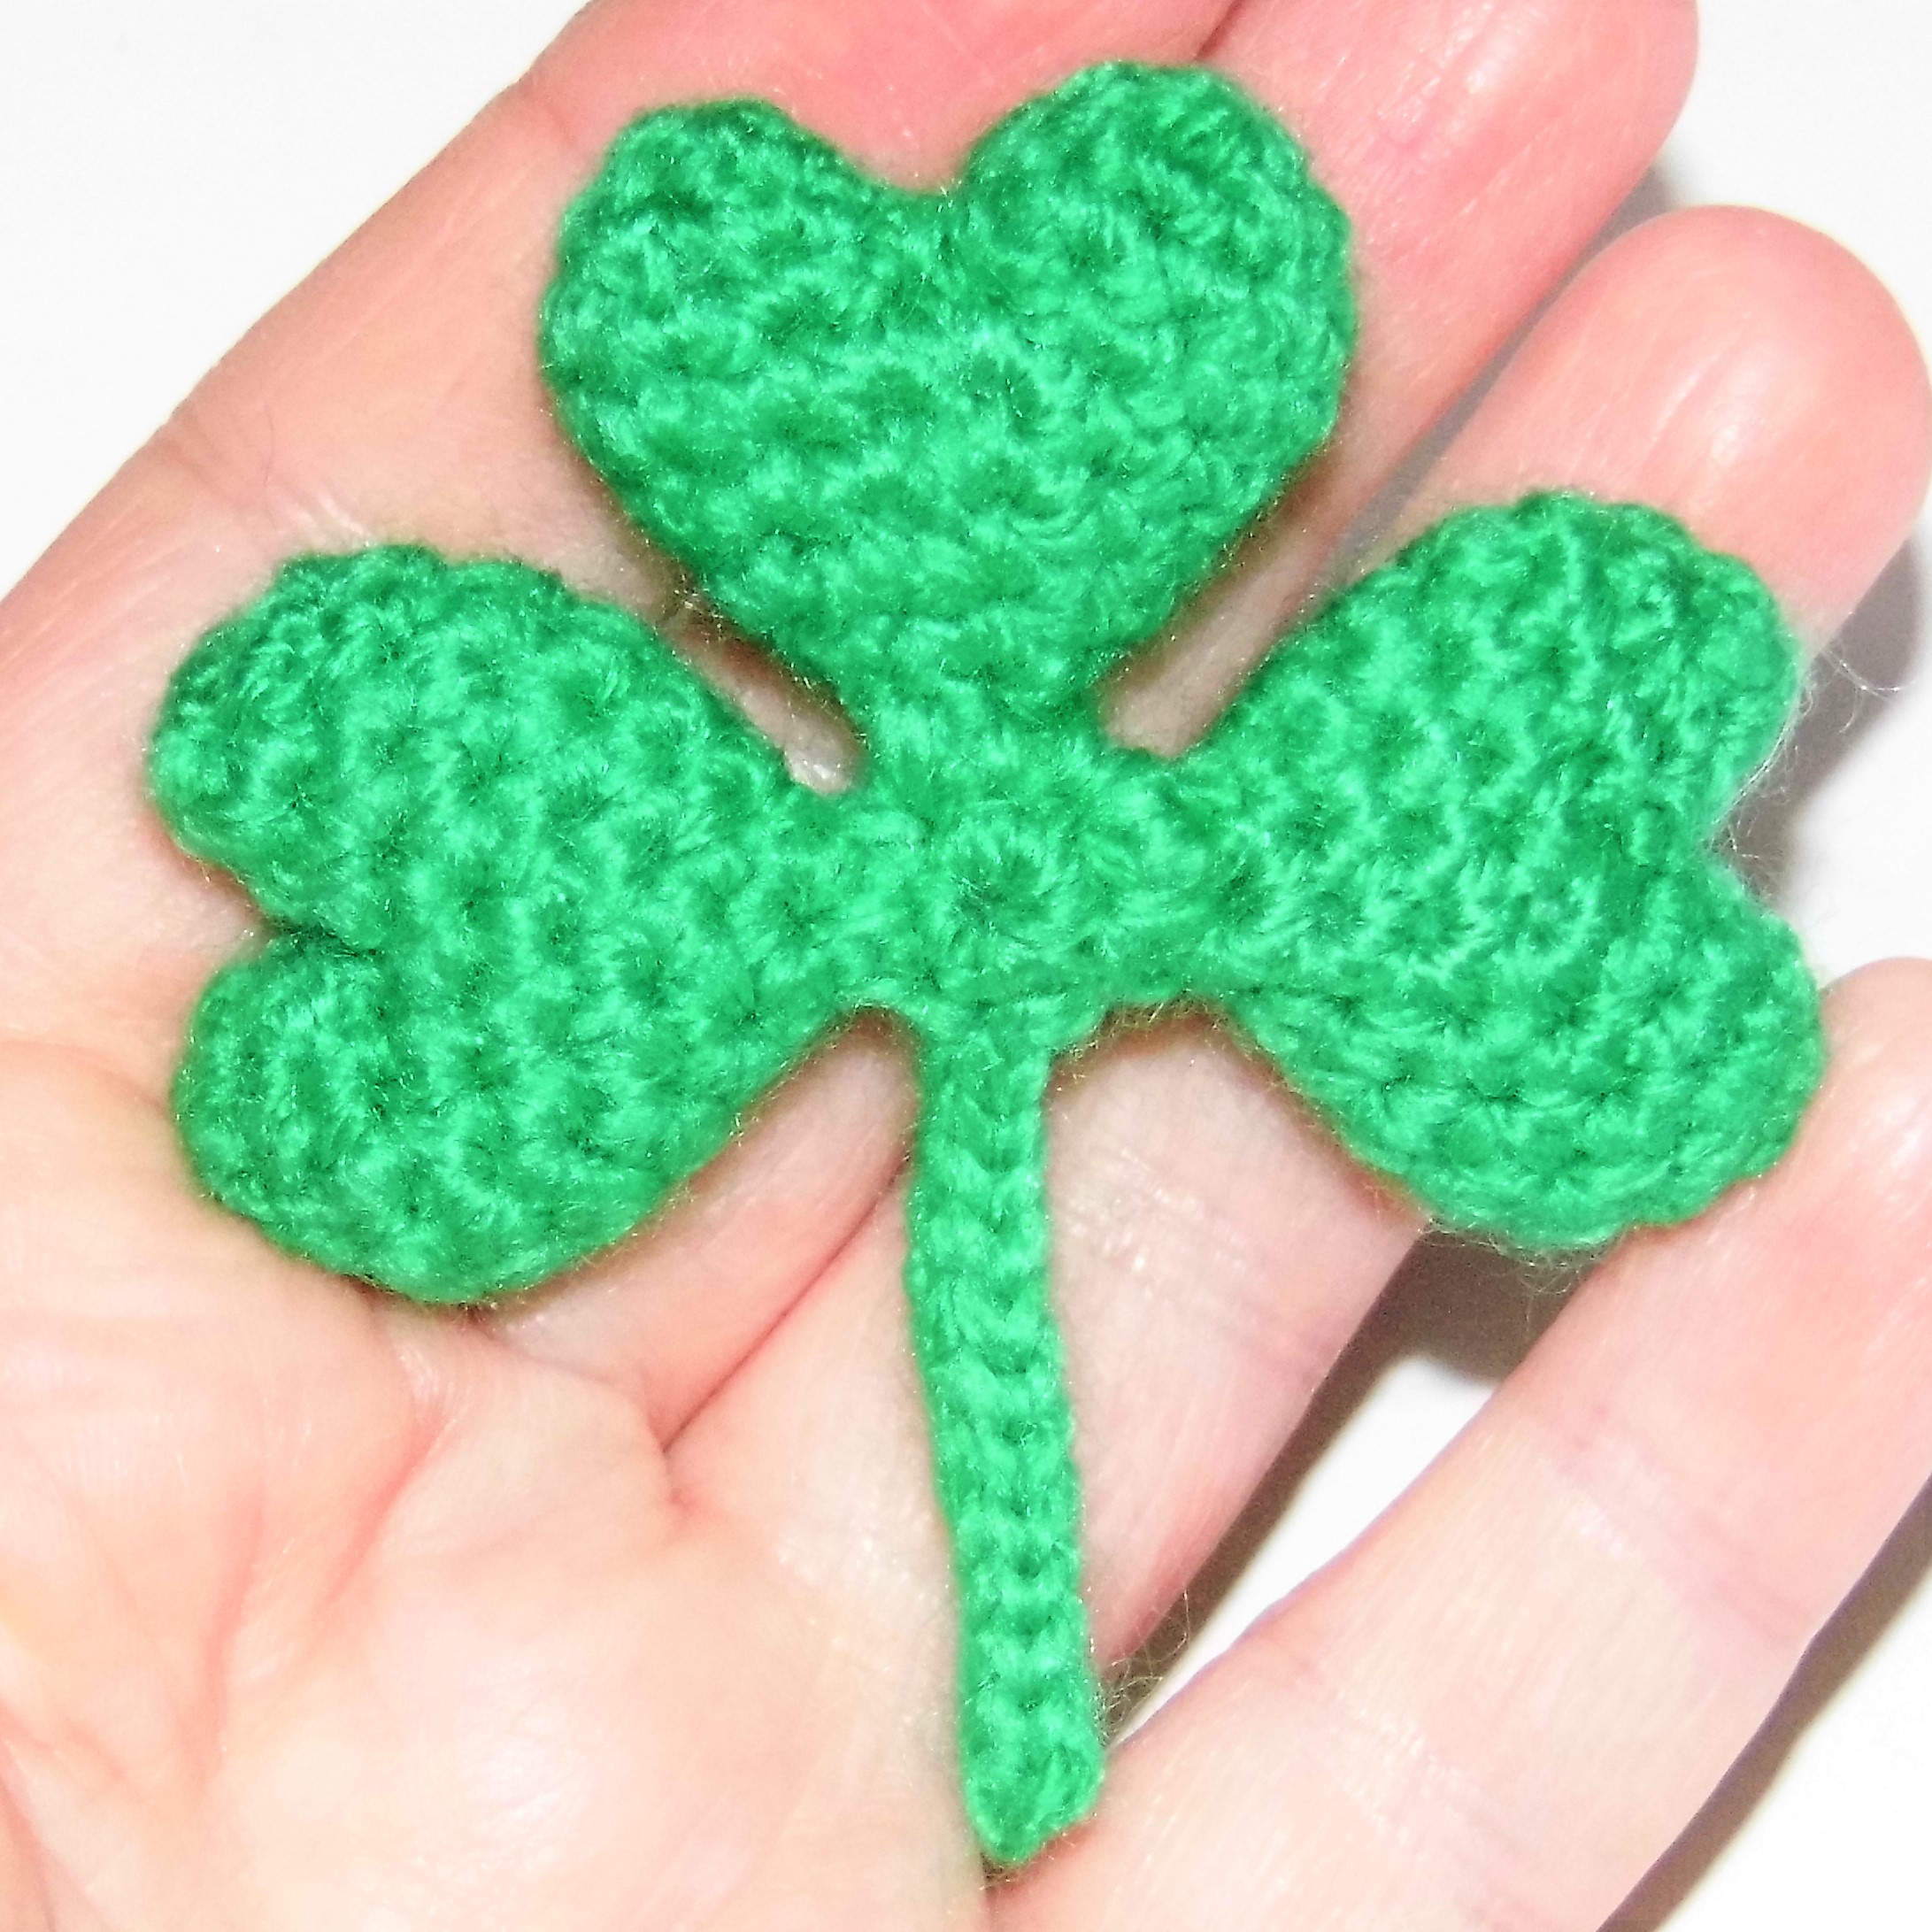
It is a very easy and quick pattern to make and it is super nice as a keychain. I have made it with 3 leaves, but if you want it to give you more luck, you only have to add one more leaf…

Ver Patrón en Español

Shamrock Keychain Amigurumi Pattern

MATERIALS

-Green color yarn

– 3 mm yarn.

– Hook according to the size of the yarn.

– Yarn needle.

– Fiberfill.

ABBREVIATIONS

sc: single crochet

st: stitch

inc: increase

dec: decrease

Size: 2,7” /7 cm

Difficulty: Low

Estimated time: 1,5 h

Hook: 2 mm

LEAVES (x3):

With green yarn

1. Work 4 sc in magic ring.

2. “1 sc, inc”, repeat (6).

3. “1 sc, inc”, repeat (9).

4. “2 sc, inc”, repeat (12).

5. “3 sc, inc”, repeat (15).

6. “4 sc, inc”, repeat (18).

DIVIDE:

1. From the place where you are, that is, from the round marker, count the previous 8 sc, which together with the marked sc will form the half of 9 sc of the piece. Join in the last sc of the 8 with a sc, place the round marker and crochet the 9 sc (9).

2. “1 sc, dec”, repeat (6).

Stuff the piece almost completely. Fasten off. Sew the hole with the yarn needle.
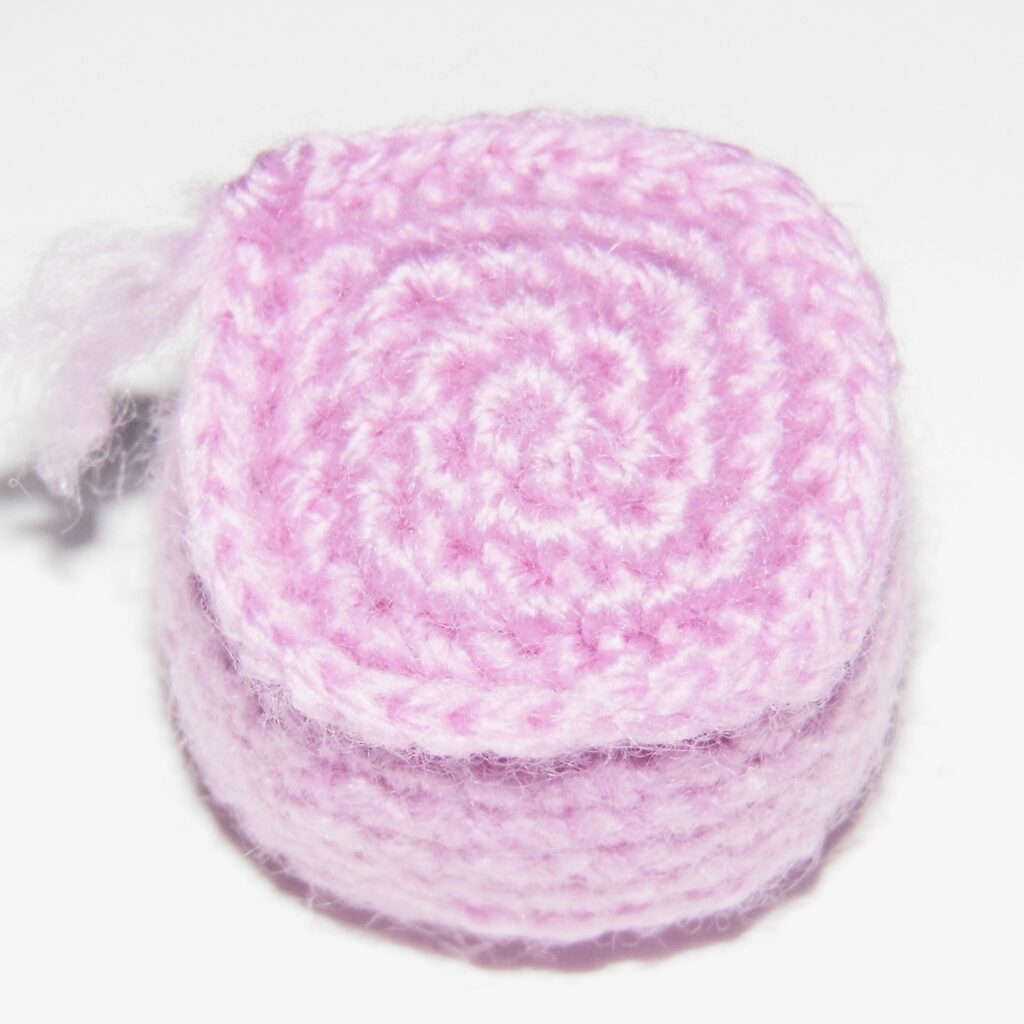
To crochet the other half, join, with the part you just crocheted placed on the left, in the first of the sc and work in the last a sc.
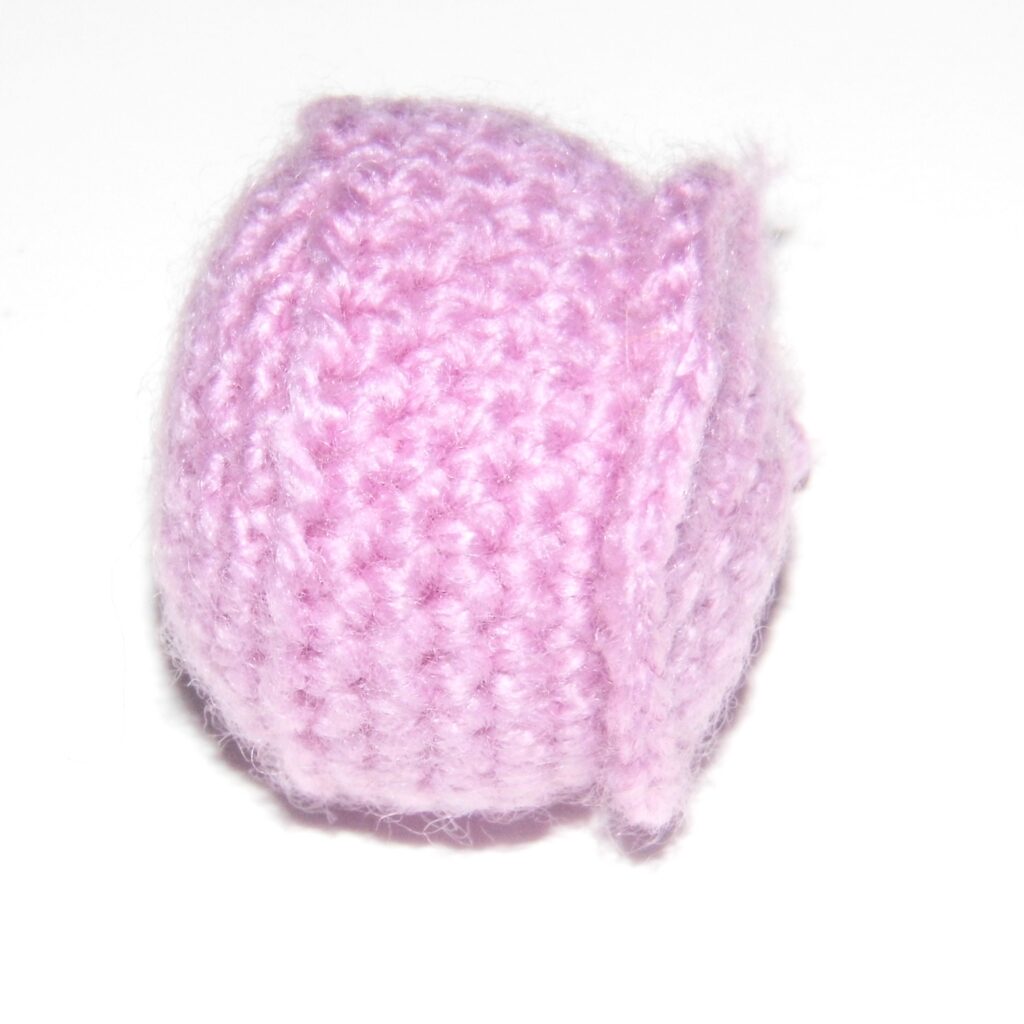
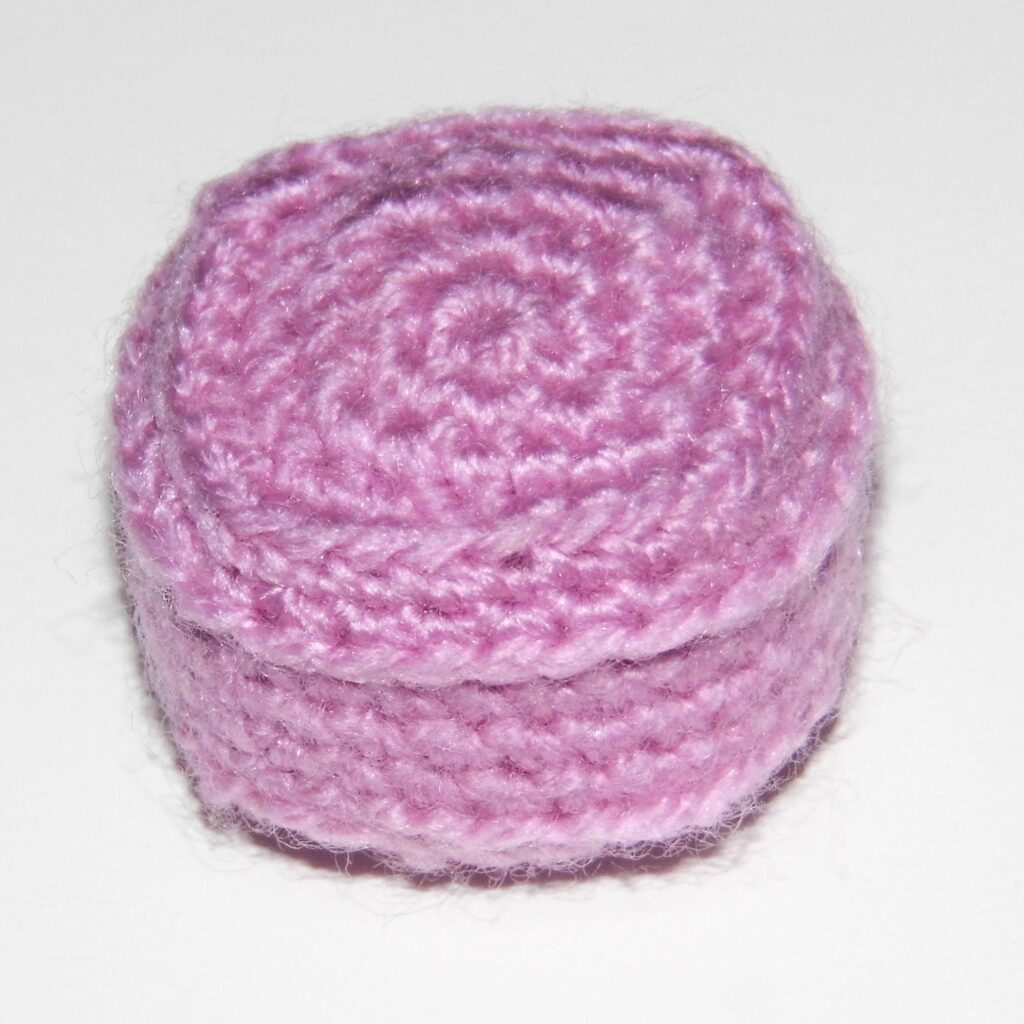
Place the marker and continue working following the same pattern.

Stuff completely. Fasten off. Sew the hole with the yarn needle.

Sew the small gap that has remained between the two halves with the yarn needle.

CENTRAL PART AND STEM:

With green yarn

1. Work 7 sc in magic ring

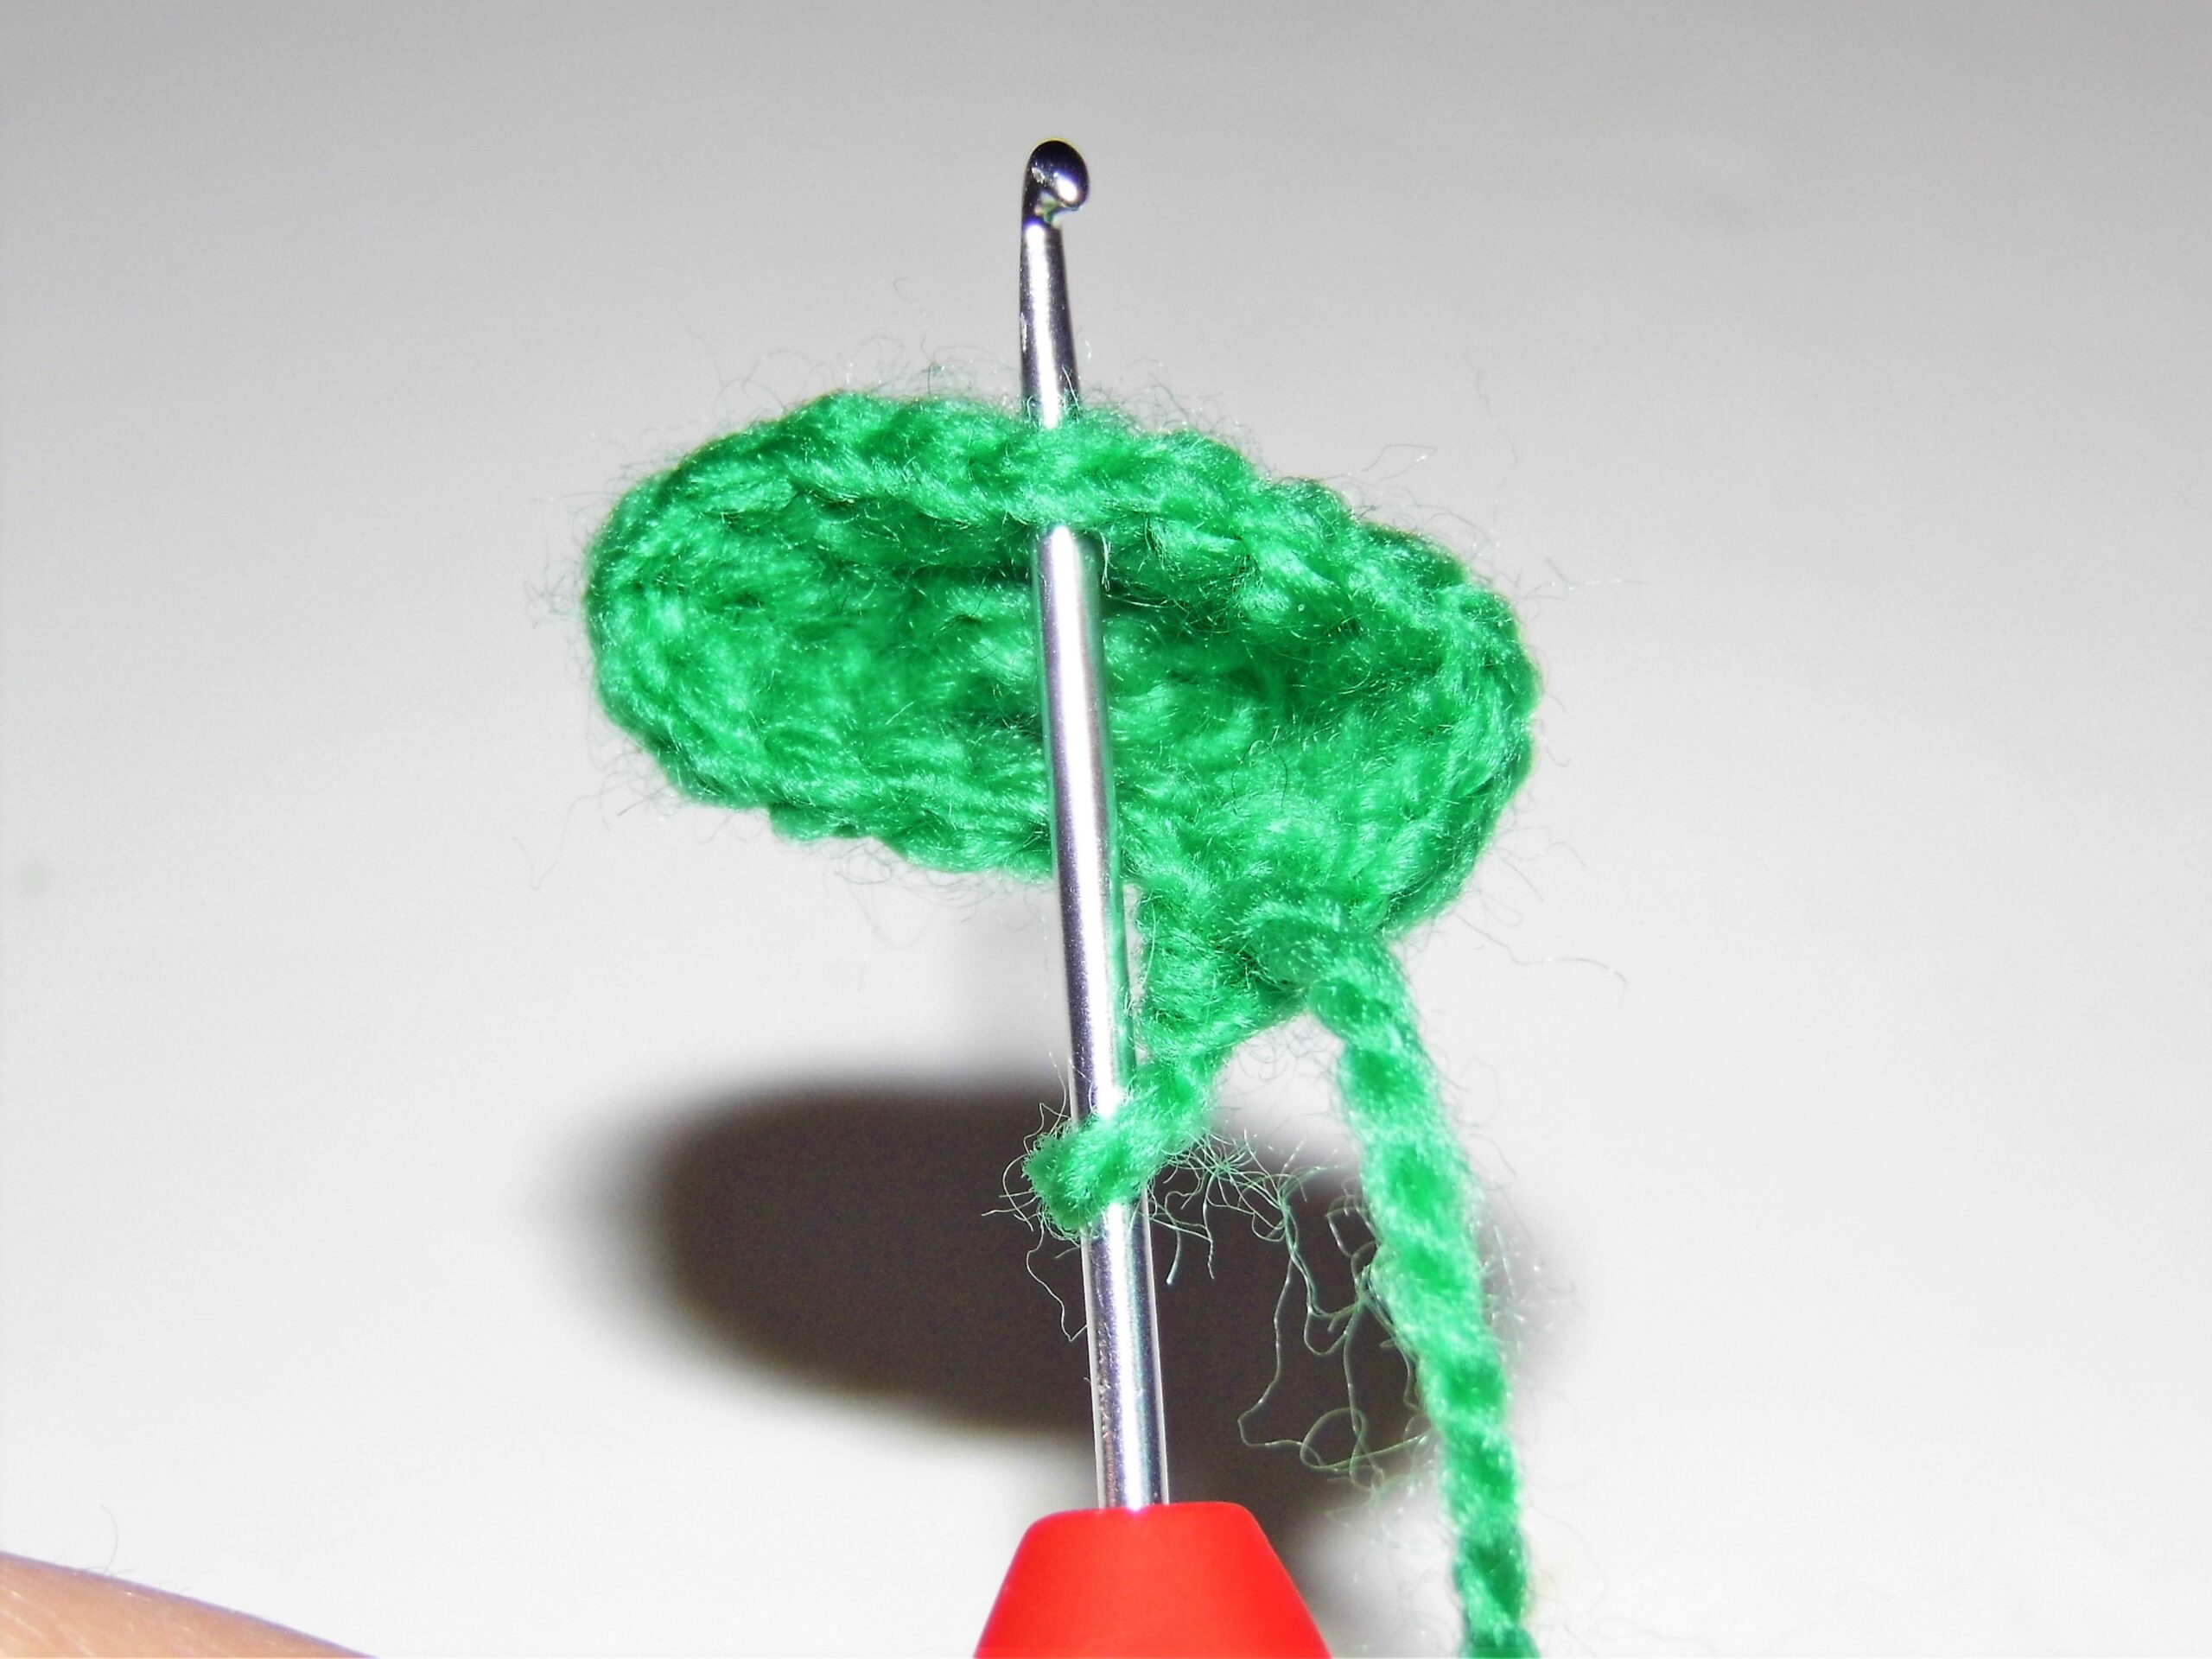
2. Ch 13 and work 12 slip stitches on the chains, 1 slip stitch in the origin stitch of the chains.

Fasten off.

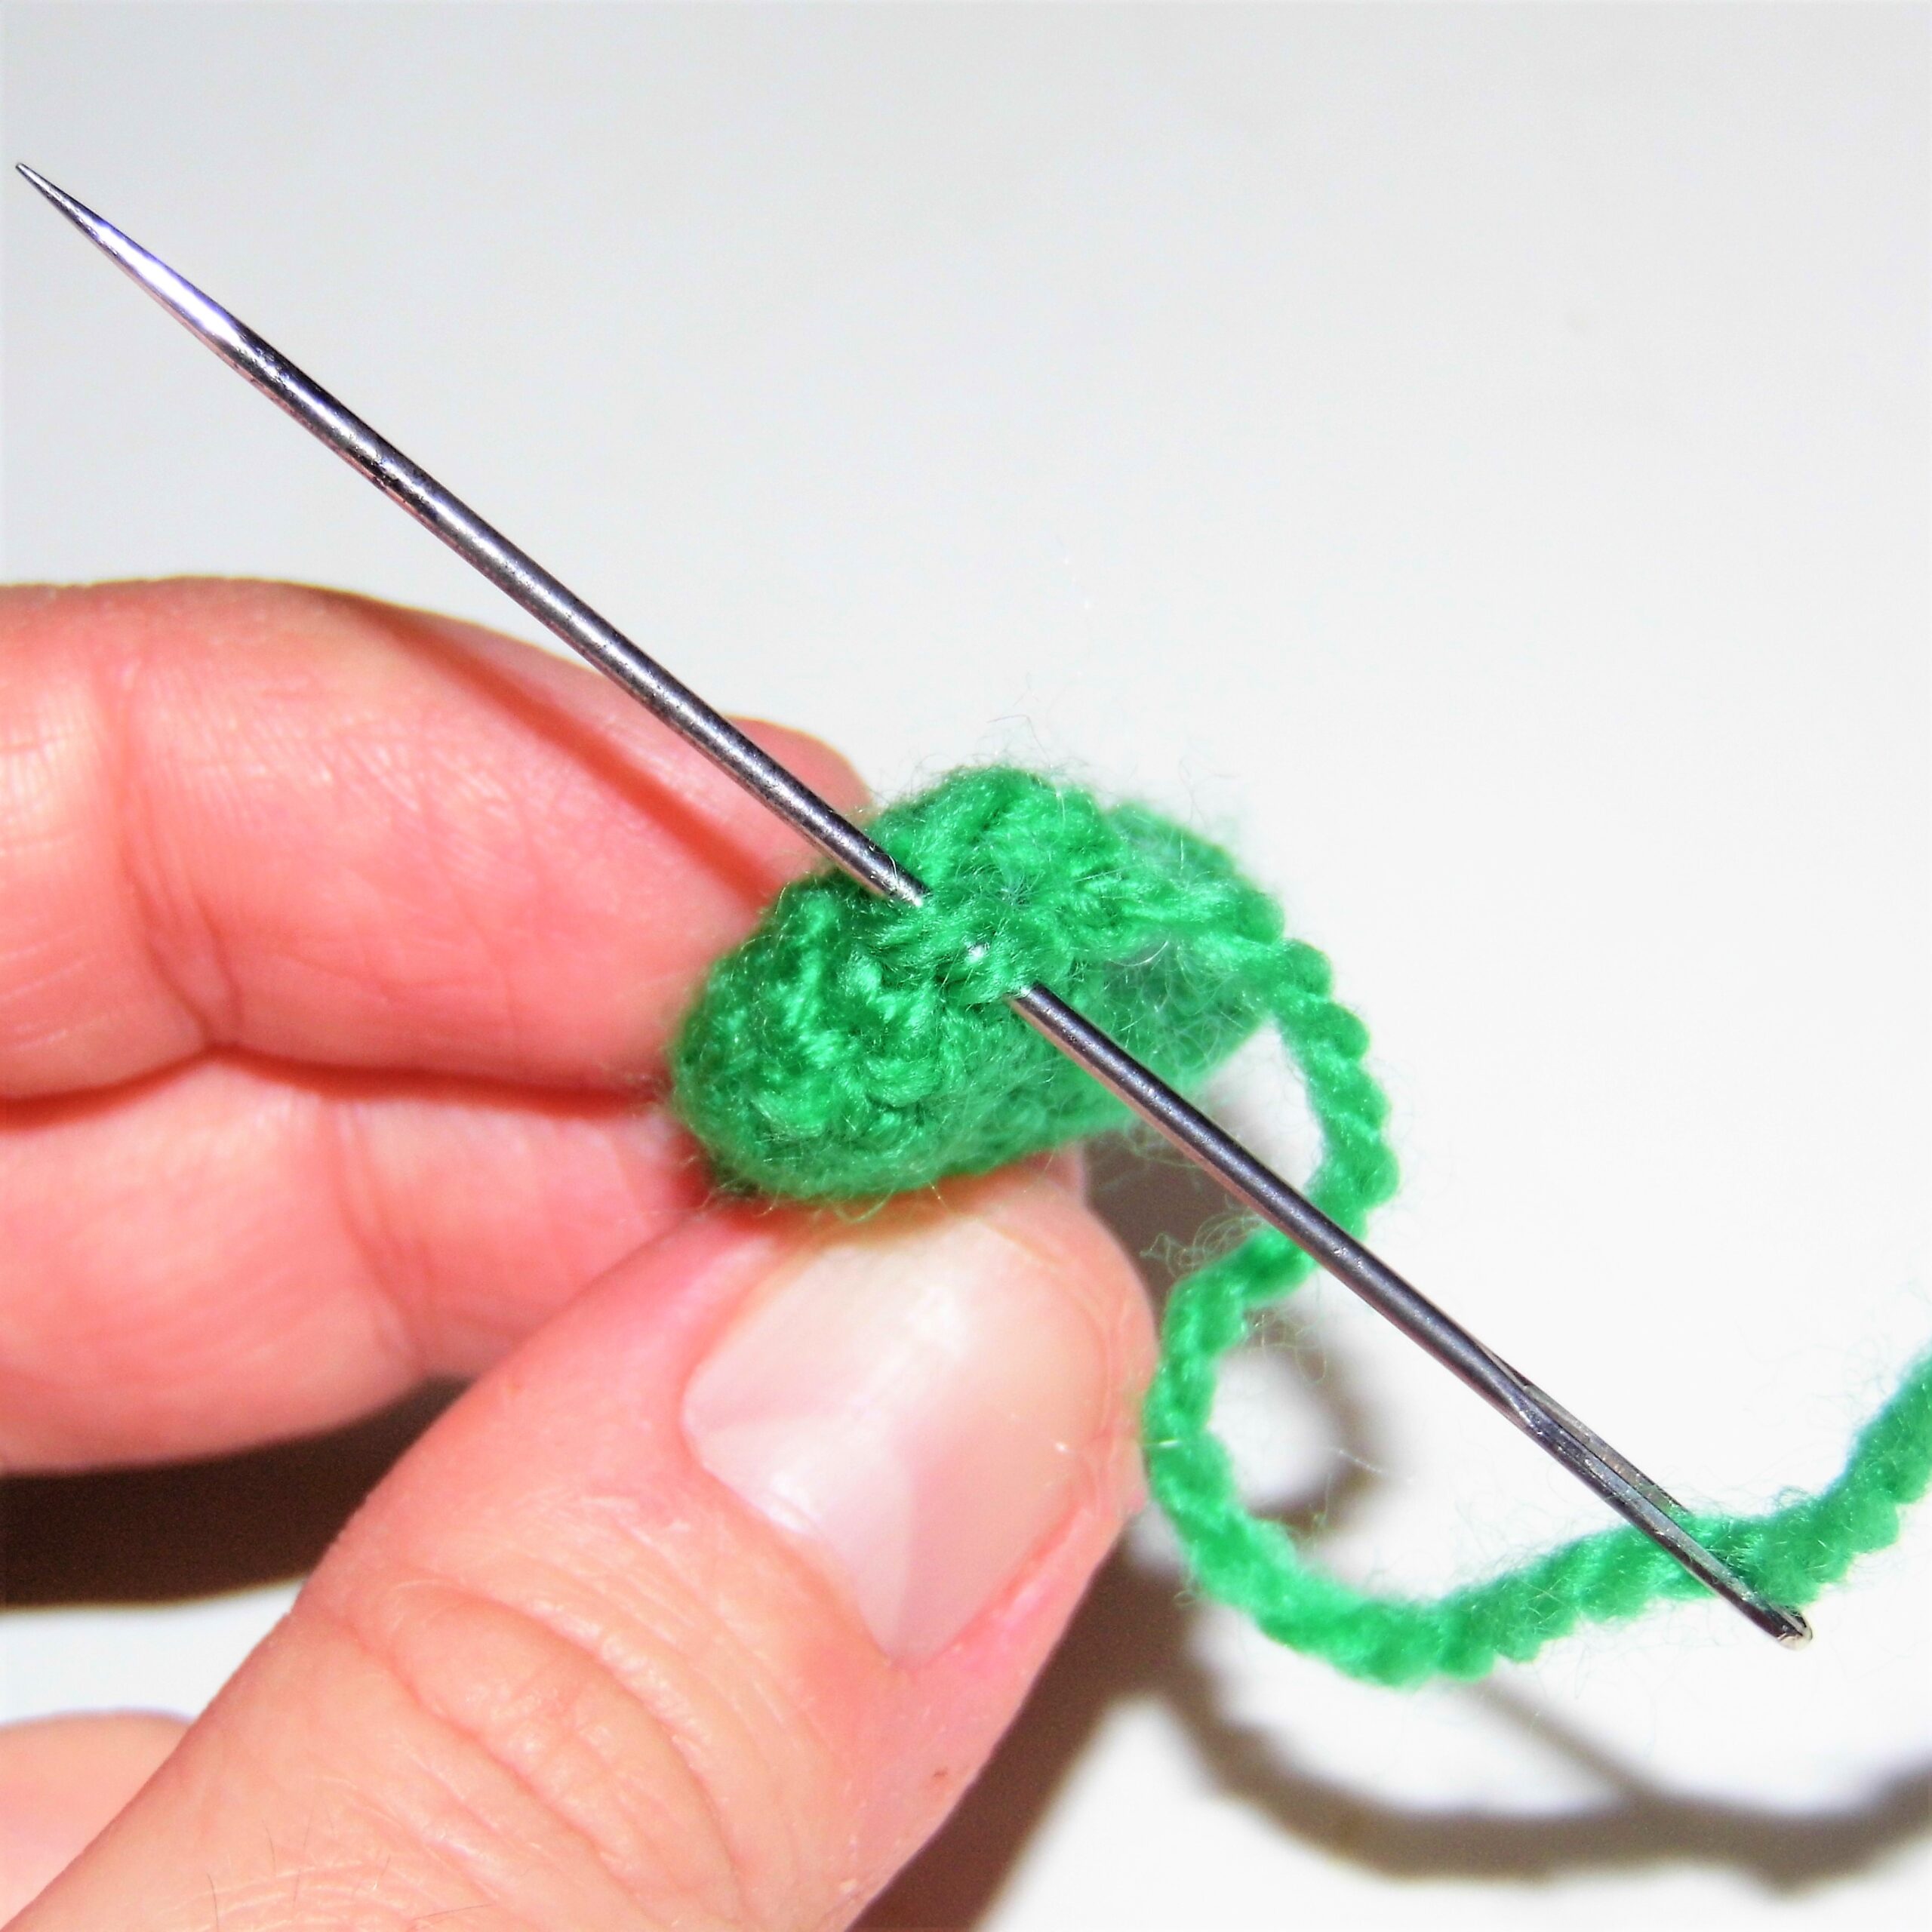
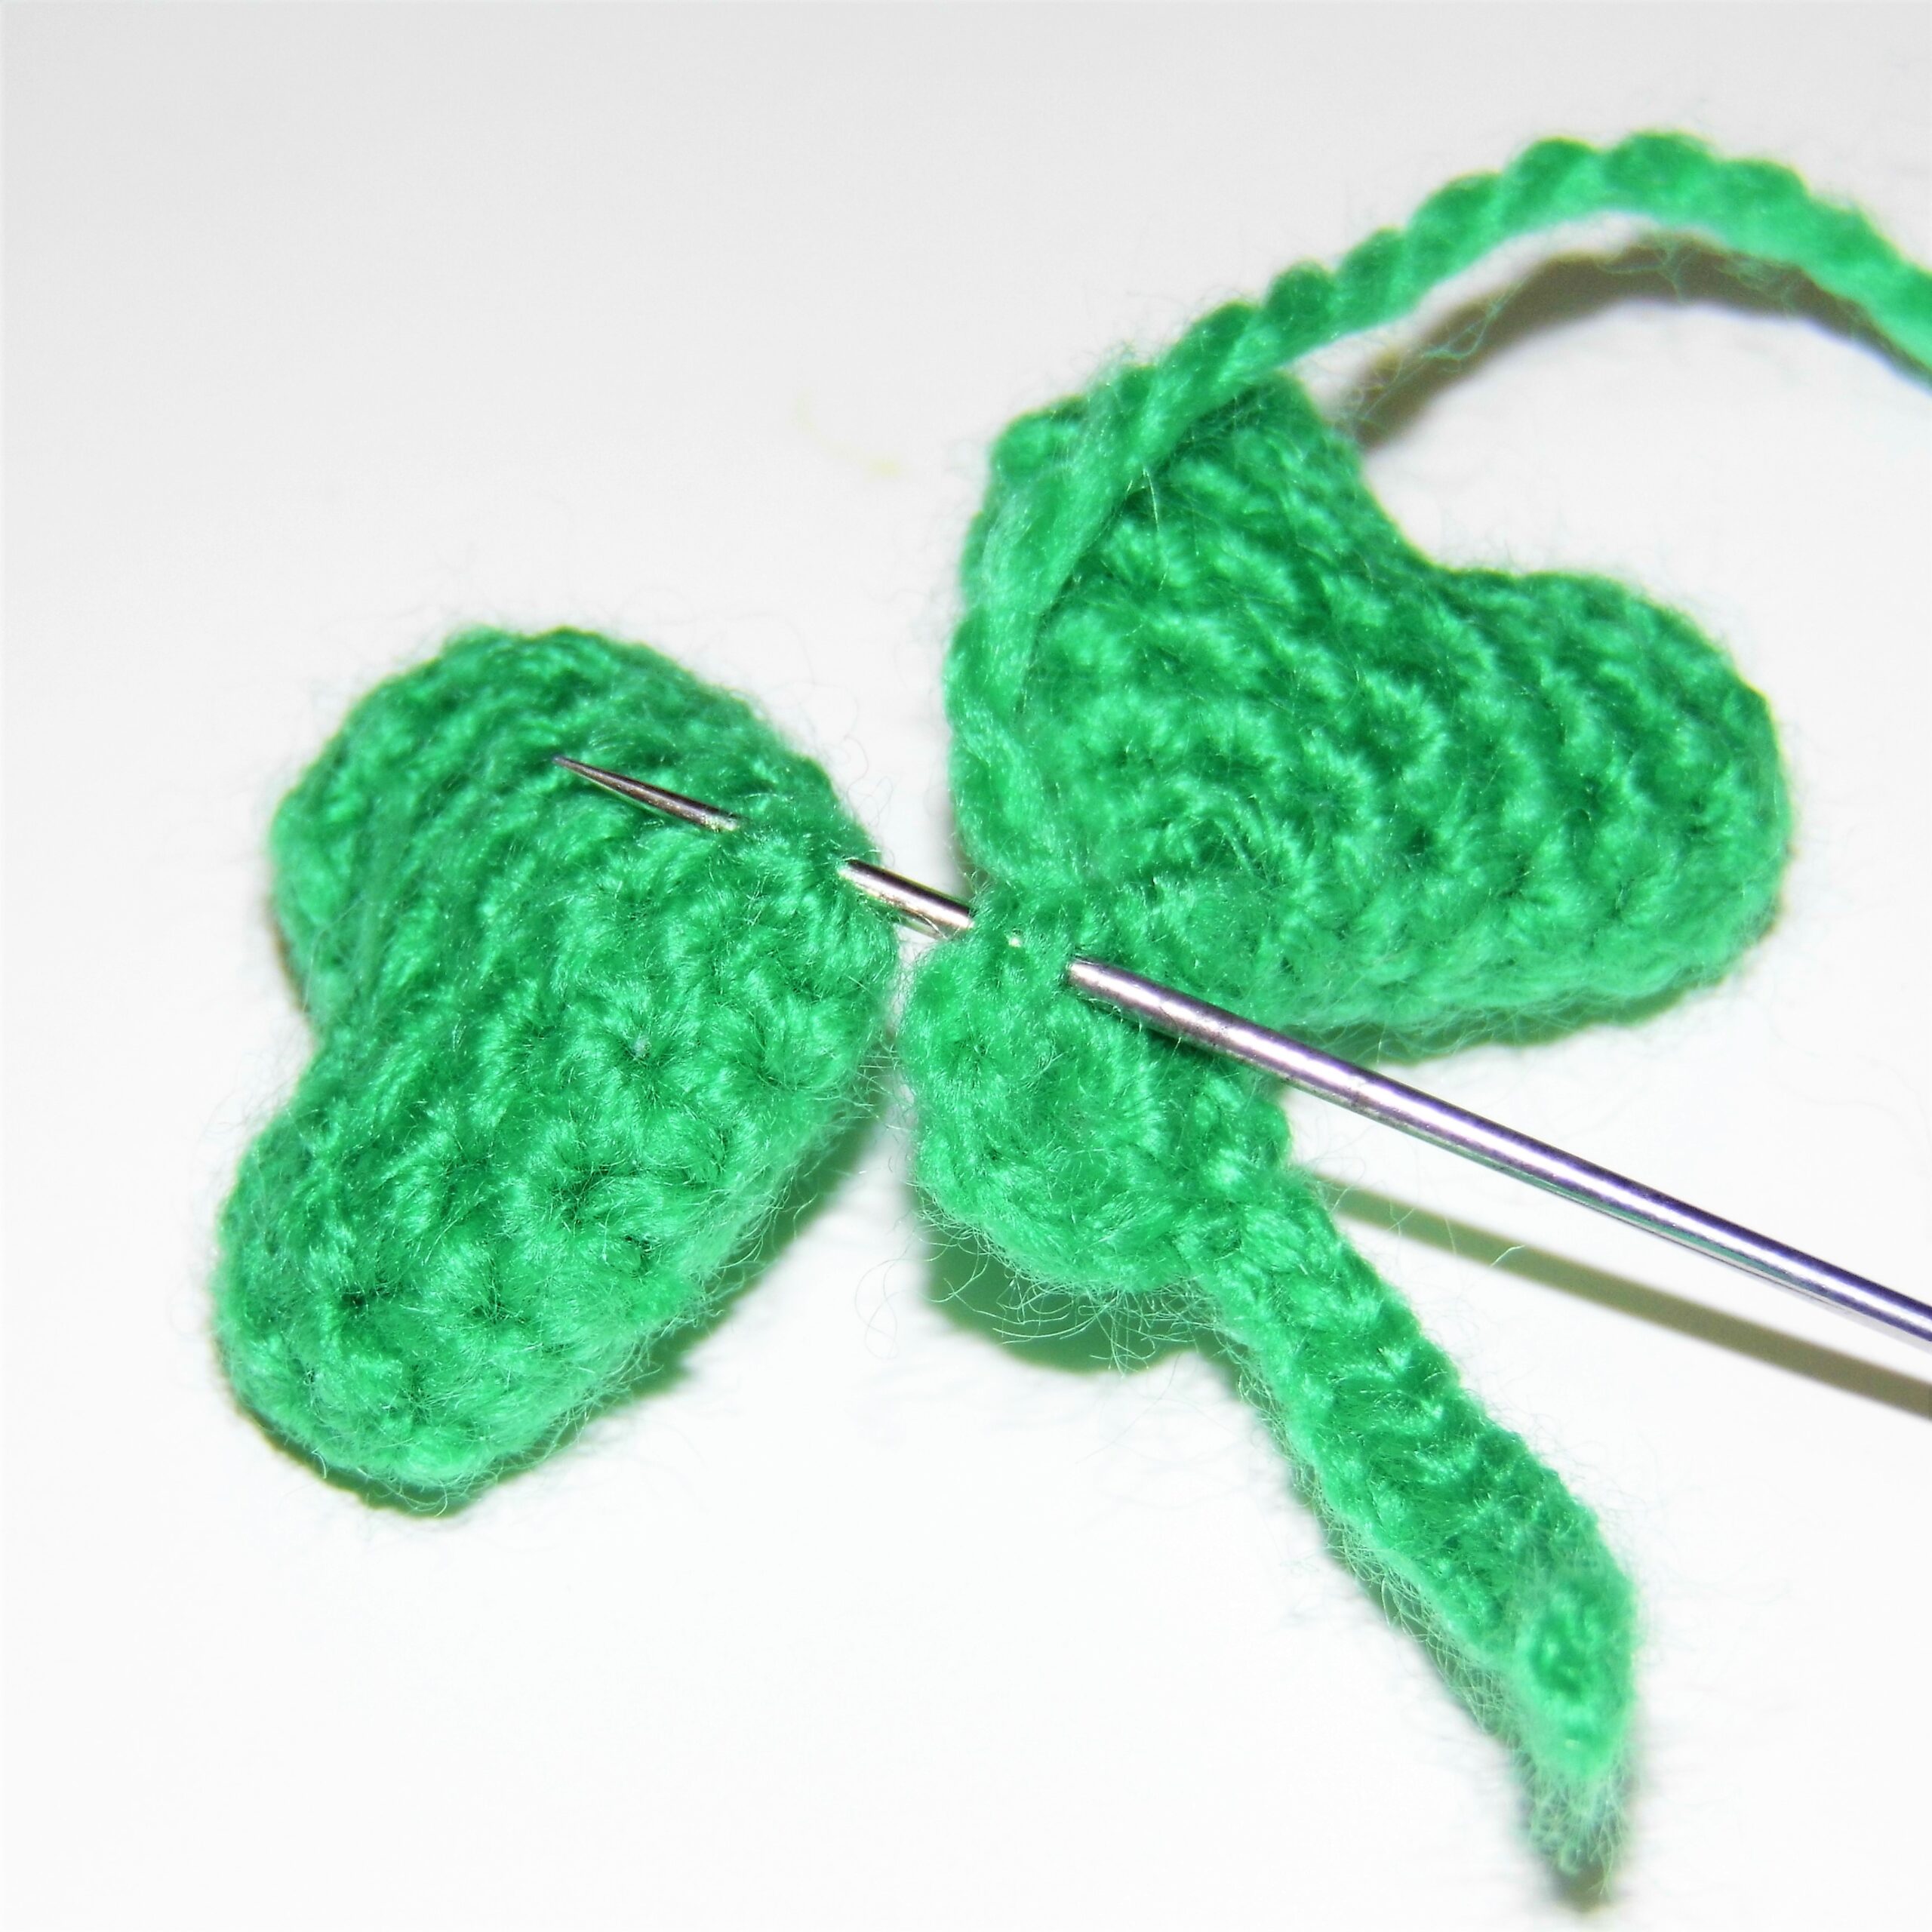
Sew a first leaf through its magic ring to 3 sc of the center part. Do it next to the stem. Sew the next 2 leaves over the last sc of the center where you sewed the previous one and into the next 2 sc. In this way you will have sewn the 3 leaves on the 6 sc of the magic ring of the central part.

Finished!

I hope you liked the brief historical reference and enjoy crocheting the pattern.

See you soon!

Posted on 2 Comments

Video tutorial: How to sew the parts of an amigurumi

I am very excited to show you the video tutorial How to sew the parts of an amigurumi that our friend from Ylanas Yecla has made. You can see how to assemble the pieces of Baby Taz, your favorite character from the Baby Looney Tunes collection.

It’s great, right?

You can find the patterns of Baby Taz and his friends: Bugs Bunny, Lola Bunny, Tweety, Sylvester, Road runner, Coyote and Daffy Duck here in our store:

Video tutorial: How to sew the parts of an amigurumi

As you can see with the Baby Taz example, the patterns in the Baby Looney Tunes collection are very easy to crochet and easy to assemble.

In addition, they are perfect for the little ones, both for their size and for their design. No hard materials are used. You can crochet them simply with a hook, yarn and fiber fill. No hard parts (buttons, zippers,…). All “soft”.

Don’t forget to visit the Ylanas Yecla online store that has a lot of products so that we can crochet our favorite amigurumis and many other things at incredible prices.

And so you don’t miss anything, you can also follow her on Instagram @ylanas_yecla and on Facebook

I hope you like the video tutorial How to sew the parts of an amigurumi and above all that it is useful to you.

See you soon!

Posted on Leave a comment

Santa Claus amigurumi

At the end of 2021 I want to wish you a Happy Holidays with the pattern of this little Santa Claus amigurumi that I am sure you will love.

MATERIALS

  • Yarn of different colors: white, black, skin color, red, yellow.
  • Thickness of the yarn: 3 mm.
  • Hook according to the thickness of the yarn.
  • Yarn needle.
  • Fiberfill.

ABBREVIATIONS

  • sc: single crochet
  • st: stitch
  • ch: chain
  • inc: increase
  • dec: decrease

Fill the doll with fiberfill as you crochet.

HEAD / BODY

With skin color yarn

1. Work 6 sc in magic ring.

2. Inc in every st (12).

3. “1 sc, inc”, repeat to the end of the round (18).

4. “2 sc, inc”, repeat (24).

5. “3 sc, inc”, repeat (30).

6. to 11. 1 sc in each stitch (30).

12. “3 sc, dec”, repeat (24).

13. 1 sc in each stitch (24).

14. “2 sc, dec”, repeat (18).

15. “1 sc, dec”, repeat (12).

16. Dec in every st (6).

17. Inc in every st (12).

18. Change to White yarn and work “1 sc, inc”, repeat (18).

19. Change to red yarn and work in back loops only 1 sc in each stitch (18). You will return to this round to complete the collar.

20. and 21. 1 sc in each st (18).

22. “2 sc, inc”, repeat (24).

23. “3 sc, inc”, repeat (30).

24. 1 sc in each st (30).

25. Work 1 sc in back loops only (30). You will return to this round to complete the jacket.

26. “3 sc, dec”, repeat (24).

27. “2 sc, dec”, repeat (18).

28. “1 sc, dec”, repeat (12).

29. Dec in every st (6).

Fasten off.

Sew the hole with the yarn needle.

Complete the collar

With white yarn

Return to round 19 and holding the doll with the head pointing down, work in the free loops 1 sc in each stitch (18).

Fasten off.

Complete the jacket

With red yarn

1. Return to round 25 and holding the doll with the head pointing down, work in the free loops 1 sc in each stitch (30).

2. 1 sc in each st (30).

3. Change to white yarn and work 1 sc in each st (30).

Fasten off.

ARMS (x2)

With black yarn

1. Work 6 sc in magic ring.

2. and 3. 1 sc in each st (6).

4. Change to red yarn and work in back loops only 1 sc in each stitch (6). You will return to this round to complete the sleeve.

5. to 8. 1 sc in each st (6).

Fasten off.

Complete the sleeve

With white yarn

Return to round 4 of the arm and holding it with the hand pointing down work in the free loops inc in every st (12).

Fasten off.

FEET / LEGS (x2)

With black yarn

1. Work 6 sc in magic ring.

2. Inc in every st (12)

3. and 4. 1 sc in each stitch (12).

5. Dec in every st (6).

6. Change to red yarn and work in back loops only inc in every st (12). You will return to this round to complete the pants.

7. and 8. 1 sc in each stitch (12).

9. Dec in every st (6).

Fasten off.

Complete the pants

With white yarn

1. Return to round 6 of the leg and holding it with the foot pointing up, work in the free loops inc in every st (12).

2. 1 sc in each st (12).

Fasten off.

HAT

With red yarn

1. Work 6 sc in magic ring.

2. and 3. 1 sc in each st (6).

4. “1 sc, inc”, repeat (9).

5. and 6. 1 sc in each st (9).

7. “2 sc, inc”, repeat (12).

8. and 9. 1 sc in each st (12).

10. “3 sc, inc”, repeat (15).

11. and 12. 1 sc in each st (15).

13. “4 sc, inc”, repeat (18).

14. and 15. 1 sc in each st (18).

16. “2 sc, inc”, repeat (24).

17. “3 sc, inc”, repeat (30).

18. “4 sc, inc”, repeat (36).

19. “5 sc, inc”, repeat (42).

20. to 22. 1 sc in each st (42).

23. “5 sc, dec”, repeat (36).

24. Change to white yarn and work 1 sc in each st in front loops only (36). You will return to this round to join the edge of the hat.

25. to 30. 1 sc in each st (36).

31. Join with slip stitches the sc from the last round with the loops from round 24.

Fasten off.

Pompom

With white yarn

1. Work 6 sc in magic ring.

2. In back loops only work inc in every st(12).

3. In back loops only work “1 sc, inc”, repeat (18).

4. and 5. In back loops only work 1 sc in each stitch (18).

6. In back loops only work “1 sc, dec”, repeat (12).

7. Dec in all stitches (6).

8. Turn the piece and work in the free loops: 1 slip stitch, ch 3 in the same stitch, 1 slip stitch in that same stitch. In this way you are going to crochet some small waves around the pompom until you reach the beginning of it.

Sew the pompom to the tip of the hat.

EARS (x2)

With skin color yarn

Work 6 sc in magic ring Ring without closing with the slip stitch.

NOSE

With skin color yarn

1. Work 8 sc in magic ring.

2. to 4. 1 sc in each st (8).

Fasten off.

BEARD

With white yarn

1. Ch 13 and work 12 sc on thdm

2. and 3. Ch 1, turn and work 1 sc in each stitch (12).

4. to 8. Don’t ch 1, turn and work 1 sc in each st until you reach the last 2 sc, then dec 1 (10), (8), (6), (4), (2).

9. Place the round marker to start working around the piece with sc: 8 sc + Ch 5 and work 4 sc on the chains and 1 slip stitch to the point of origin of the chains (first sideburn) +Ch 5 and work 4 sc on the chains and 1 slip stitch to the point of origin of the chains (second sideburn) + 8 sc + 2 sc.

Fasten off.

BELT

With black yarn

Ch 31 and work 30 sc on the chains.

Belt buckle

With yellow yarn

Ch 3, 1 slip stitch on the last chain, Ch 3 , 1 slip stitch on the last chain of this group of 3, Ch 3, 1 slip stitch on the last chain of this group, Ch 2, 1 slip stitch on the first chain of all.

Fasten off.

ASSEMBLY

Sew the beard on round 12 of the head.

Centered on it, in that same round, sew the nose.

Underneath, with black yarn embroider the mouth in a V shape and above the beard, that is, on round 12 on both sides of the nose embroider the eyes in a reverse V shape, leaving 2 sc of separation in their open part.

With white yarn, embroider the eyebrows, leaving 1 sc of separation over the eyes and with a length of 3 sc.

Sew the hat by placing it over the eyebrows and adjusting it behind the head, leaving 4 sc of separation from the neck line. The hat will cover part of the sideburns. Sew the ears over them so that the hat is on top, giving the doll a funny look. Fold the tip of the hat to the side and sew the pompom to it in a hidden way to keep the shape.

Sew the belt leaving 3 sc of separation from the last round of the jacket and on this, centered the buckle.

Sew the arms in line in relation to the ears under the color change line of the white collar and red jacket.

Finally, sew the legs centered on the lower part of the body, leaving 1 sc of separation from the last round of the body.

Finished your Santa Claus Amigurumi! It was easy, right?

See you very soon

Happy Holidays and Happy Crochet!

Posted on Leave a comment

Morphology of a crochet hook

As you know, to crochet amigurumis the hook is of special importance, since a bad choice of the same can lead us to obtain a bad result, hinder our work or even cause injuries.

This time I don’t want to talk to you about the different types of hooks, designs, materials … I will leave that for another moment.

Today we are going to start with the basics, with the parts that make it up and what each one is for.

Can you tell me how many parts a crochet hook has? And their names?

Let’s discover the Morphology of a crochet hook.

A standard hook is made up of 7 parts. Let’s see what they are:

Morphology of a crochet hook

1. Point or Head: It is the end of the hook that we insert into the fabric. We use it to hook the yarn and crochet the stitches.

In turn, it is made up of:

Morphology of a crochet hook

-Mouth: Hold the yarn when crocheting the stitches.

-Hook: Prevents the yarn from coming out of the mouth when crocheting.

2. Throat: Guide the thread into the work area.

3. Work area: It holds the loops and is very important because it determines the size of the stitches. The size of the hook tells us precisely the diameter of the work area.

Morphology of a crochet hook

4. Thumb rest: It is the flat part in which we place the thumb or another finger and thus be able to handle the hook. In this part usually appears the numbering or measurement of the hook.

Morphology of a crochet hook

5. Handle: It is the final end of the hook and is used to manage it with the palm of the hand or the other fingers, depending on the way in which we hold it.

As you can see, each part of the hook has its reason for being and knowing the morphology of a crochet hook will help us to improve our work.

Until next time!

Posted on Leave a comment

How to know the weight of the yarn

How to know the weight of the yarn quickly and easily is an important matter for all of us who like to crochet.

As you know, one of the most important characteristics of my patterns is that the resulting amigurumis are “totally soft”. I do not use hard elements such as wires, buttons, zippers or even safety eyes. You can crochet them only with wool or yarn, a crochet hook and fiberfill.

Since these are the only materials that I use, it is essential that they be the most suitable to achieve the desired result.

There are many of you who ask me what type of yarn I use and since we are all from different places, sometimes it is difficult for me to explain and talk about centimeters, inches and categories according to their thickness.

Today I am going to talk about yarns, more specifically, how to know the weight of the yarn when you do not have any reference, for example, if you have a mysterious ball of yarn of which you have lost the label that specifies its characteristics.

But first, there are some things you should know about yarns to make it easier for you to choose the right one when crocheting your amigurumis.

Yarns are classified into several categories, but unfortunately, there is no single method to do so.

In general, there are:

The standards of the CYC (Craft Yarn Council) that represents the most prominent members of the yarn industry in the United States.

Depending on the weight of the yarn, we can classify it into the following categories:

The classification according to the number of plies that the yarn has. This system is the one used in the United Kingdom, Australia and New Zealand.

The problem with this classification is that it does not determine the thickness of the yarn, but rather the number of strands that are twisted to form it. There is the possibility that a yarn of 5 strands (5 ply) may be thinner than a yarn of 3 (3 ply), by the mere fact that each strand is of a lesser thickness or have been spun with greater tension between them.

• Wraps per inch method (WPI)

As its name suggests, it is about classifying the yarn according to the wraps of the same that fit in an inch or what is the same, in 2.5 cm.

It is a very useful method to determine the weight of that mysterious ball of yarn without a label that you want to use, but you must bear in mind that it is not exact, since there are factors that can alter the measurement.

To use it you need:

• A rule.

• Something to wrap the yarn with uniform thickness. You can use, for example, a pencil or a pen.

It’s easy:

1. You must wrap the yarn so that each strand is next to each other, that is, they do not overlap. Do it carefully, do not tighten too much, or leave it loose, since you could vary the result too much.

2. With the ruler measure 1 inch or what is the same 2.5 cm. That is the length you should wrap.

3. When you have it, count the wraps you have made and guide yourself through this cheat sheet. Depending on the number of wraps, this will be the weight and category to which your yarn belongs.

If you have doubts, first try to do it with a yarn whose weight you know.

Let’s see some examples:

This picture shows the yarn that I normally use in my patterns. Using this method, I have made 17 WPI. That places it in category 2 Fine.

How to know the weight of the yarn

This other, on the other hand, is much thicker and for that reason I have only made 9 WPI. It belongs to category 5 Bulky.

How to know the weight of the yarn

Finally, we have a much finer yarn with which I have managed to make 28 WPI. It belongs to category 0 Lace.

How to know the weight of the yarn

As you can see, it is a very simple method, but remember that it is not exact, but only an aid that will help you guide yourself.

Until next time!

Posted on Leave a comment

St. James’ Cake Amigurumi Pattern

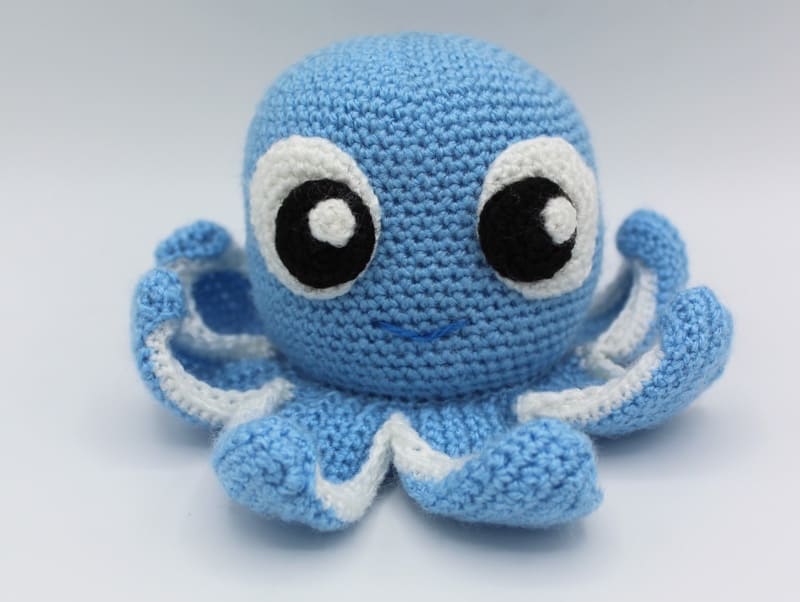
As you know, I am from Galicia and as I have done on previous occasions as in the Galician Octopus Amigurumi Pattern, I want to show you a little bit of my land through the St James Cake Amigurumi Pattern.

I have designed a New collection of “delicious” kawaii-style amigurumis

Delicious Amigurumis: 18 patterns to crochet amigurumi food

And I thought I could take advantage of and show you one of the most representative desserts of my land:

St. James’ Cake (Tarta de Santiago)

Do you know it? It is a very simple recipe since it is made only with almonds, sugar and eggs, with a little bit of cinnamon and lemon zest.

It’s delicious! But what makes it unmistakable is the drawing of St. James’ cross on the surface made with a template on which we sprinkle icing sugar.

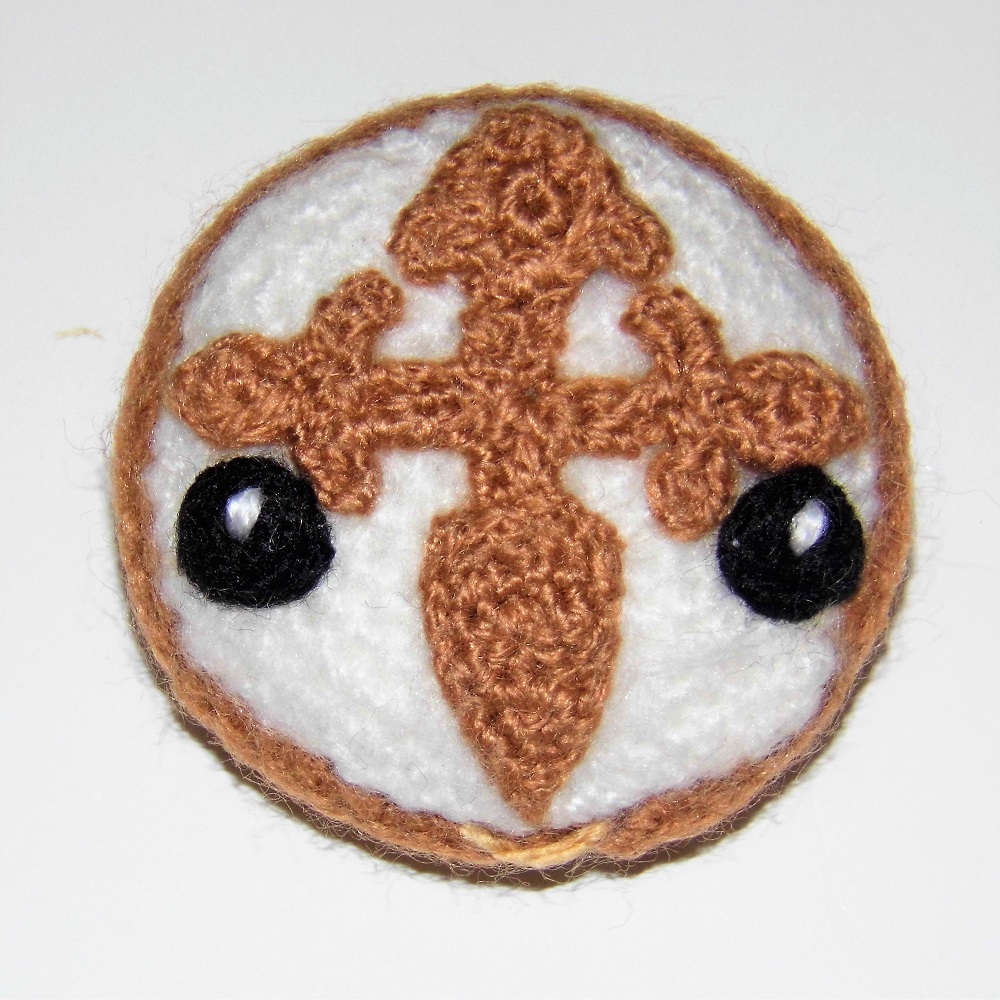
Here you have the St-James’ Cake Amigurumi Pattern that you can also turn into a funny keychain. I hope you like it!

  • Size: 2,3″ / 6 cm
  • Difficulty: High
  • Estimated Time: 8 h
  • Hook size: 2 mm

MATERIALS

  • Yarn of different colors: white, black, beige, light beige.
  • Thickness of the yarn: 3 mm.
  • Hook according to the thickness of the yarn.
  • Yarn needle.
  • Fiberfill.

ABBREVIATIONS

  • Sc: single crochet
  • St: stitch
  • Inc: increase
  • Dec: decrease
  • Fill the doll with fiberfill as you crochet.

If you have doubts about the stitches visit: Basic Stitches to Crochet Amigurumis

BODY

With beige yarn

1. Work 6 sc in magic ring.
2. Inc in every st (12).
3. “1 sc, inc”, repeat (18).
4. “2 sc, inc”, repeat (24).
5. “3 sc, inc”, repeat (30).
6. “4 sc, inc”, repeat (36).
7. “5 sc, inc”, repeat (42).
8. 1 sc in each st (42).

9. Work in back loops only 1 sc in each st (42). You will return to this round to complete the cake.
10. and 11. 1 sc in each st (42).
12. Work in back loops only 1 sc in each st (42). You will return to this round to complete the cake.

13. “5 sc, dec”, repeat (36).
14. “4 sc, dec”, repeat (30).
15. “3 sc, dec”, repeat (24).
16. “2 sc, dec”, repeat (18).
17. “1 sc, dec”, repeat (12).
18. Dec in every st (6).
Fasten off. Sew the hole with the yarn needle.

Complete the Cake

With beige yarn

Return to round 9 and holding the piece with the magic ring pointing down, work 1 sc in each st (42). Fasten off

1. Return to round 12 and holding the piece with the last round pointing down, work 1 sc in each st (42).
2. and 3. 1 sc in each st (42).

4. Join with sc the 42 sc of each side (42).

St James Cake Amigurumi Pattern

ICING SUGAR PART

With white yarn

1. Work 6 sc in magic ring.
2. Inc in every st (12).
3. “1 sc, inc”, repeat (18).
4. “2 sc, inc”, repeat (24).
5. “3 sc, inc”, repeat (30).
6. “4 sc, inc”, repeat (36).
7. “5 sc, inc”, repeat (42).
8. 1 sc in each st (42).
Fasten off.

ST. JAMES’ CROSS

Bottom

With beige yarn

1. Ch 5 and work 4 sc on the chains.
2. Ch 1, turn and work 1 sc in each st (4).
3. Don’t ch 1, turn, work 1 sc in each st until you reach the last 2 sc, then dec 1 (2).
4. Ch 1, turn and work 1 sc in each st (2).
5. Don’t ch 1, turn and work 1 sc.

6. Place the round marker to work around the piece with sc. Work: 5 sc + 4 sc + 5 sc + 1 sc.
Fasten off.

Cross

With beige yarn

Work “Ch 4, 3 sc in the chains” 2 times, 1 slip st in the middle, “Ch 4, 3 sc in the chains, 1 slip st in the middle” 2 times.
Fasten off.

Top

With beige yarn

1. Work 6 sc in magic ring.
2. Ch 2, 1 slip st in the chains, 1 slip st in the st beginning of the chains, 2 sc in the magic ring, Ch 4, 3 slip stitches in the chains, 1 slip st in the st beginning of the chains, 2 sc in the magic ring, Ch 4, 3 slip stitches in the chains, 1 slip st in the st beginning of the chains, 1 sc in the magic ring, 1 final slip st.
Fasten off.

Sides (x2)

With beige yarn

1. Work 4 sc in magic ring.
2. Ch 1, 1 sc, Ch 4, 3 slip stitches in the chains, 1 slip st in the middle, Ch 4, 3 slip stitches in the chains, 1 slip st in the middle.
Fasten off.

EYES (x2)

With black yarn

Work 6 sc in magic ring.
Fasten off. With white yarn embroider the twinkle.

Final Details

Sew the icing sugar part on the piece of cake. To give a cottony look, lightly brush the wool once it is sewn.

Sew the bottom, top and sides over the cross above this piece and once you have the complete Cross, sew it onto the cake. The piece of the cross that you have crocheted does not have a well-defined shape, but it will help you so that once sewn, you can embroider around it, outlining the edges. This is the trickiest part of the pattern. Do it carefully, taking the thread of the piece and sewing over it in short lengths.


Finally, sew the eyes under the sides of the cross and embroider with light beige yarn the mouth at the bottom, leaving a little beige to show between it and the white part.

Finished!

I hope you have enjoyed the St James Cake Amigurumi Pattern

Don’t miss the new collection of delicious amigurumis!