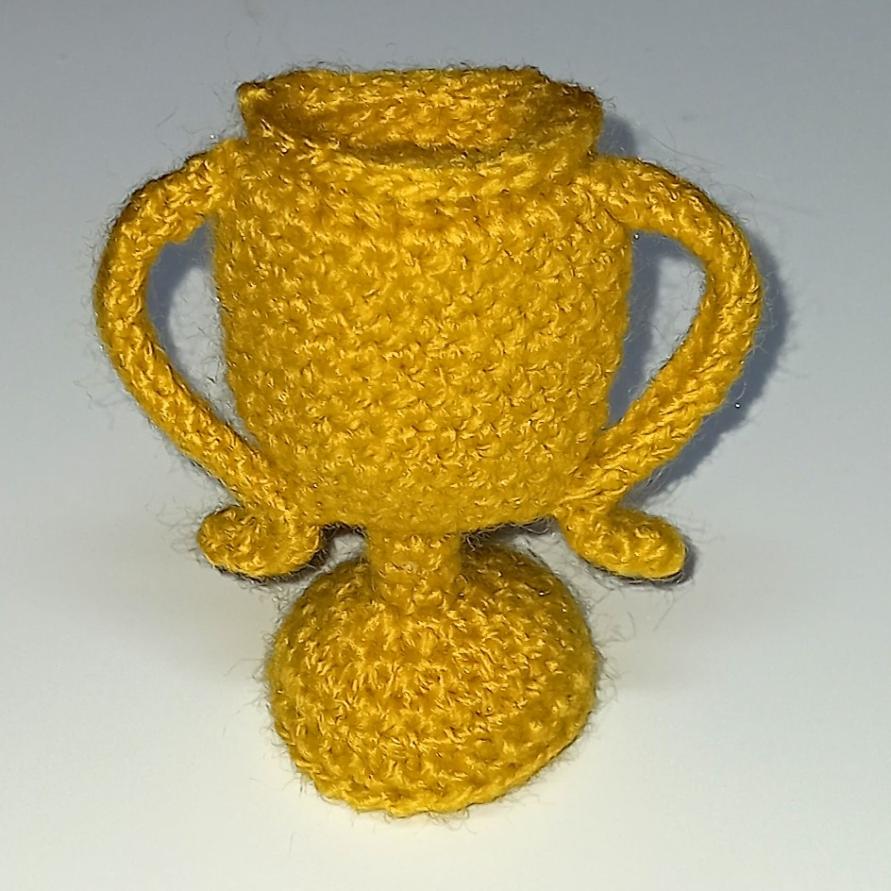
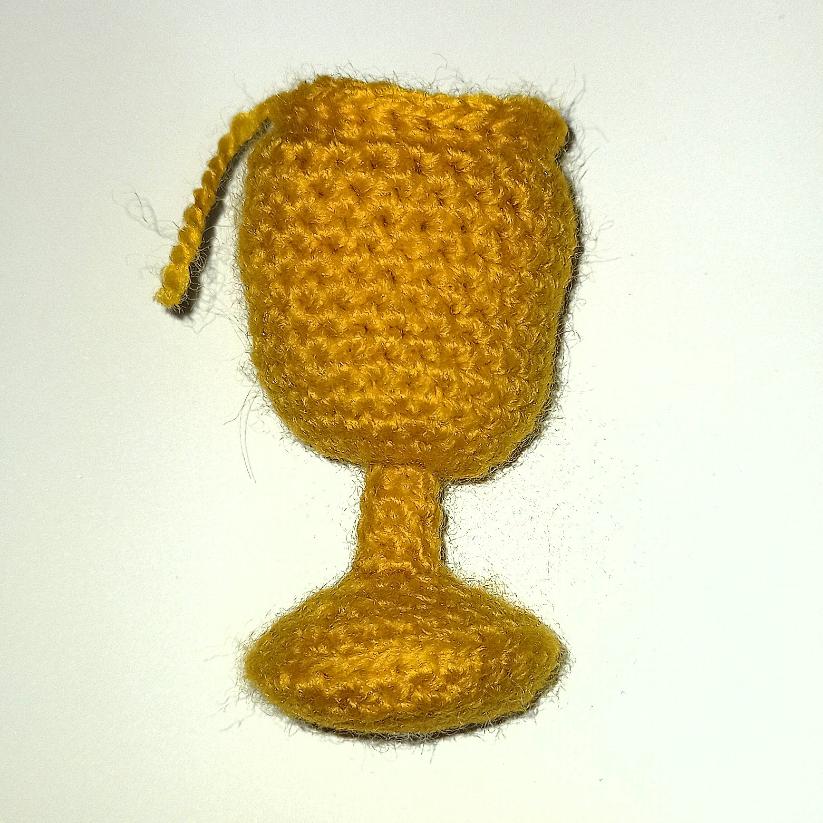
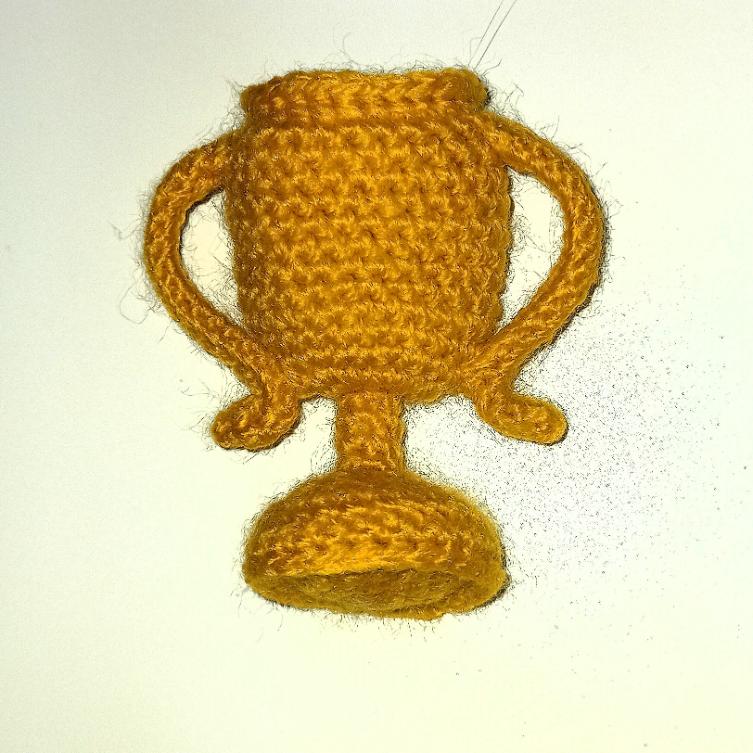
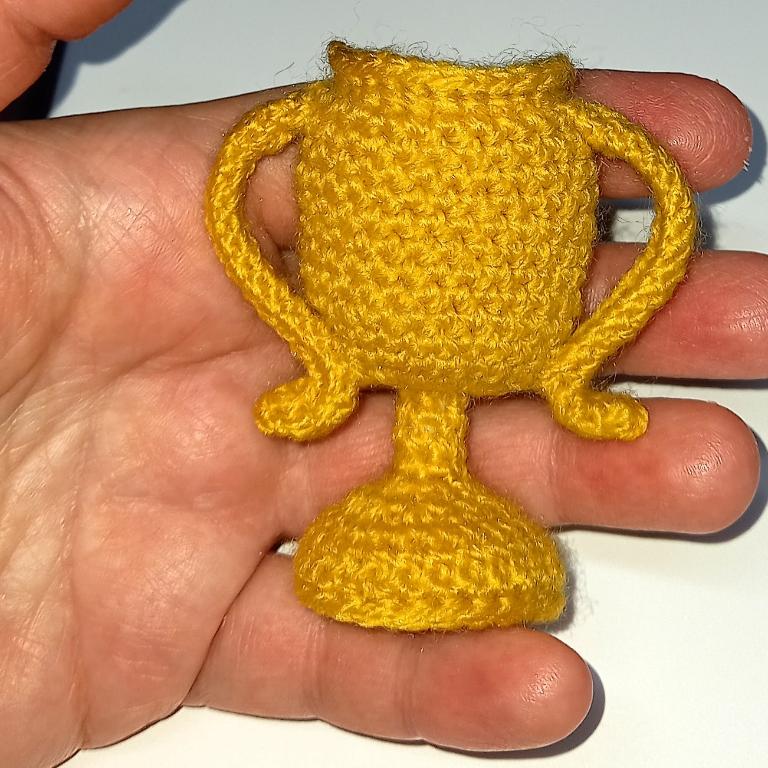
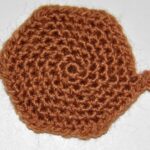
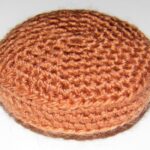
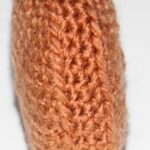
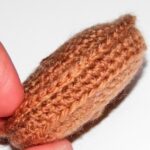
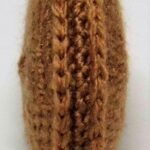
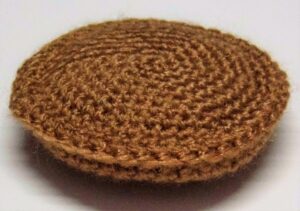
Size: 2,7″ / 7 cm Difficulty: High Time: 1 h Hook: 2 mm
ABBREVIATIONS sc: single crochet st: stitch ch: chain inc: increase dec: decrease Fill the doll with fiberfill as you crochet. If you have any questions contact me: amigurumis@suenhosblanditos.com
MATERIALS Golden yellow yarn Thickness of the yarn: 3 mm. Hook according to the thickness of the yarn. Yarn needle. Fiberfill.
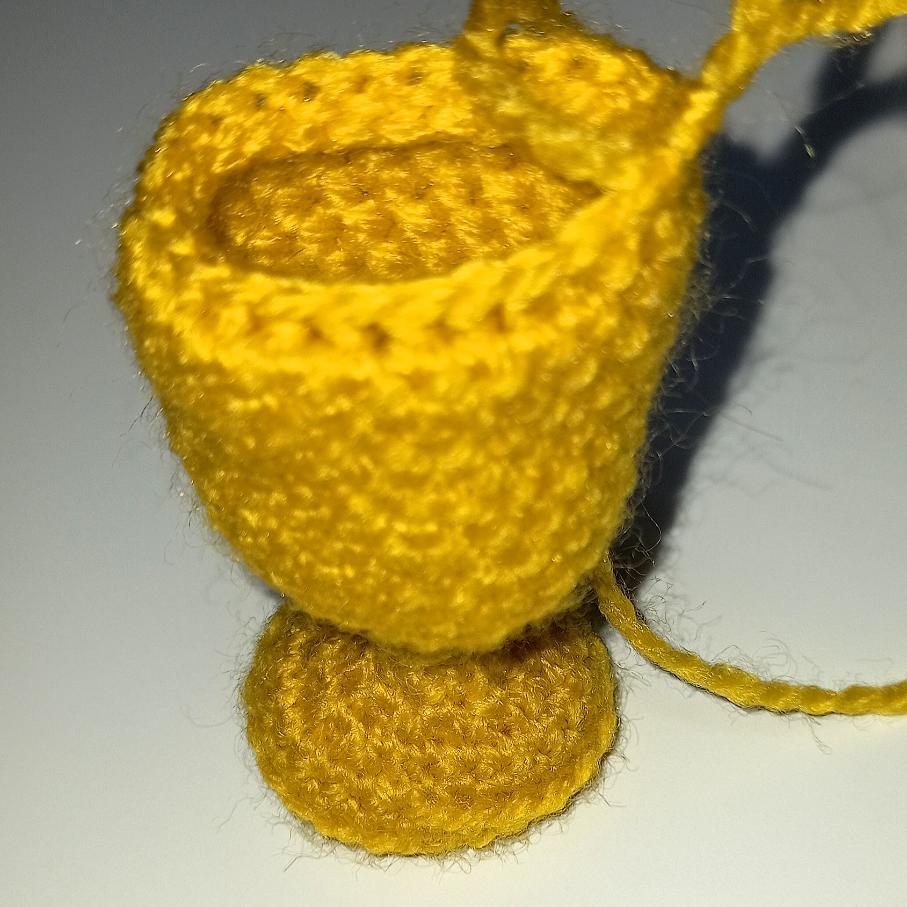
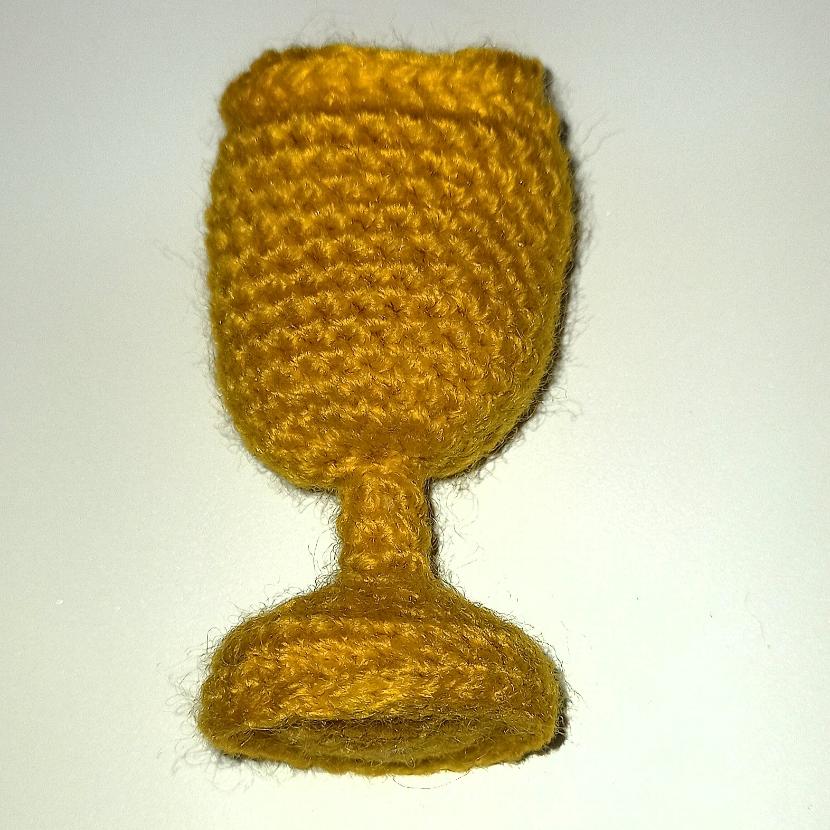
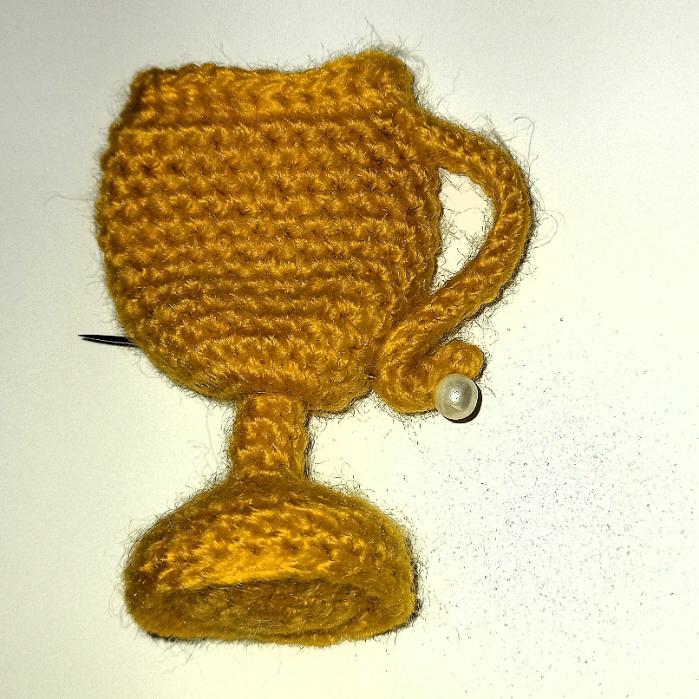
Trophy Amigurumi pattern
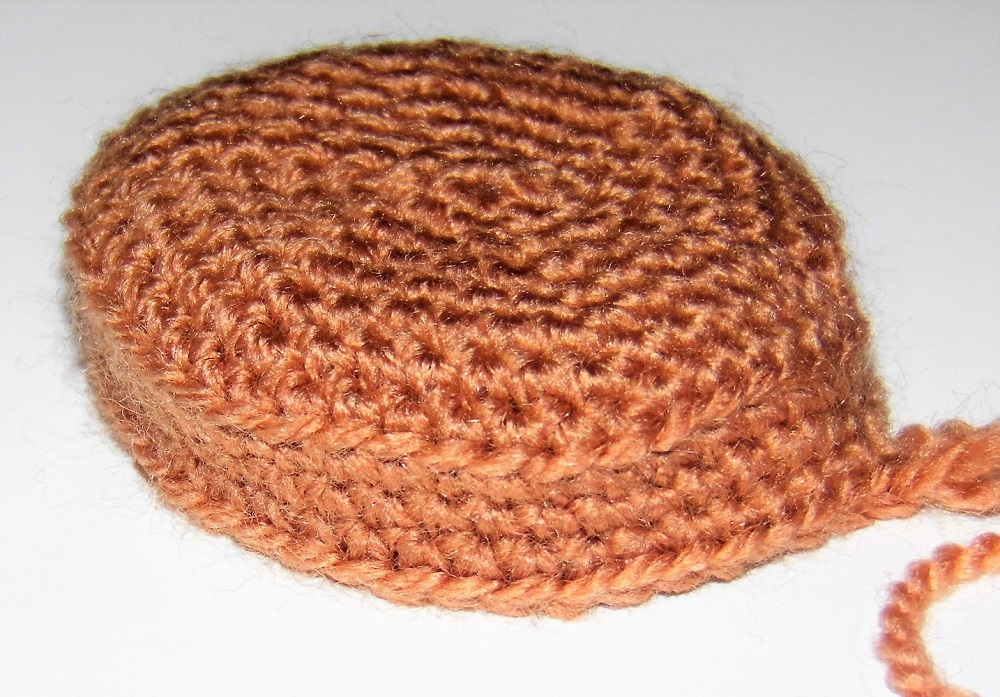
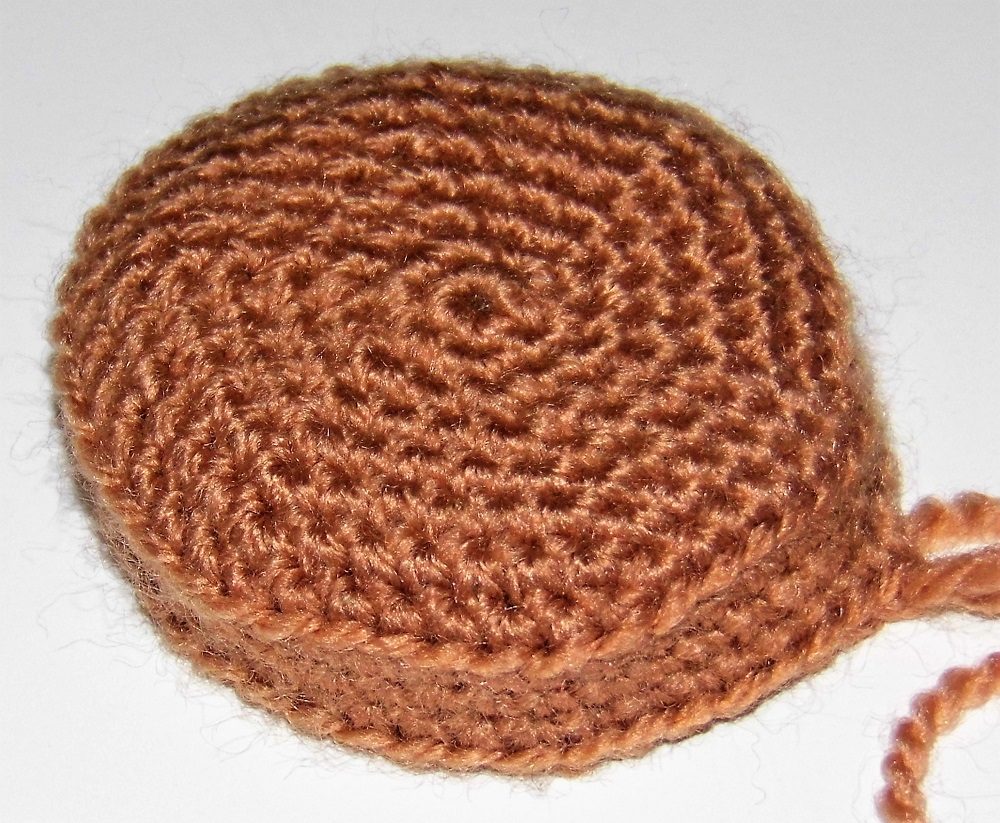
BODY
With golden yellow yarn
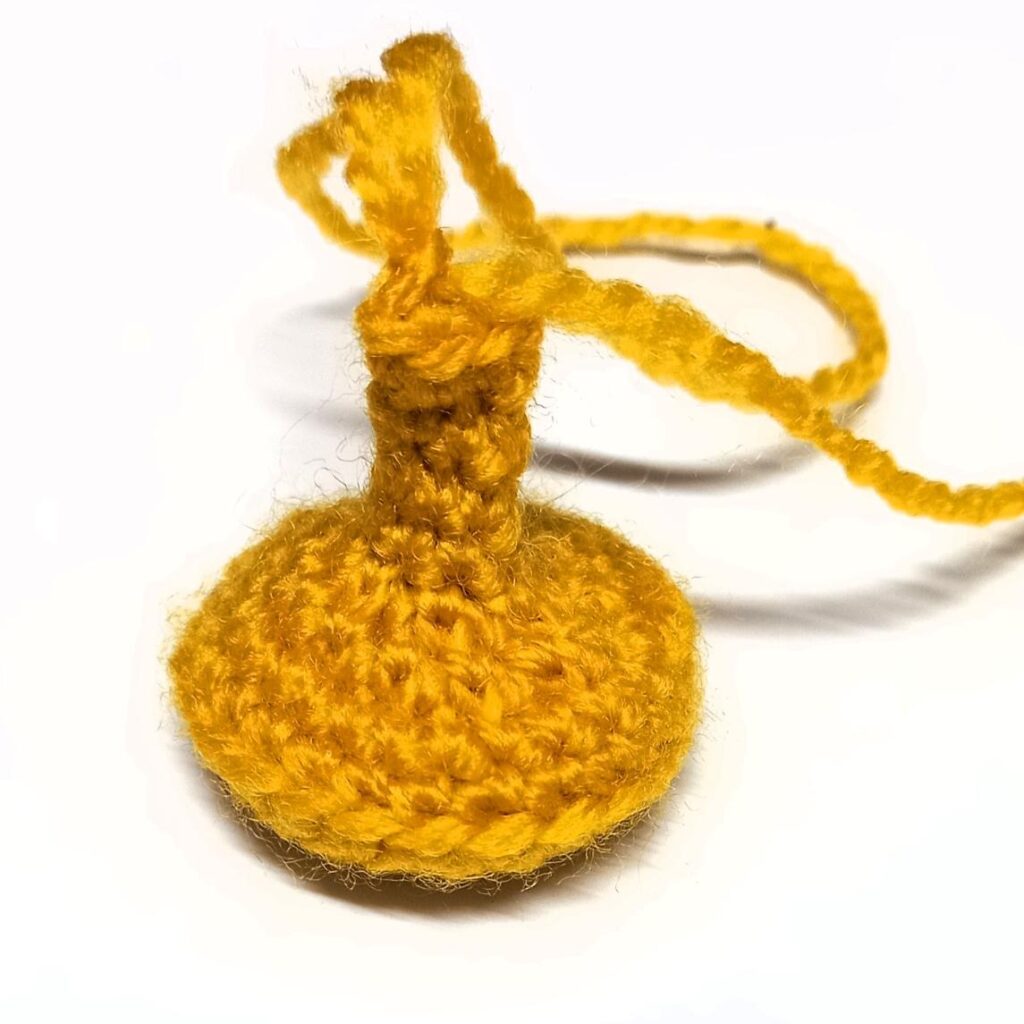
1. Work 6 sc in magic ring3.
2. Inc in every st (12).
3. “1 sc, inc”, repeat (18).
4. “2 sc, inc”, repeat (24).
5. 1 sc in each st (24).
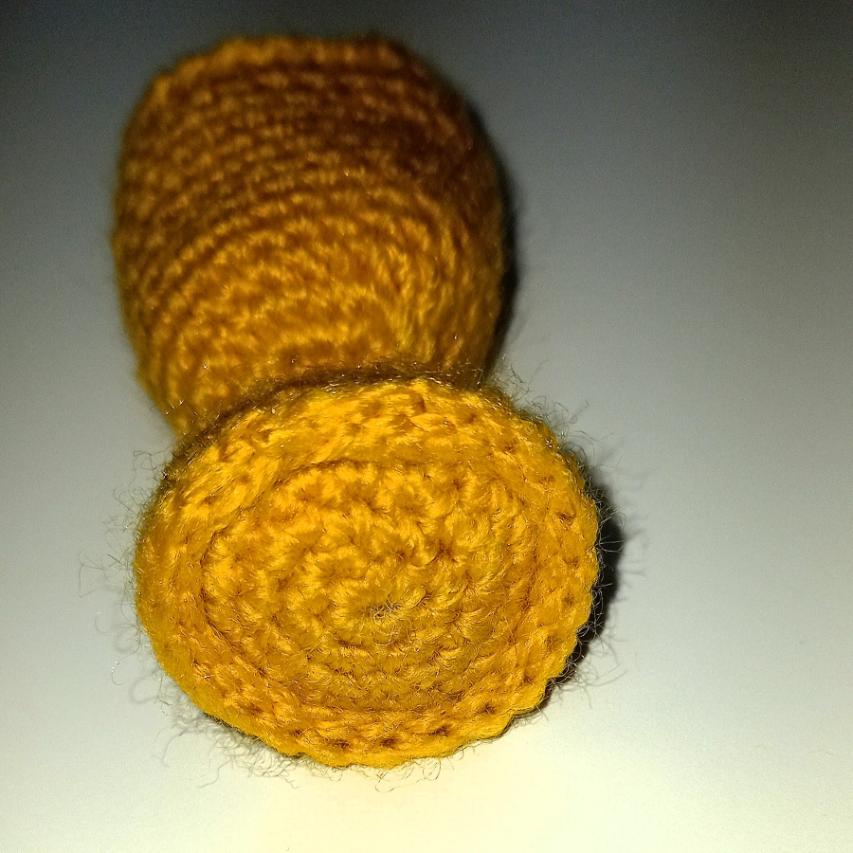
6. Work in back loops only 1 sc in each st (24). You will return to this round to complete the base.
7. 1 sc in each st (24).
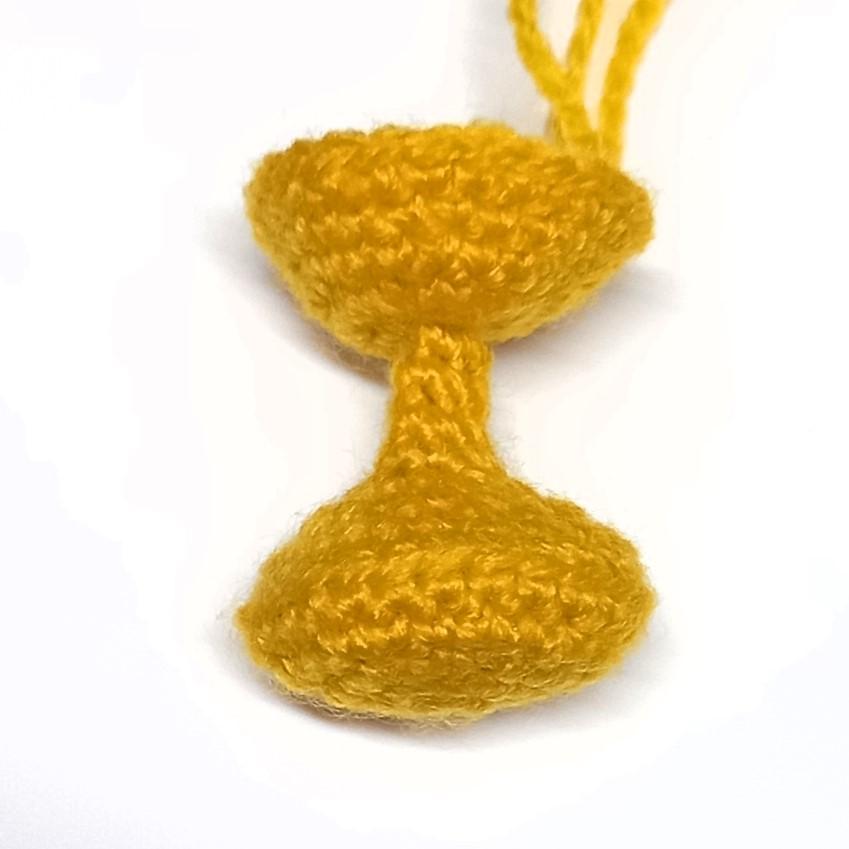
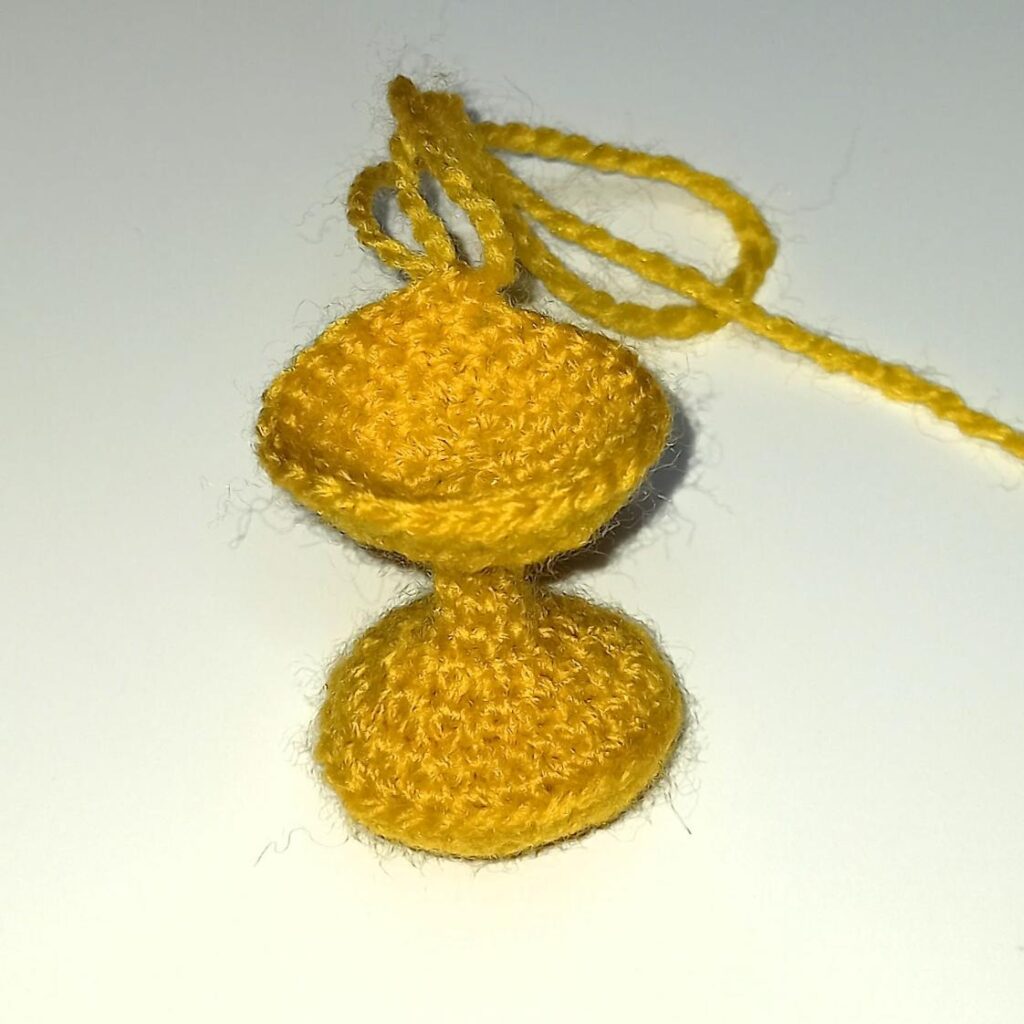
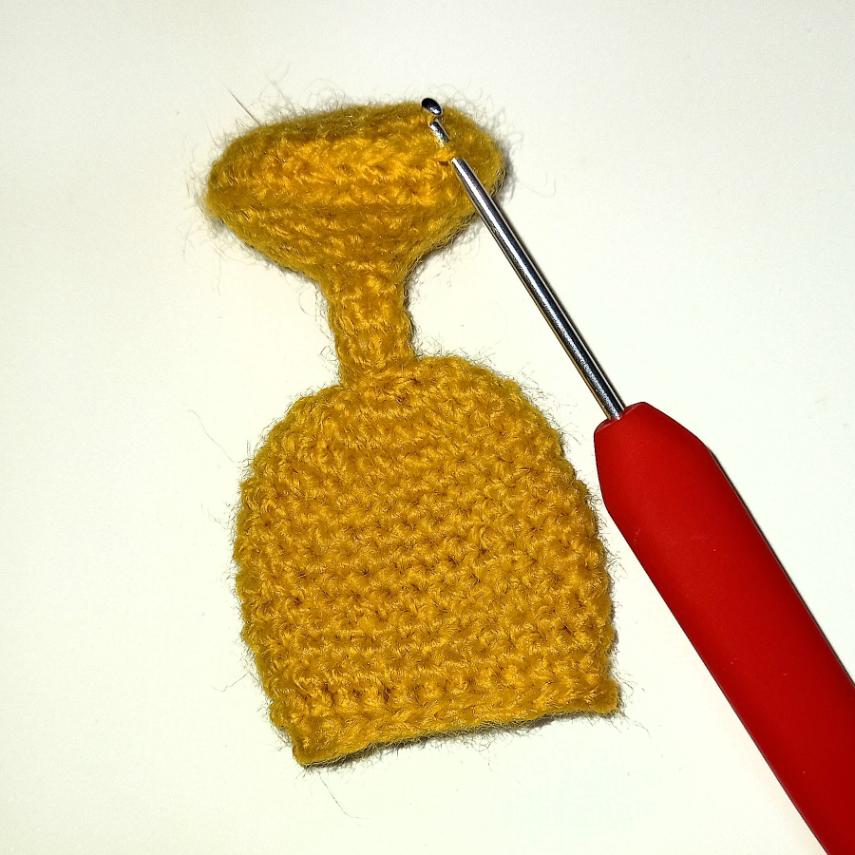
8 and 9. Dec in every st (12), (6). Start stuffing the piece.
10. to 13. 1 sc in each st (6). Finish stuffing the piece.
14. Work in back loops only dec in every st (3). In this way you close the piece preventing the stuffing from coming out.
15. Work in front loops only, that is, in the loops that you left unworked in the previous round. Inc in every st. (12).
16. Inc in every st (24).
17. to 27. 1 sc in each st (24).
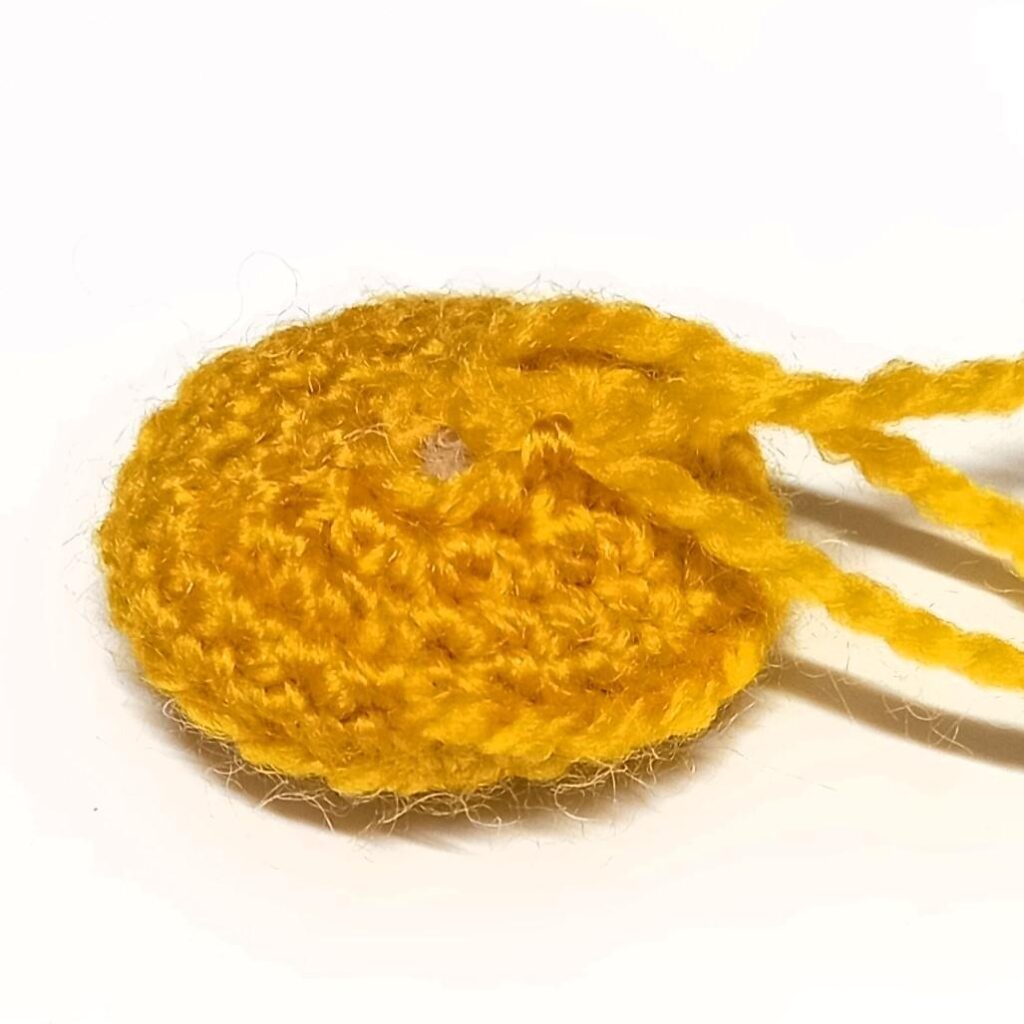
28. and 29. Work 1 sc in the post of each st (24)
Fasten off.
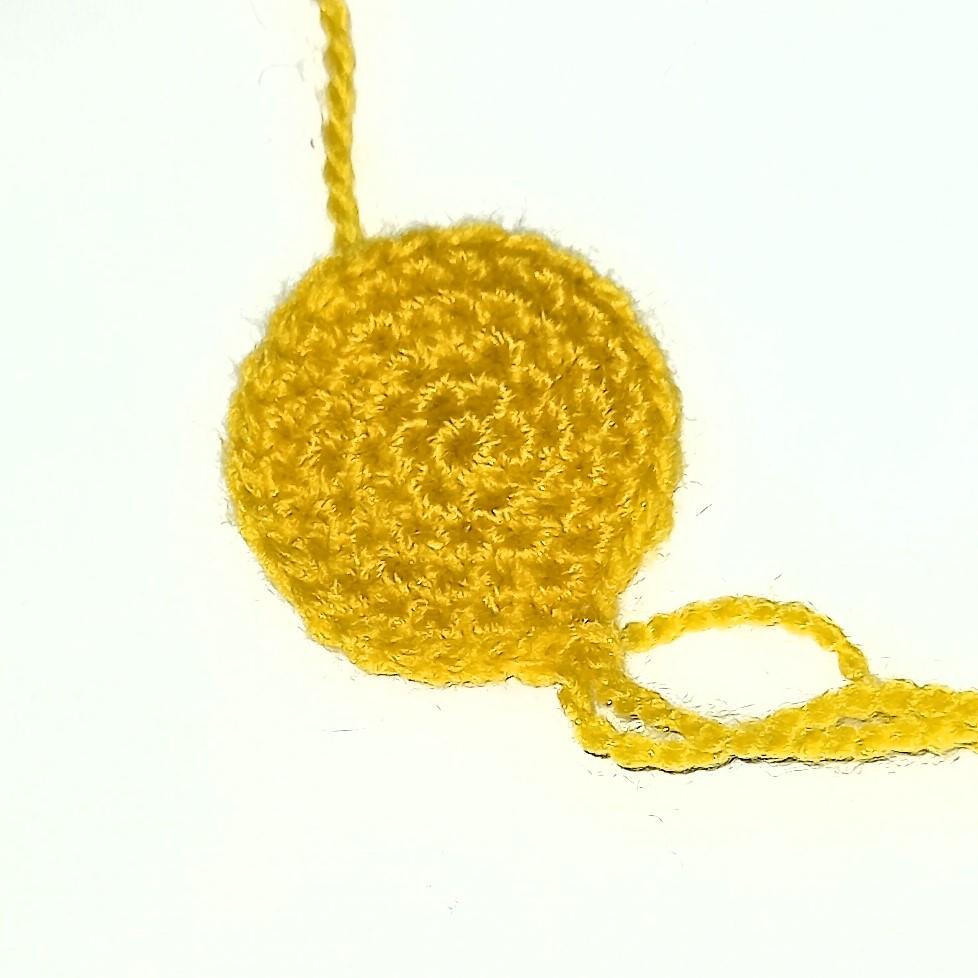
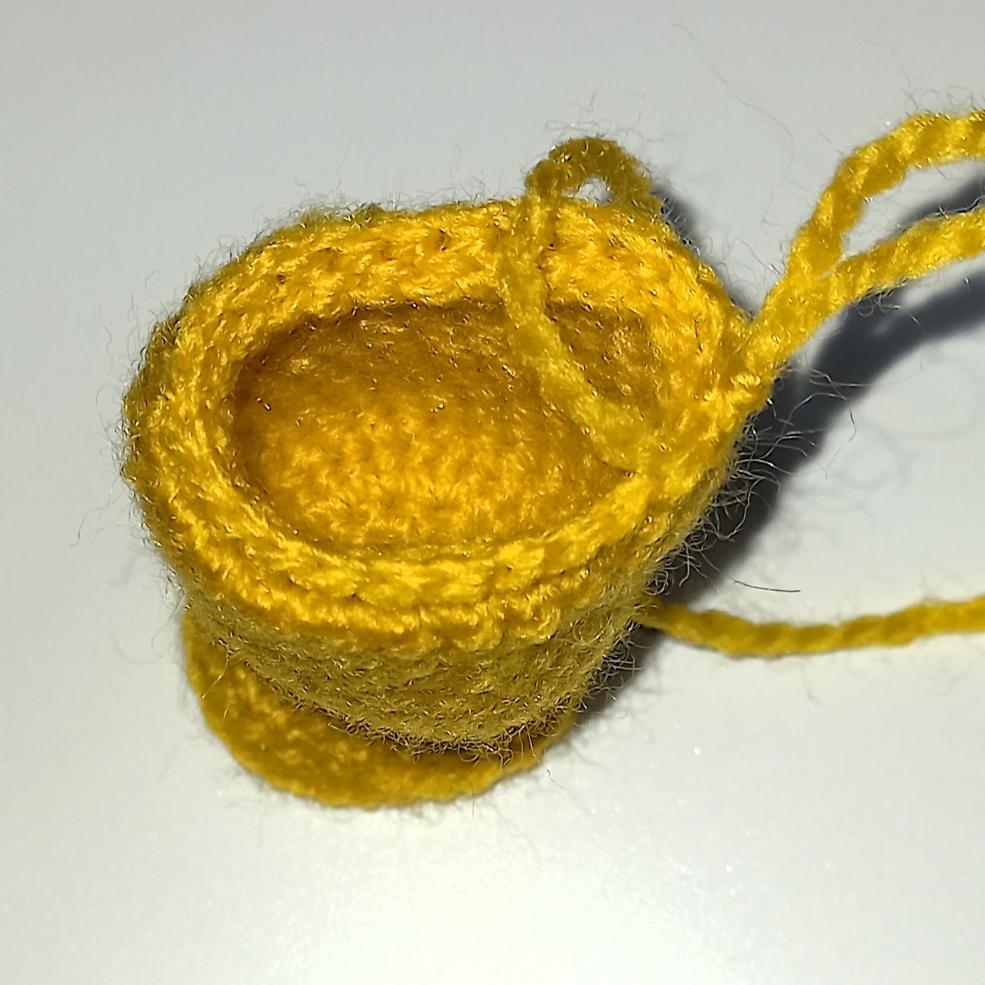
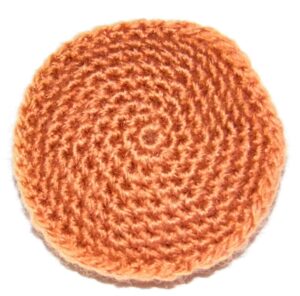
Complete the base
With golden yellow yarn
1. Return to round 6 and holding the trophy with the cup pointing down, work in the free loops 1 sc in each st (24).
2. Work 1 sc in the post of each st (24). Fasten off.
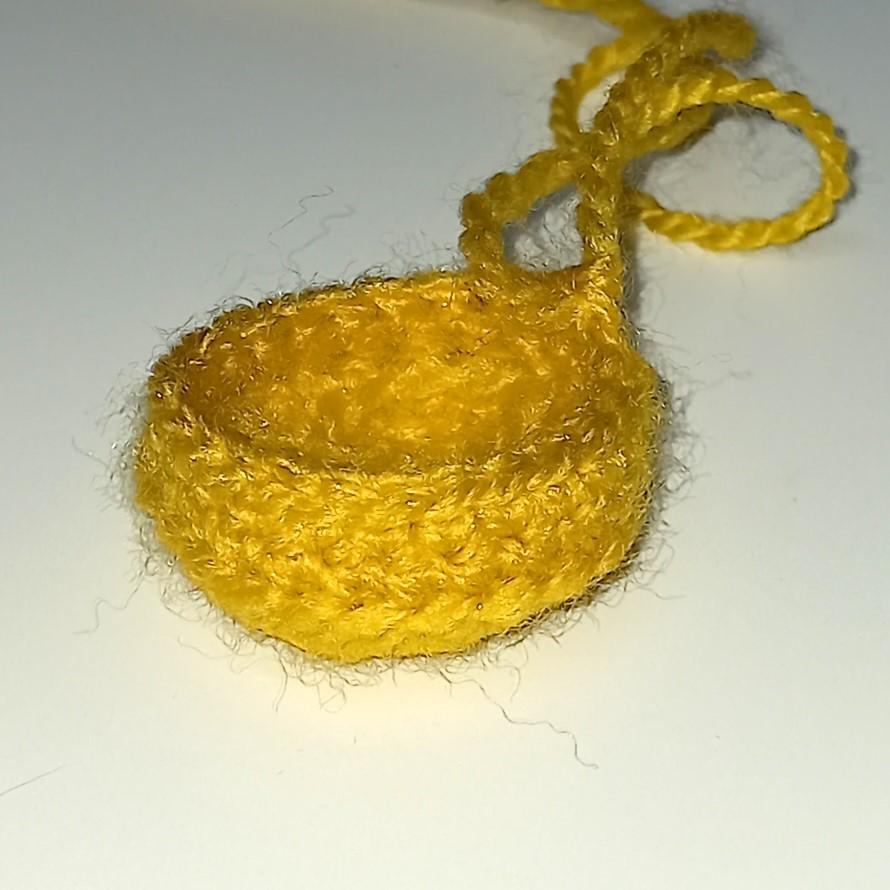
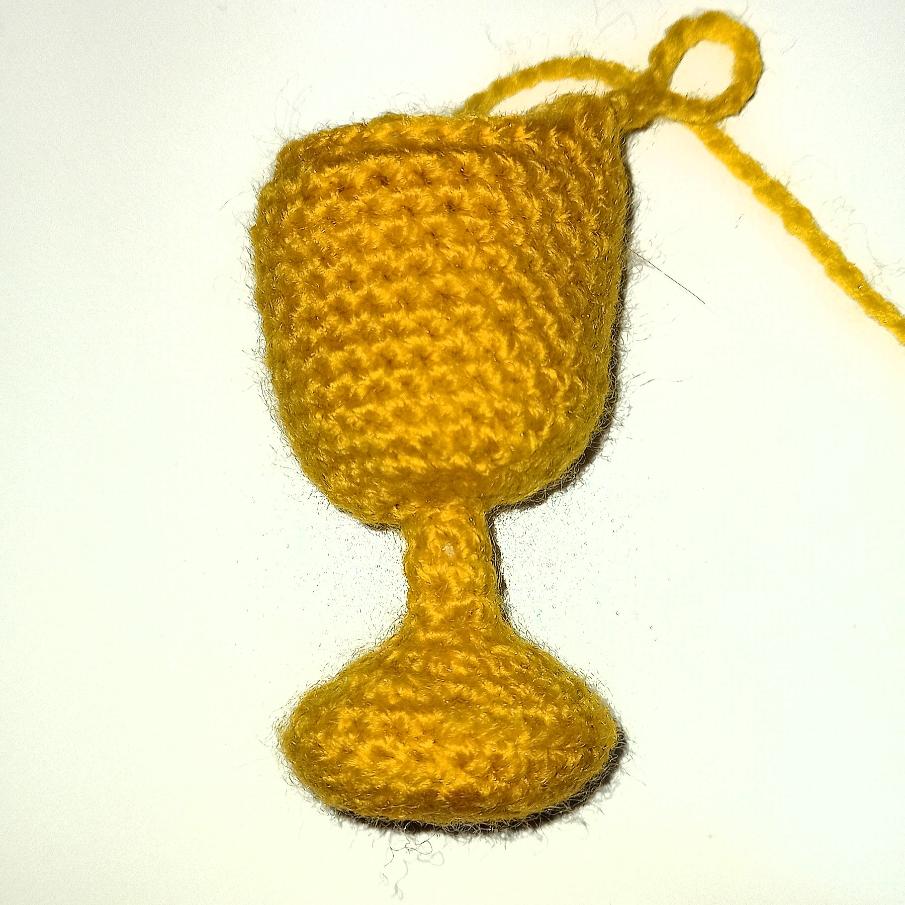
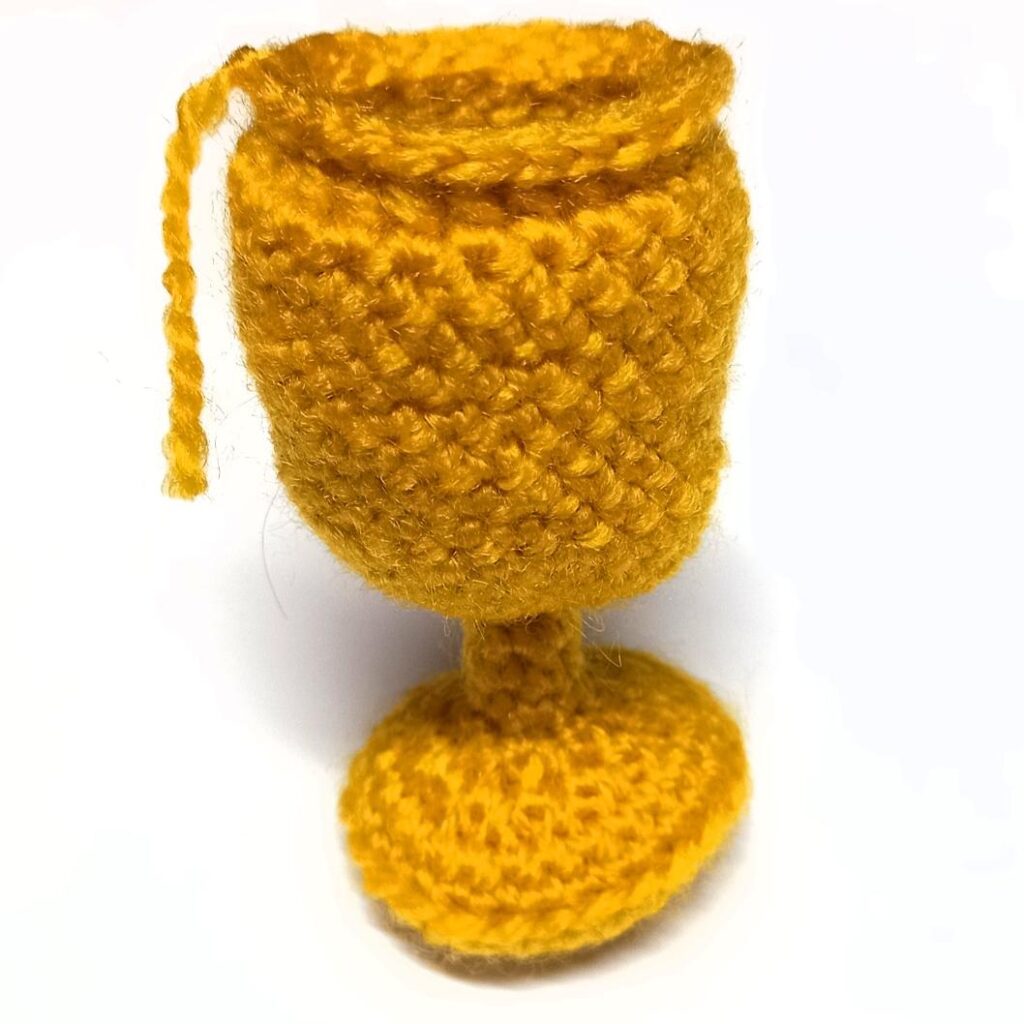
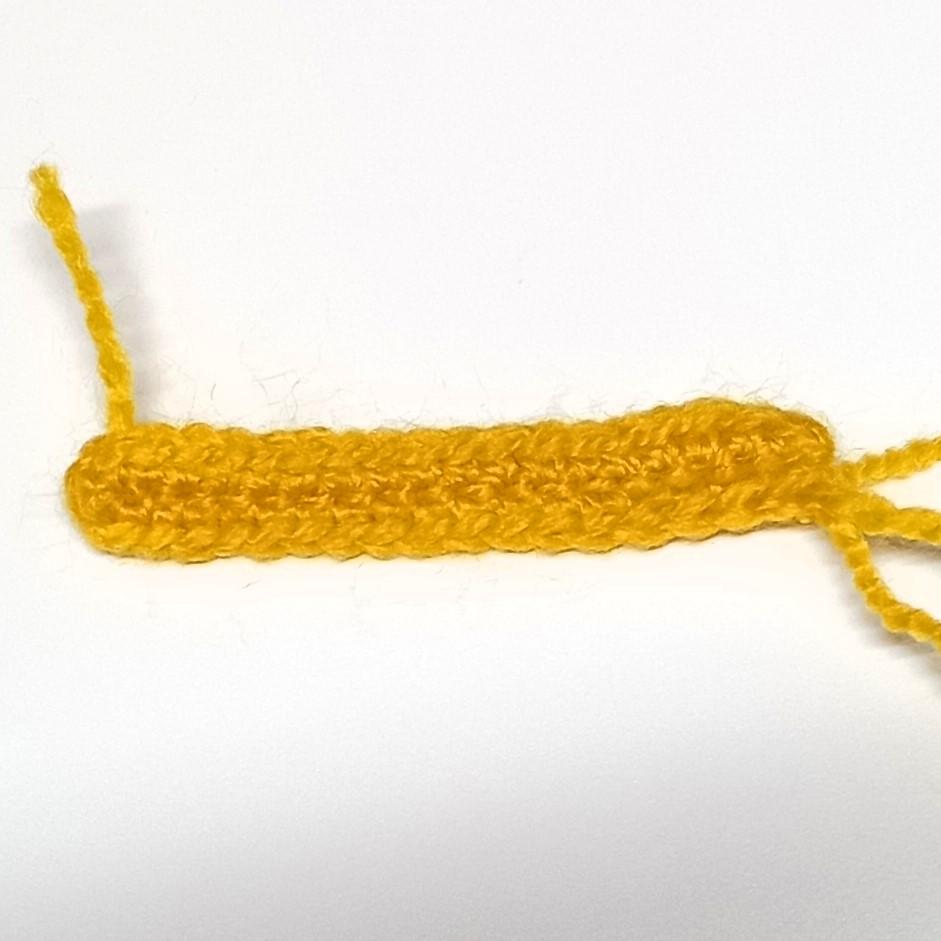
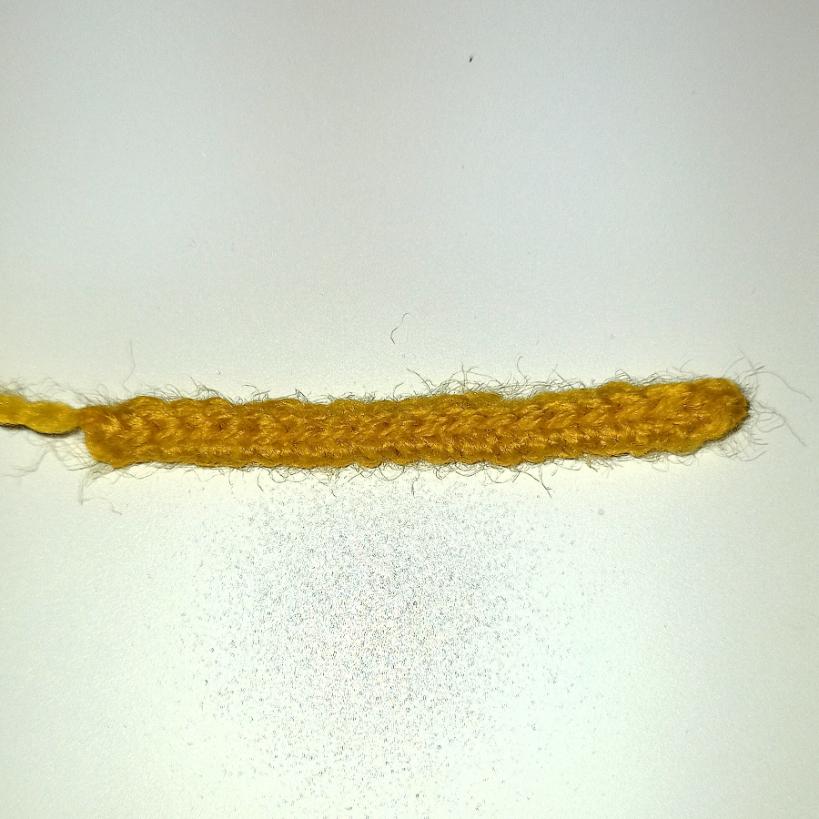
HANDLES (x2)
With golden yellow yarn
1.Ch 19 and work 18 sc in the chains.
2.Continue without turning, in the beginning chains again, but in the other side another 18 sc to get a 36 sc piece in all. (36).
3.Ch 1, turn and work slip stitches joining the 18 sc of each side (18). Fasten off. Sew the handles to both sides of the trophy making sure they are placed in the middle of it. Join them under round 28 of the cup, that is, the round in which you worked in the post of the stitches. At the bottom, sew them to the edge of the cup, that is, leaving 3 sc of separation from the narrowest part. Don’t sew the bottom end, approximately the last 4 stitches.
Congratulations, you have finished your amigurumi trophy! Now you just have to give it to the champion of your life!
If you liked the Amigurumi Pattern Trophy, leave me your comment and if you dare to crochet it, send me the photo or tag me on social media so we can all see it.
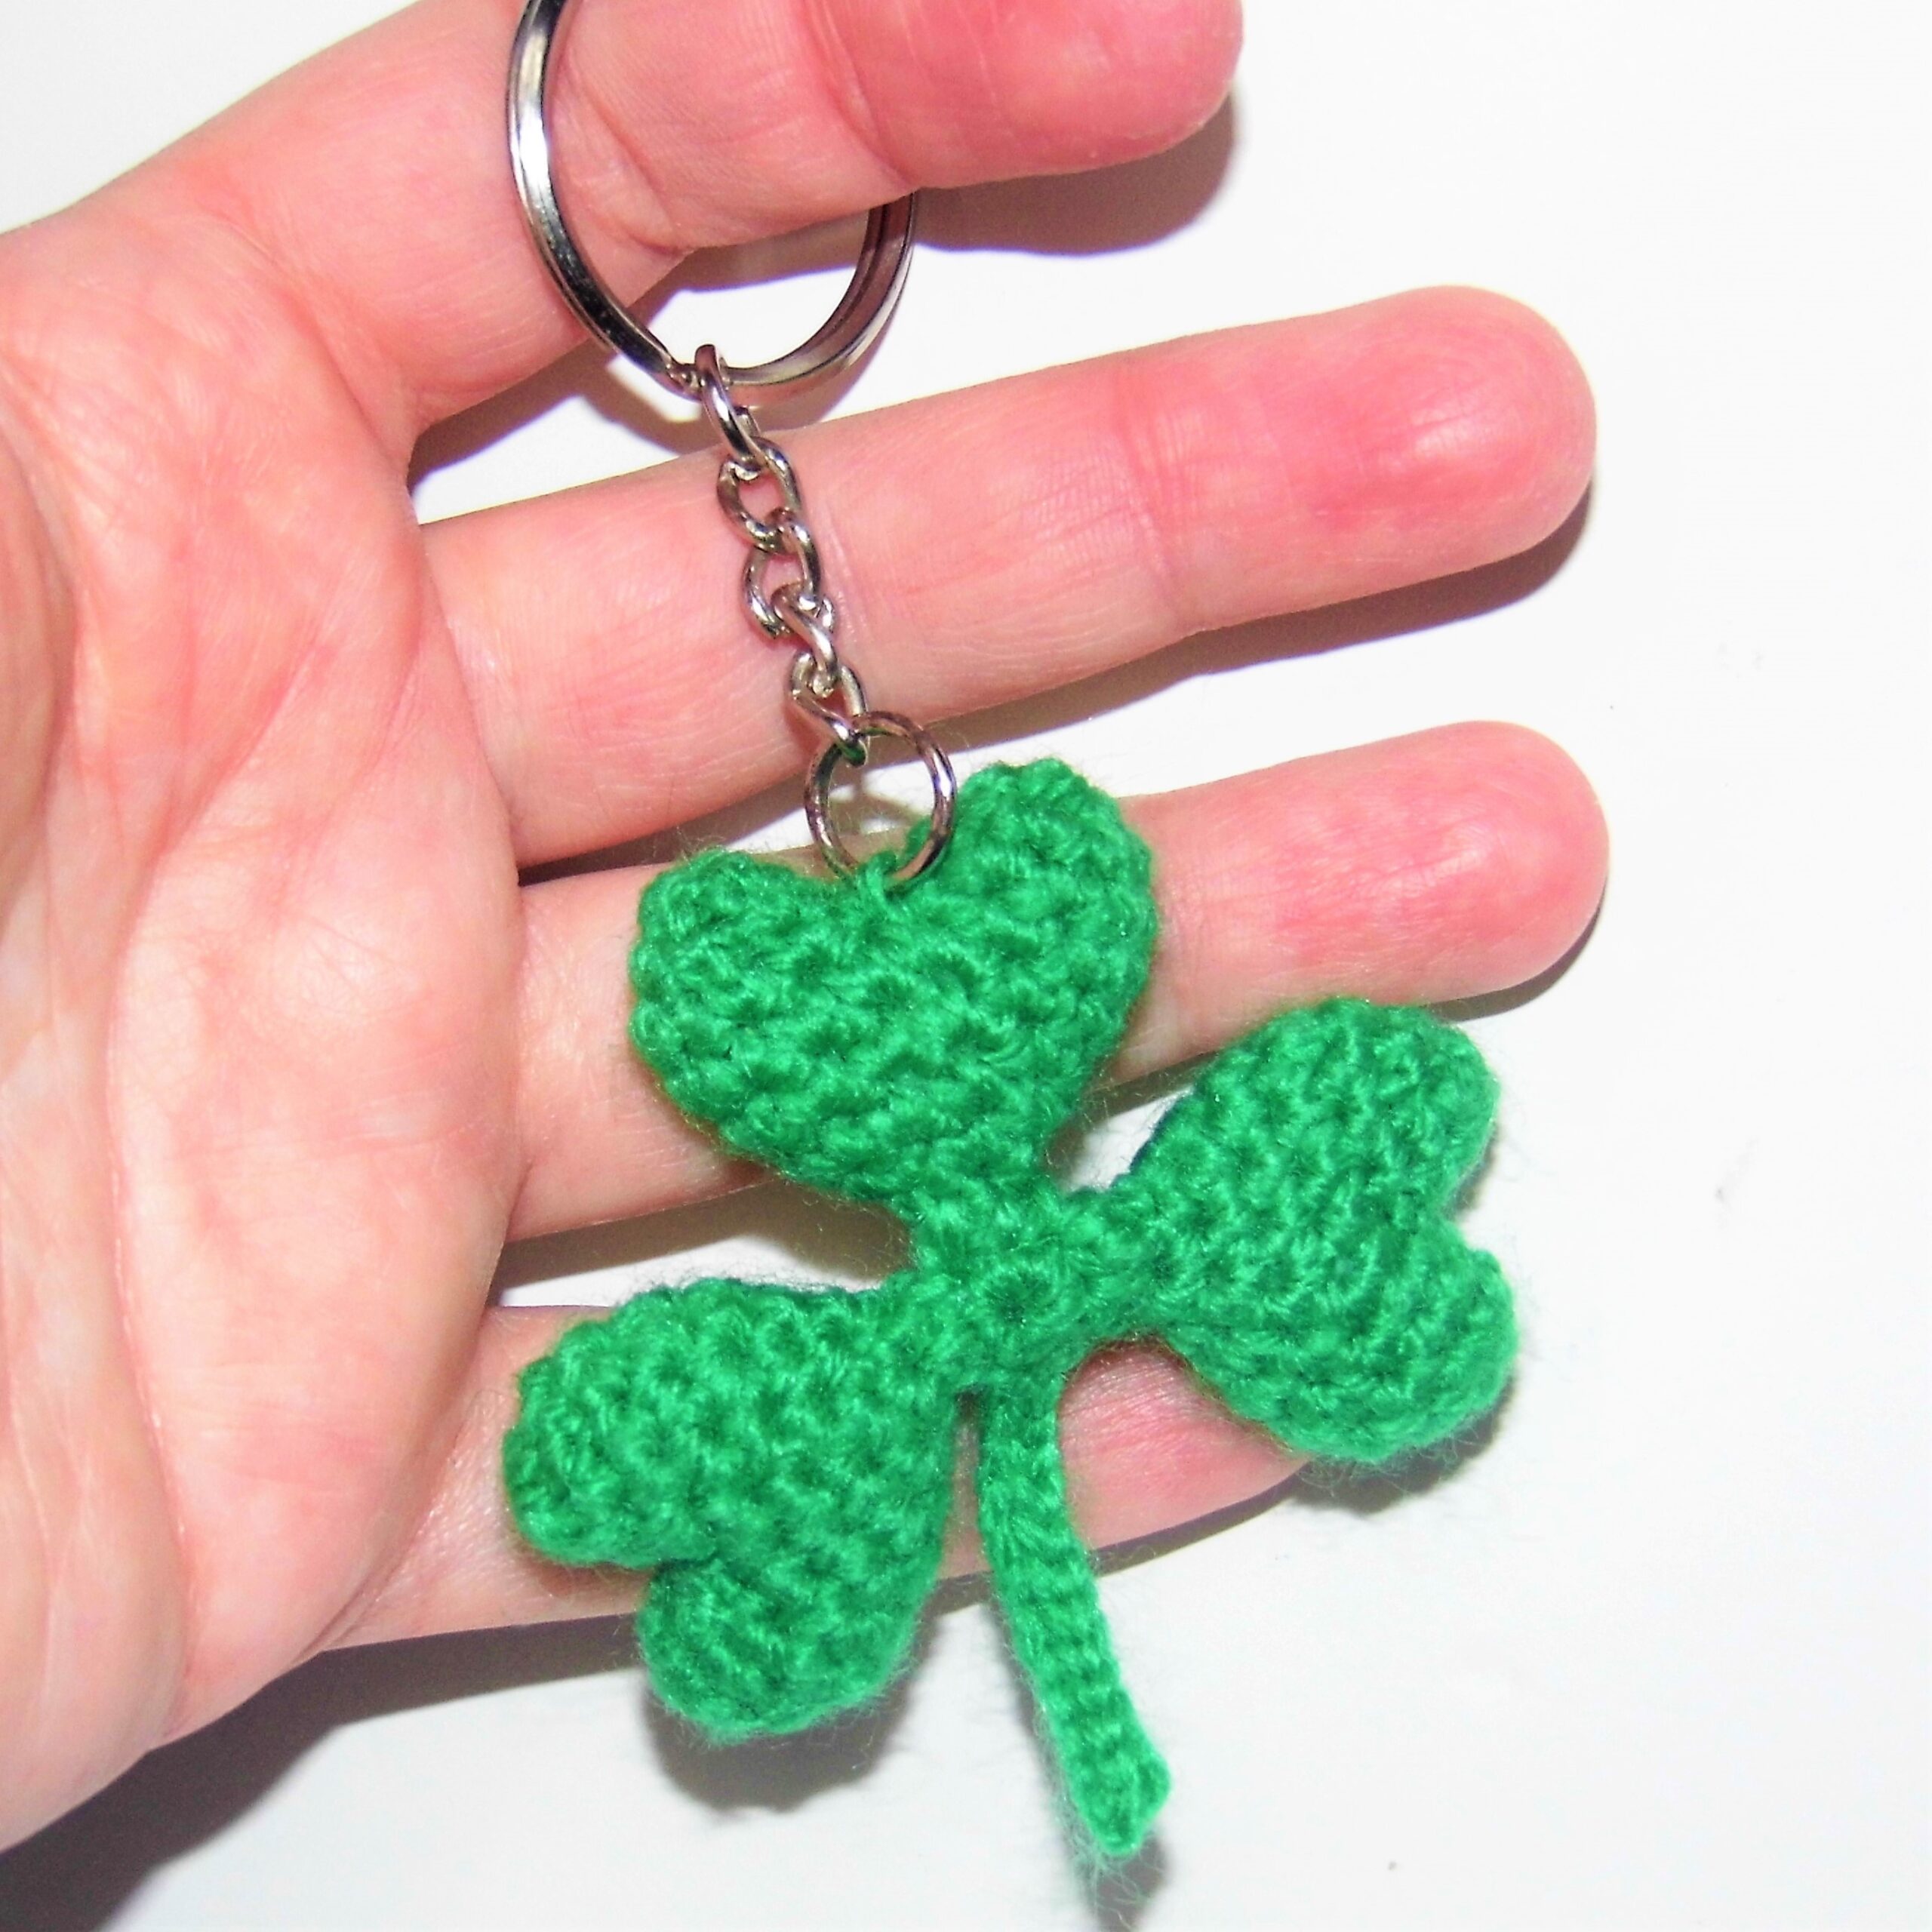
Enjoy the free Shamrock Keychain Amigurumi Pattern
Although the origin of this celebration is Irish, in an increasingly globalized world, it can be said that today it is celebrated worldwide, including Spain and of course, my land, Galicia.
Our common Celtic roots connect us historically and culturally with Ireland.
Thus, for example, the Tower of Hercules, in A Coruña, has Celtic elements, among which the statue of King Breogán stands out, who, according to Irish legends, founded Brigantia and built a Tower so high that it allowed one to see the coasts of Ireland.
Breogán is considered the mythological father of the Galician people, Galicia being poetically described as “Fogar de Breogán” (Home of Breogán) and this is even reflected in the Galician anthem.
To celebrate, I bring you a small detail that, as you know, is one of the symbols of Saint Patrick’s Day:
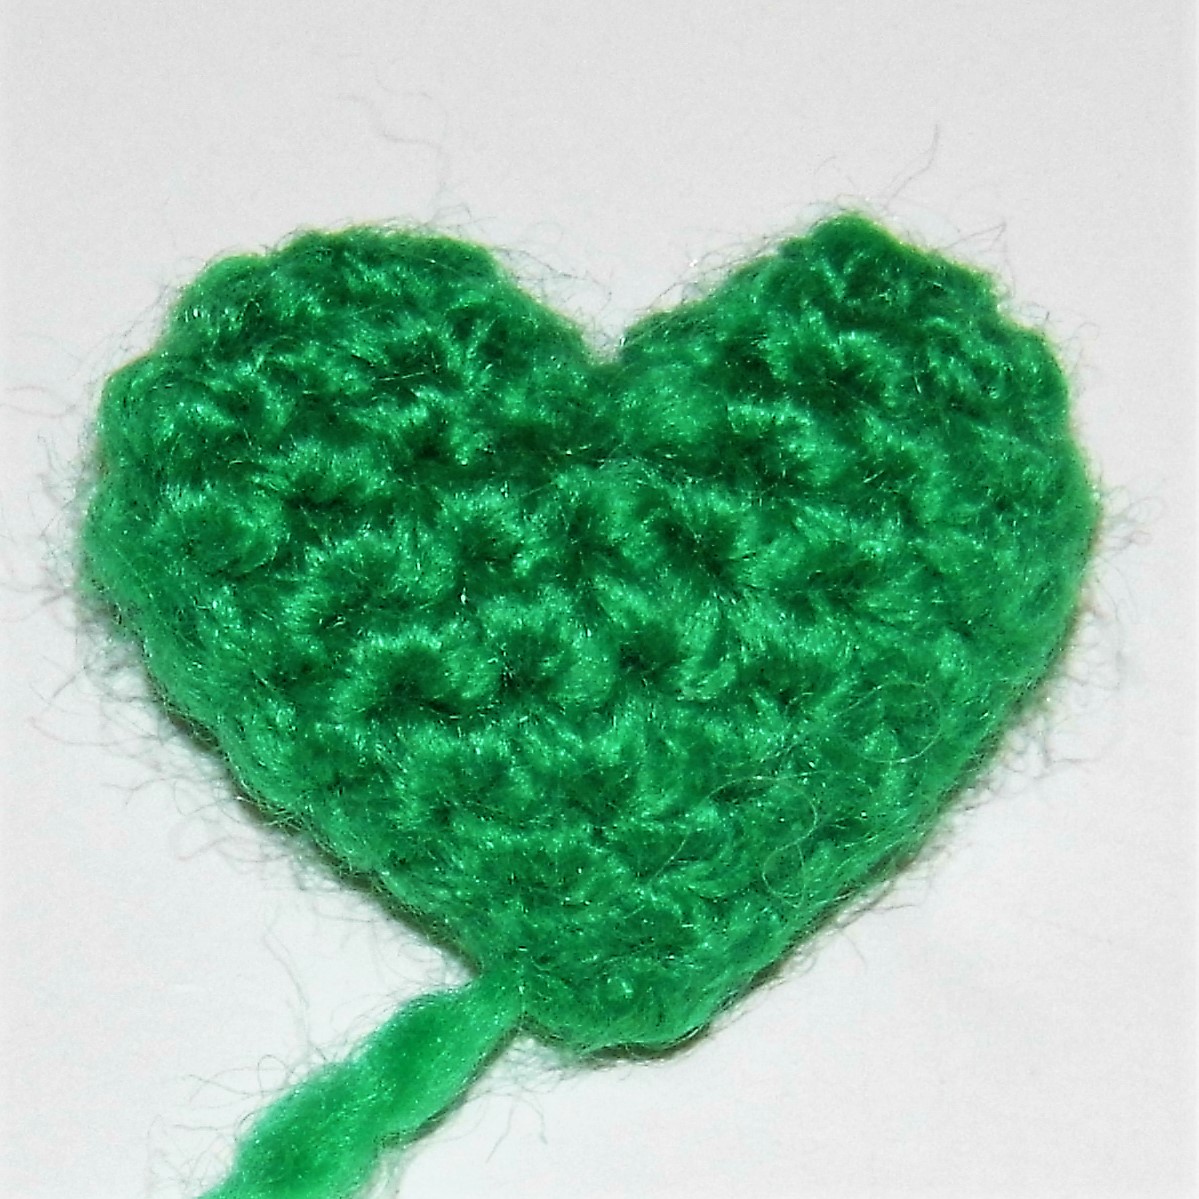
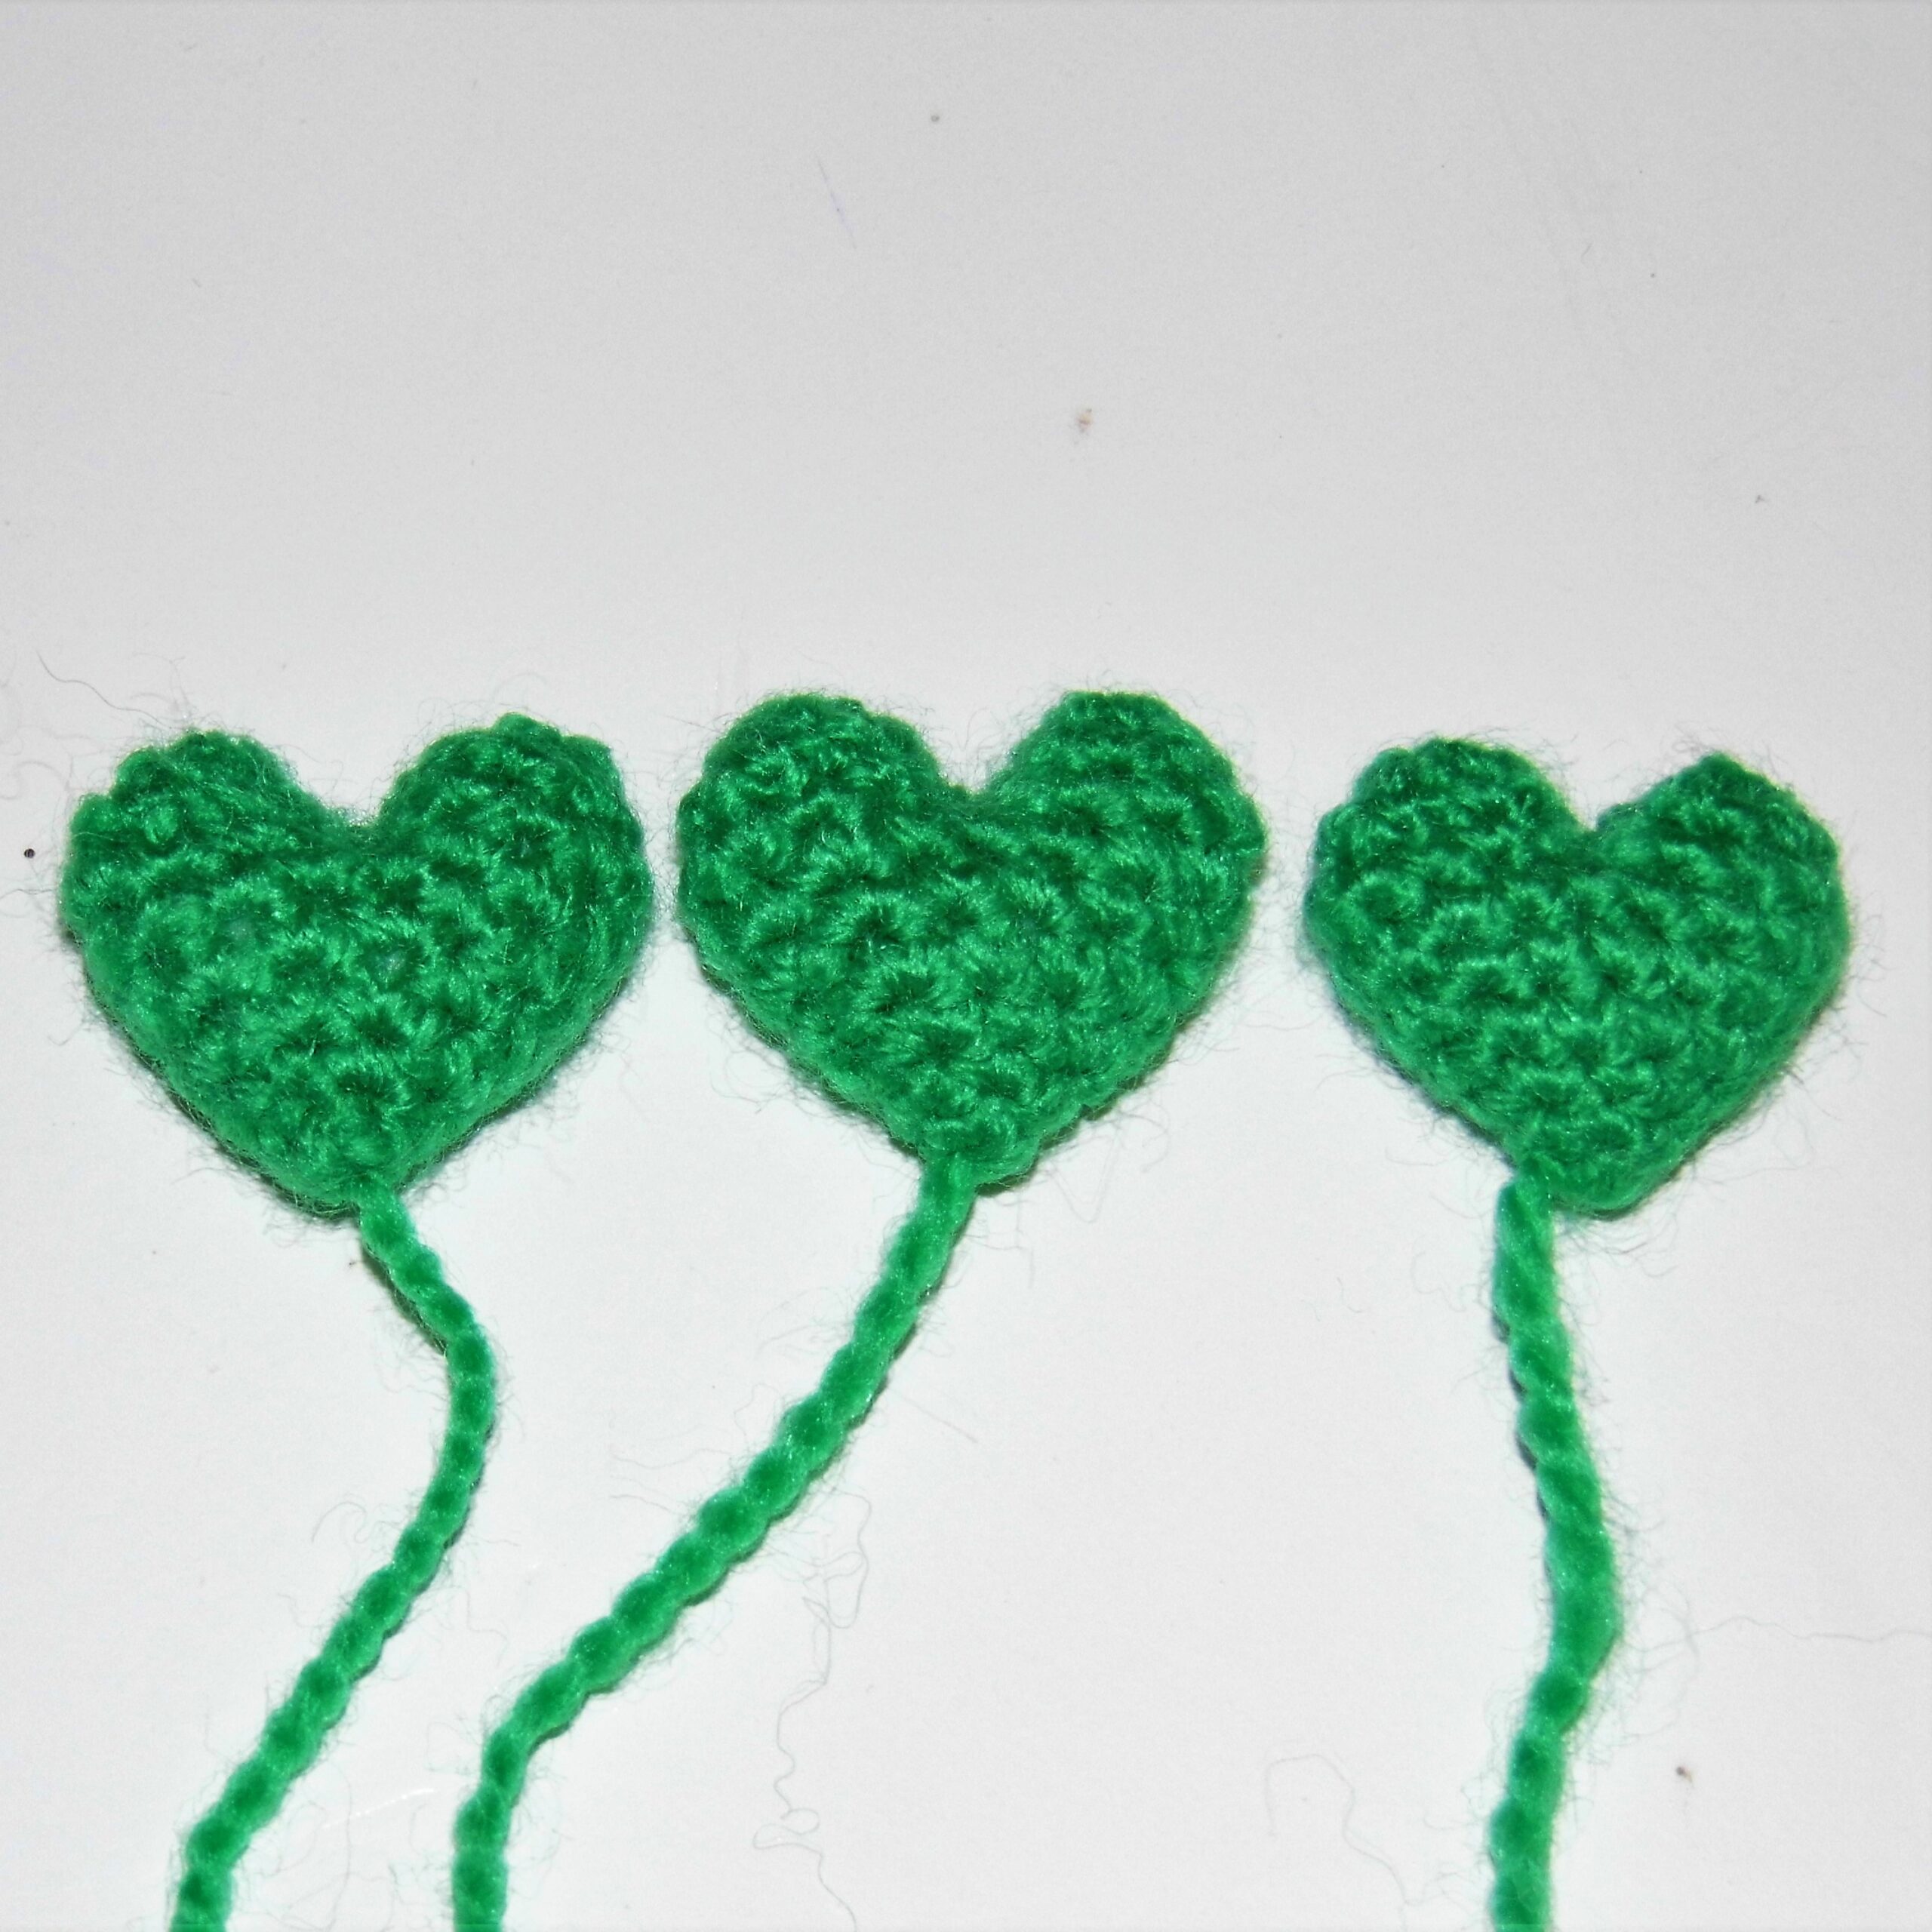
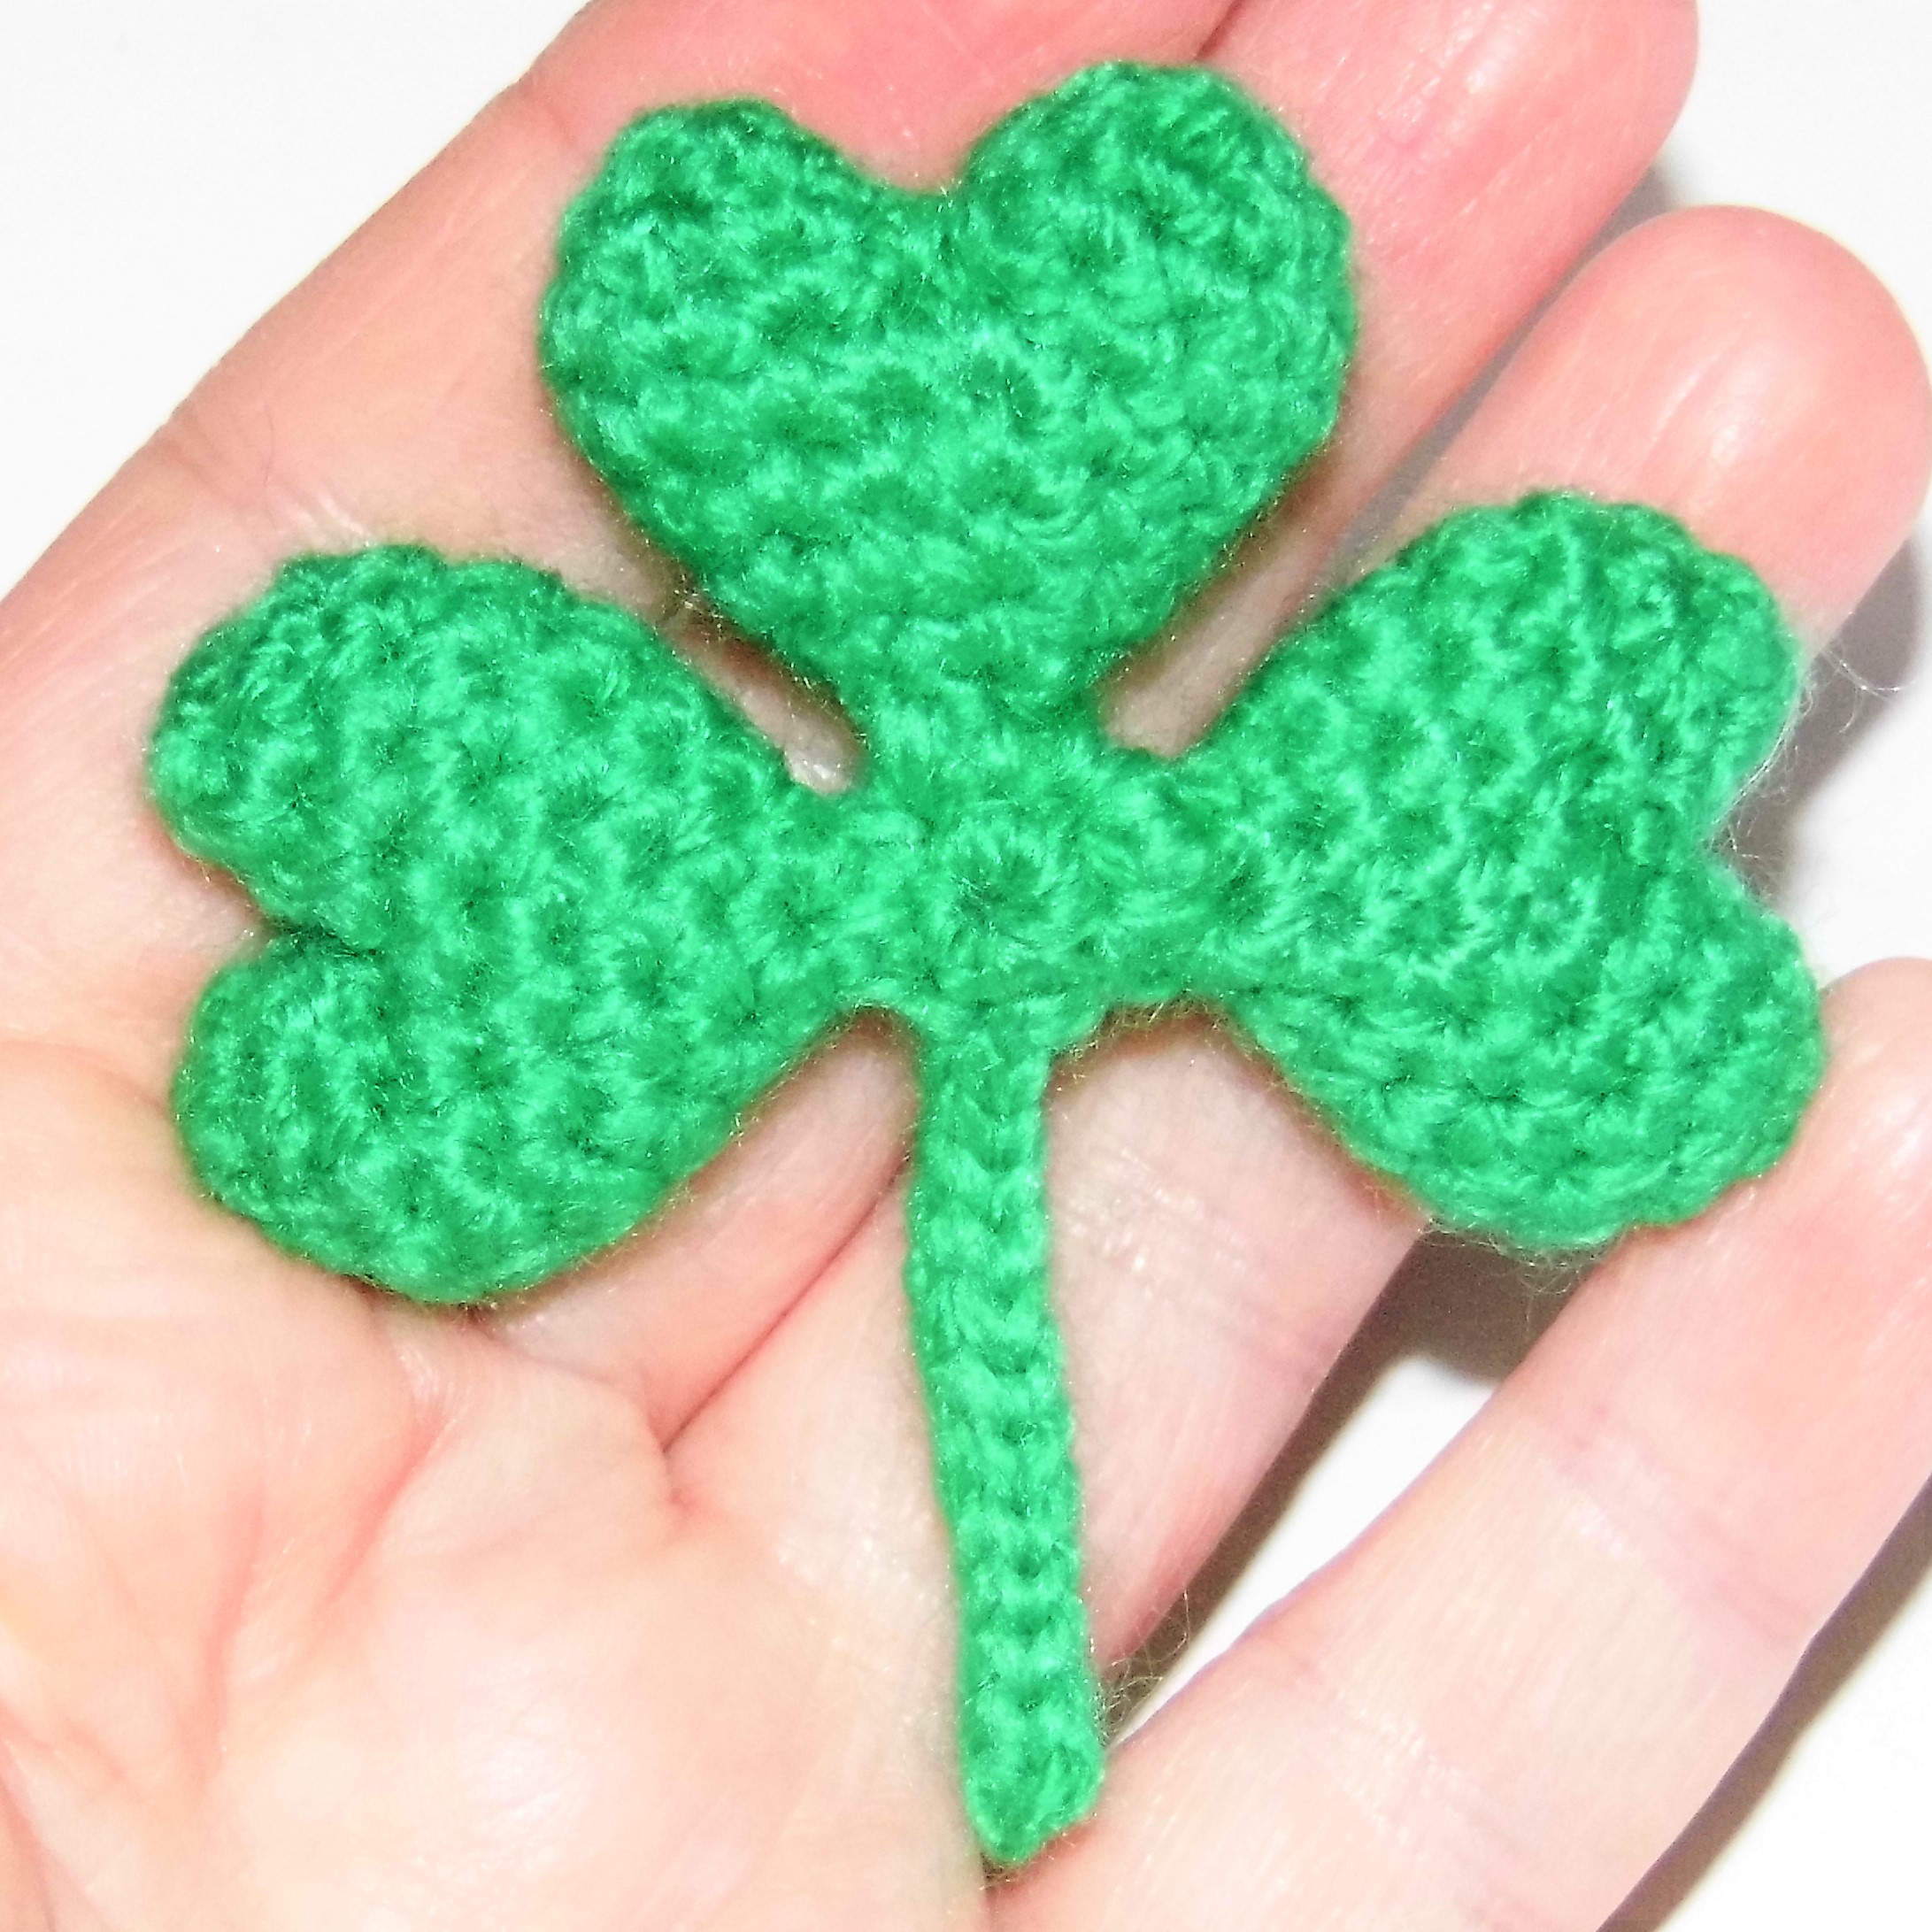
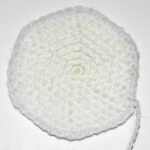
Shamrock Keychain Amigurumi Pattern
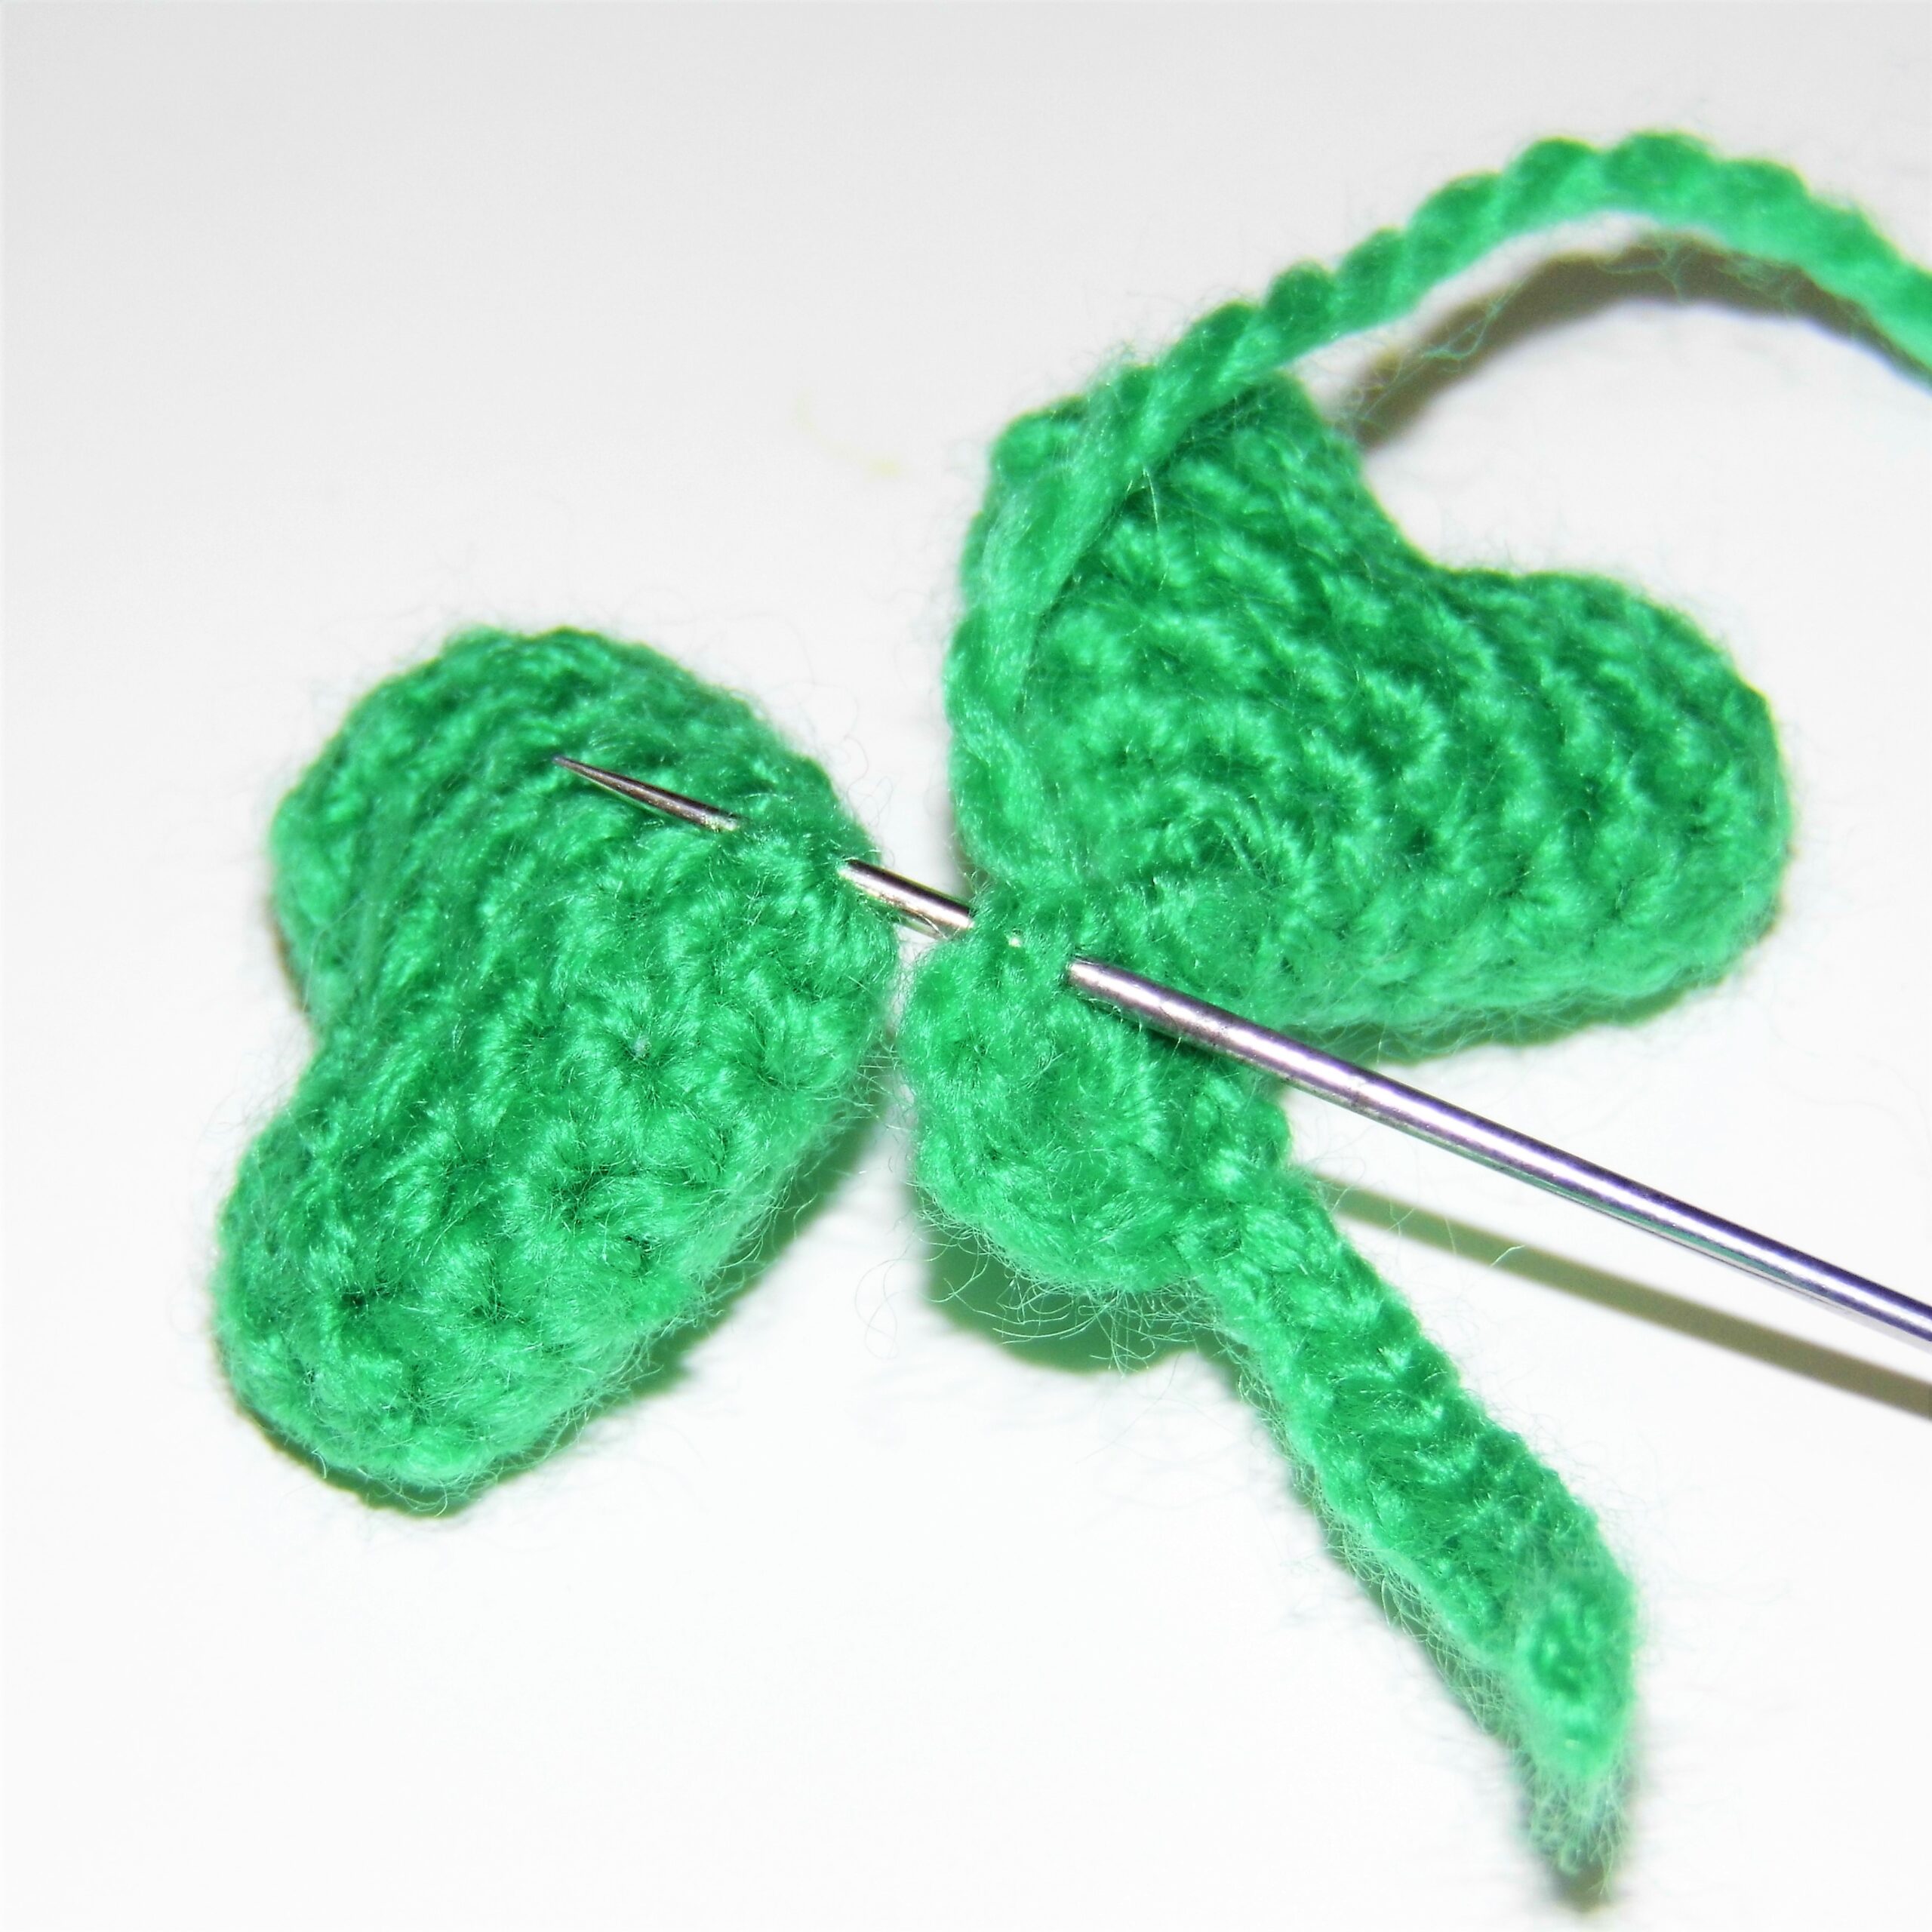
It is a very easy and quick pattern to make and it is super nice as a keychain. I have made it with 3 leaves, but if you want it to give you more luck, you only have to add one more leaf…
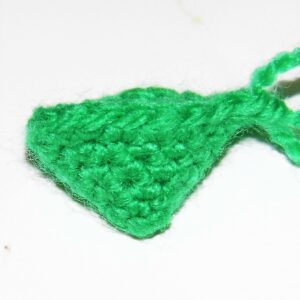
1. From the place where you are, that is, from the round marker, count the previous 8 sc, which together with the marked sc will form the half of 9 sc of the piece. Join in the last sc of the 8 with a sc, place the round marker and crochet the 9 sc (9).
2. “1 sc, dec”, repeat (6).
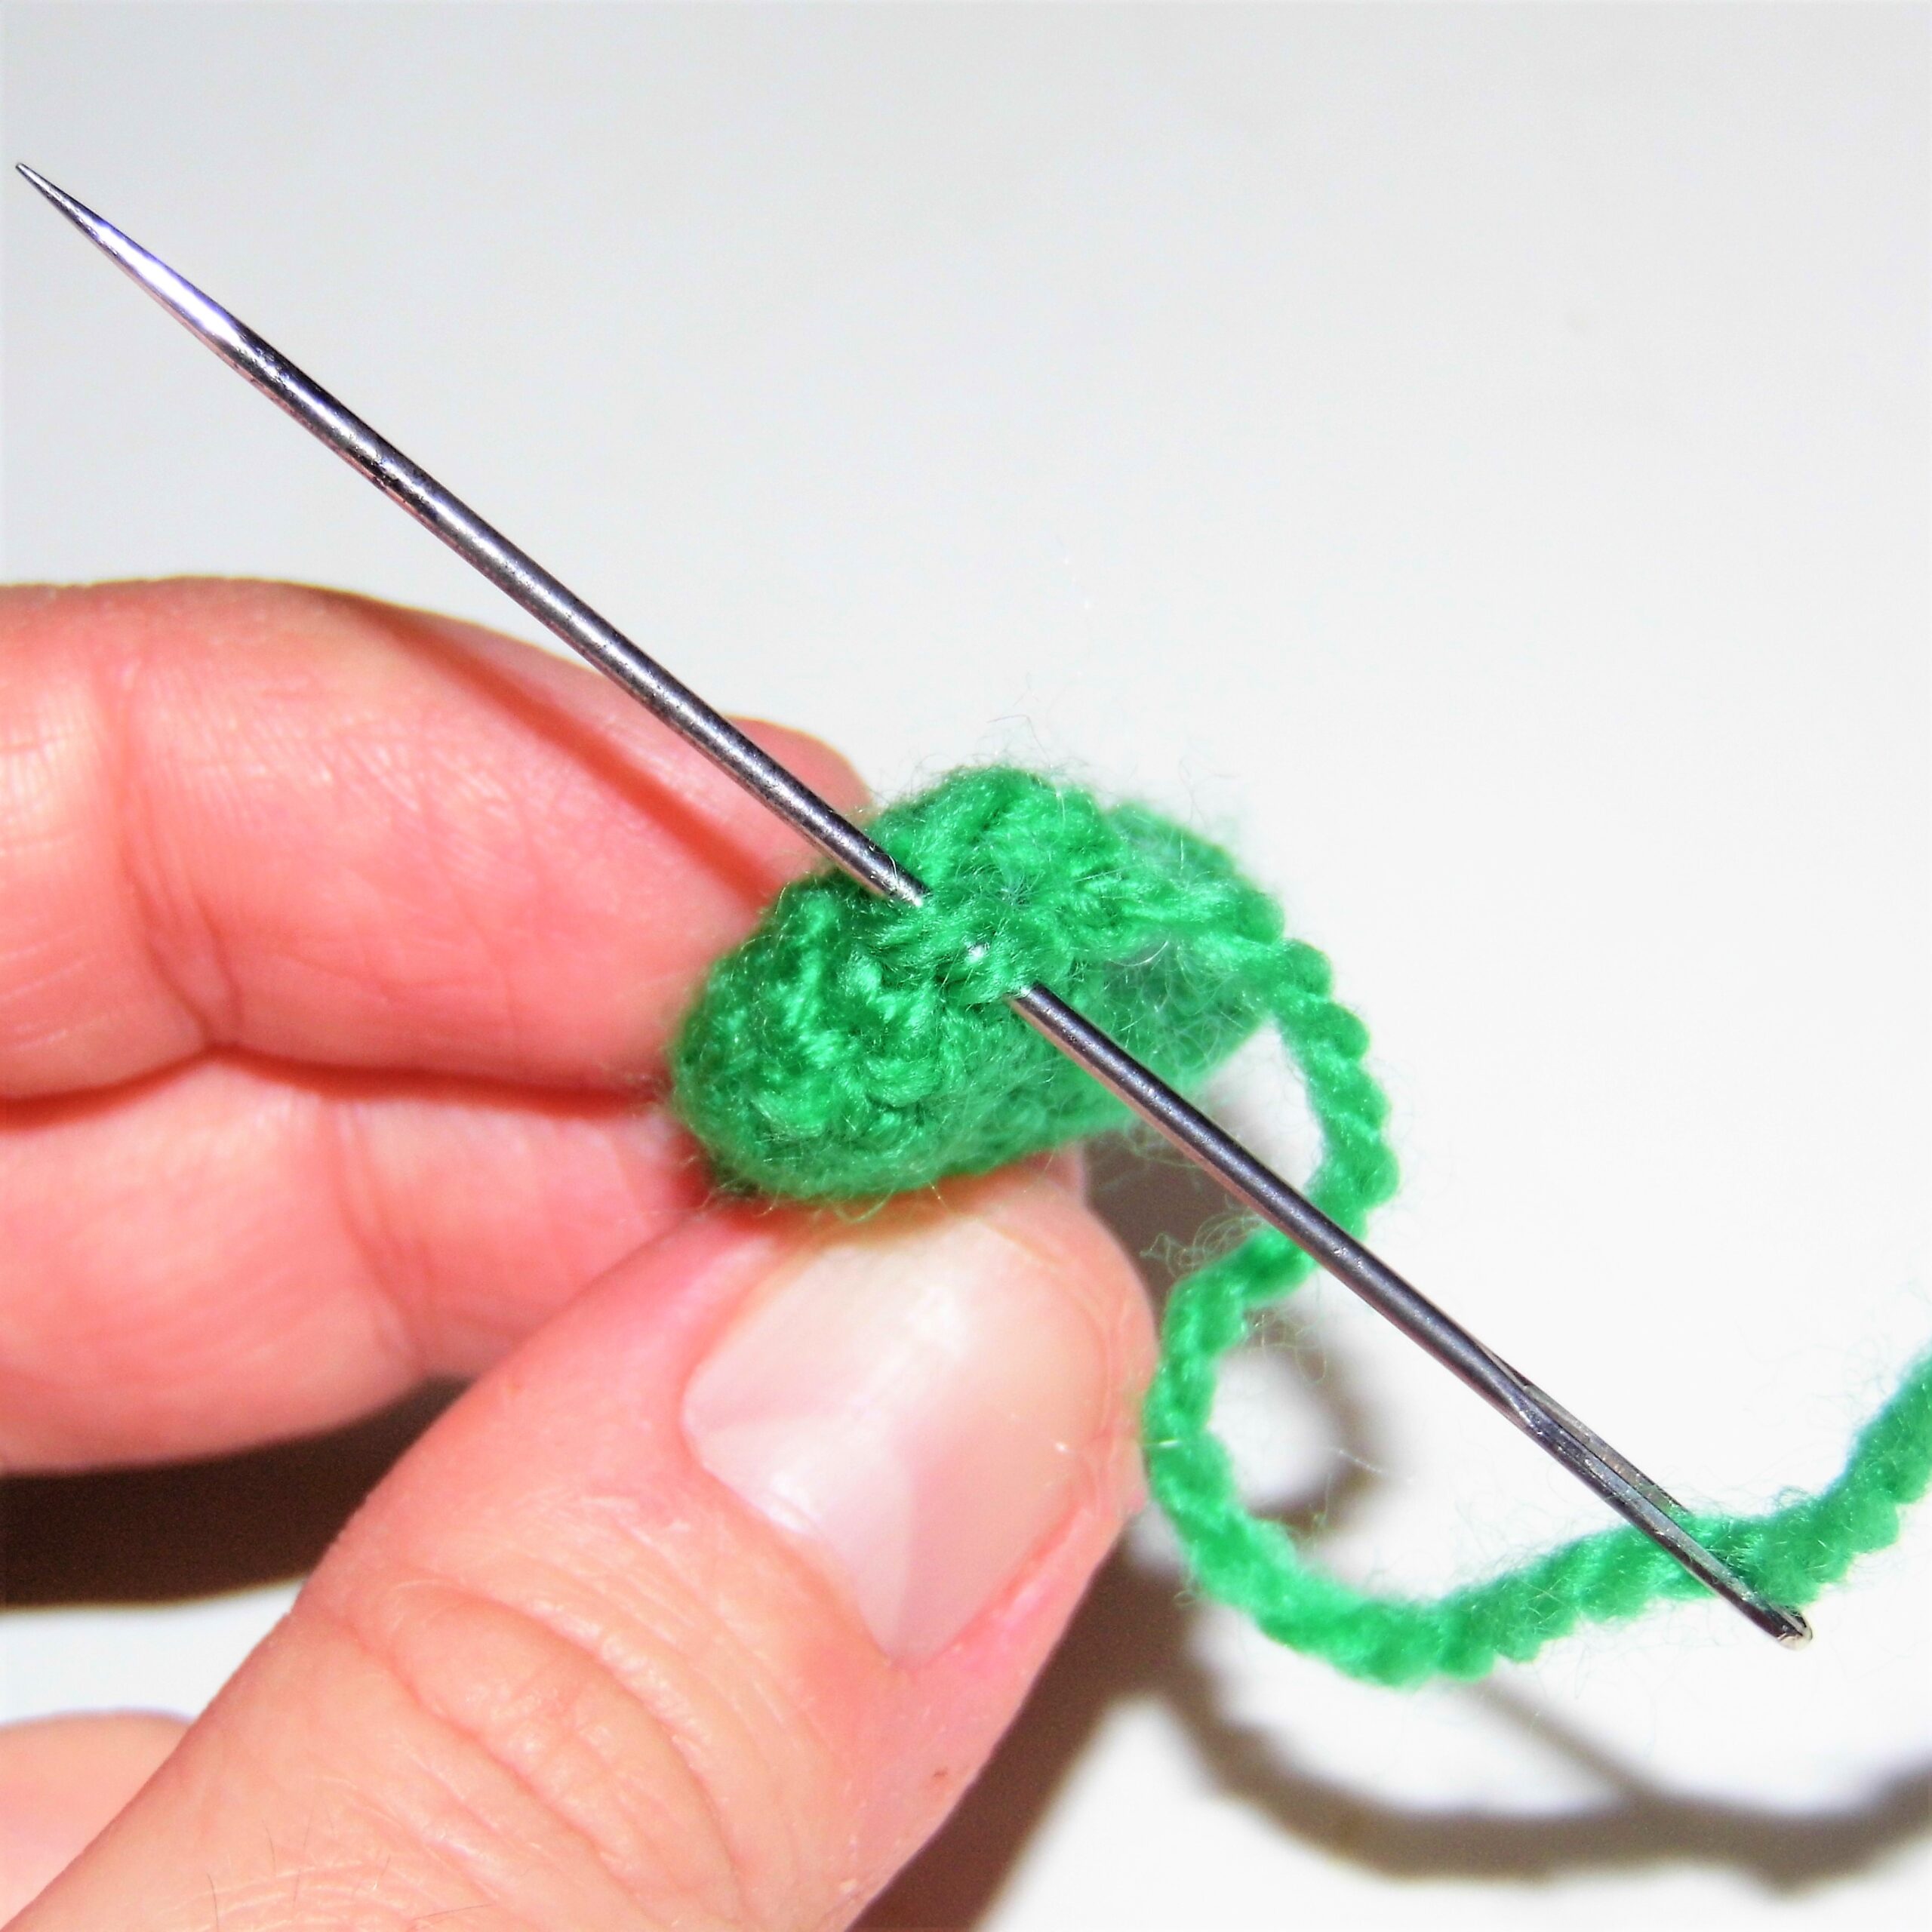
Stuff the piece almost completely. Fasten off. Sew the hole with the yarn needle.
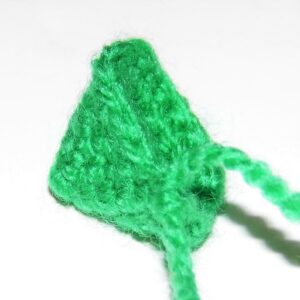
To crochet the other half, join, with the part you just crocheted placed on the left, in the first of the sc and work in the last a sc.
Place the marker and continue working following the same pattern.
Stuff completely. Fasten off. Sew the hole with the yarn needle.
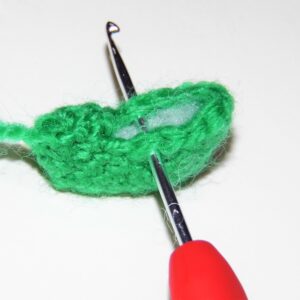
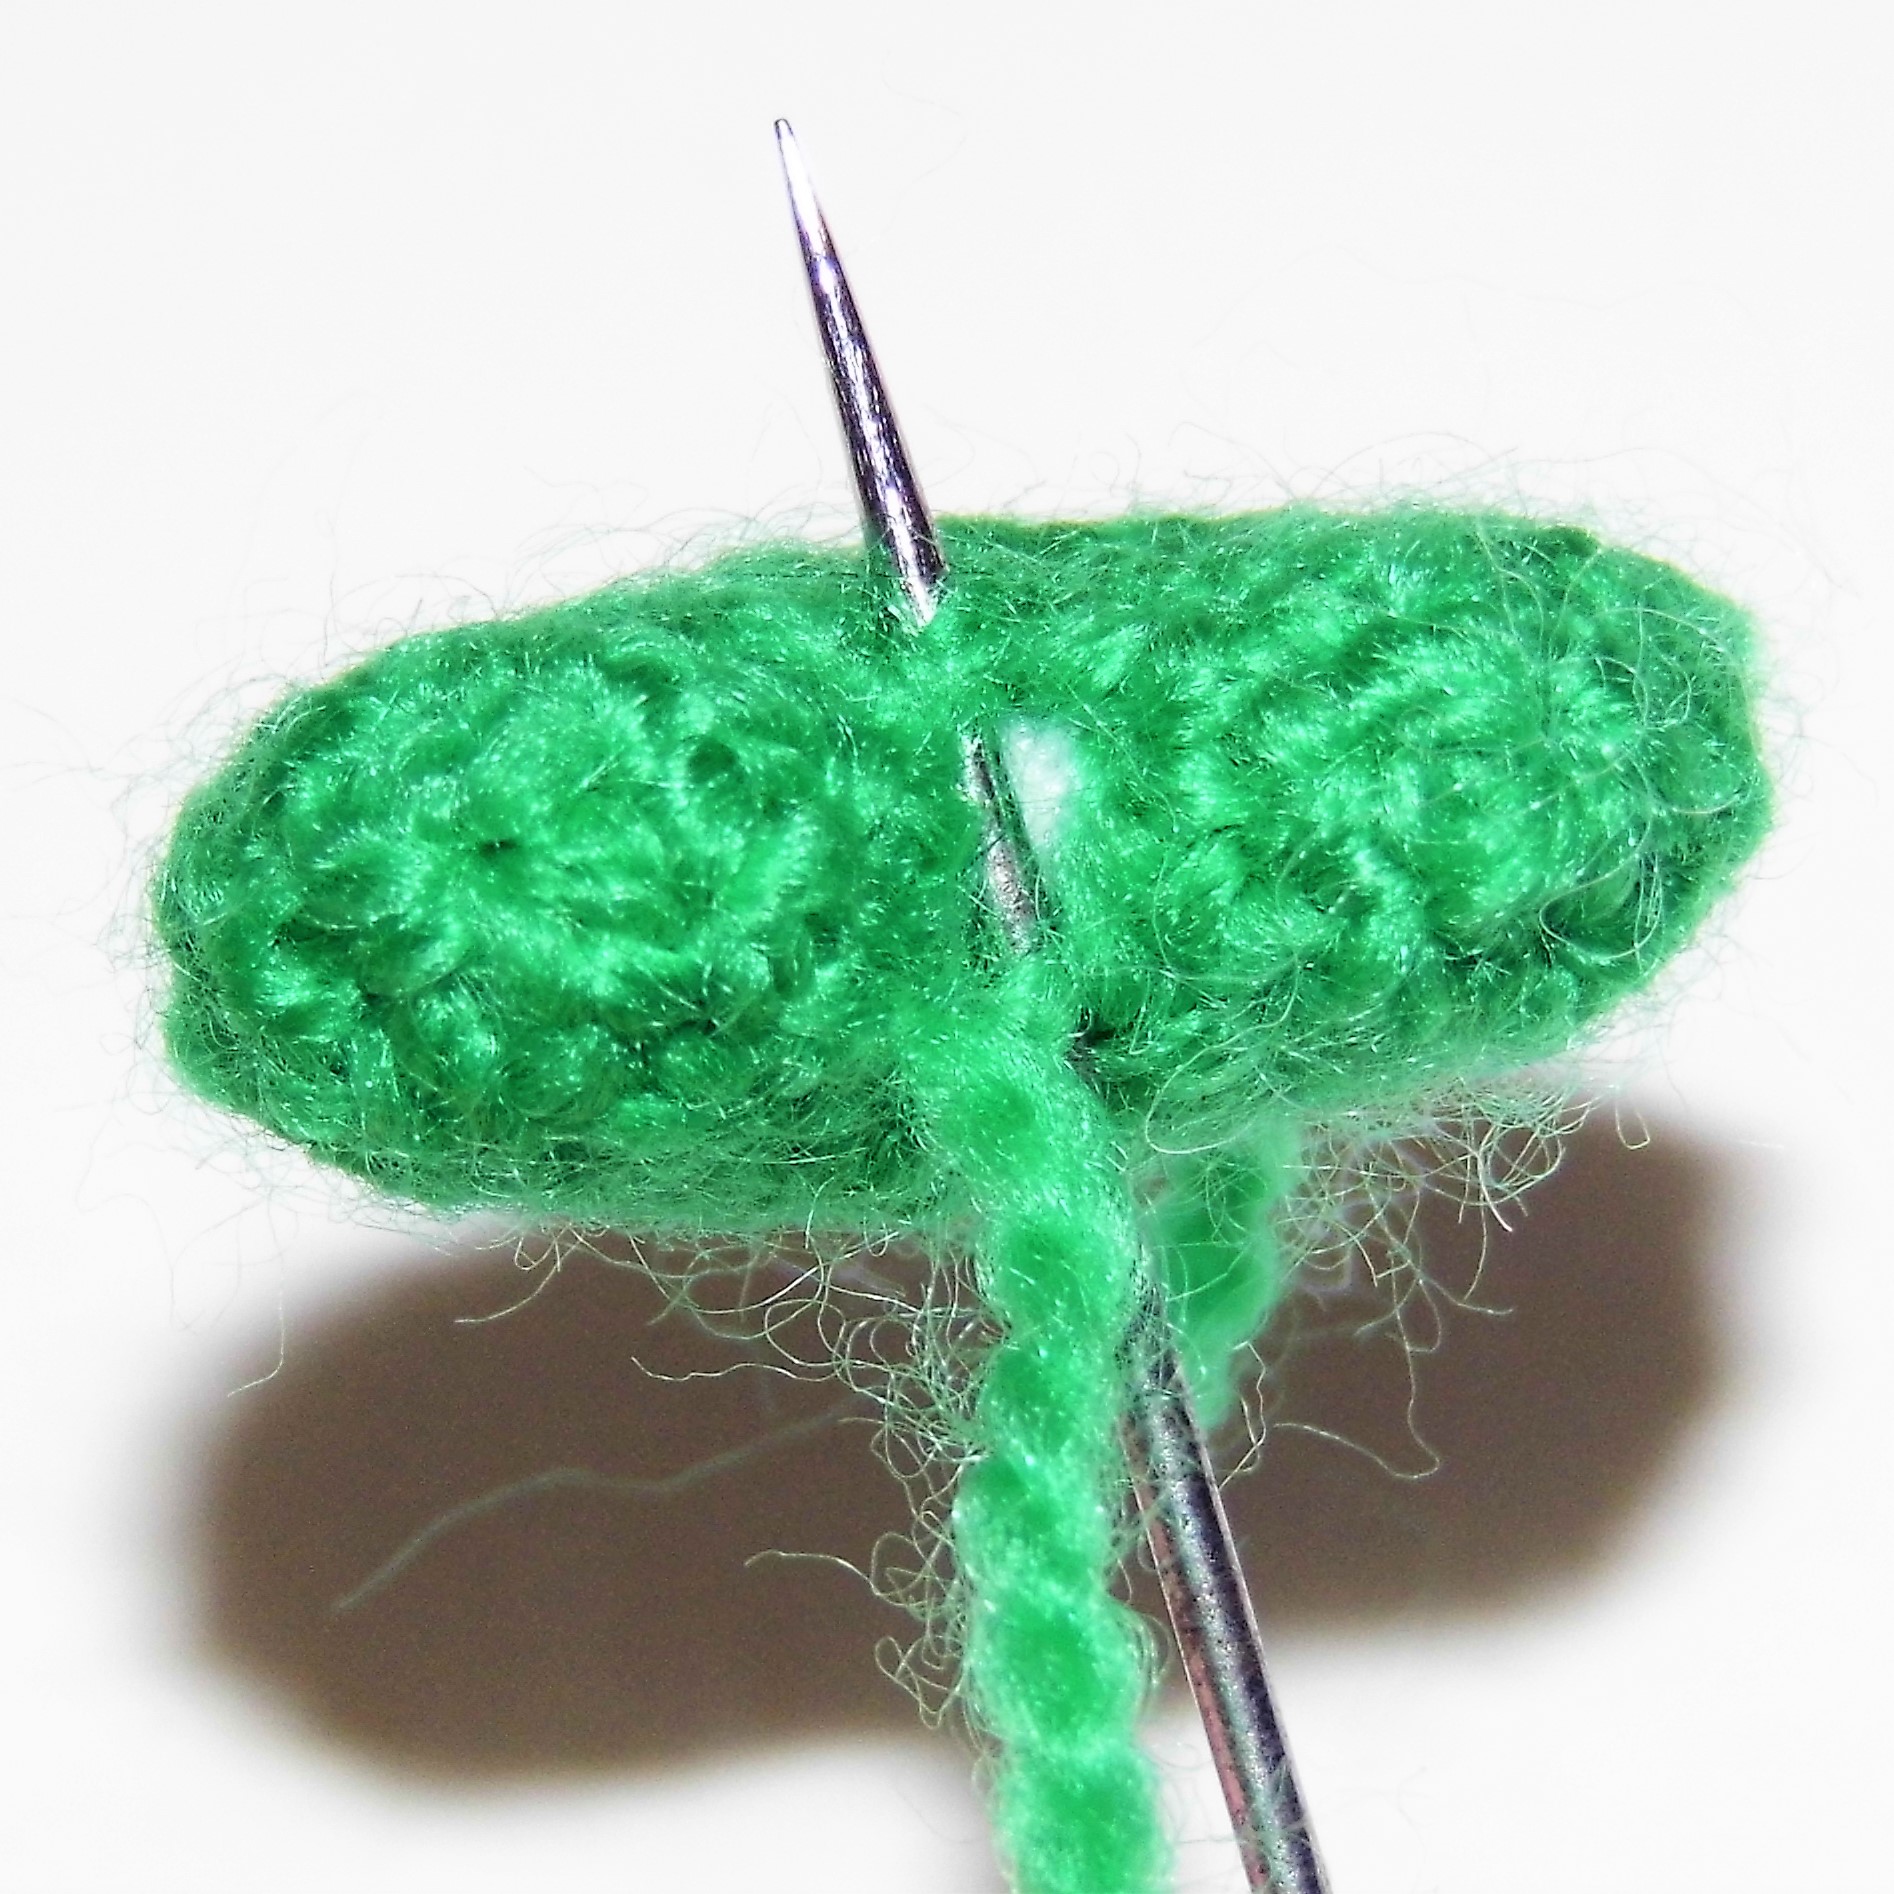
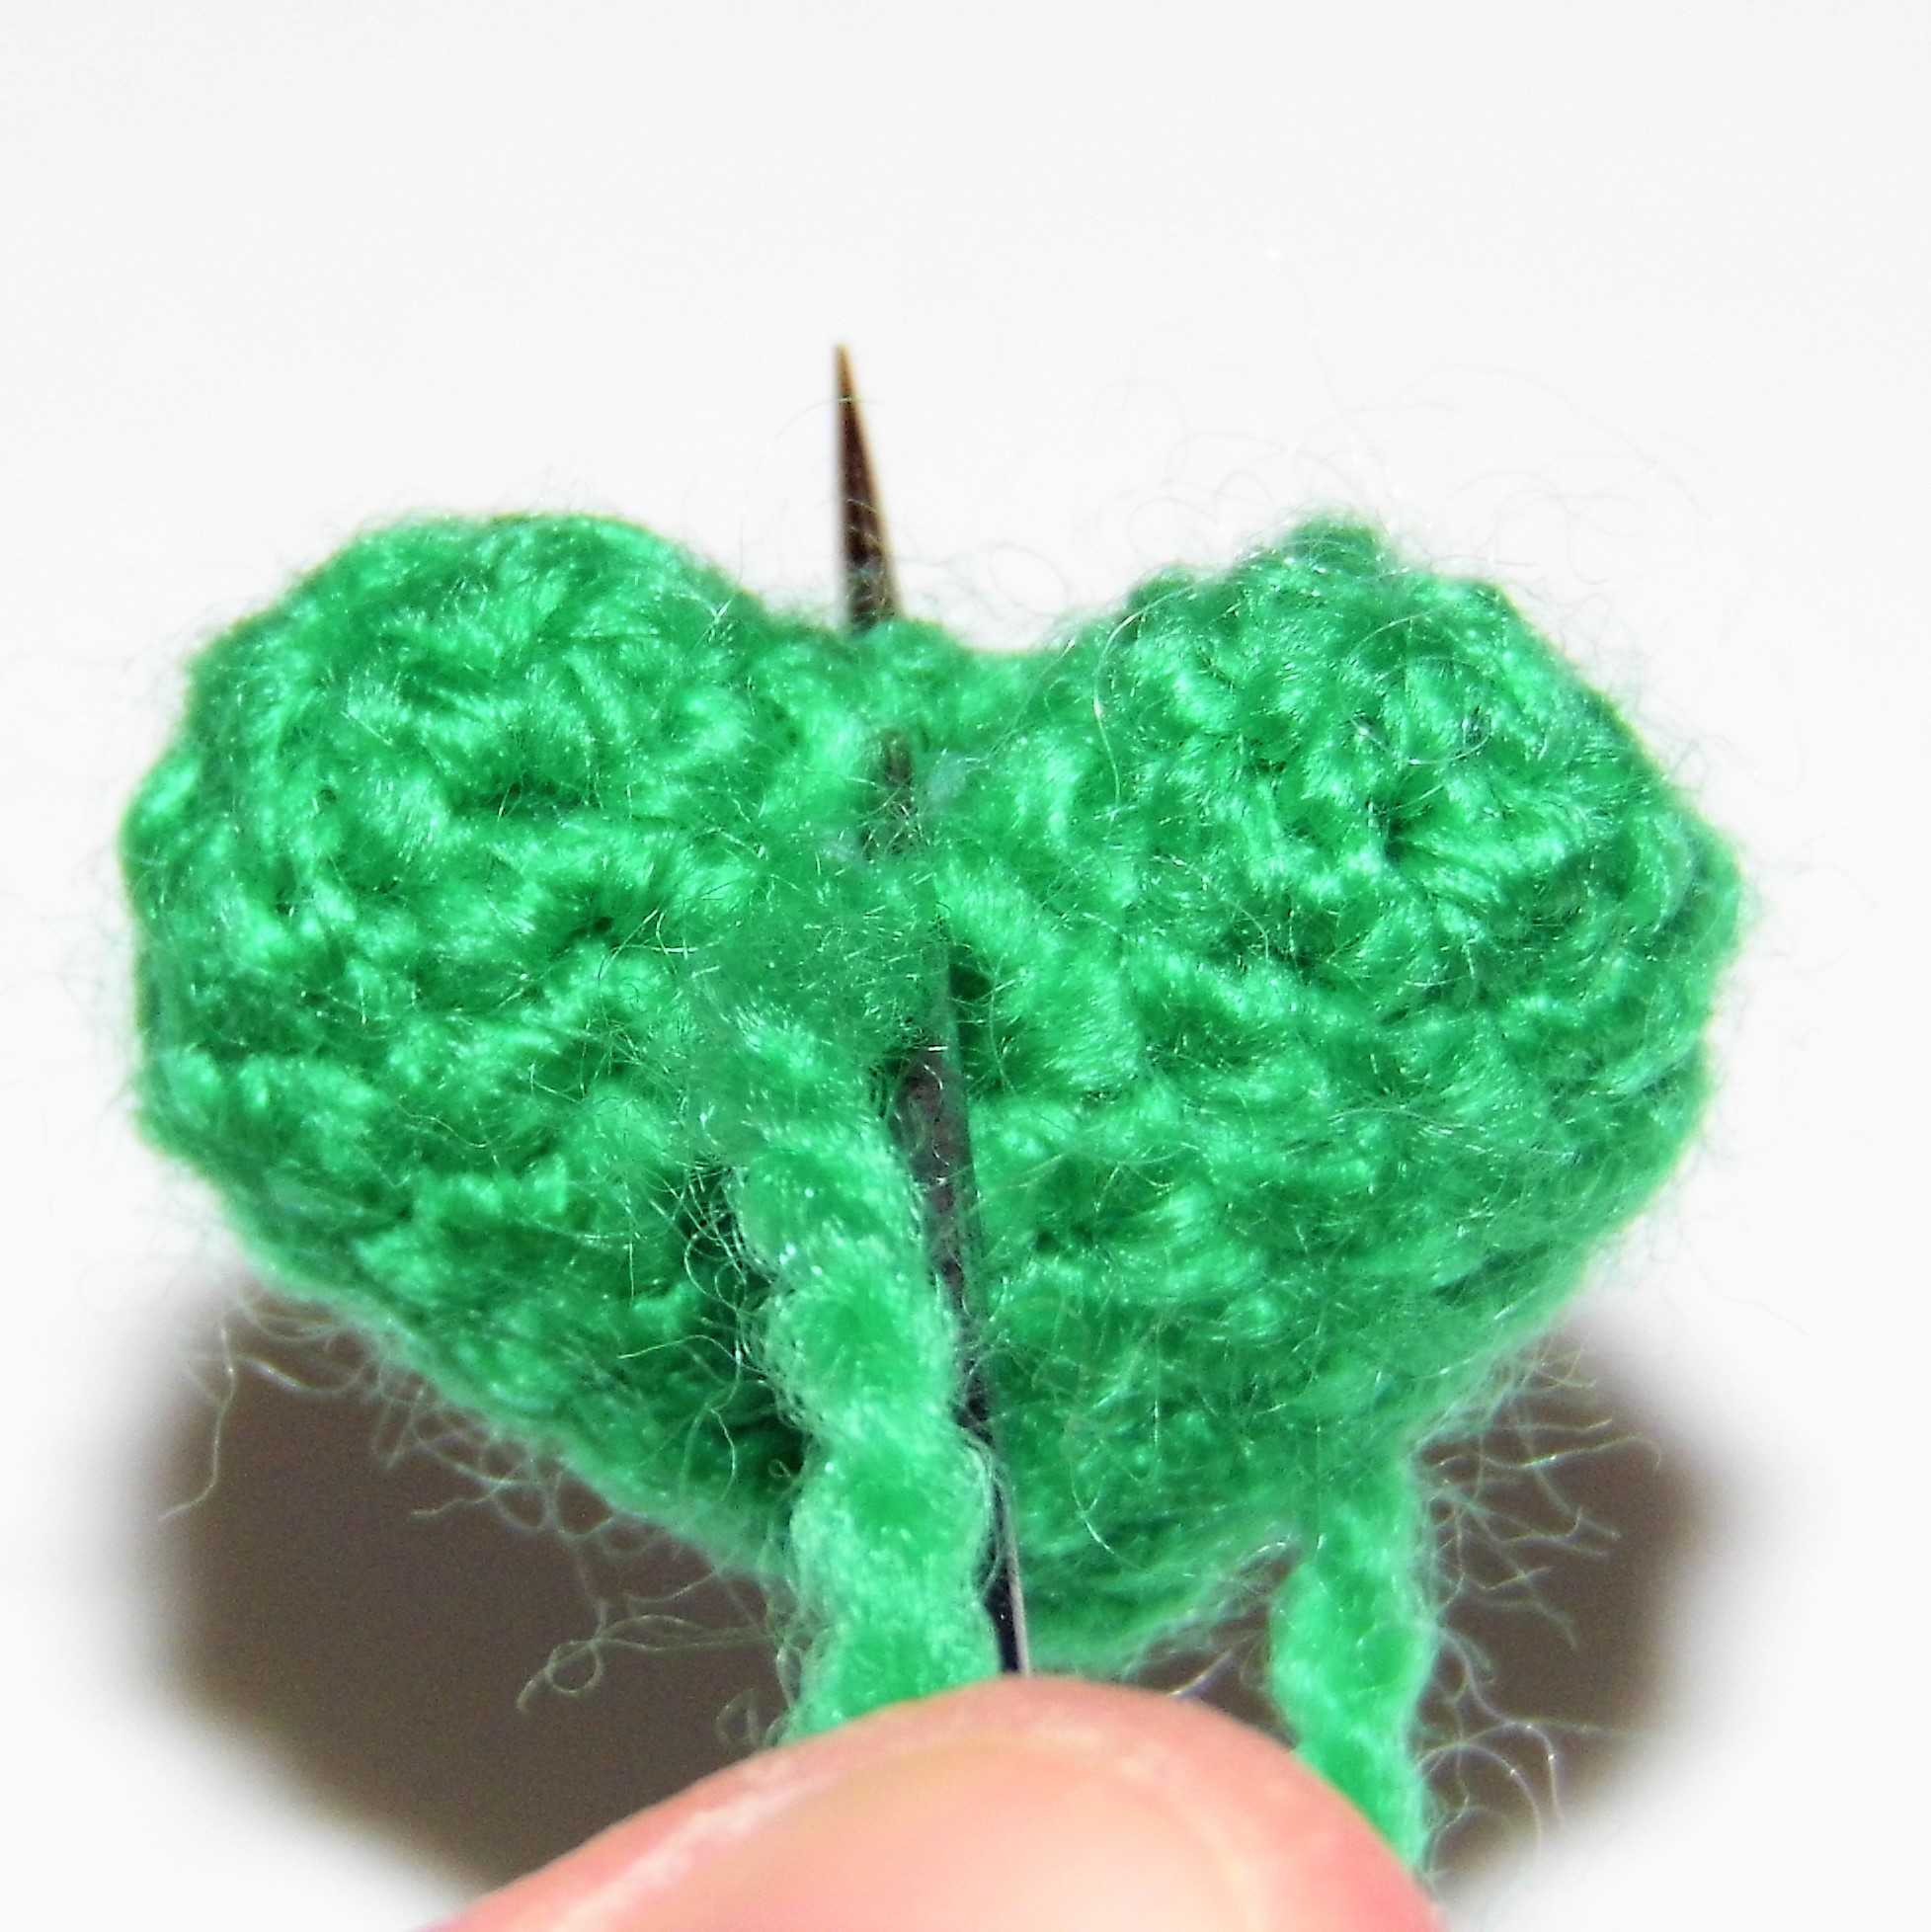
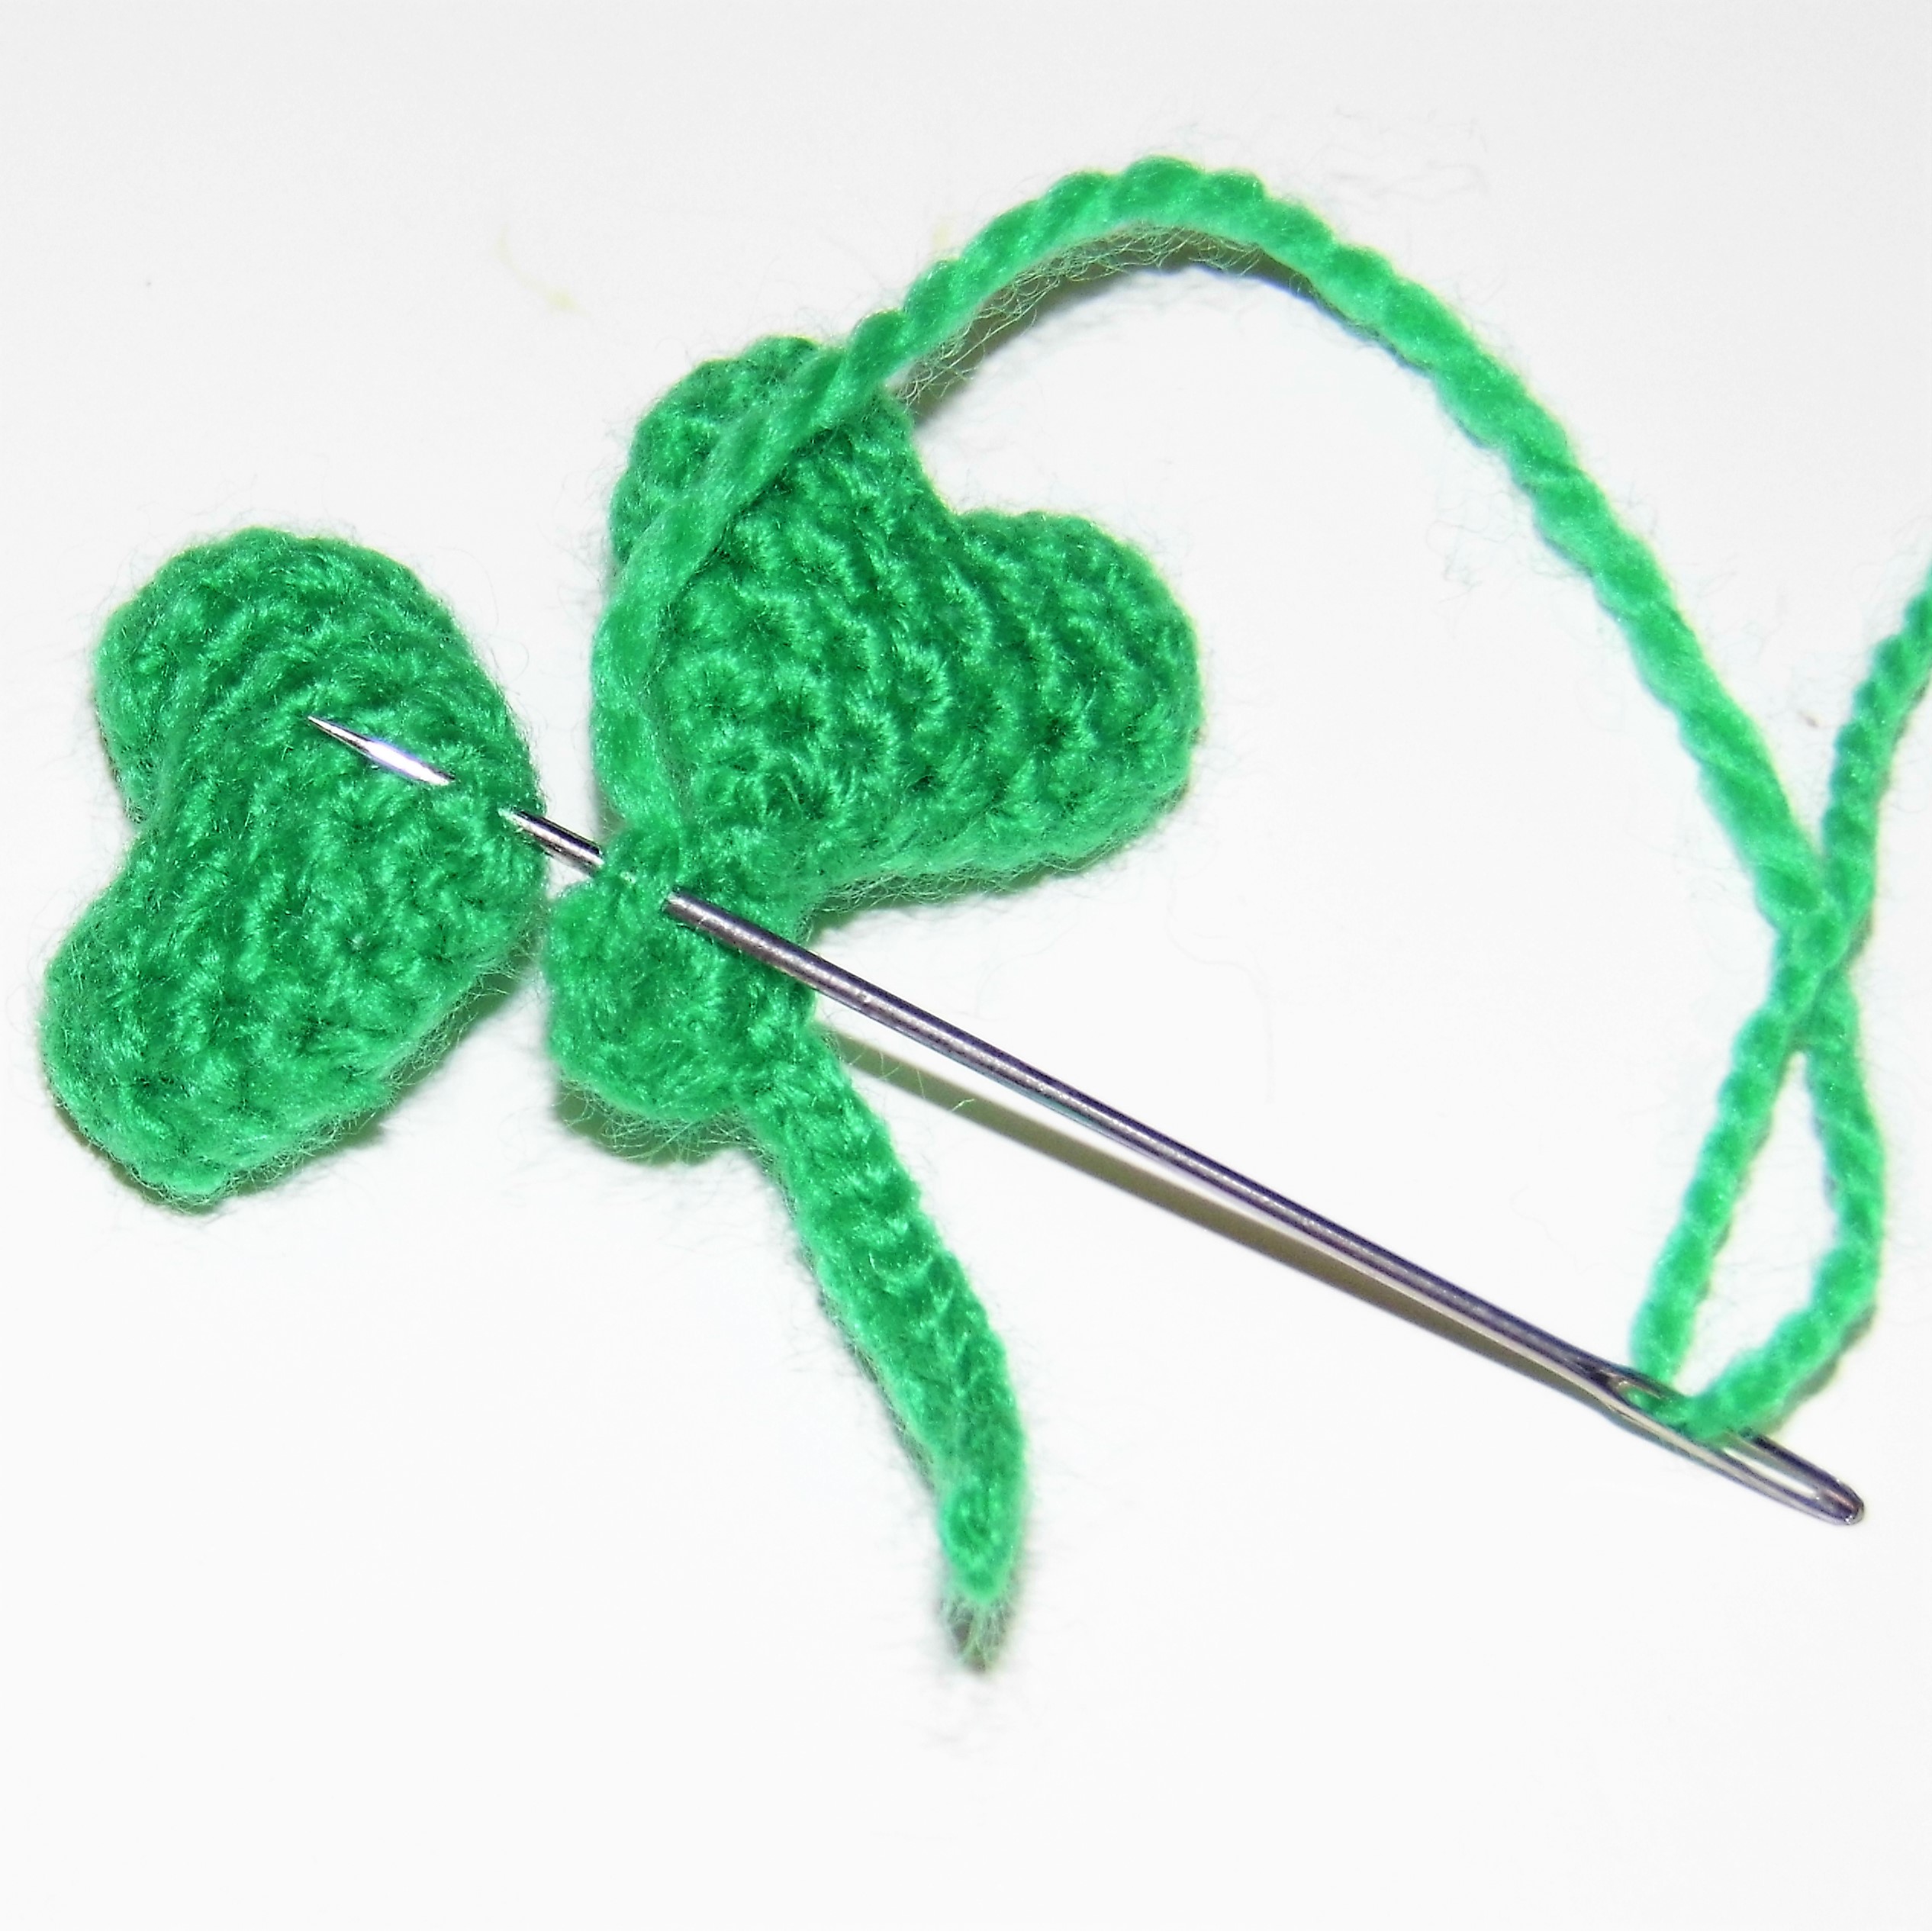
Sew the small gap that has remained between the two halves with the yarn needle.
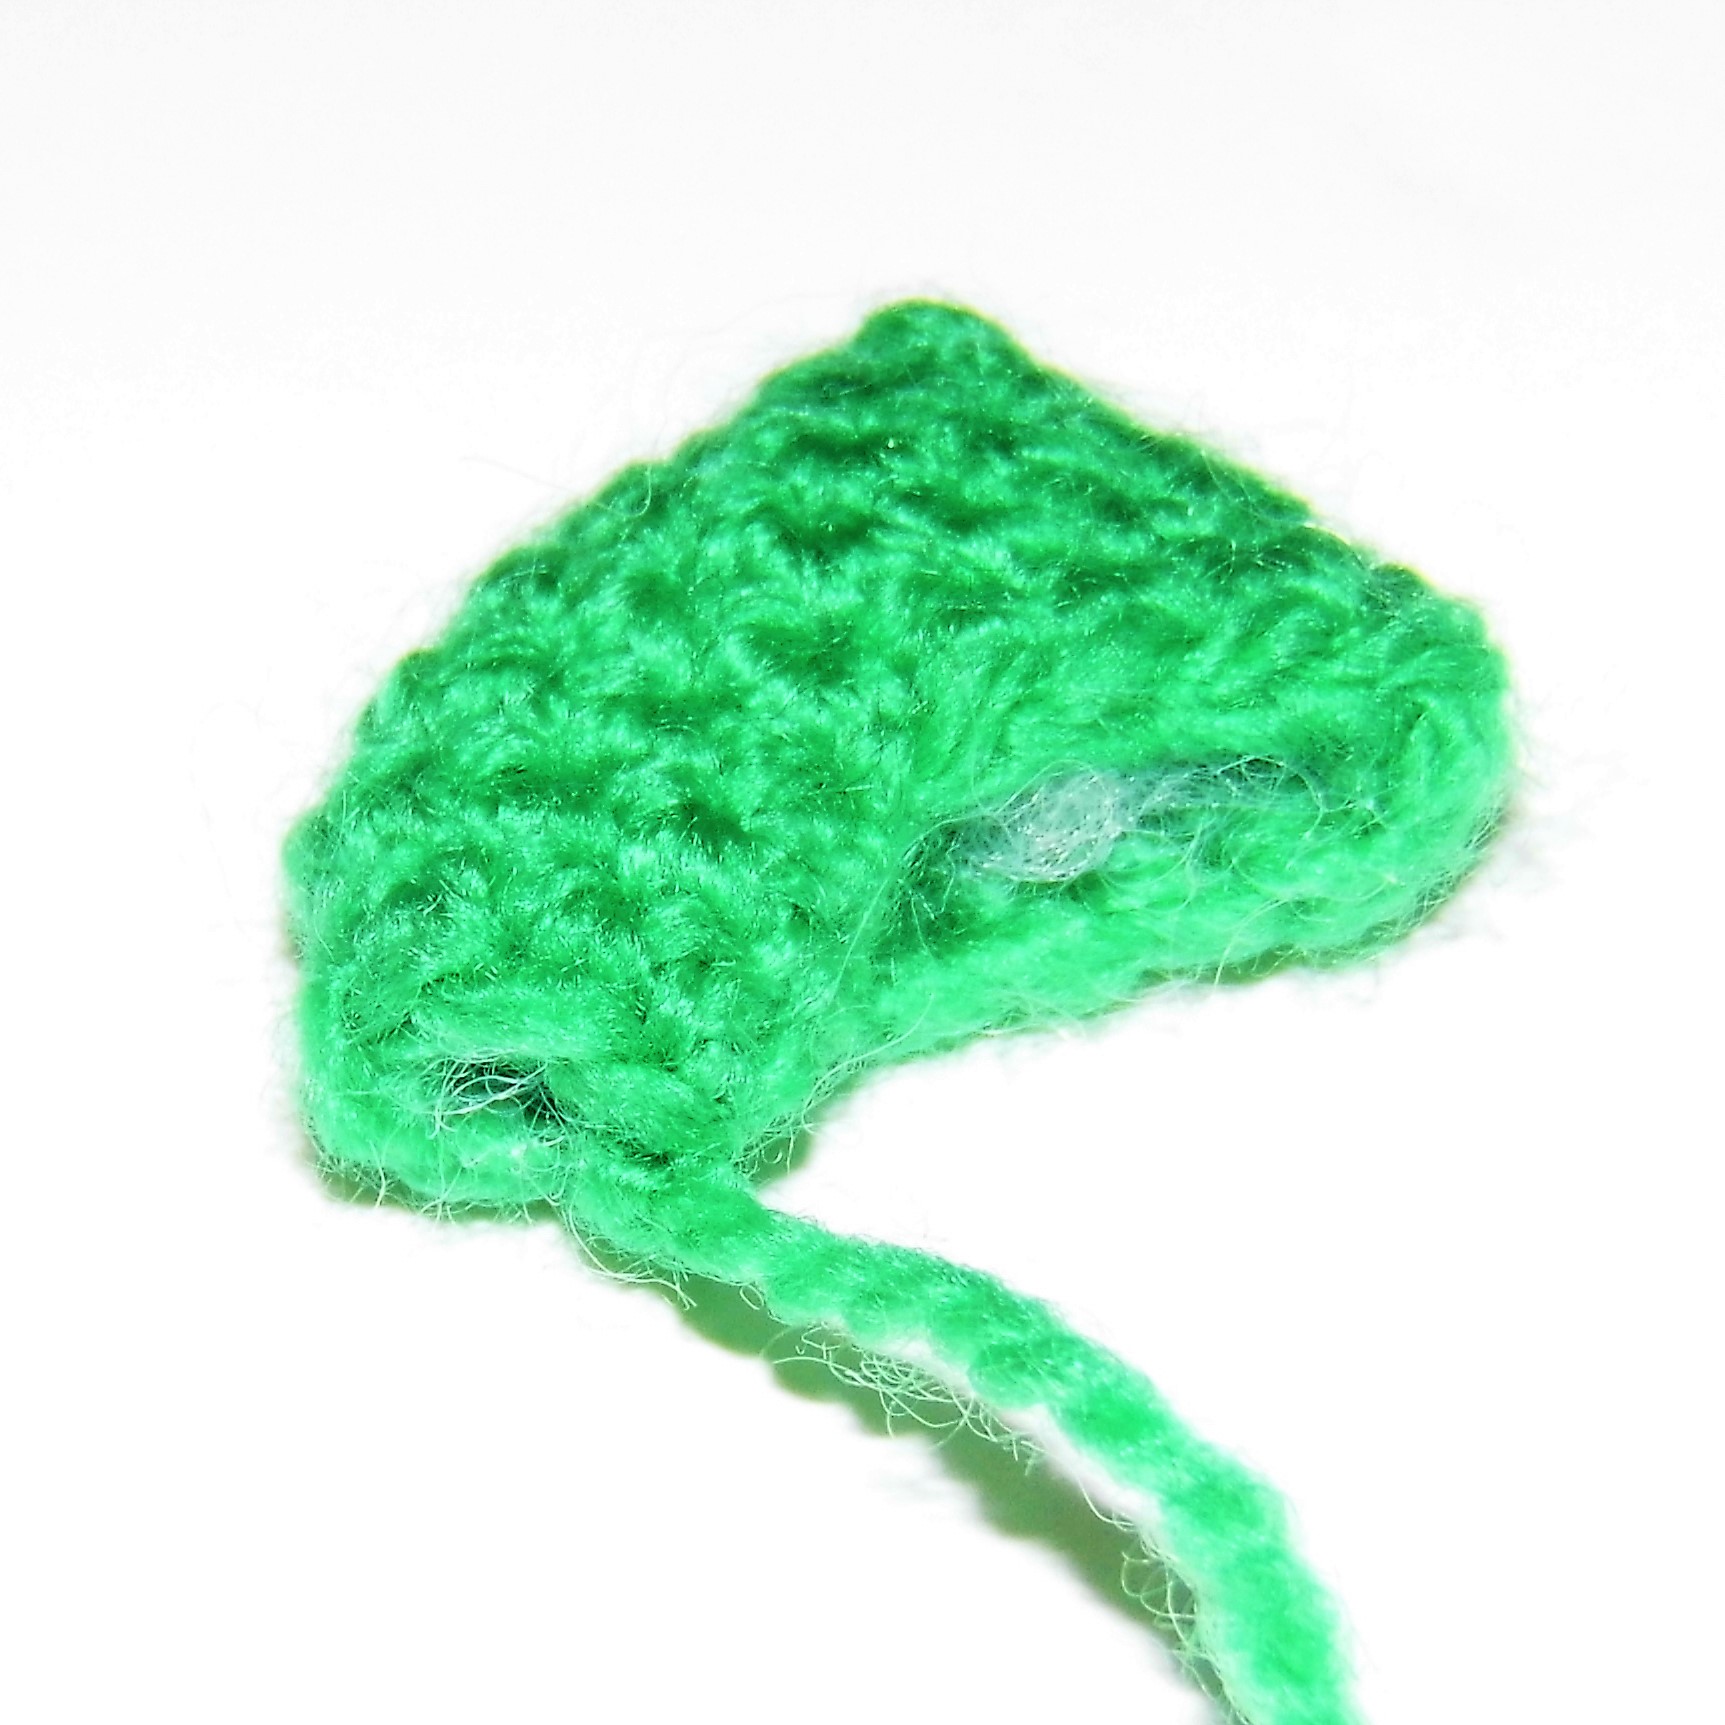
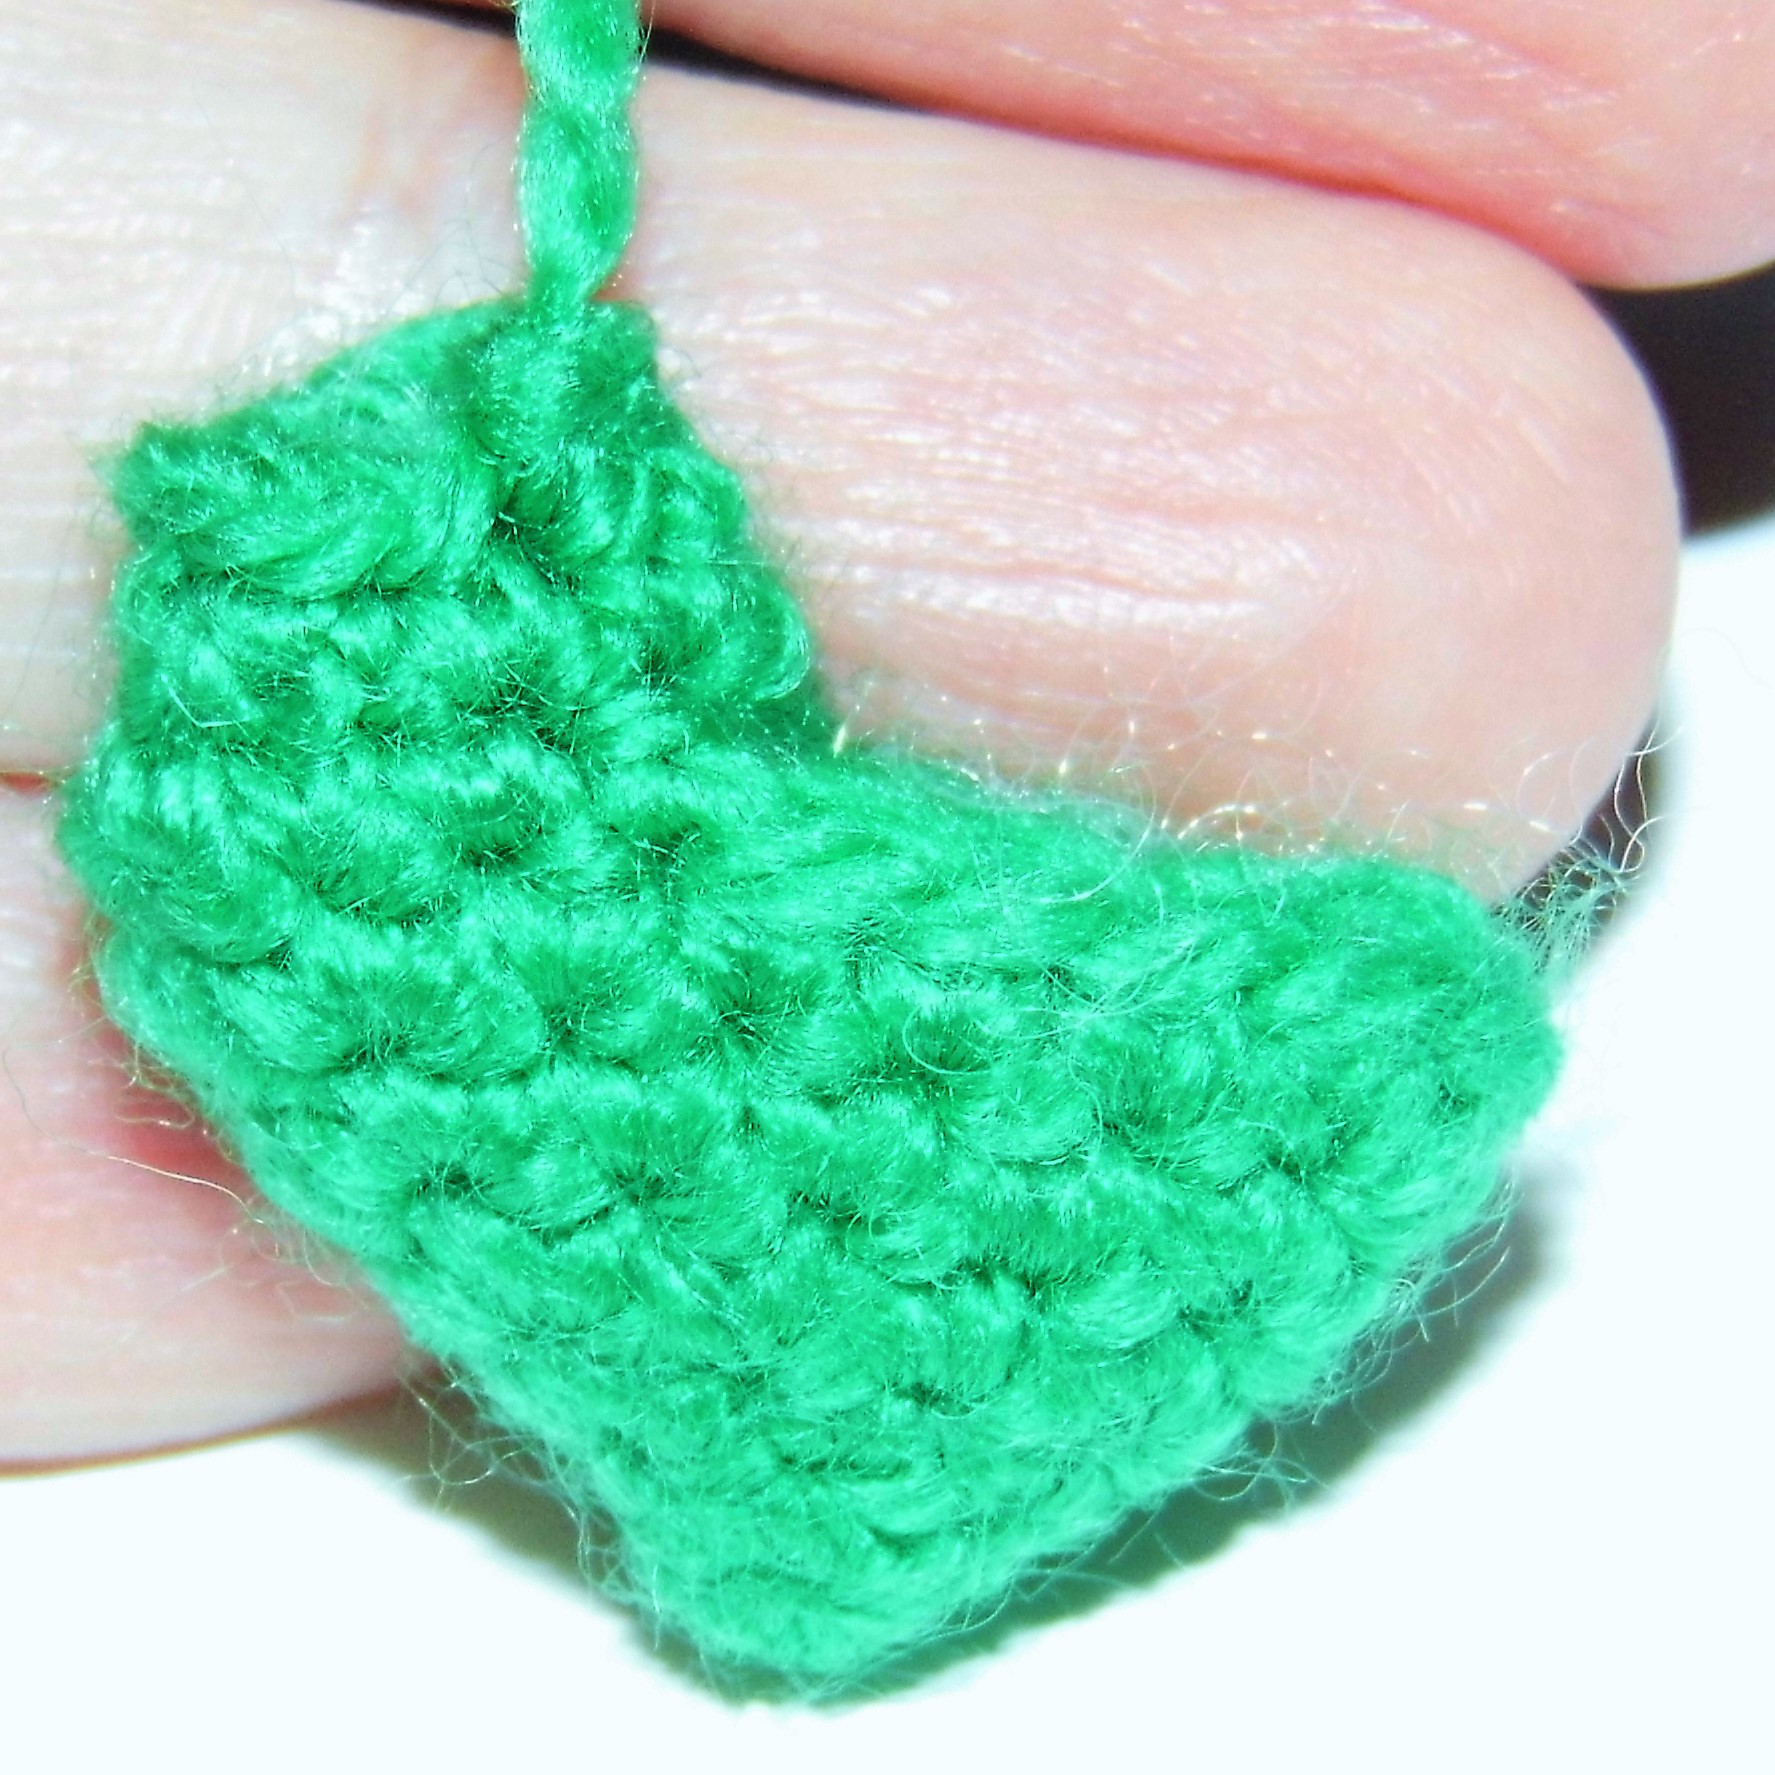
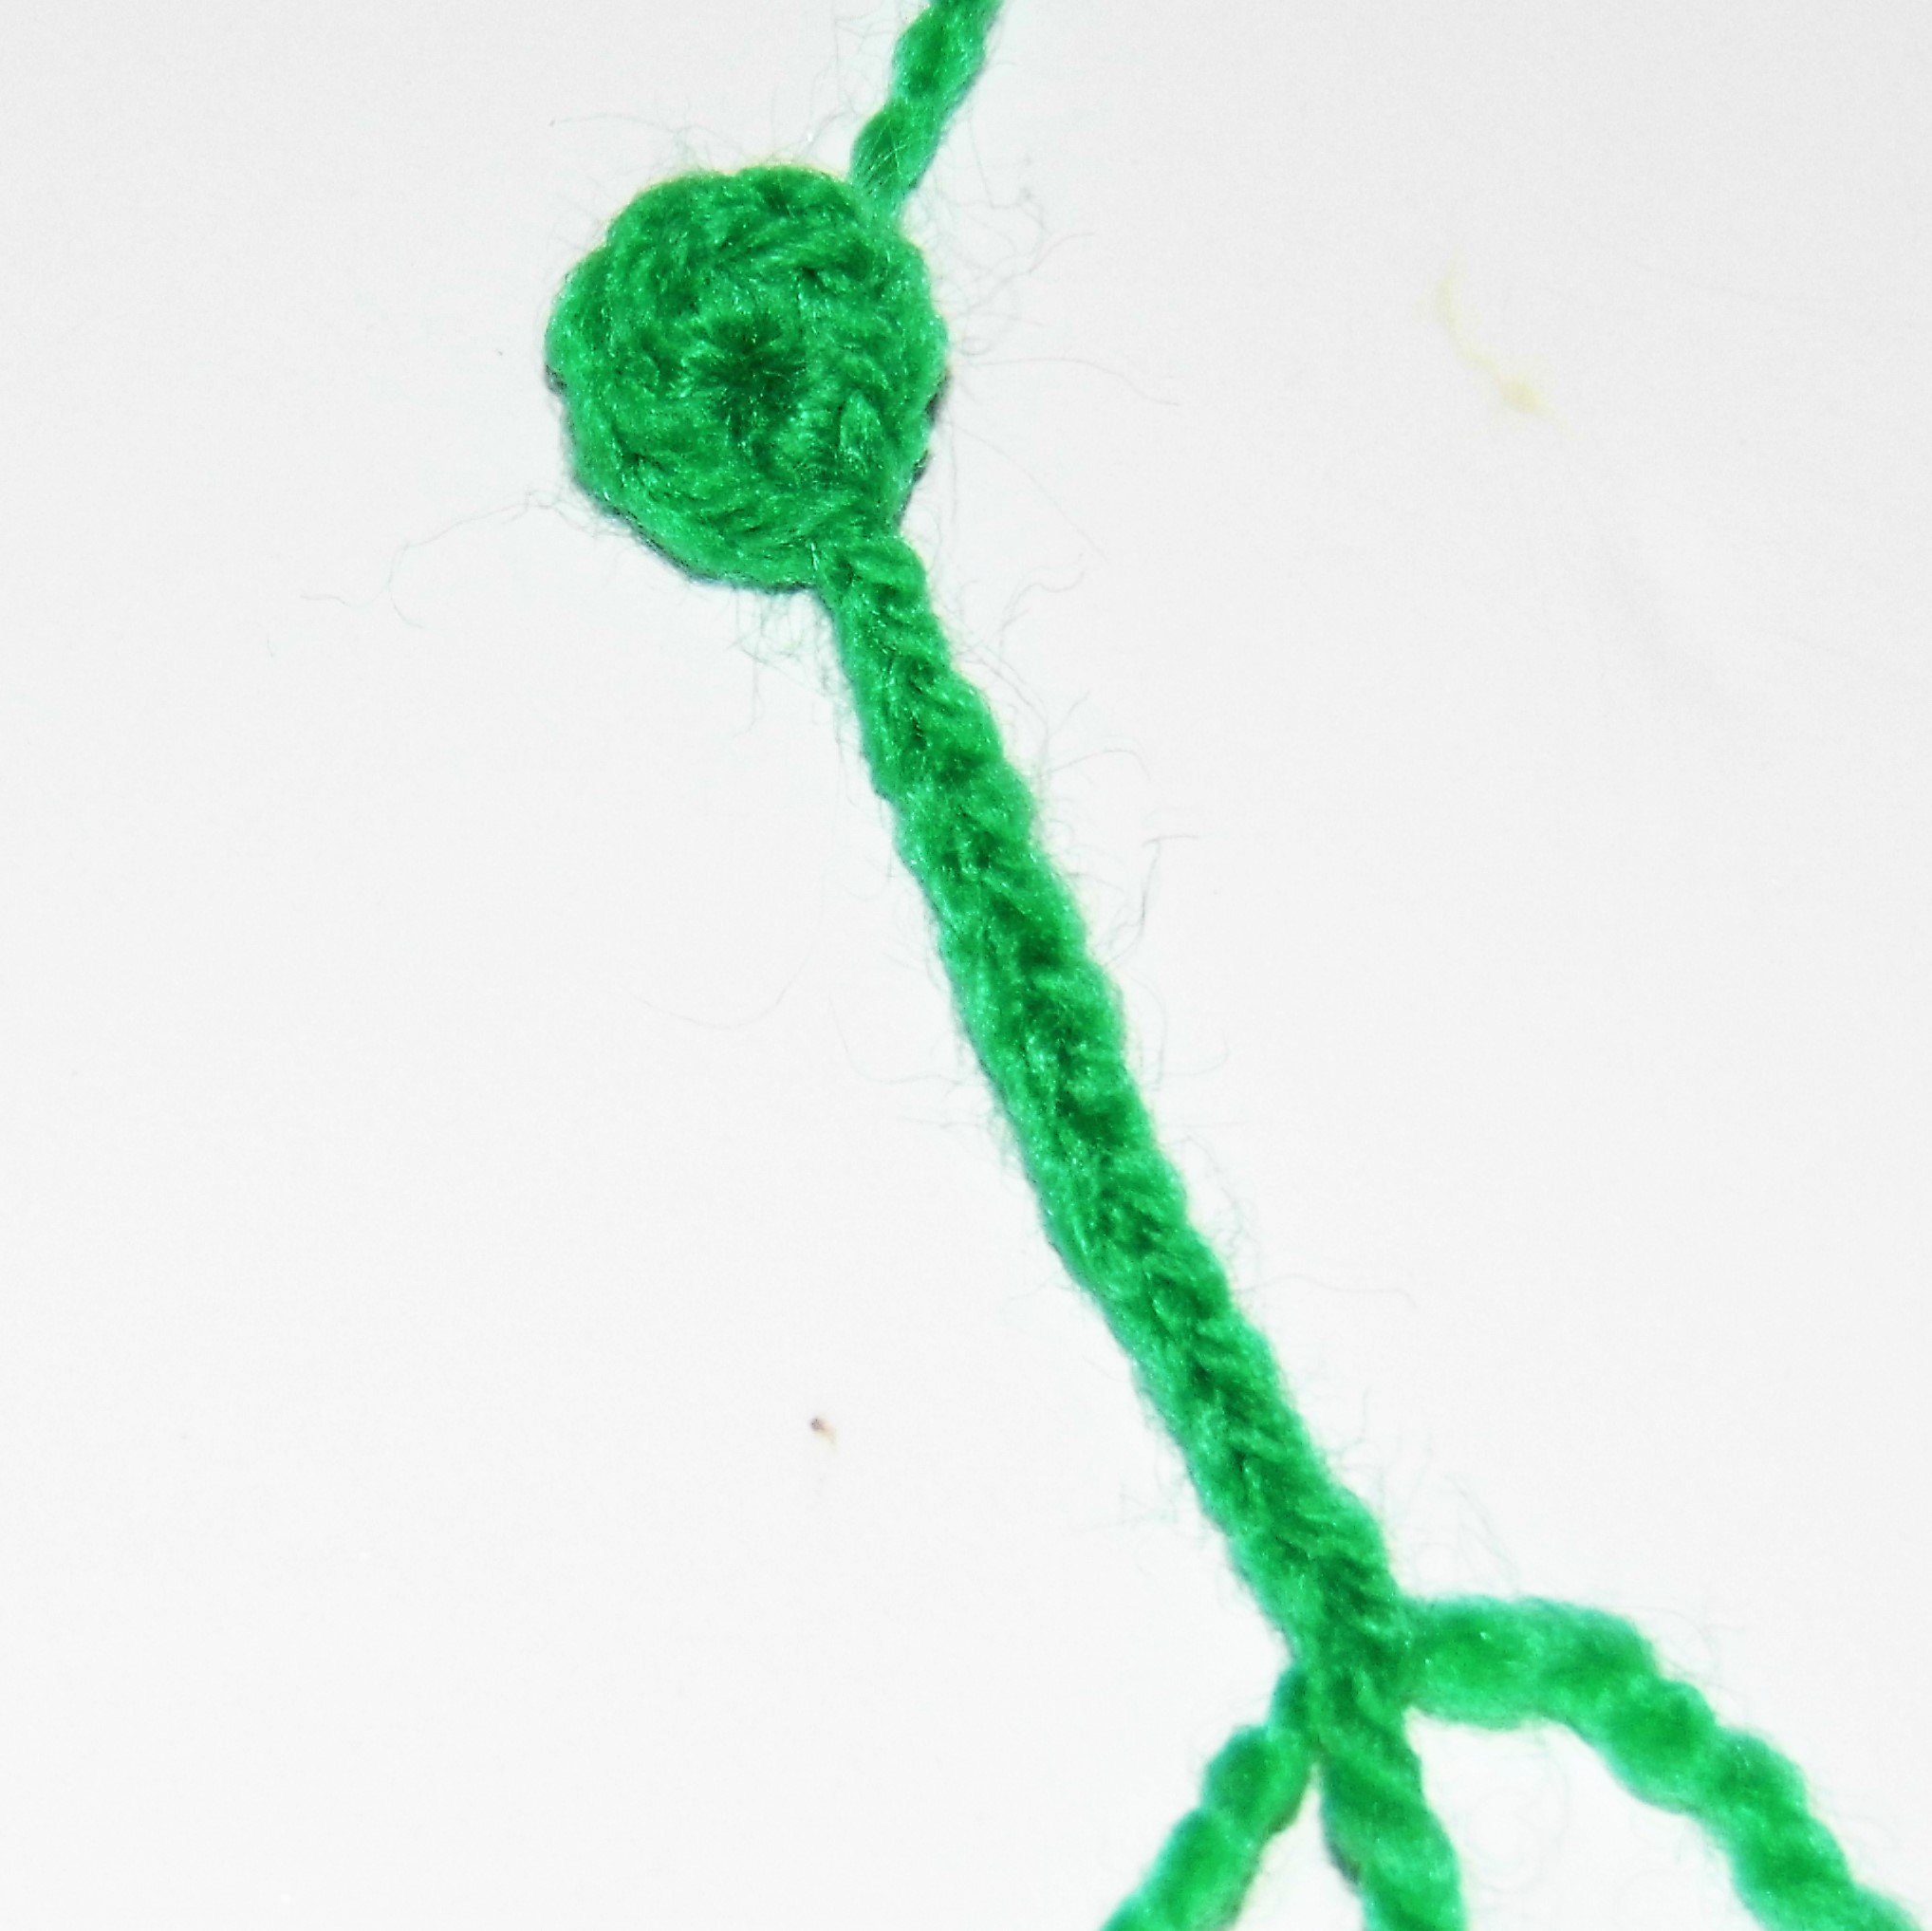
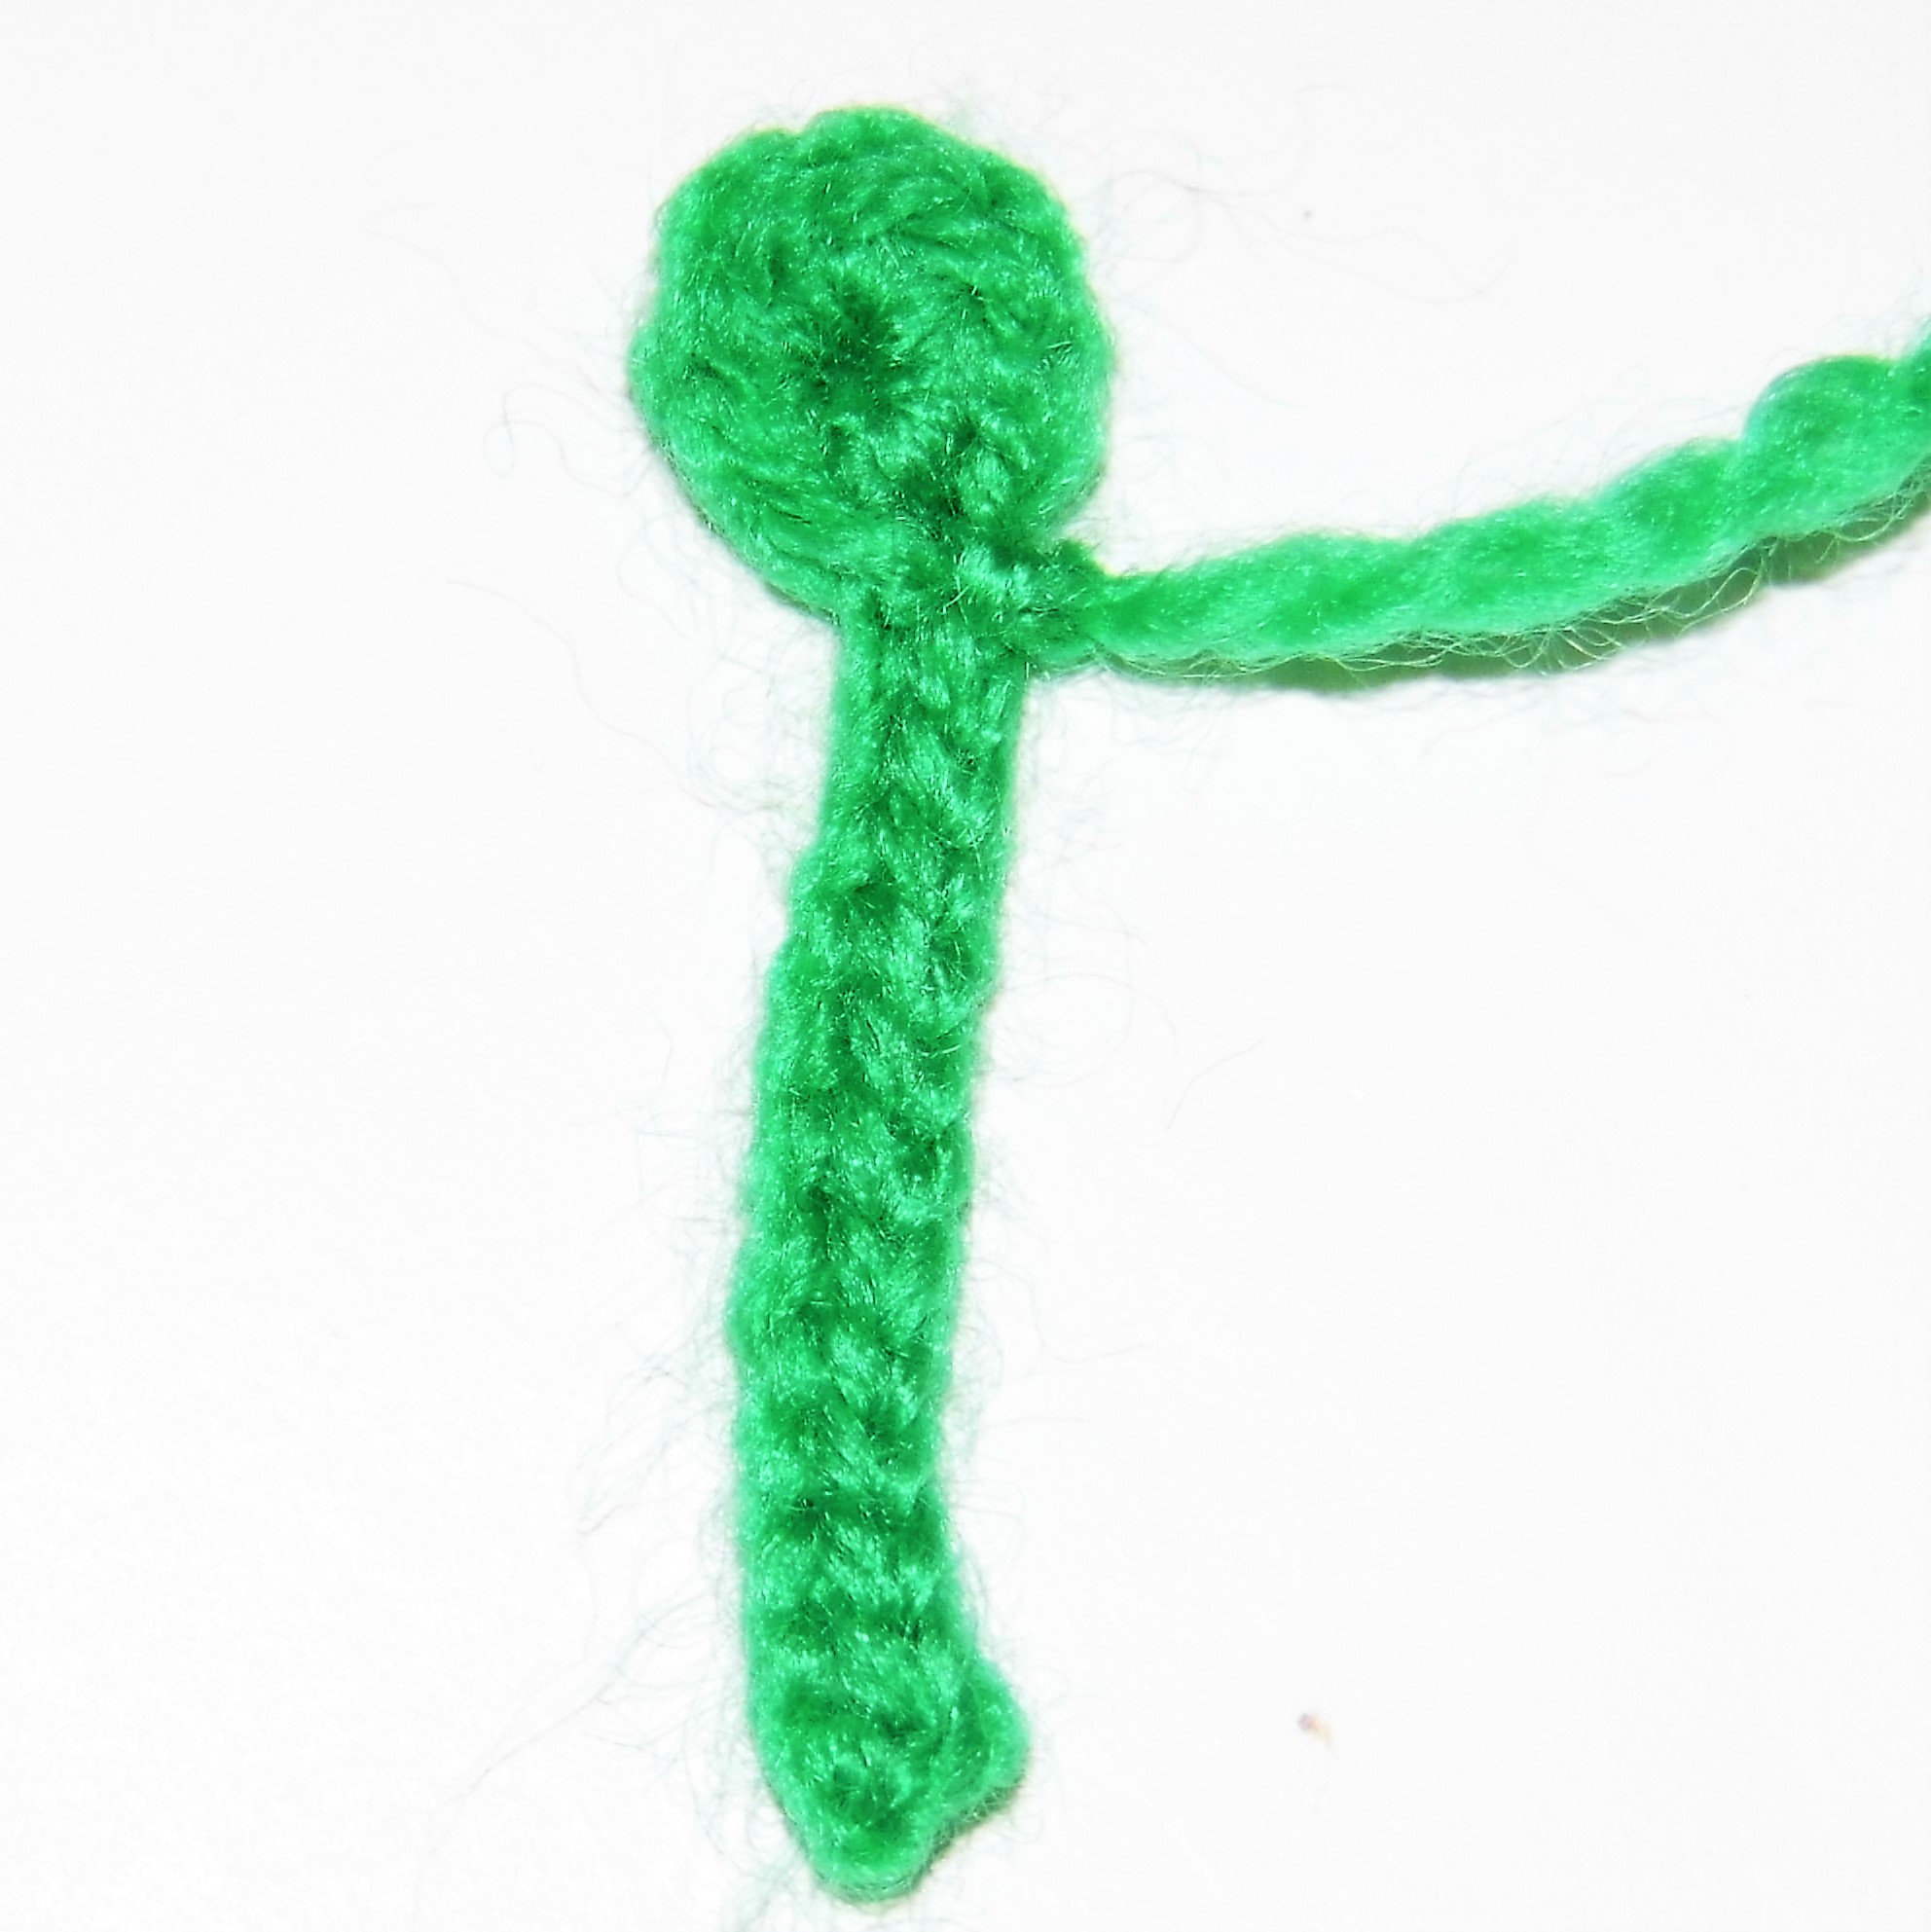
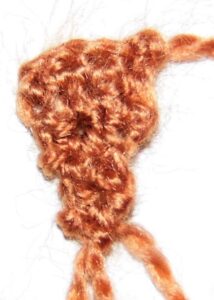
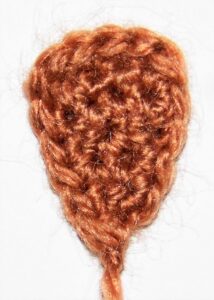
CENTRAL PART AND STEM:
With green yarn
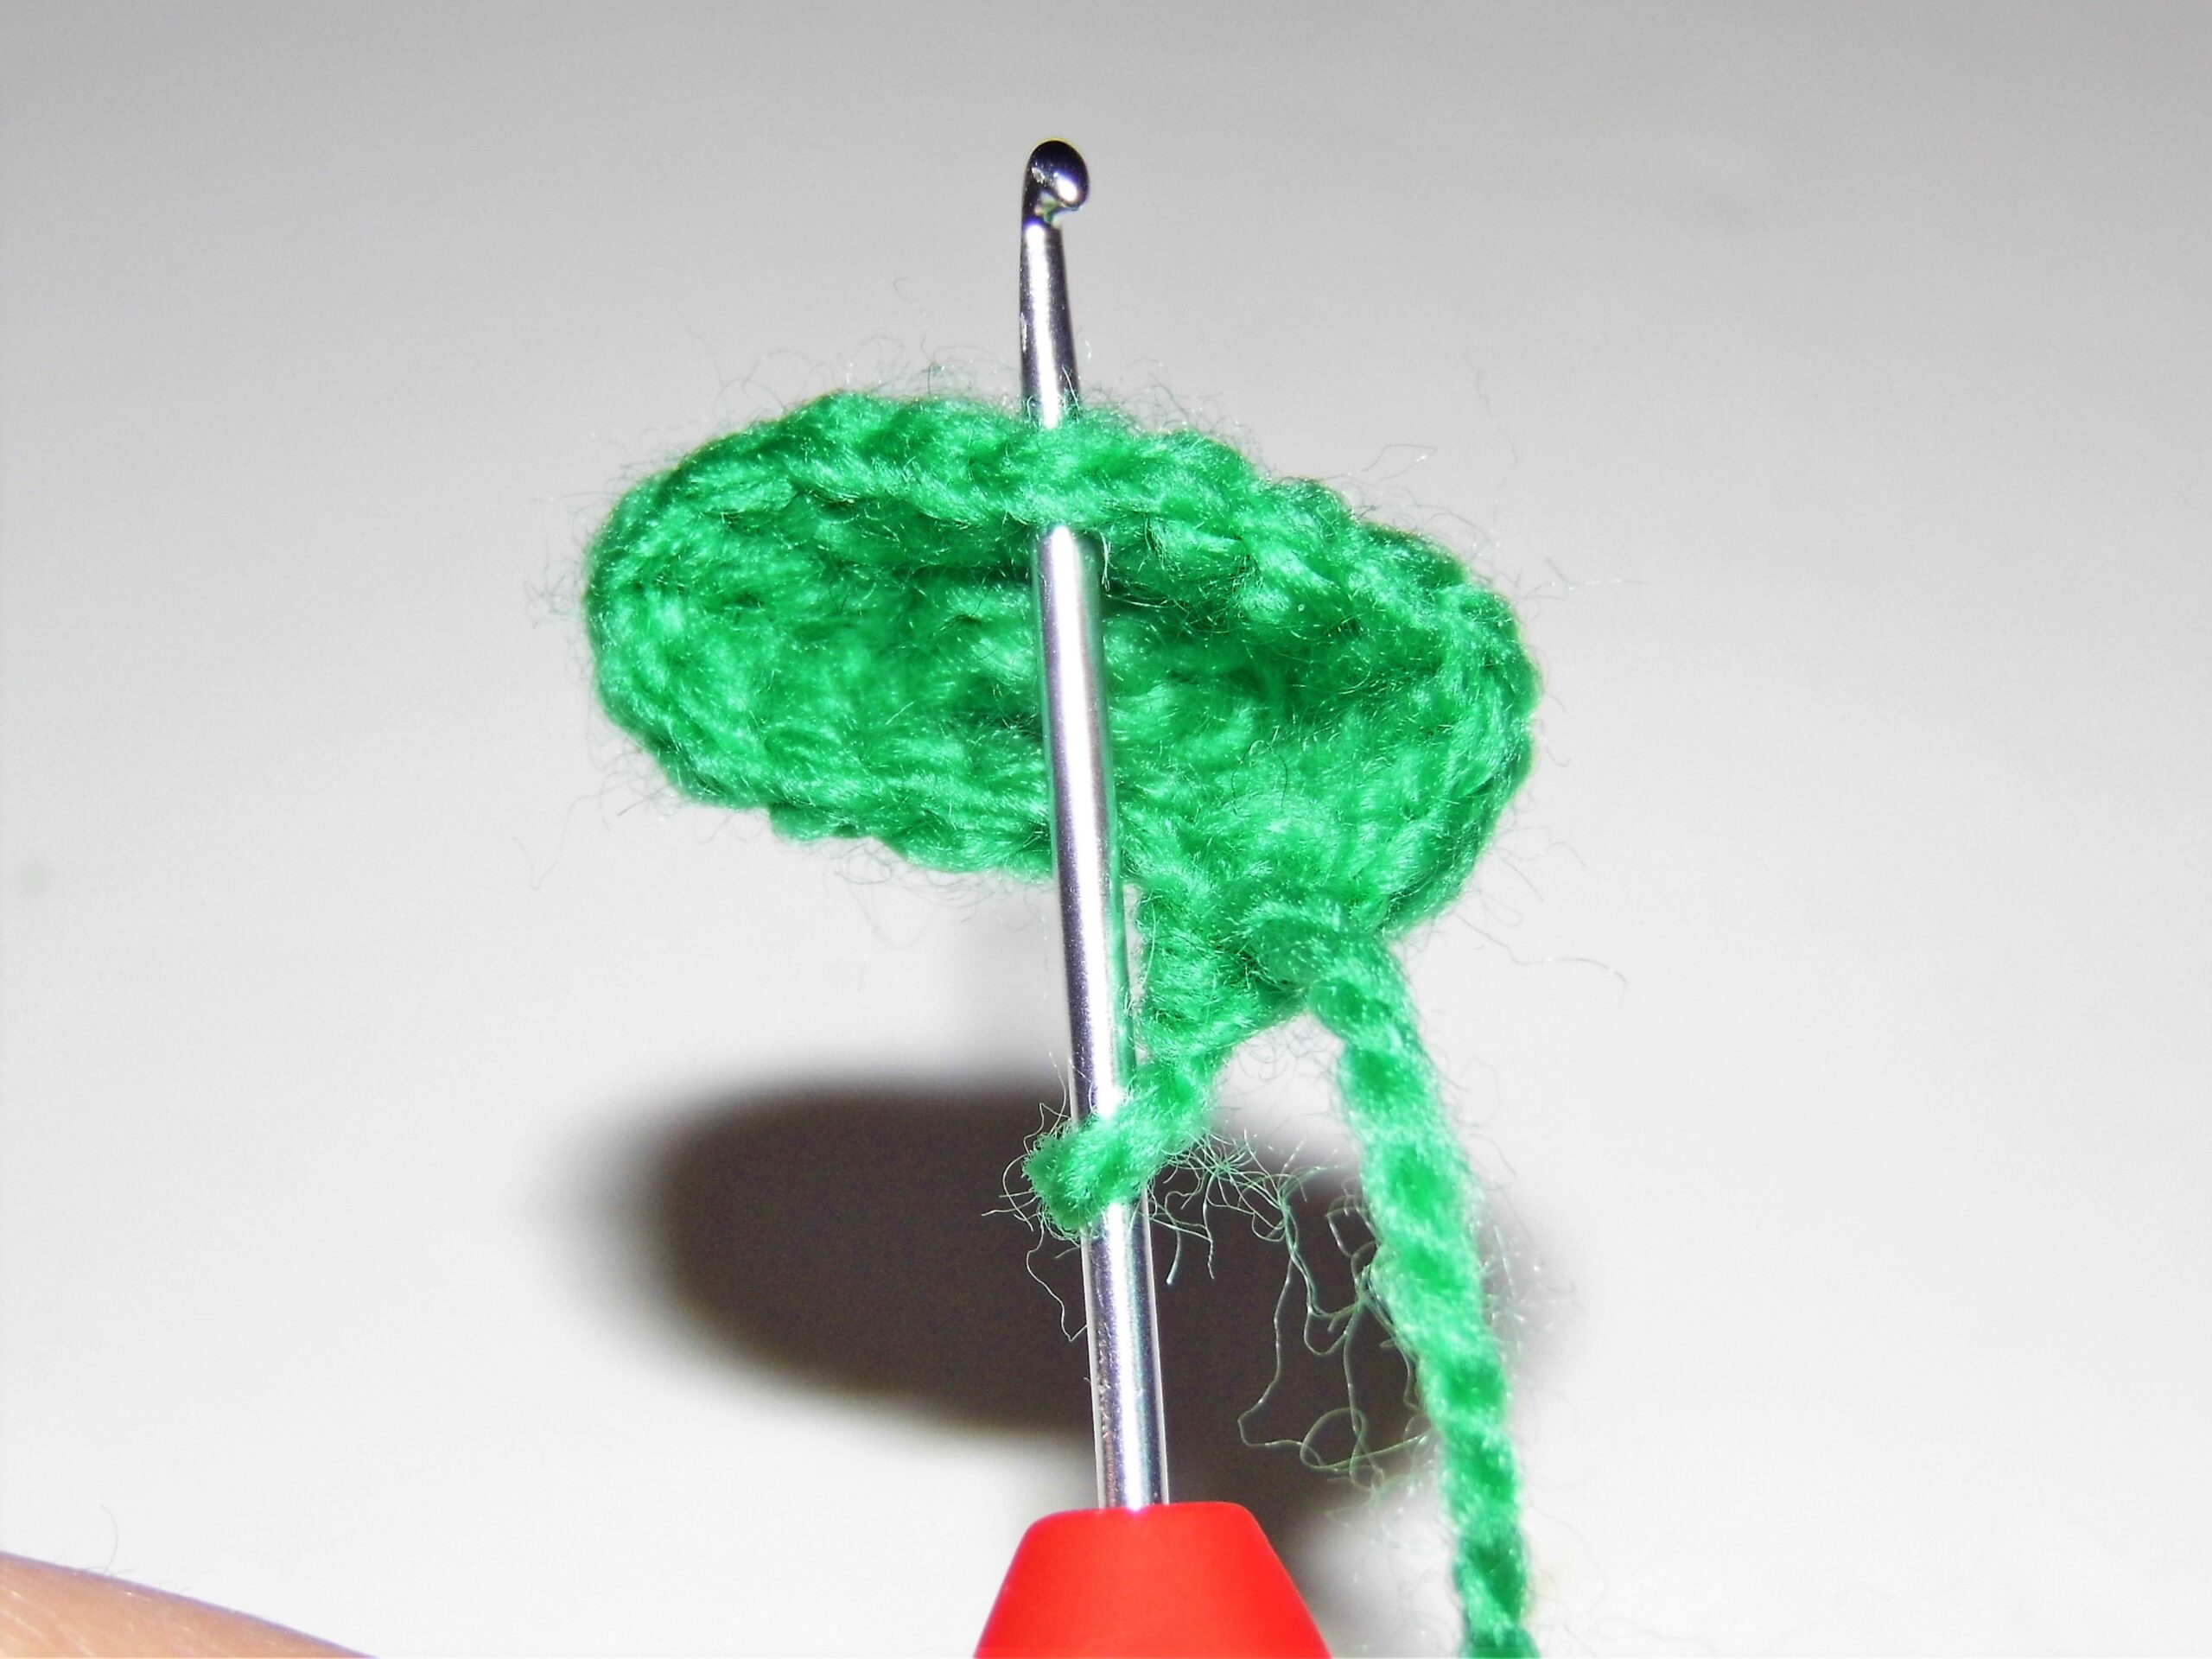
1. Work 7 sc in magic ring
2. Ch 13 and work 12 slip stitches on the chains, 1 slip stitch in the origin stitch of the chains.
Fasten off.
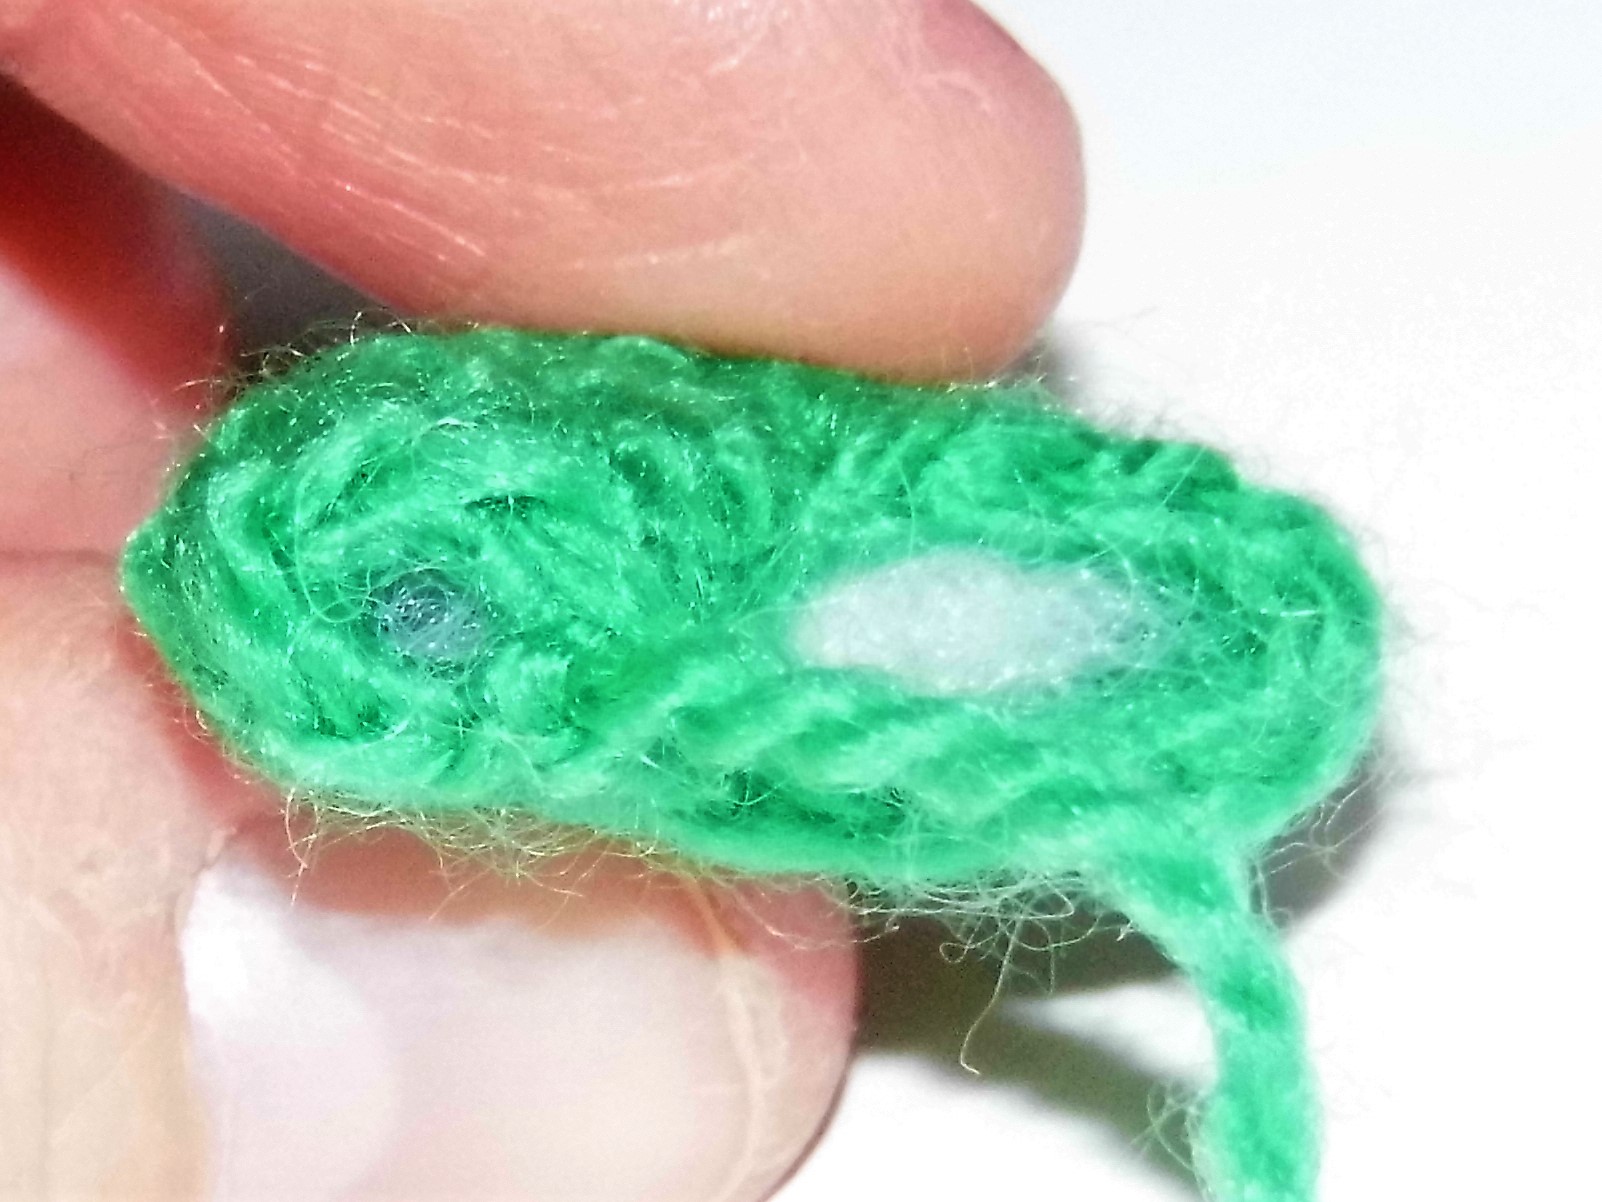
Sew a first leaf through its magic ring to 3 sc of the center part. Do it next to the stem. Sew the next 2 leaves over the last sc of the center where you sewed the previous one and into the next 2 sc. In this way you will have sewn the 3 leaves on the 6 sc of the magic ring of the central part.
Finished!
I hope you liked the brief historical reference and enjoy crocheting the pattern.
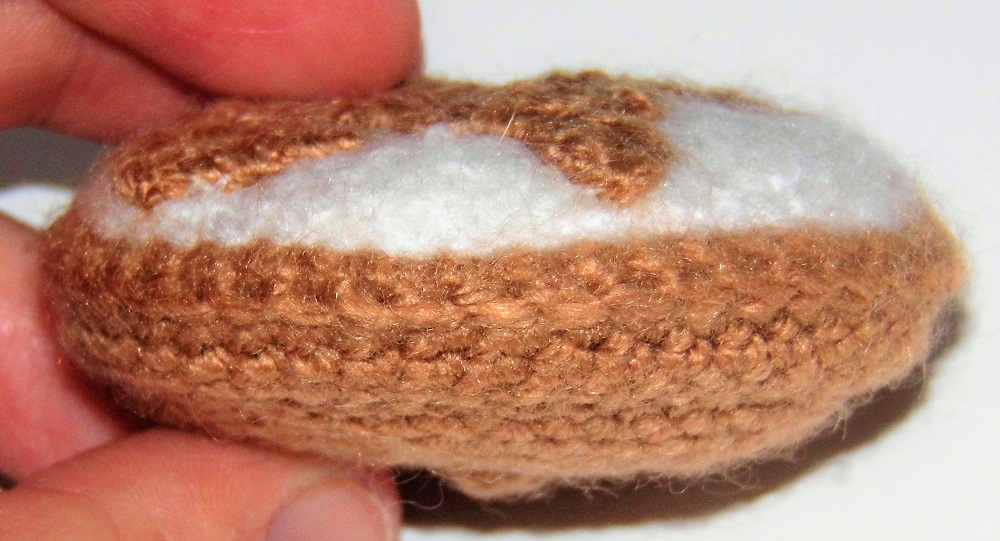
As you know, I am from Galicia and as I have done on previous occasions as in the Galician Octopus Amigurumi Pattern, I want to show you a little bit of my land through the St James Cake Amigurumi Pattern.
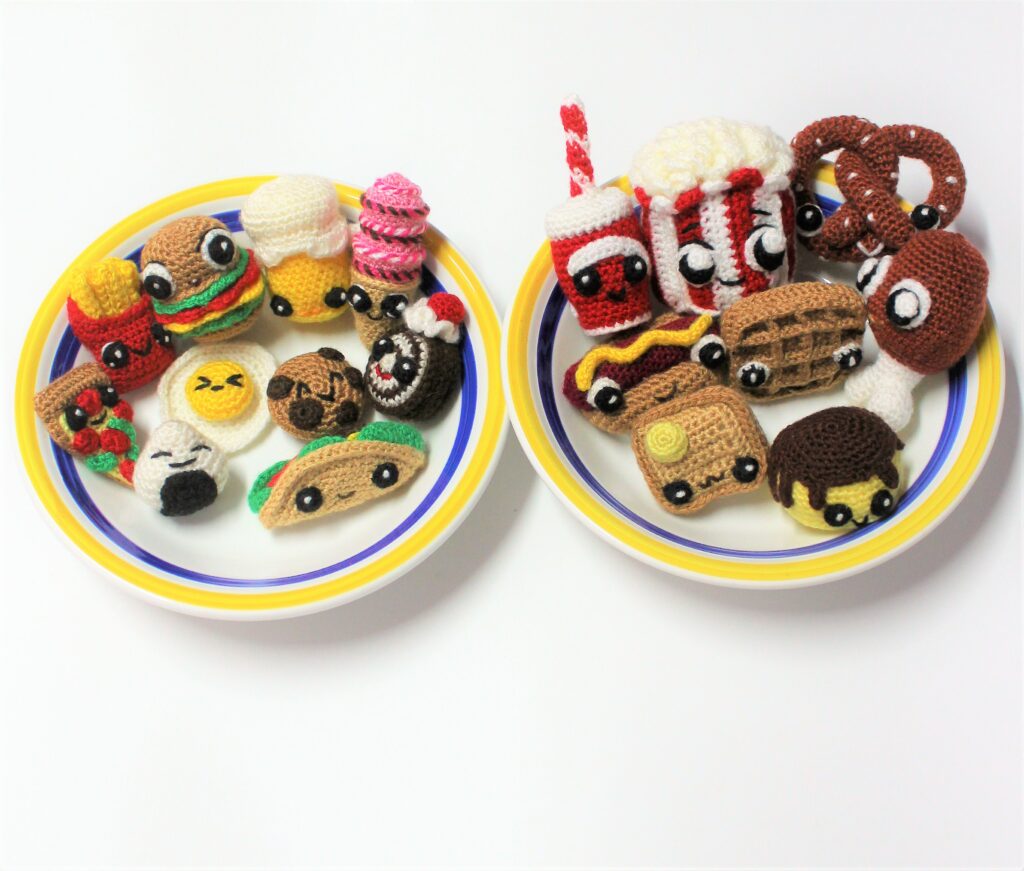
I have designed a New collection of “delicious” kawaii-style amigurumis
And I thought I could take advantage of and show you one of the most representative desserts of my land:
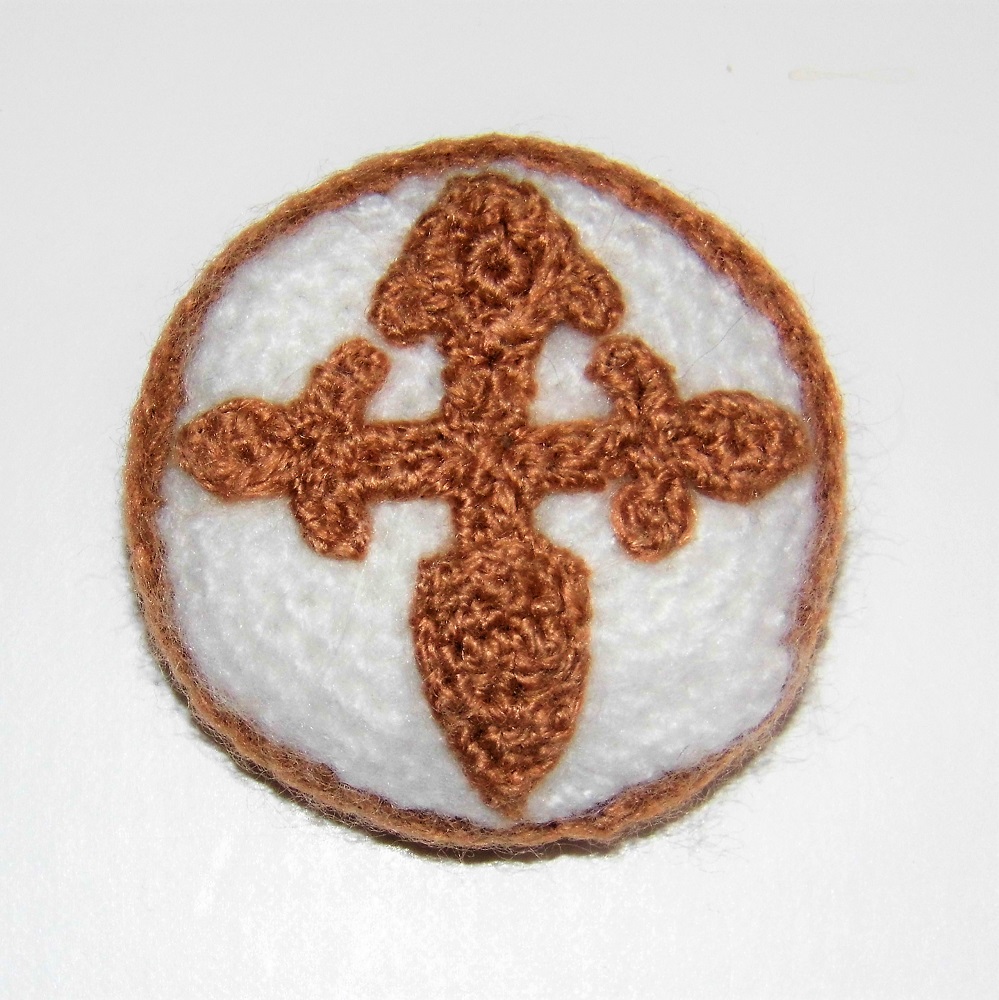
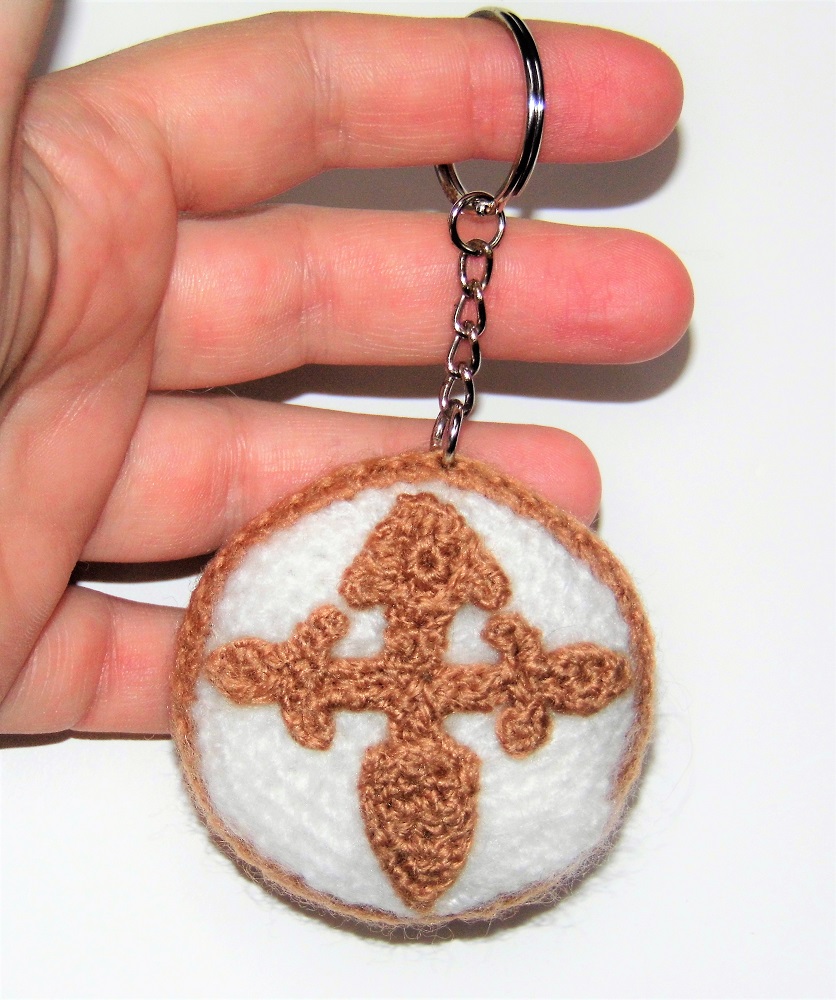
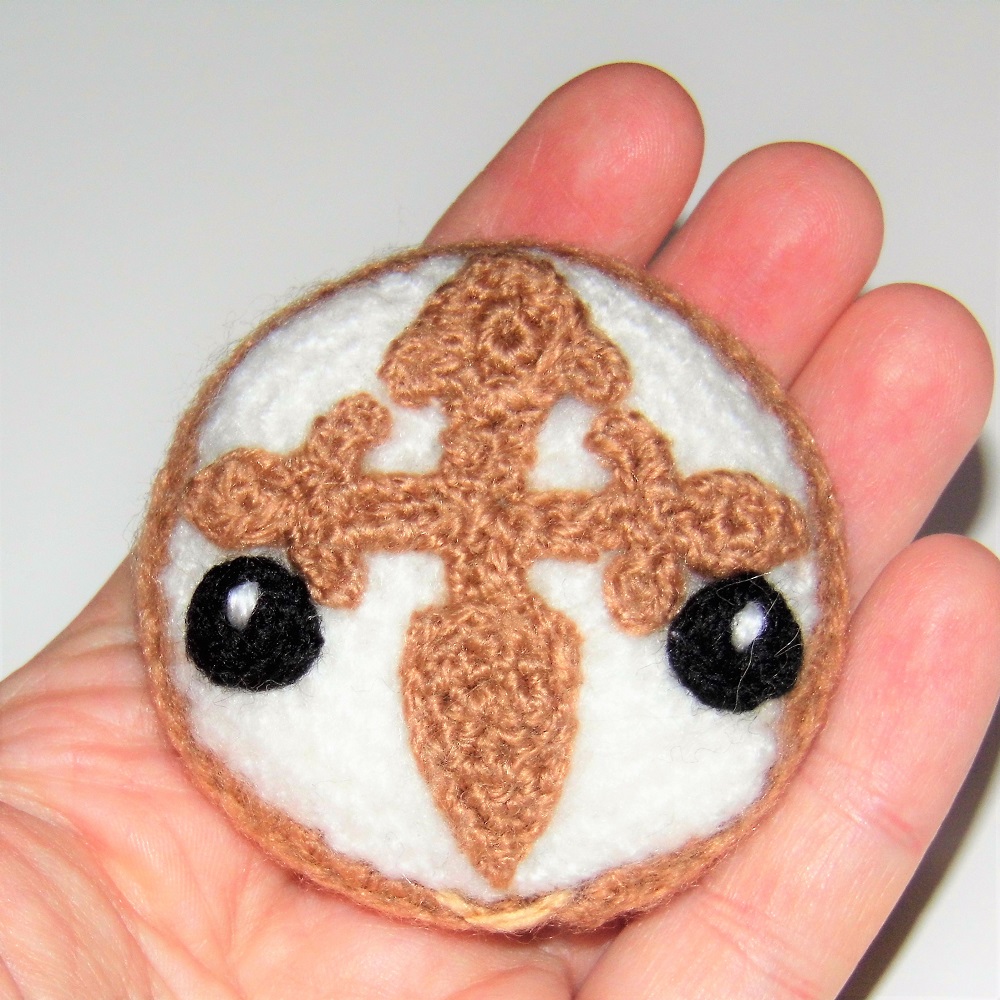
St. James’ Cake (Tarta de Santiago)
Do you know it? It is a very simple recipe since it is made only with almonds, sugar and eggs, with a little bit of cinnamon and lemon zest.
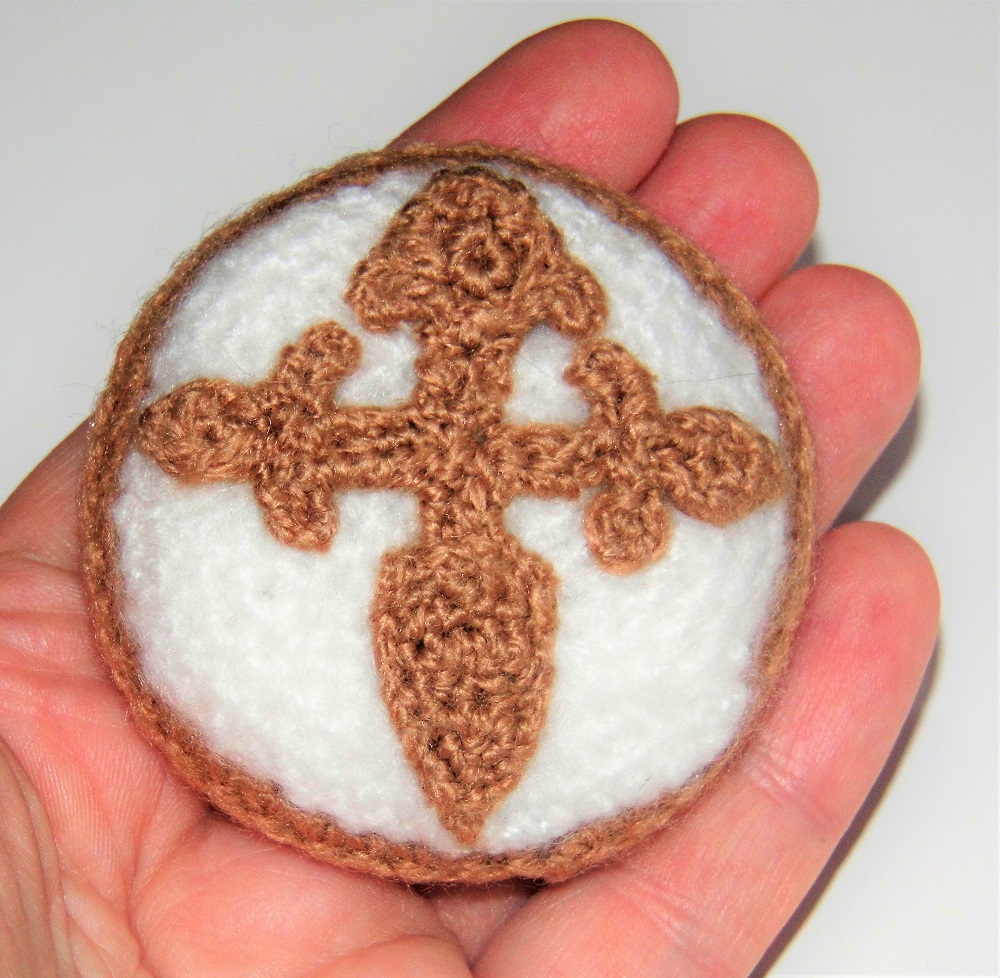
It’s delicious! But what makes it unmistakable is the drawing of St. James’ cross on the surface made with a template on which we sprinkle icing sugar.
Here you have the St-James’ Cake Amigurumi Pattern that you can also turn into a funny keychain. I hope you like it!
Size: 2,3″ / 6 cm
Difficulty: High
Estimated Time: 8 h
Hook size: 2 mm
MATERIALS
Yarn of different colors: white, black, beige, light beige.
1. Work 6 sc in magic ring. 2. Inc in every st (12). 3. “1 sc, inc”, repeat (18). 4. “2 sc, inc”, repeat (24). 5. “3 sc, inc”, repeat (30). 6. “4 sc, inc”, repeat (36). 7. “5 sc, inc”, repeat (42). 8. 1 sc in each st (42).
9. Work in back loops only 1 sc in each st (42). You will return to this round to complete the cake. 10. and 11. 1 sc in each st (42). 12. Work in back loops only 1 sc in each st (42). You will return to this round to complete the cake.
13. “5 sc, dec”, repeat (36). 14. “4 sc, dec”, repeat (30). 15. “3 sc, dec”, repeat (24). 16. “2 sc, dec”, repeat (18). 17. “1 sc, dec”, repeat (12). 18. Dec in every st (6). Fasten off. Sew the hole with the yarn needle.
Complete the Cake
With beige yarn
Return to round 9 and holding the piece with the magic ring pointing down, work 1 sc in each st (42). Fasten off
1. Return to round 12 and holding the piece with the last round pointing down, work 1 sc in each st (42). 2. and 3. 1 sc in each st (42).
4. Join with sc the 42 sc of each side (42).
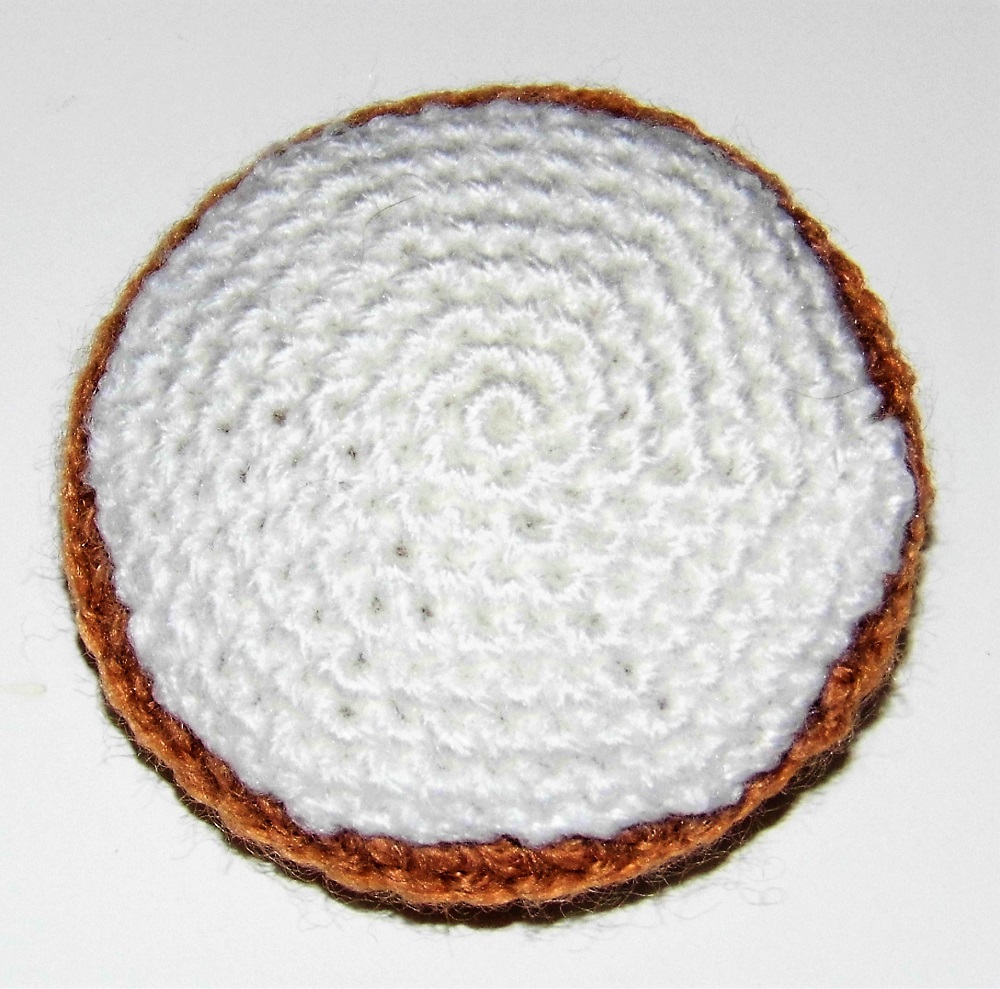
ICING SUGAR PART
With white yarn
1. Work 6 sc in magic ring. 2. Inc in every st (12). 3. “1 sc, inc”, repeat (18). 4. “2 sc, inc”, repeat (24). 5. “3 sc, inc”, repeat (30). 6. “4 sc, inc”, repeat (36). 7. “5 sc, inc”, repeat (42). 8. 1 sc in each st (42). Fasten off.
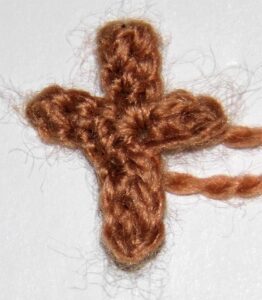
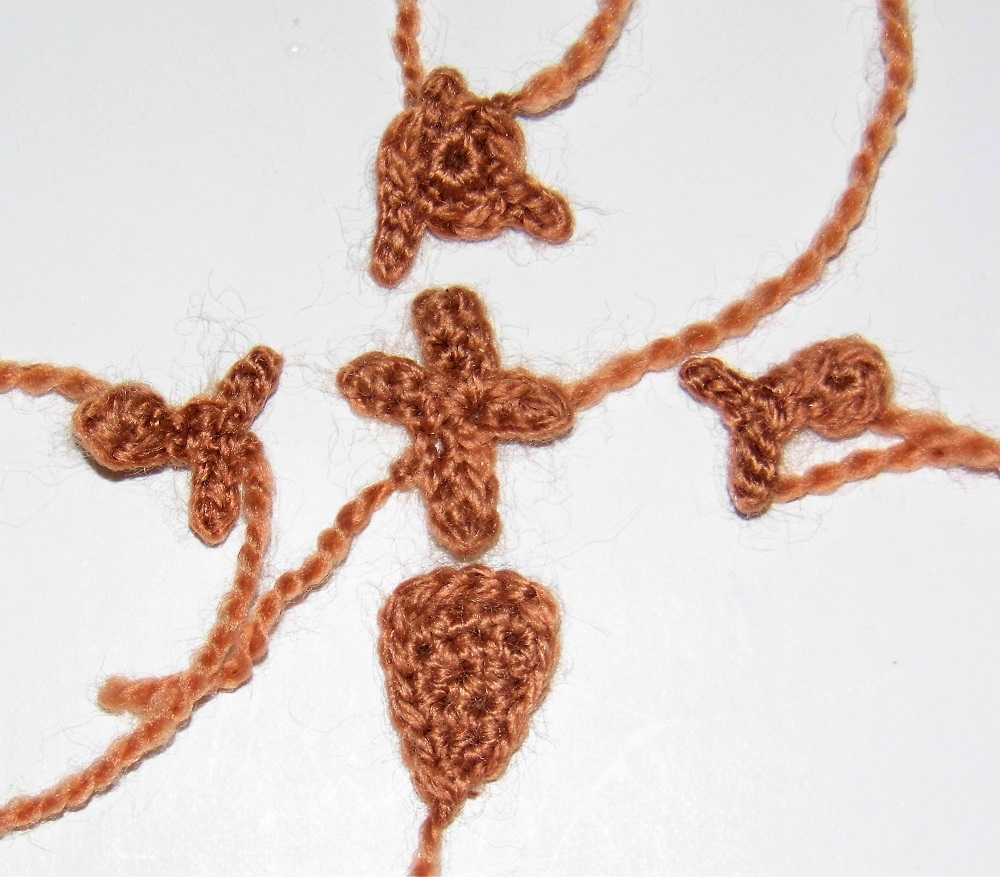
ST. JAMES’ CROSS
Bottom
With beige yarn
1. Ch 5 and work 4 sc on the chains. 2. Ch 1, turn and work 1 sc in each st (4). 3. Don’t ch 1, turn, work 1 sc in each st until you reach the last 2 sc, then dec 1 (2). 4. Ch 1, turn and work 1 sc in each st (2). 5. Don’t ch 1, turn and work 1 sc.
6. Place the round marker to work around the piece with sc. Work: 5 sc + 4 sc + 5 sc + 1 sc. Fasten off.
Cross
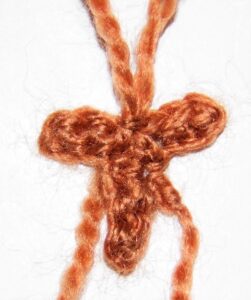
With beige yarn
Work “Ch 4, 3 sc in the chains” 2 times, 1 slip st in the middle, “Ch 4, 3 sc in the chains, 1 slip st in the middle” 2 times. Fasten off.
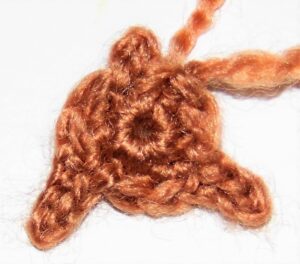
Top
With beige yarn
1. Work 6 sc in magic ring. 2. Ch 2, 1 slip st in the chains, 1 slip st in the st beginning of the chains, 2 sc in the magic ring, Ch 4, 3 slip stitches in the chains, 1 slip st in the st beginning of the chains, 2 sc in the magic ring, Ch 4, 3 slip stitches in the chains, 1 slip st in the st beginning of the chains, 1 sc in the magic ring, 1 final slip st. Fasten off.
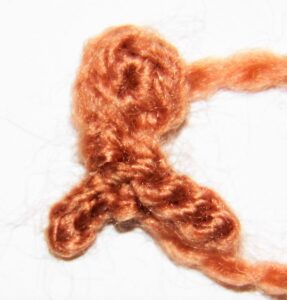
Sides (x2)
With beige yarn
1. Work 4 sc in magic ring. 2. Ch 1, 1 sc, Ch 4, 3 slip stitches in the chains, 1 slip st in the middle, Ch 4, 3 slip stitches in the chains, 1 slip st in the middle. Fasten off.
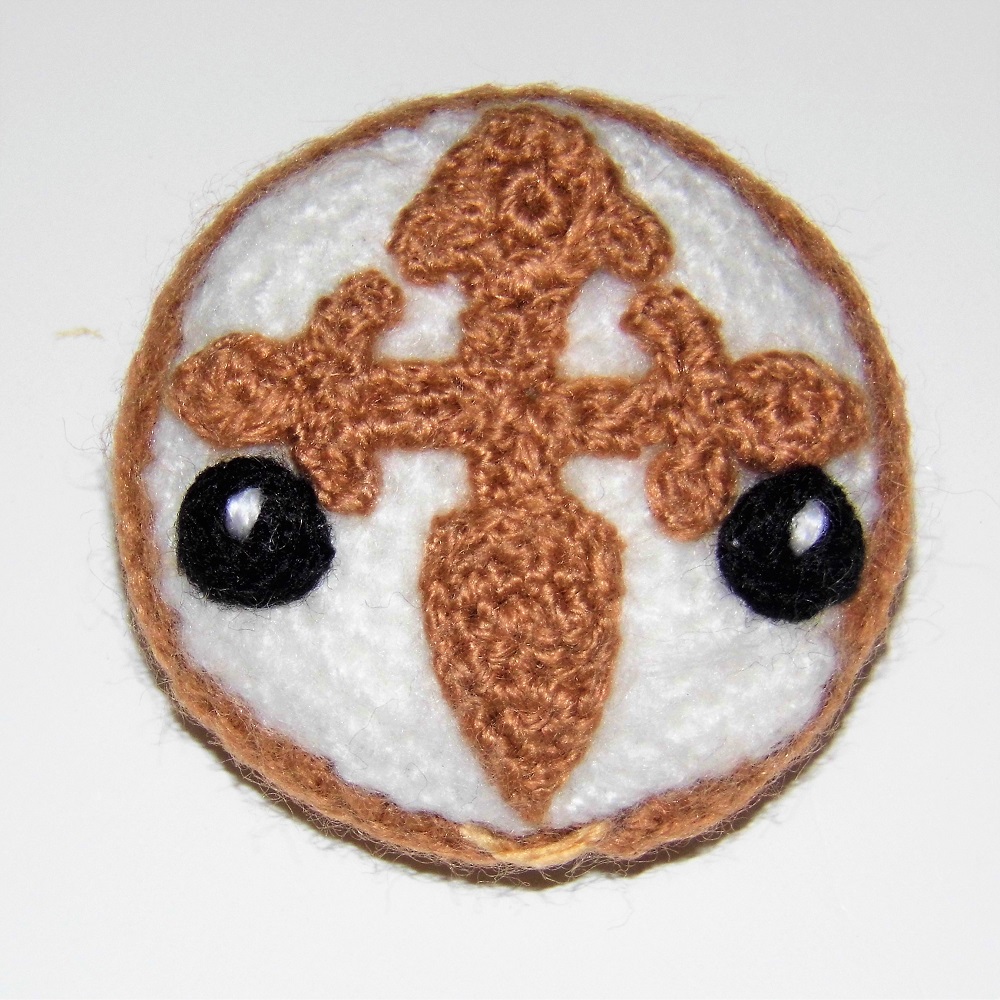
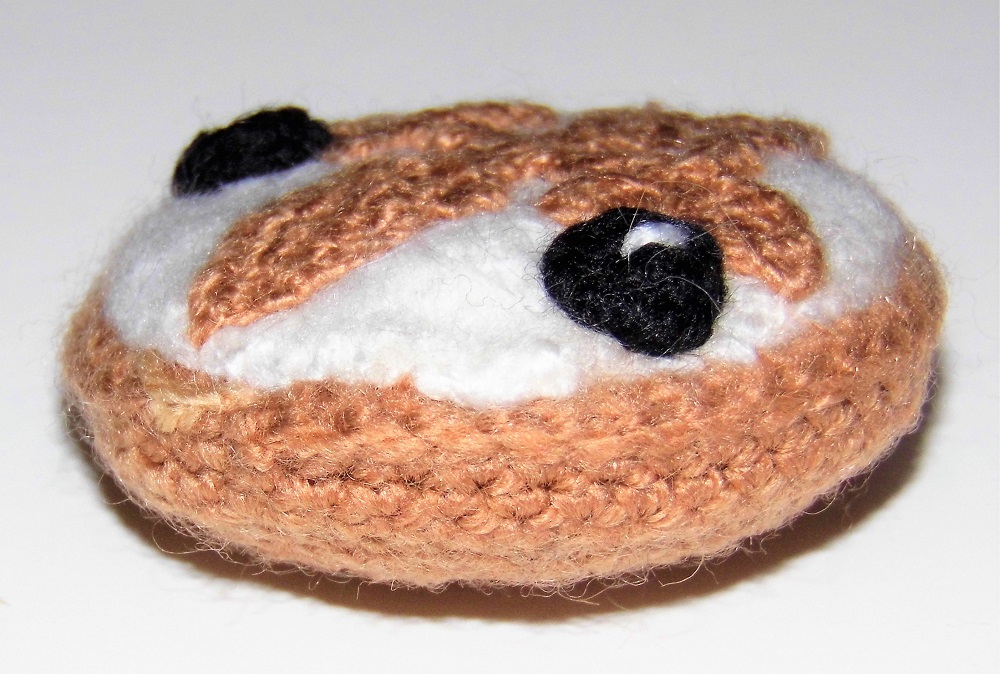
EYES (x2)
With black yarn
Work 6 sc in magic ring. Fasten off. With white yarn embroider the twinkle.
Final Details
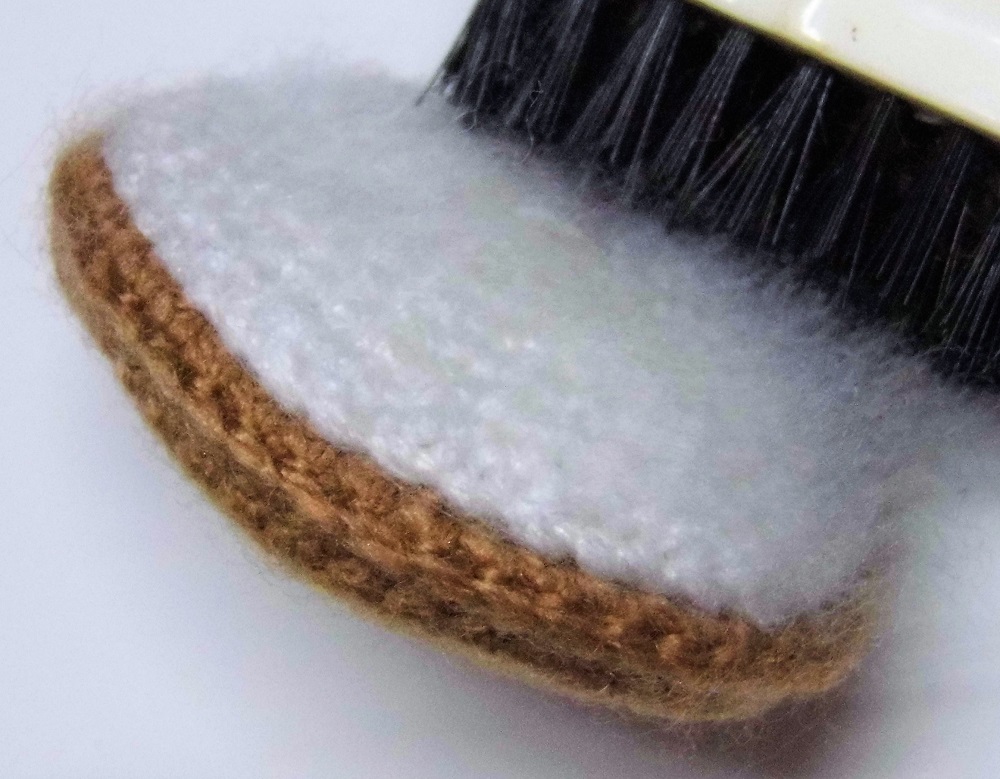
Sew the icing sugar part on the piece of cake. To give a cottony look, lightly brush the wool once it is sewn.
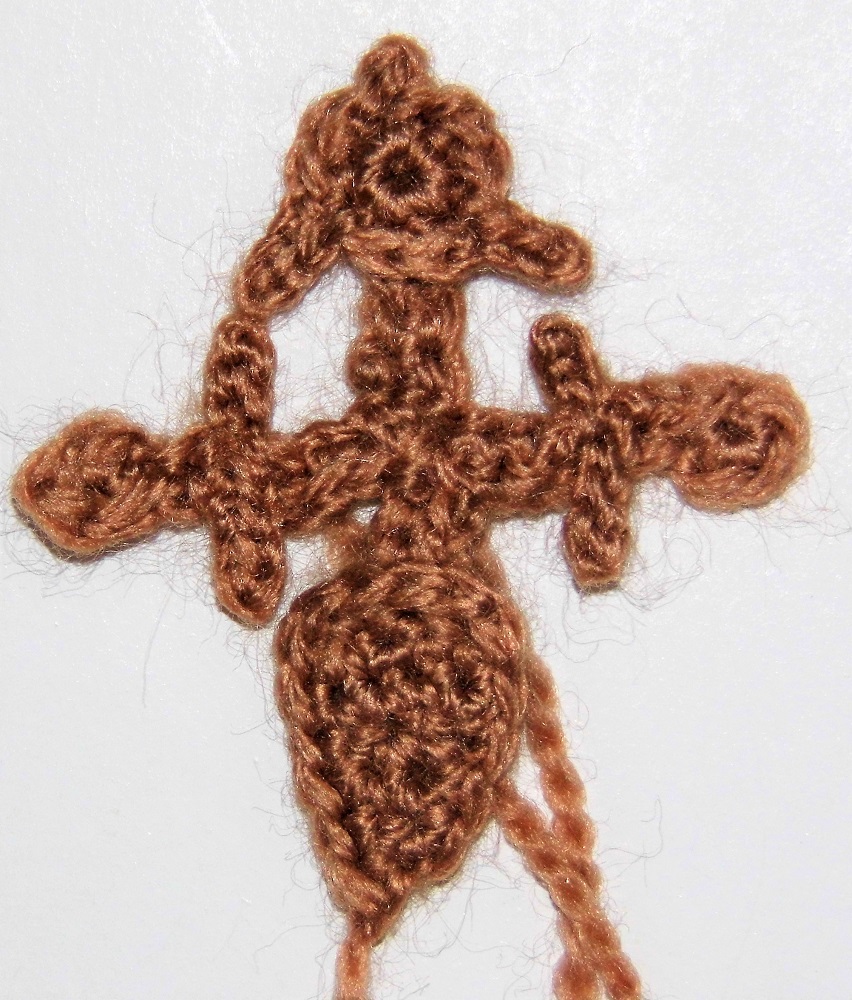
Sew the bottom, top and sides over the cross above this piece and once you have the complete Cross, sew it onto the cake. The piece of the cross that you have crocheted does not have a well-defined shape, but it will help you so that once sewn, you can embroider around it, outlining the edges. This is the trickiest part of the pattern. Do it carefully, taking the thread of the piece and sewing over it in short lengths.
Finally, sew the eyes under the sides of the cross and embroider with light beige yarn the mouth at the bottom, leaving a little beige to show between it and the white part.
Finished!
I hope you have enjoyed the St James Cake Amigurumi Pattern
We use cookies to optimize our website and our service.
Functional
Always active
The technical storage or access is strictly necessary for the legitimate purpose of enabling the use of a specific service explicitly requested by the subscriber or user, or for the sole purpose of carrying out the transmission of a communication over an electronic communications network.
Preferences
The technical storage or access is necessary for the legitimate purpose of storing preferences that are not requested by the subscriber or user.
Statistics
The technical storage or access that is used exclusively for statistical purposes.The technical storage or access that is used exclusively for anonymous statistical purposes. Without a subpoena, voluntary compliance on the part of your Internet Service Provider, or additional records from a third party, information stored or retrieved for this purpose alone cannot usually be used to identify you.
Marketing
The technical storage or access is required to create user profiles to send advertising, or to track the user on a website or across several websites for similar marketing purposes.