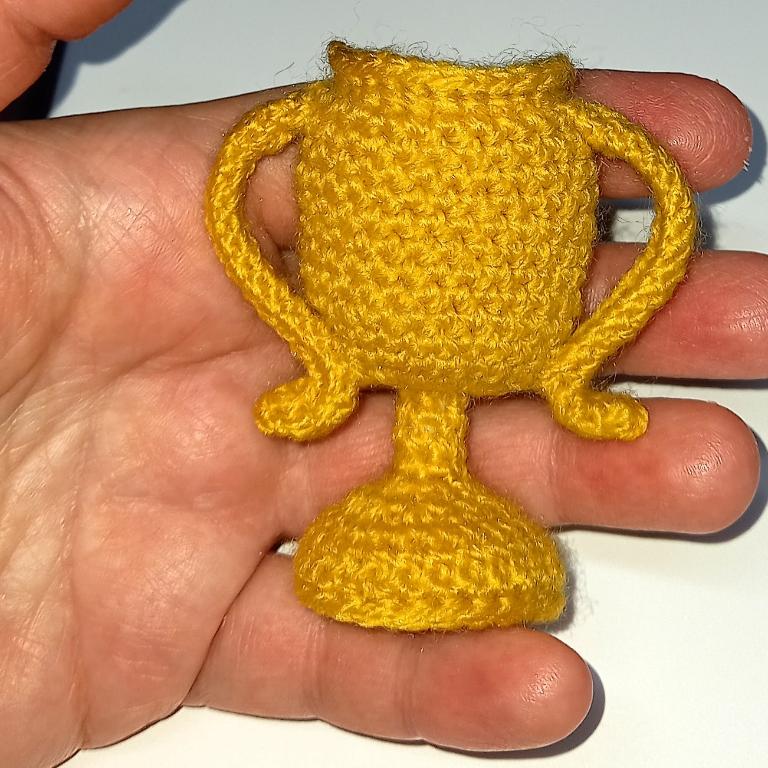
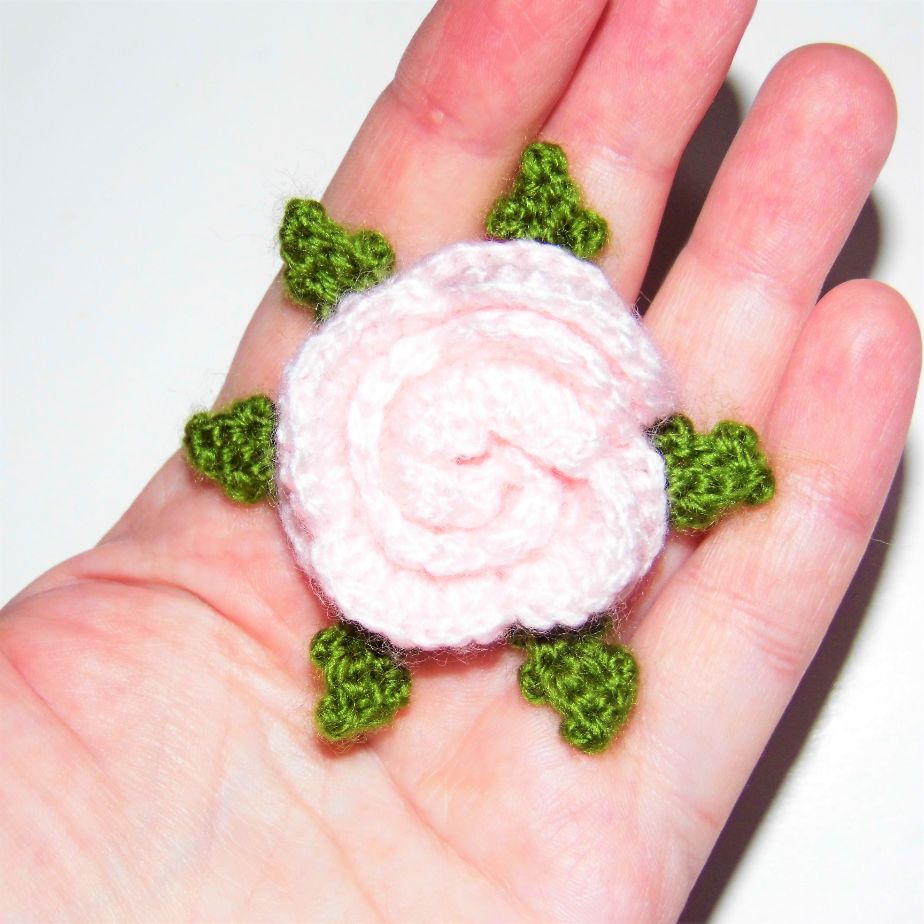
Size: 2,7″ / 7 cm Difficulty: High Time: 1 h Hook: 2 mm
ABBREVIATIONS sc: single crochet st: stitch ch: chain inc: increase dec: decrease Fill the doll with fiberfill as you crochet. If you have any questions contact me: amigurumis@suenhosblanditos.com
MATERIALS Golden yellow yarn Thickness of the yarn: 3 mm. Hook according to the thickness of the yarn. Yarn needle. Fiberfill.
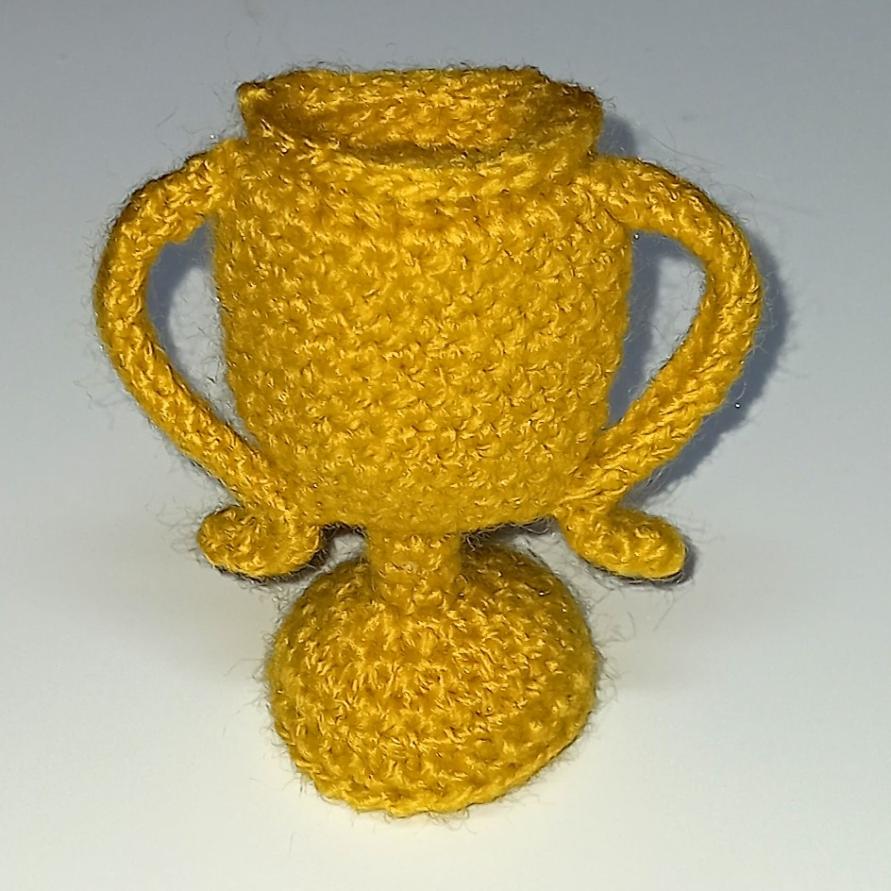
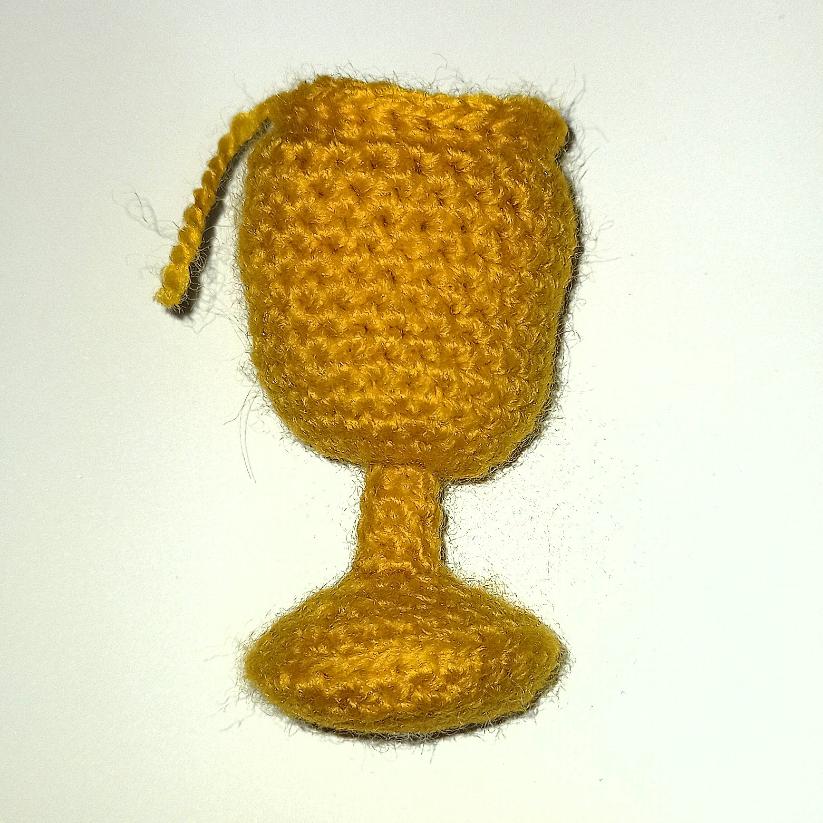
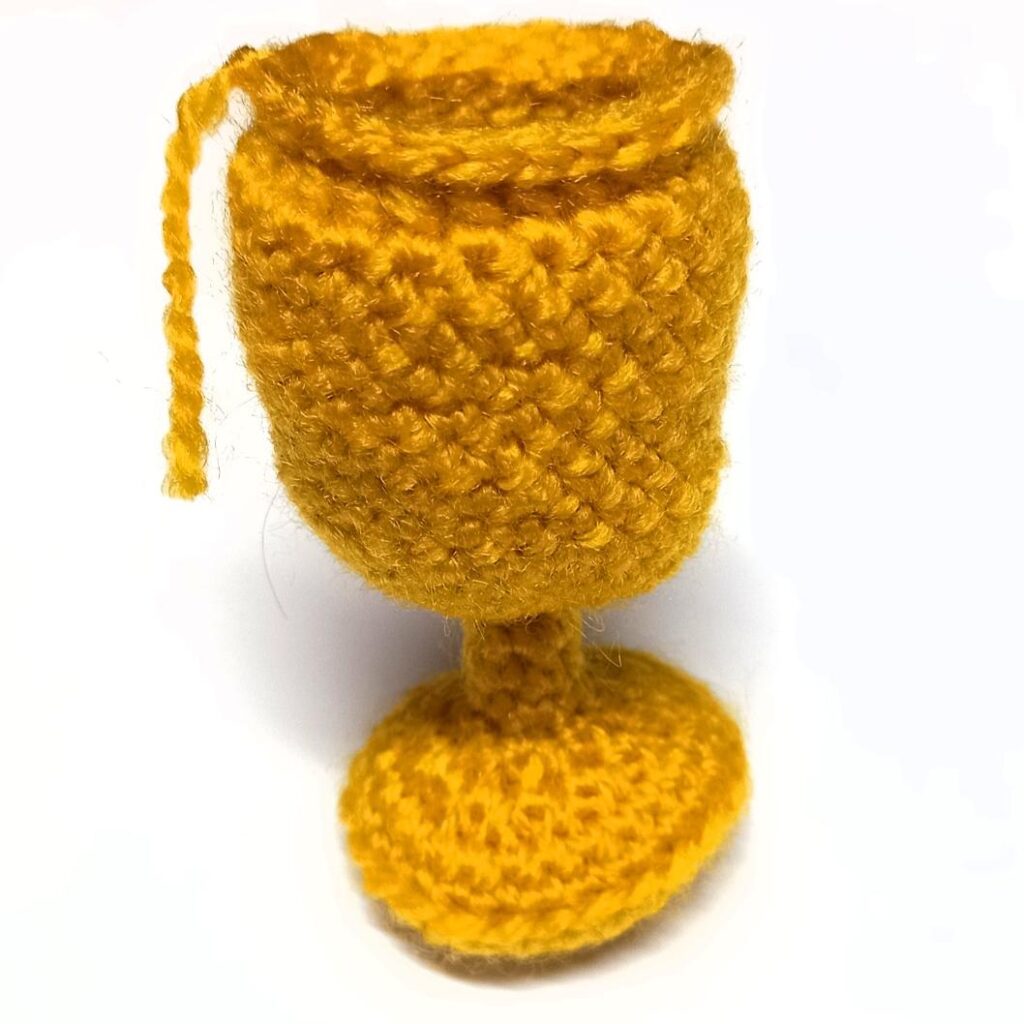
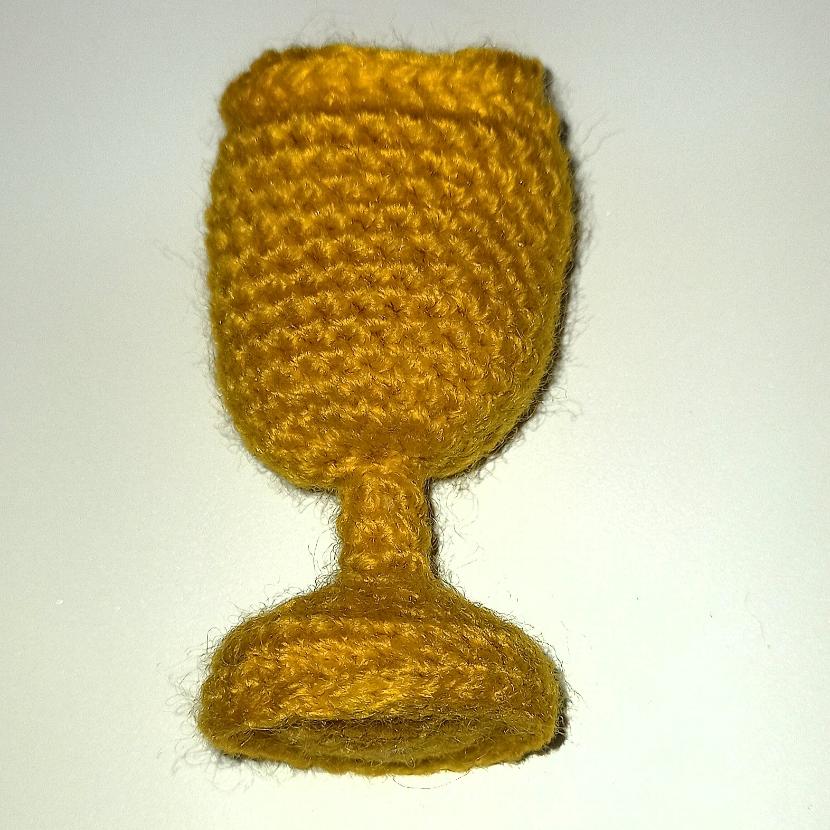
Trophy Amigurumi pattern
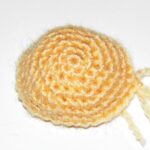
BODY
With golden yellow yarn
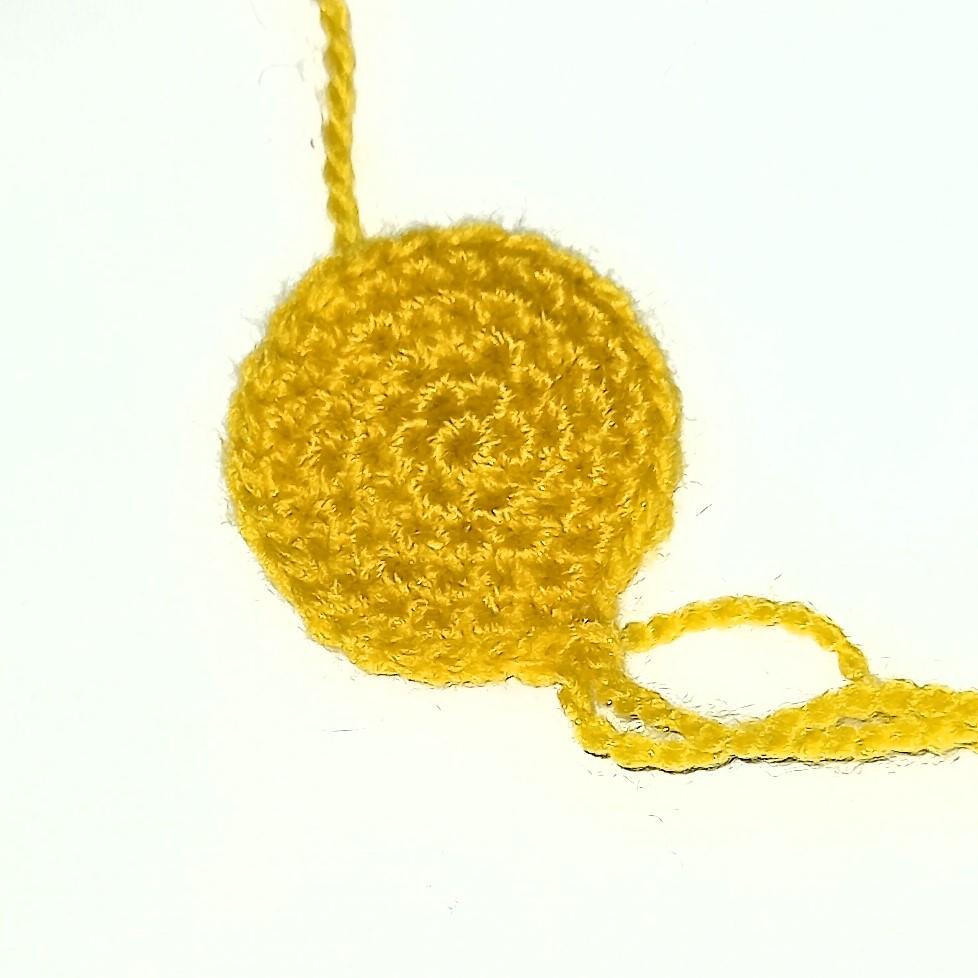
1. Work 6 sc in magic ring3.
2. Inc in every st (12).
3. “1 sc, inc”, repeat (18).
4. “2 sc, inc”, repeat (24).
5. 1 sc in each st (24).
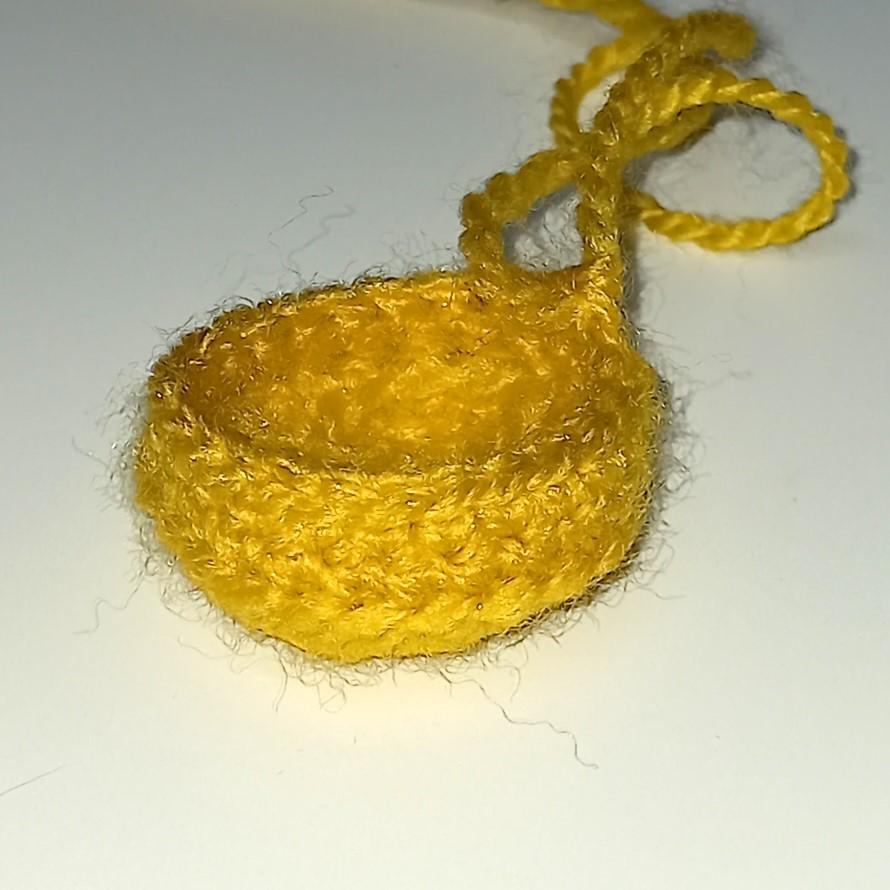
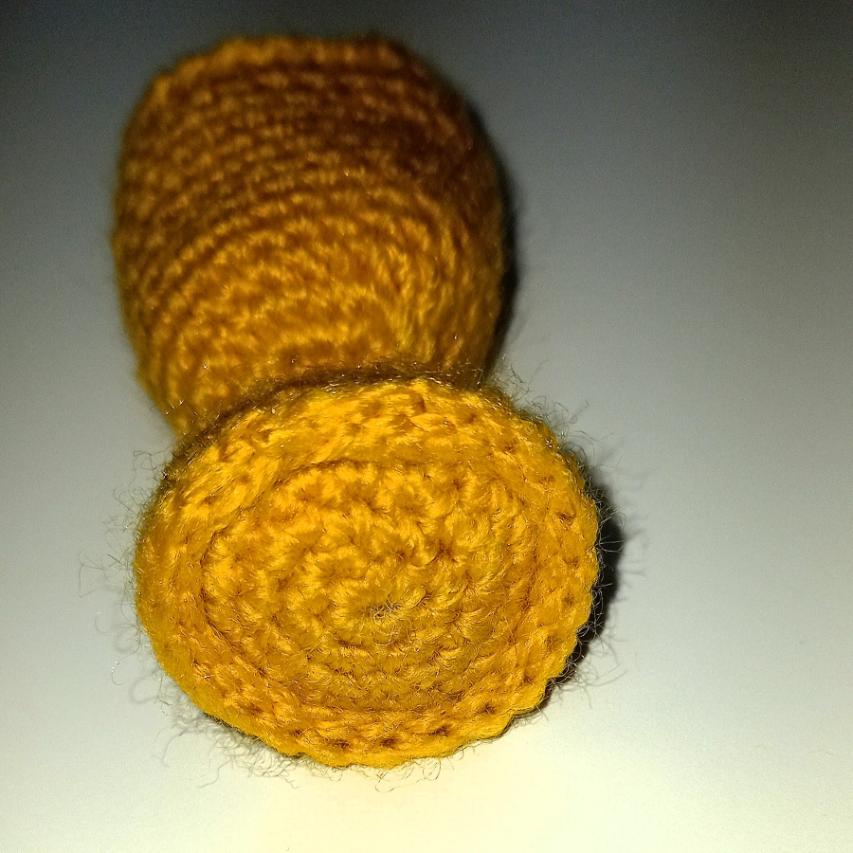
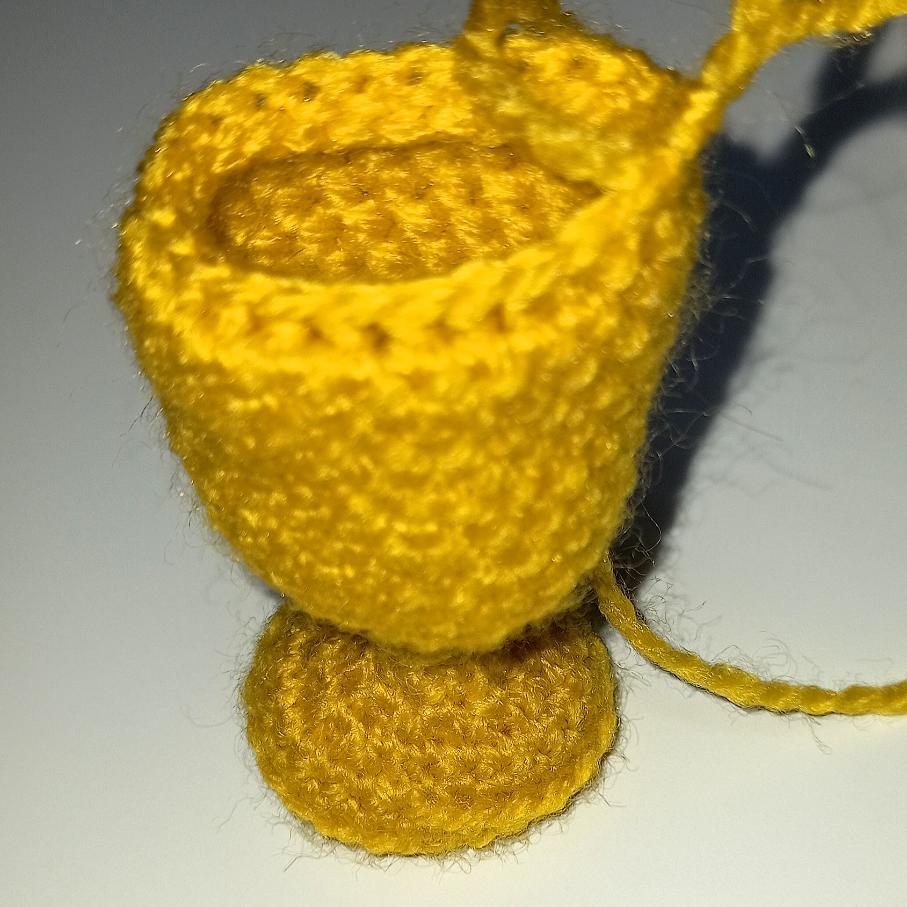
6. Work in back loops only 1 sc in each st (24). You will return to this round to complete the base.
7. 1 sc in each st (24).
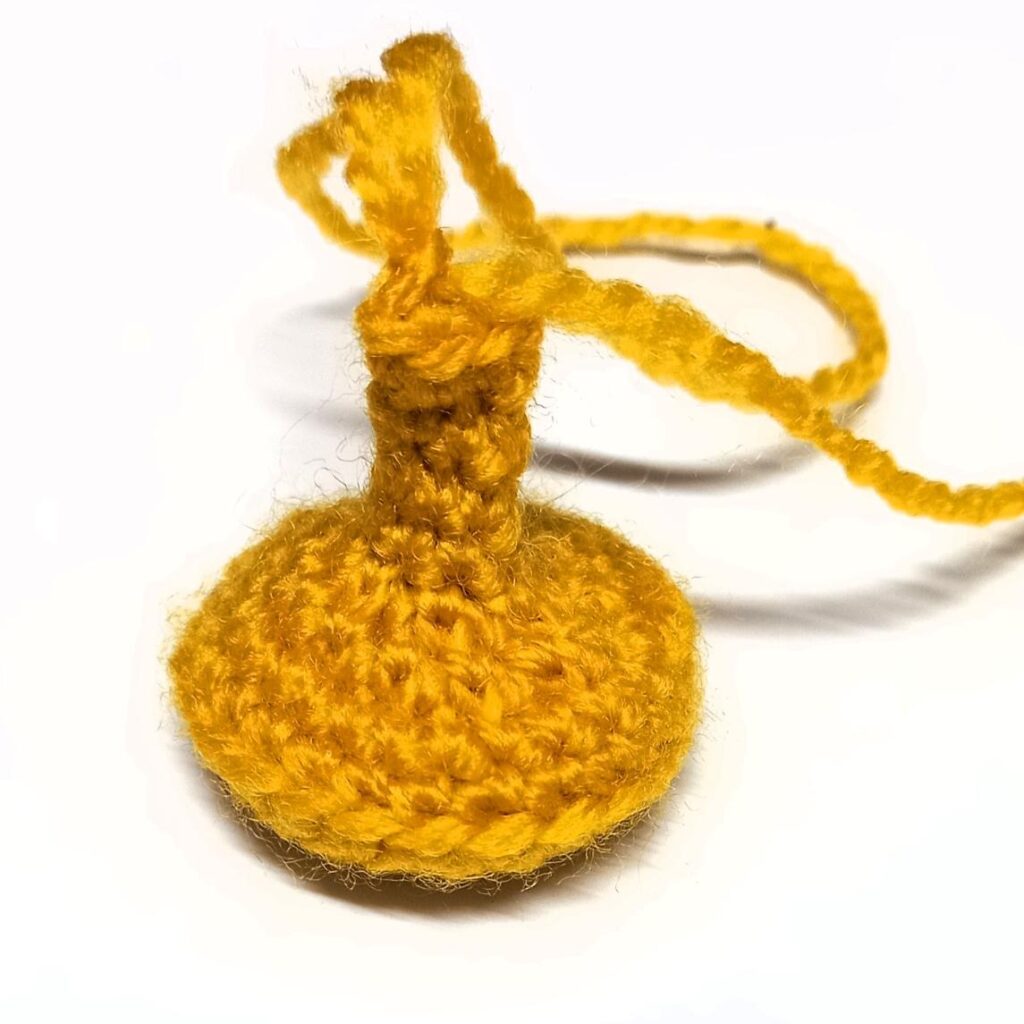
8 and 9. Dec in every st (12), (6). Start stuffing the piece.
10. to 13. 1 sc in each st (6). Finish stuffing the piece.
14. Work in back loops only dec in every st (3). In this way you close the piece preventing the stuffing from coming out.
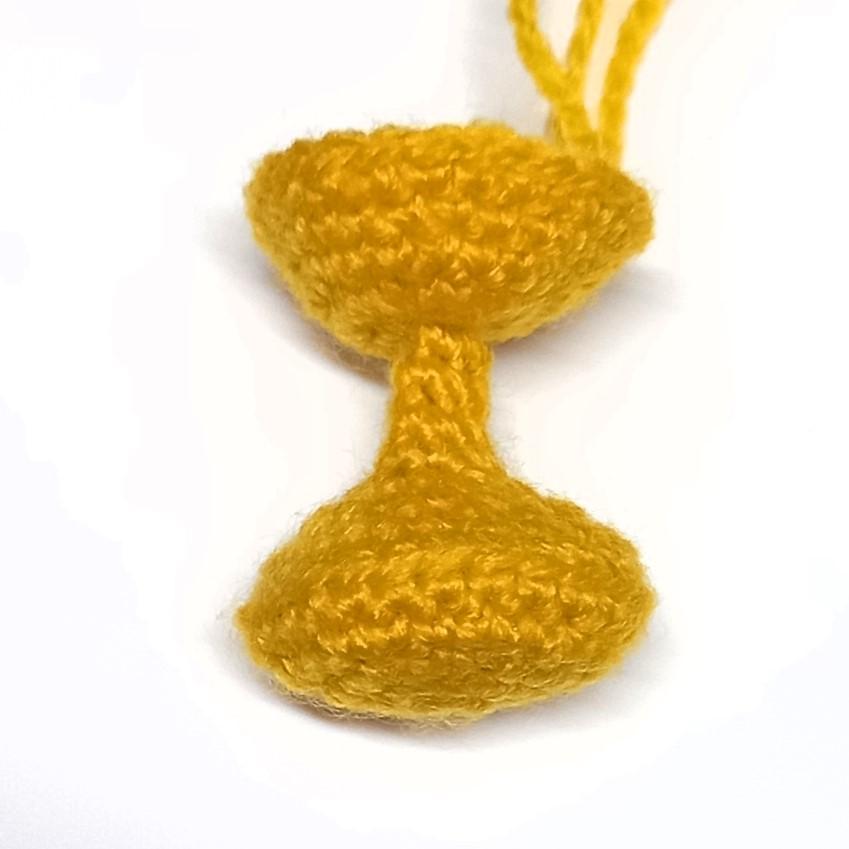
15. Work in front loops only, that is, in the loops that you left unworked in the previous round. Inc in every st. (12).
16. Inc in every st (24).
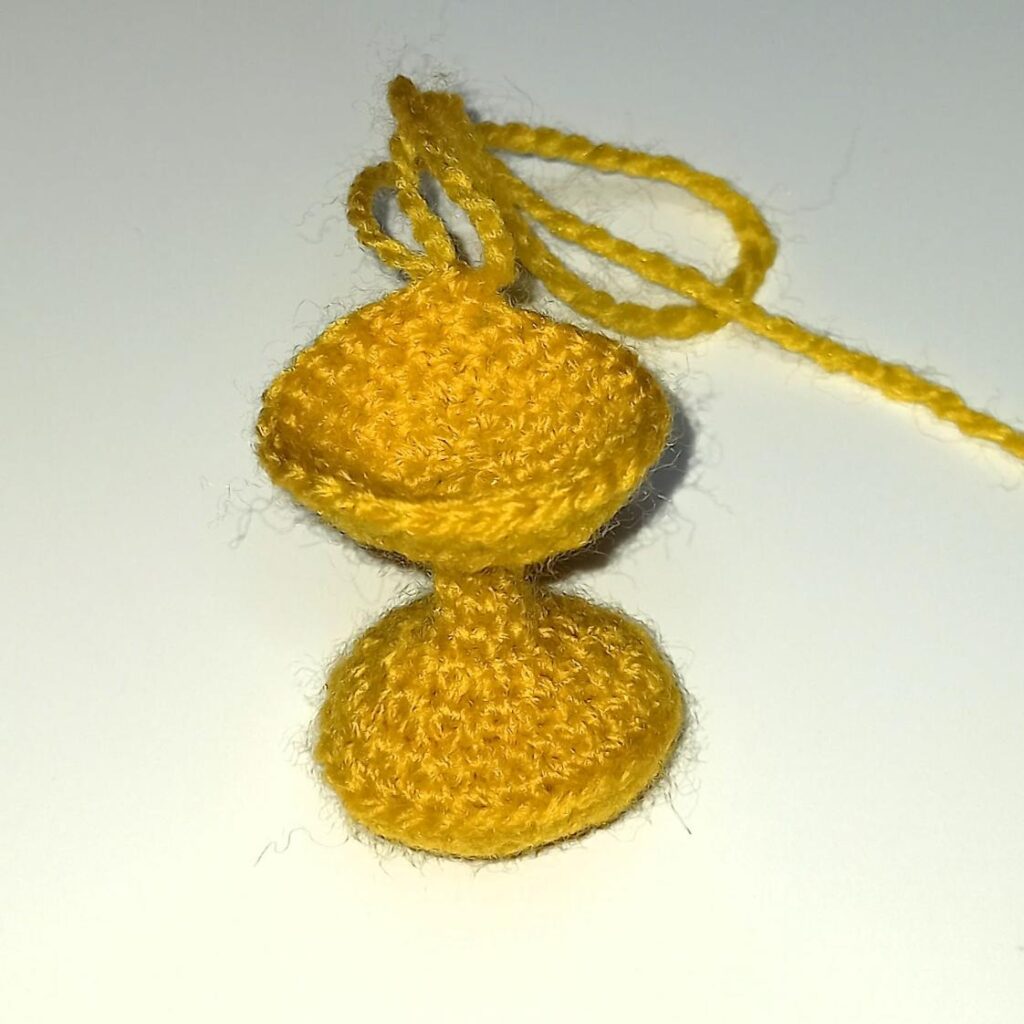
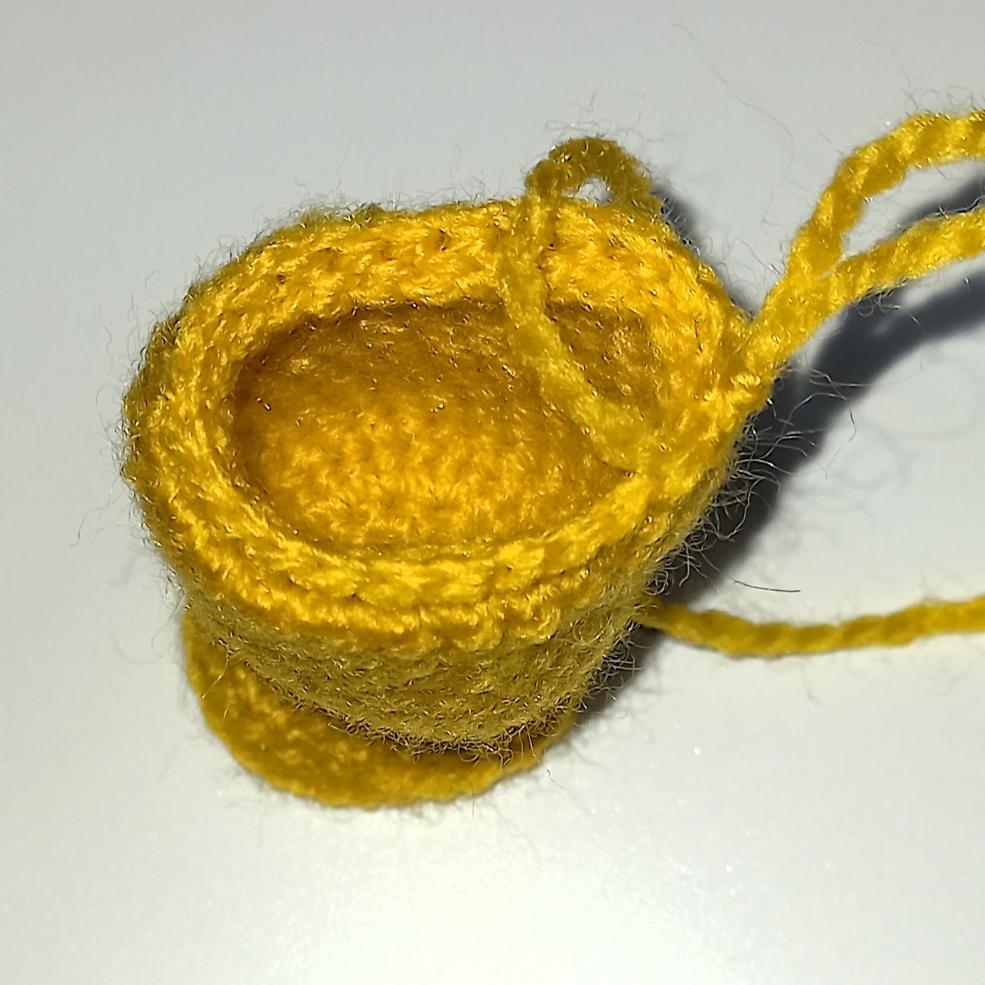
17. to 27. 1 sc in each st (24).
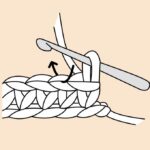
28. and 29. Work 1 sc in the post of each st (24)
Fasten off.
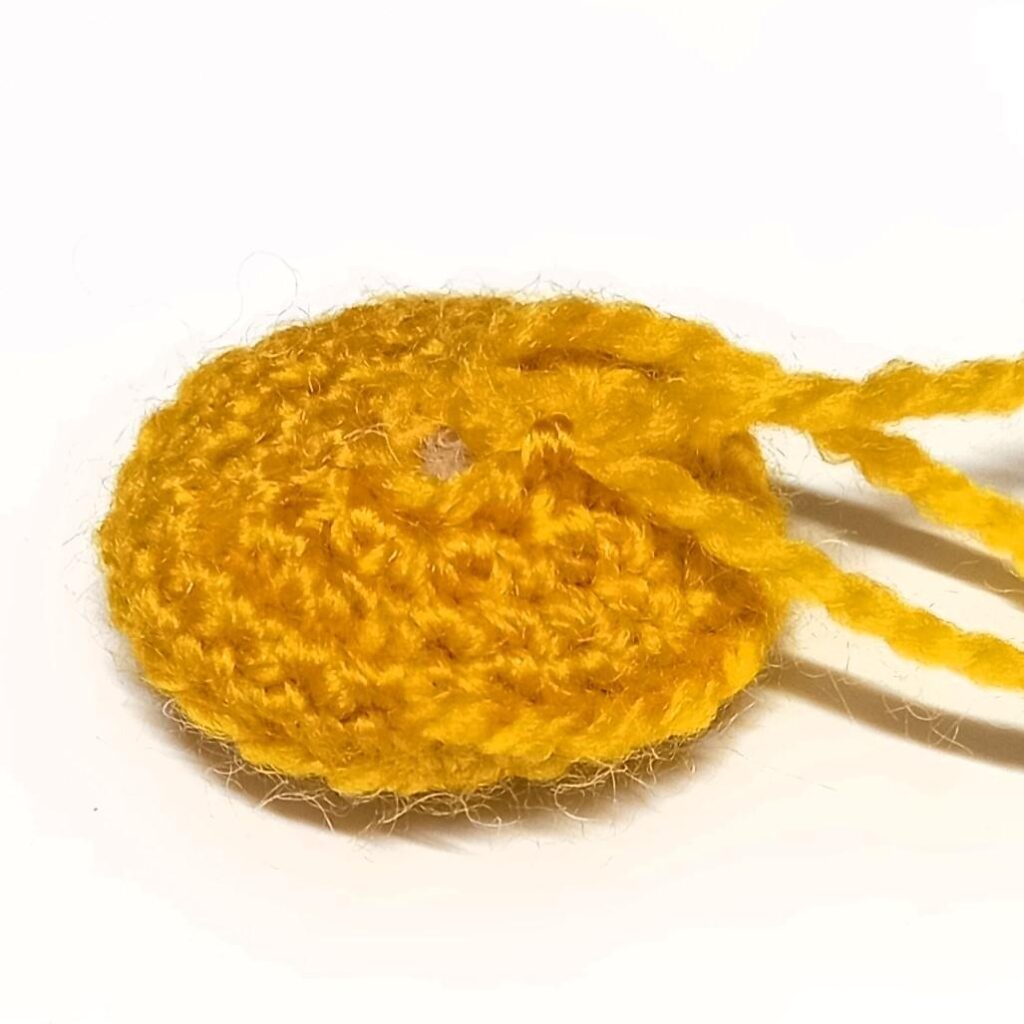
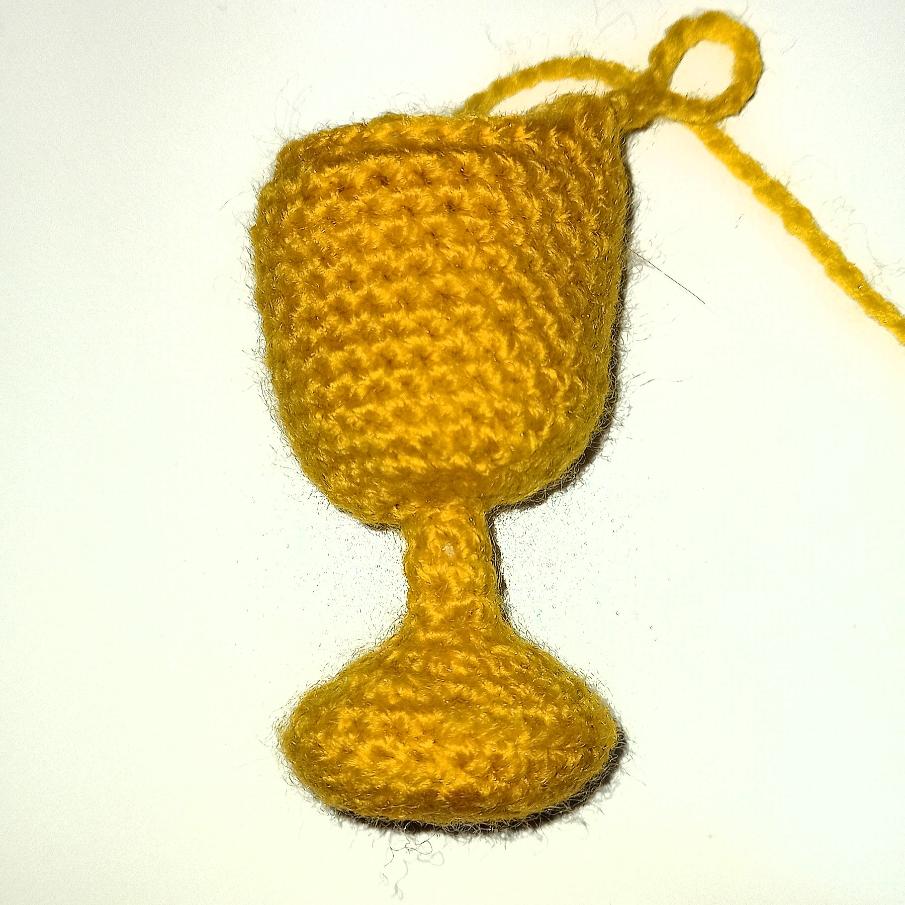
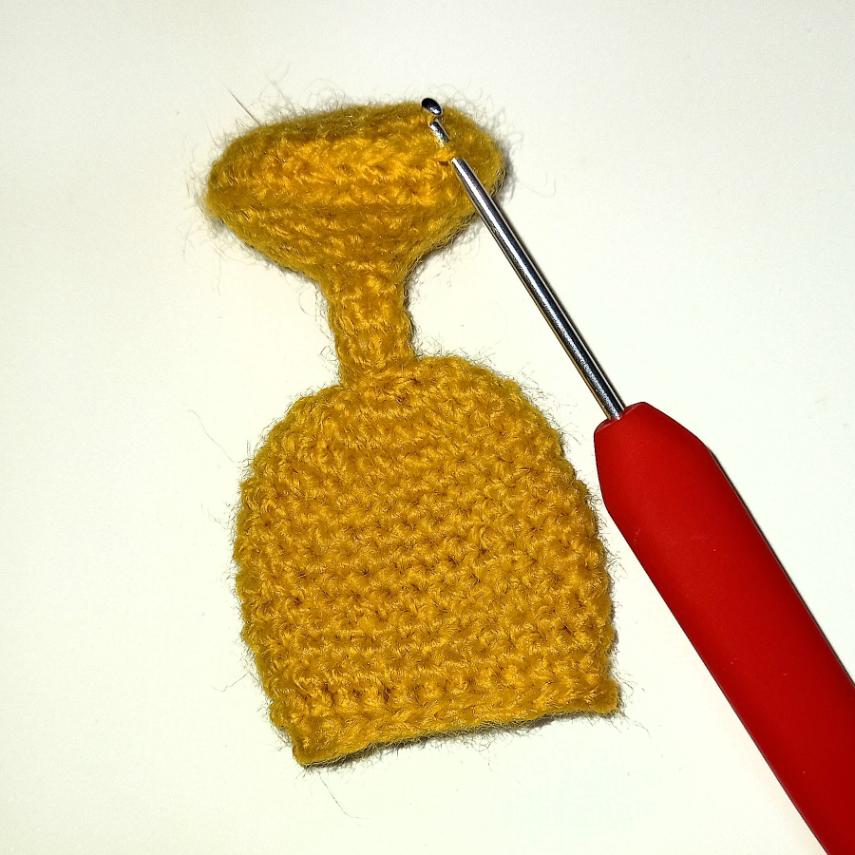
Complete the base
With golden yellow yarn
1. Return to round 6 and holding the trophy with the cup pointing down, work in the free loops 1 sc in each st (24).
2. Work 1 sc in the post of each st (24). Fasten off.
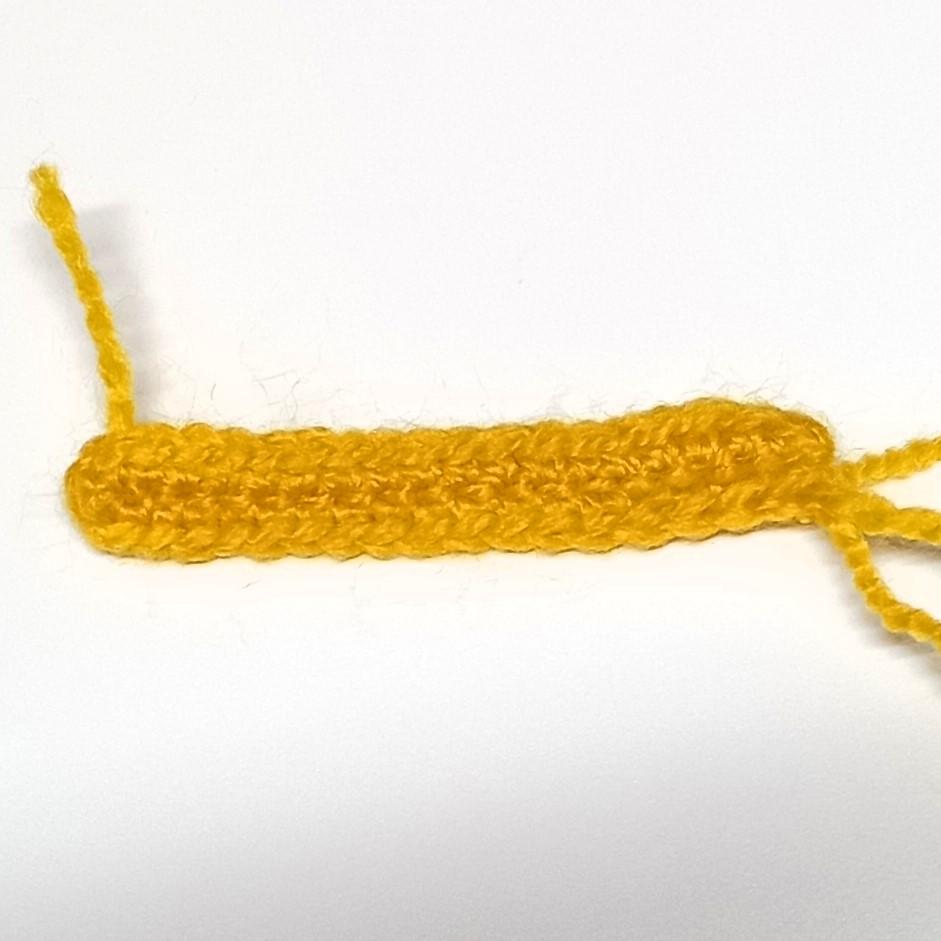
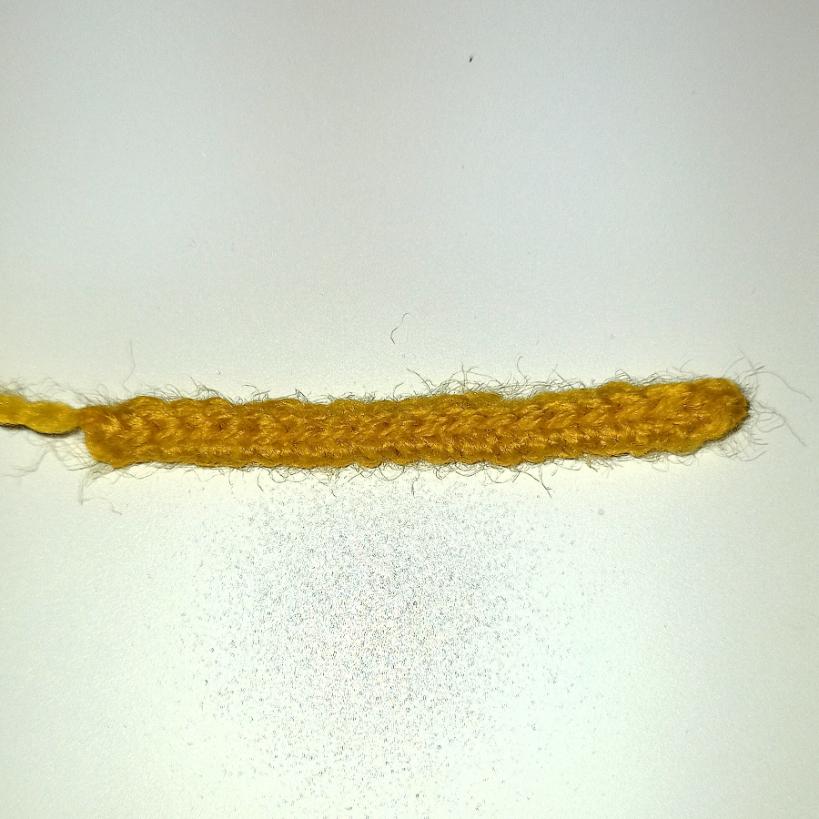
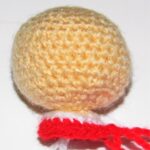
HANDLES (x2)
With golden yellow yarn
1.Ch 19 and work 18 sc in the chains.
2.Continue without turning, in the beginning chains again, but in the other side another 18 sc to get a 36 sc piece in all. (36).
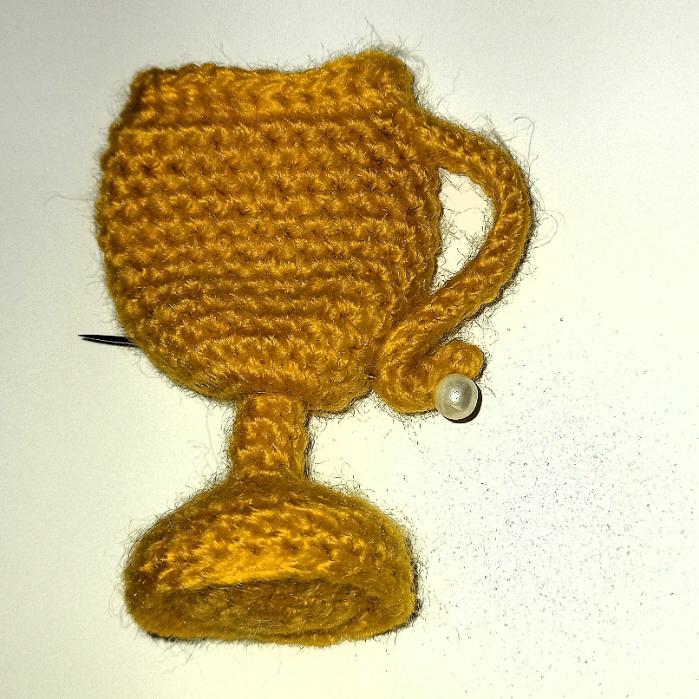
3.Ch 1, turn and work slip stitches joining the 18 sc of each side (18). Fasten off. Sew the handles to both sides of the trophy making sure they are placed in the middle of it. Join them under round 28 of the cup, that is, the round in which you worked in the post of the stitches. At the bottom, sew them to the edge of the cup, that is, leaving 3 sc of separation from the narrowest part. Don’t sew the bottom end, approximately the last 4 stitches.
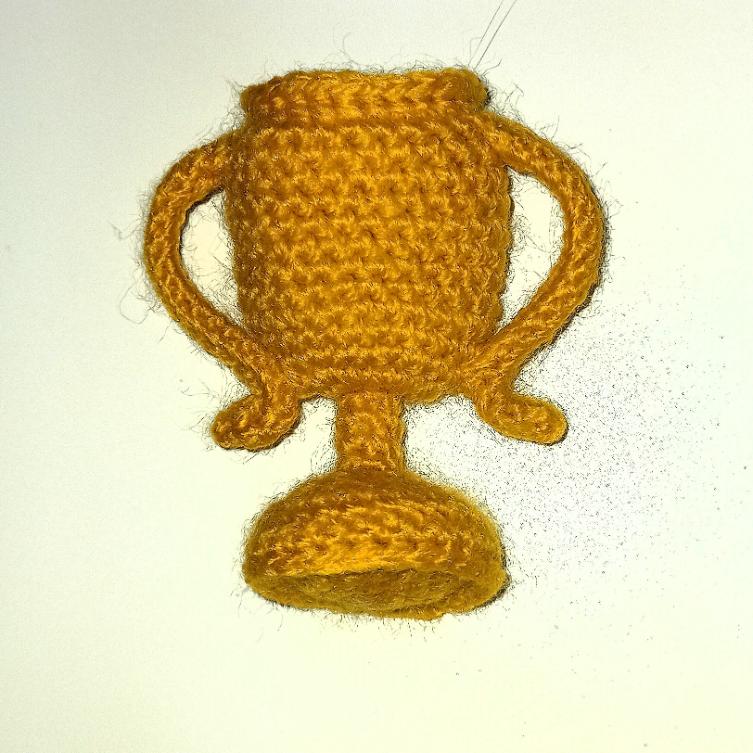
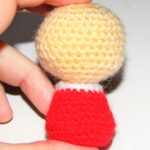
Congratulations, you have finished your amigurumi trophy! Now you just have to give it to the champion of your life!
If you liked the Amigurumi Pattern Trophy, leave me your comment and if you dare to crochet it, send me the photo or tag me on social media so we can all see it.
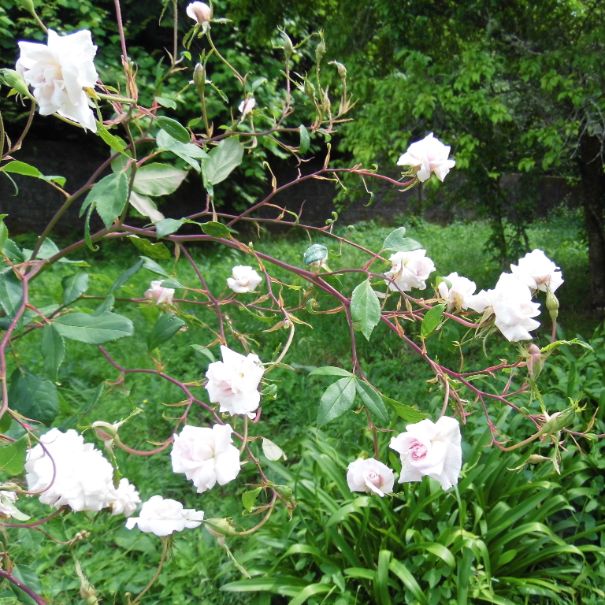
The month of June begins and my garden is filled with my favorite roses, pale pink in color and an unmistakable aroma that takes me back to childhood. It would be fun to crochet one, but how?
Designing an amigurumi: Rose
Once I am sure about what I want to design, I need to have a visual model, drawing, photo or even the object itself. In this case, a rose.
It must be clear that our model must be just that, a reference to follow, but not something fixed that limits us. In my opinion, if amigurumis have something, it is that we can give wings to our imagination and capture our own tastes in them, without distorting the object they reflect.
If I’m strict, this time it’s not an amigurumi itself, I’ll explain why: I wanted to do it in a different way, without fiber fill but with volume, using the basic crochet stitches, without changing color and except for a small part, crochet in rows.
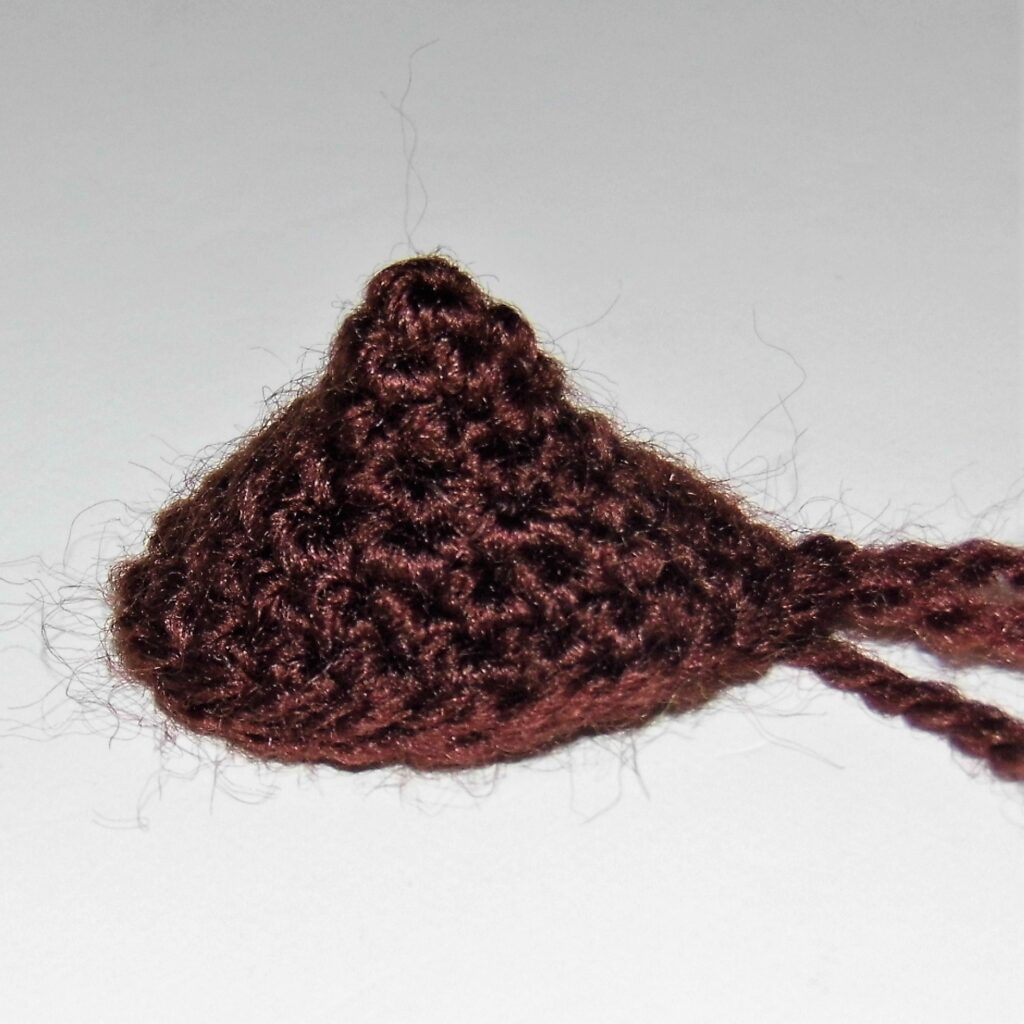
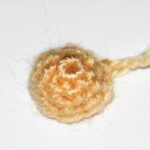
Start with the main part, the body of the rose with the petals.
I want to work straight, in rows, but to give shape and volume to my rose I need the fabric to be crocheted to roll around itself.
I really admire the work of other colleagues, but one cannot limit oneself to seeing other amigurumi crocheters. There are true artisan artists whose techniques are worthy of admiration and, why not, extrapolated to our field.
I remember seeing some molds for making fondant roses to decorate cakes in a well-known online store. With them an elongated piece was formed with waves on the sides that had to be folded and wrap. It was different from what I had seen in crochet and it was worth trying.
I start the pattern:
PALE PINK ROSE AMIGURUMI PATTERN
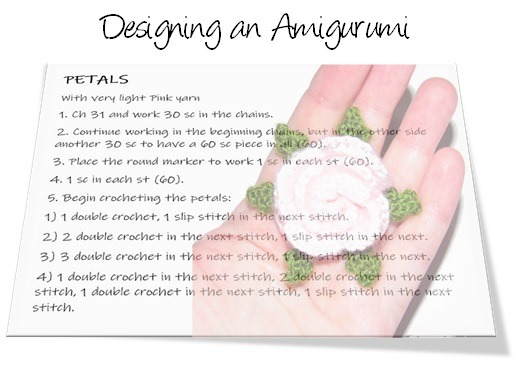
PETALS
With very light Pink yarn
The first row will determine the width of the flower, while the total number of rows will determine its height. A 60 sc piece, in addition to having the size I need, makes things easier when dividing the petals, as there are both 30 and 60 even numbers and divisible by 3.
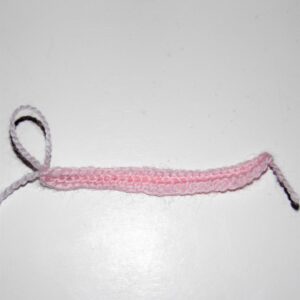
1. Ch 31 and work 30 sc in the chains.
2. I Continue working in the beginning chains, but in the other side another 30 sc to have a 60 sc piece in all (60).
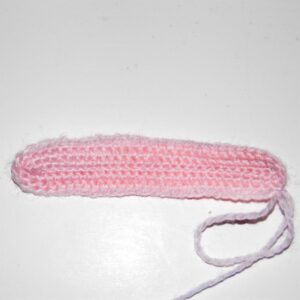
I already have the piece, but it needs to be wider.
3. I Place the round marker to work 1 sc in each st (60).
4. 1 sc in each st (60).
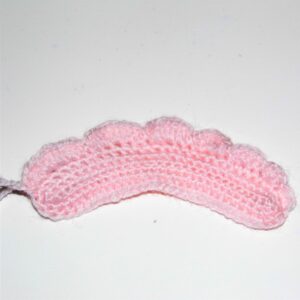
5. It’s time to start crocheting the petals:
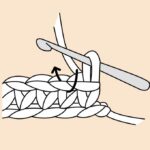
The shape of the rose determines the size of the petals. When having to roll it, they have to go from smaller to larger size, since their position will be from the inside to the outside. To separate the petals from each other I use the slip stitch and to gain height and size of the petals I work several stitches into one and use more stitches from the piece to crochet each petal.
1) 1 double crochet, 1 slip stitch in the next stitch.
2) 2 double crochet in the next stitch, 1 slip stitch in the next.
3) 3 double crochet in the next stitch, 1 slip stitch in the next.
So far I have occupied 6 sc of the 30 that form half of the piece.
4) 1 double crochet in the next stitch, 2 double crochet in the next stitch, 1 double crochet in the next stitch, 1 slip stitch in the next stitch.
5) 2 double crochet in the next one, 3 double crochet in the next stitch, 2 double crochet in the next one, 1 slip stitch in the next stitch.
6) 3 double crochet in the next one, 3 double crochet in the next stitch, 3 double crochet in the next one, 1 slip stitch in the next stitch.
With these three petals I have occupied 12 more sc, so I have crocheted 18 sc in all. I have 12 sc left to crochet over.
The simplest thing is to make 2 final petals of the same size, each occupying 6 sc.
7) 1 double crochet in the next stitch, 2 double crochet in the next stitch, 3 double crochet in the next stitch, 3 double crochet in the next stitch, 2 double crochet in the next stitch, 1 slip stitch in the next stitch.
8) 1 double crochet in the next stitch, 2 double crochet in the next stitch, 3 double crochet in the next stitch, 3 double crochet in the next stitch, 2 double crochet in the next stitch, 1 slip stitch in the next stitch.
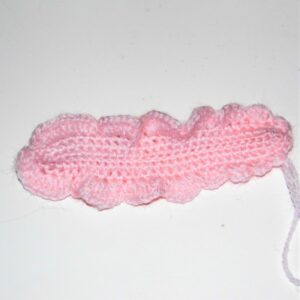
I have already crocheted over the 30 sc that form half of the piece.
Now I have to work over the other half following the same pattern, but in reverse, that is, when I have to roll the piece, I must start with this last petal up to the first.
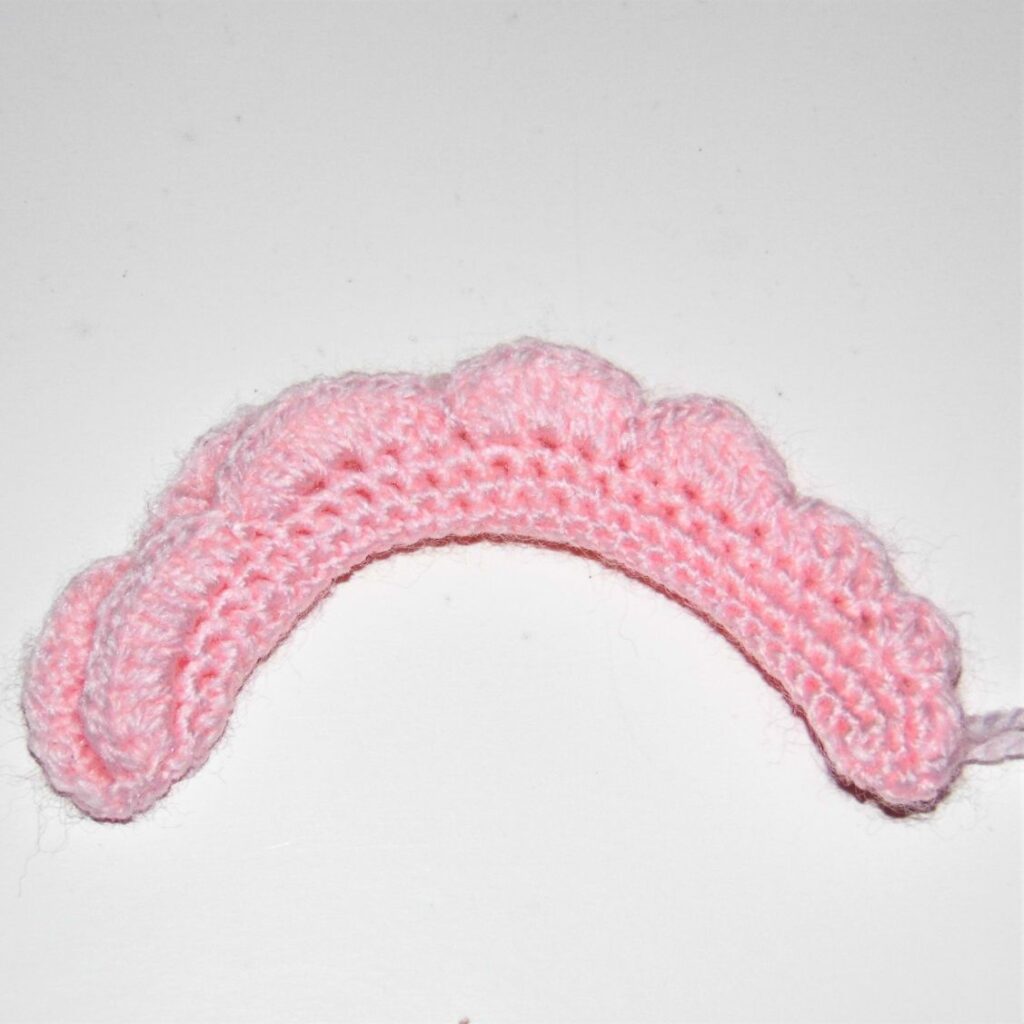
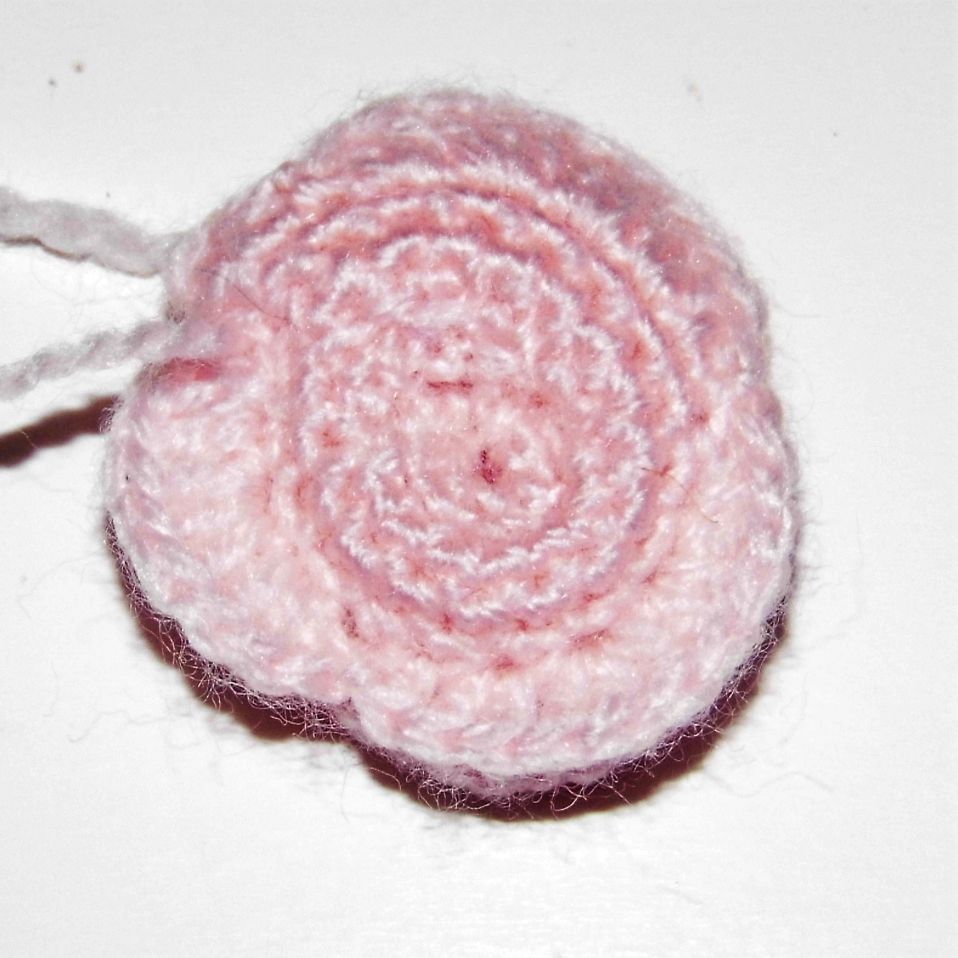
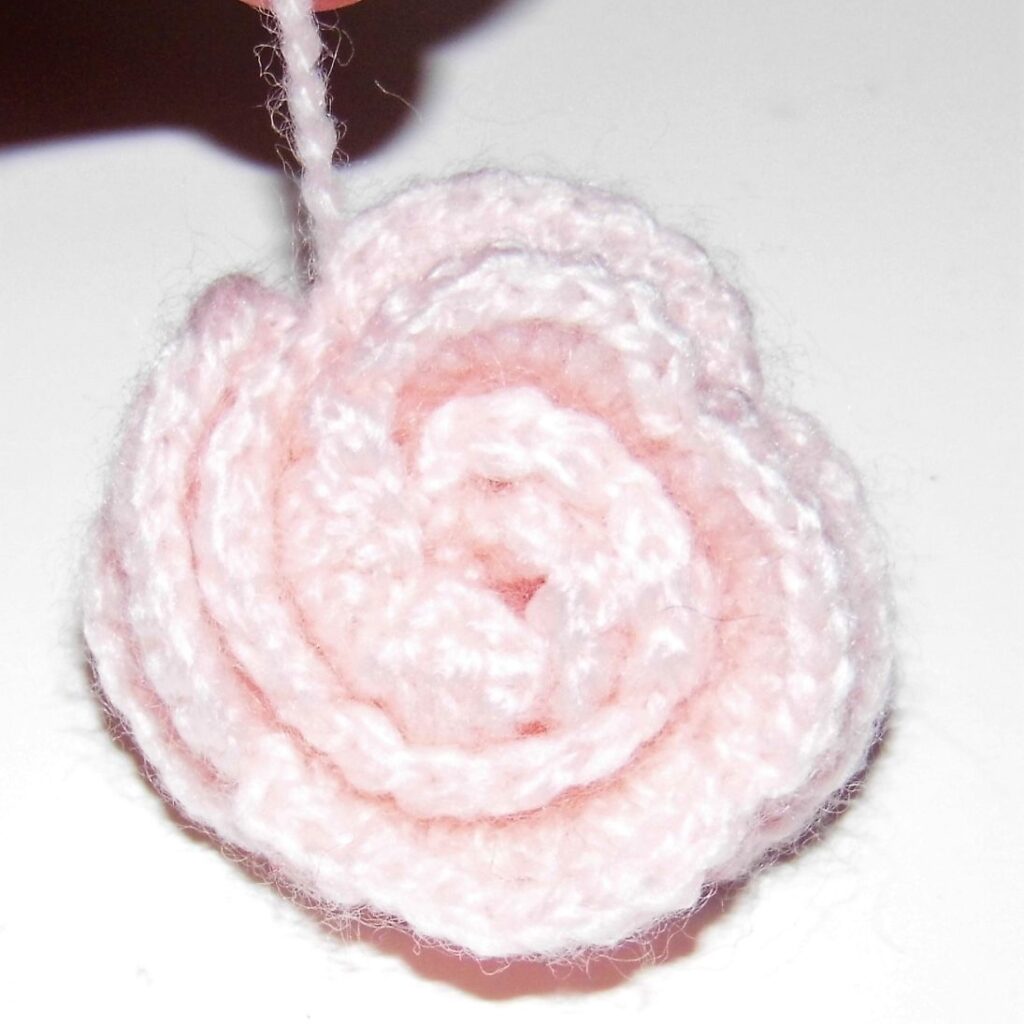
Once the 8 petals are completed, I fasten off leaving a long thread to be able to sew the rose when giving it shape.
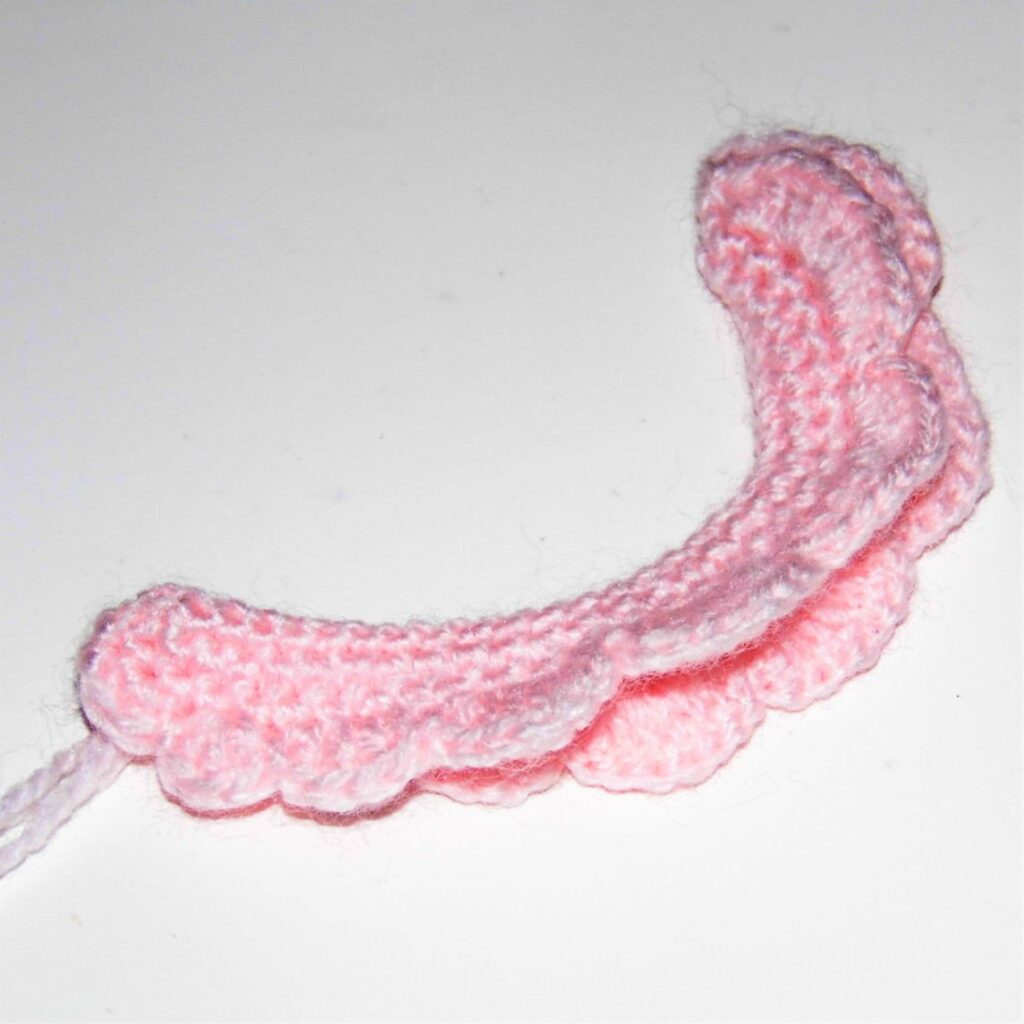
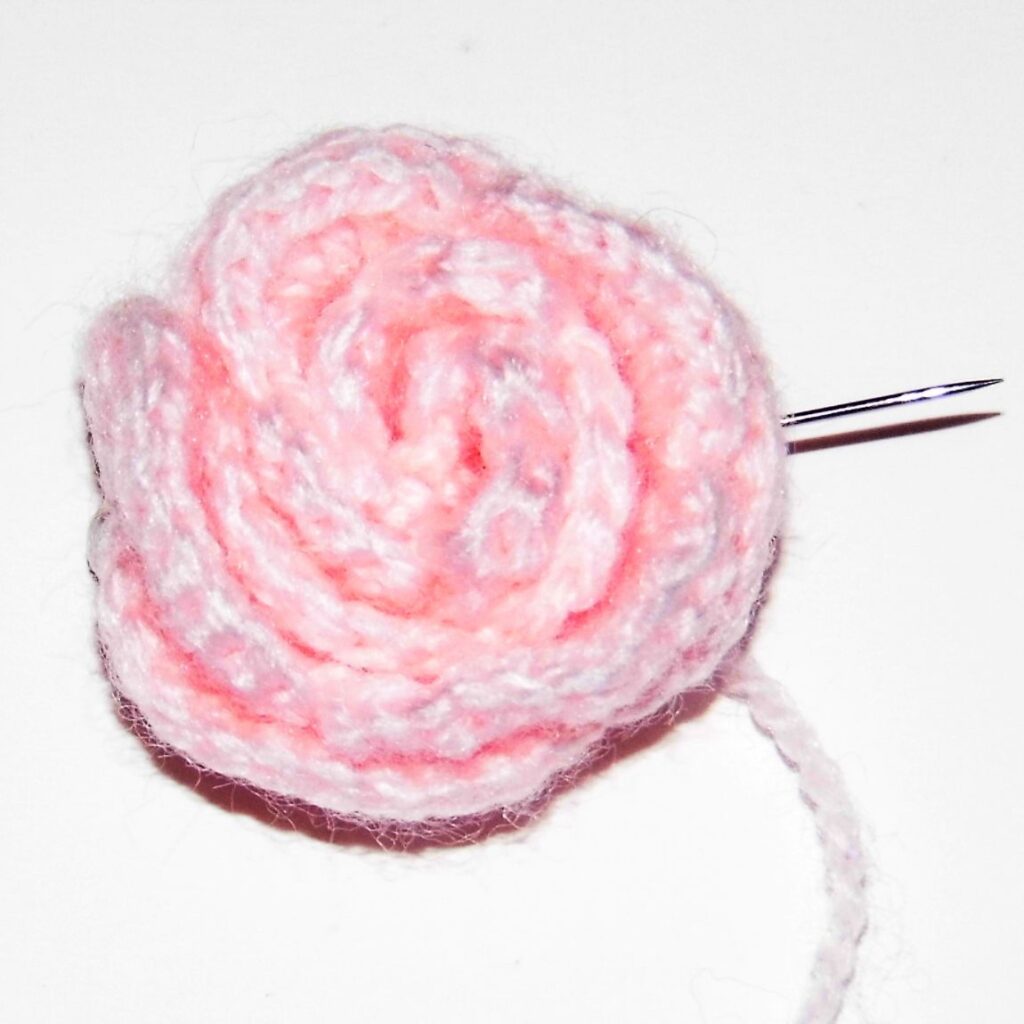
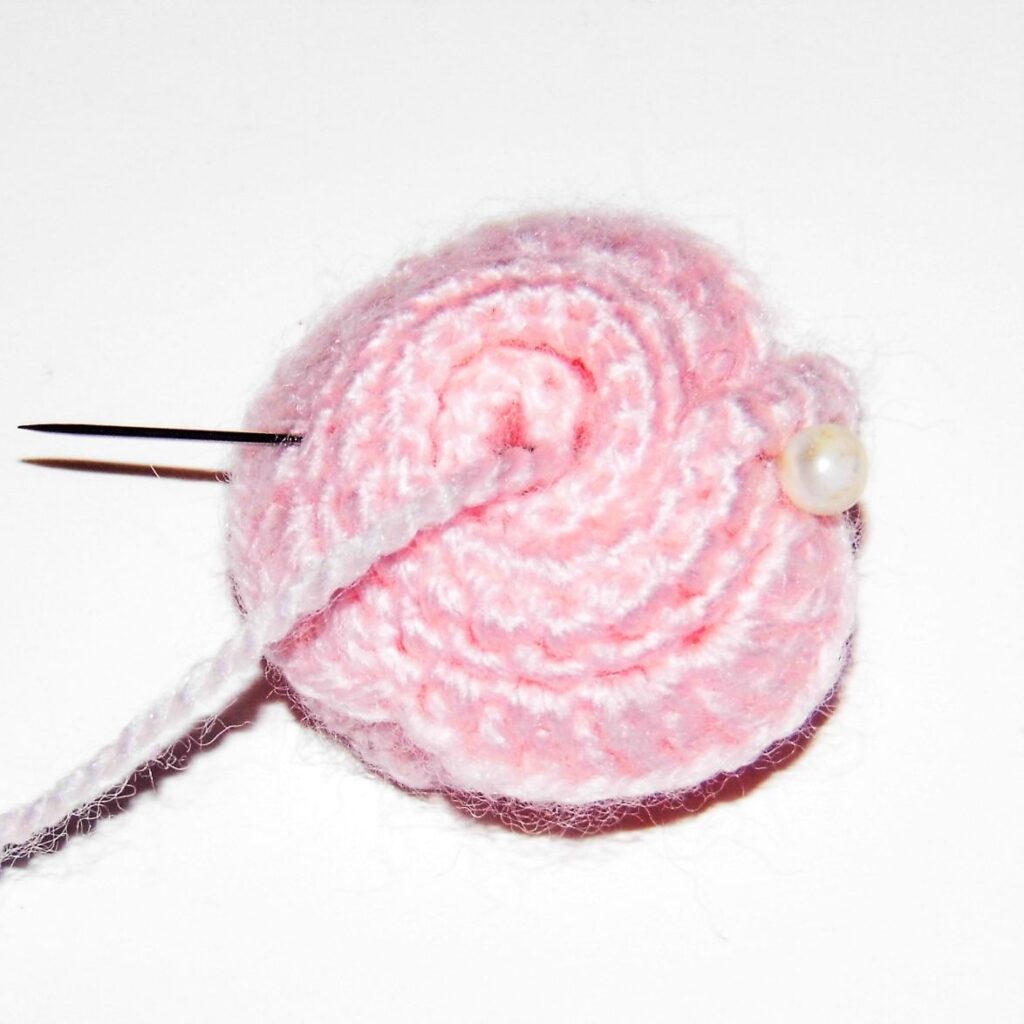
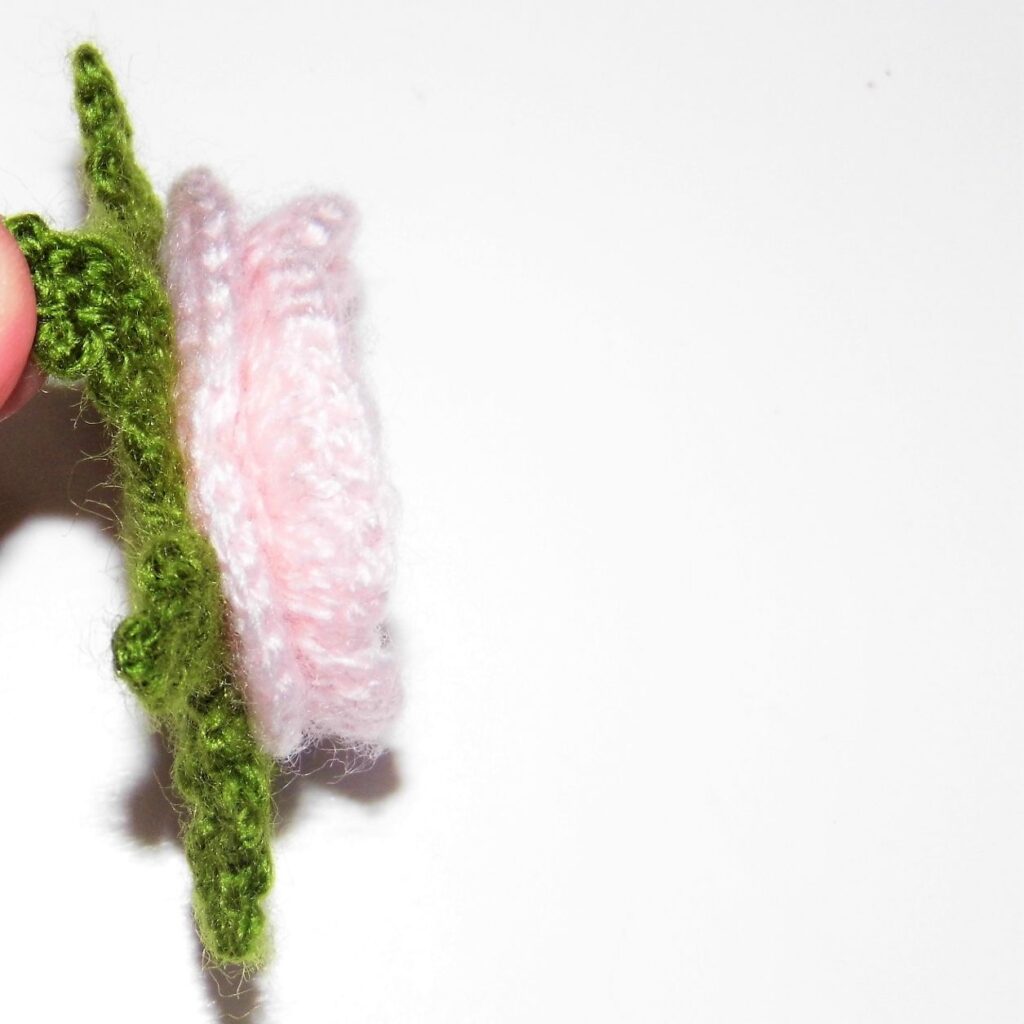
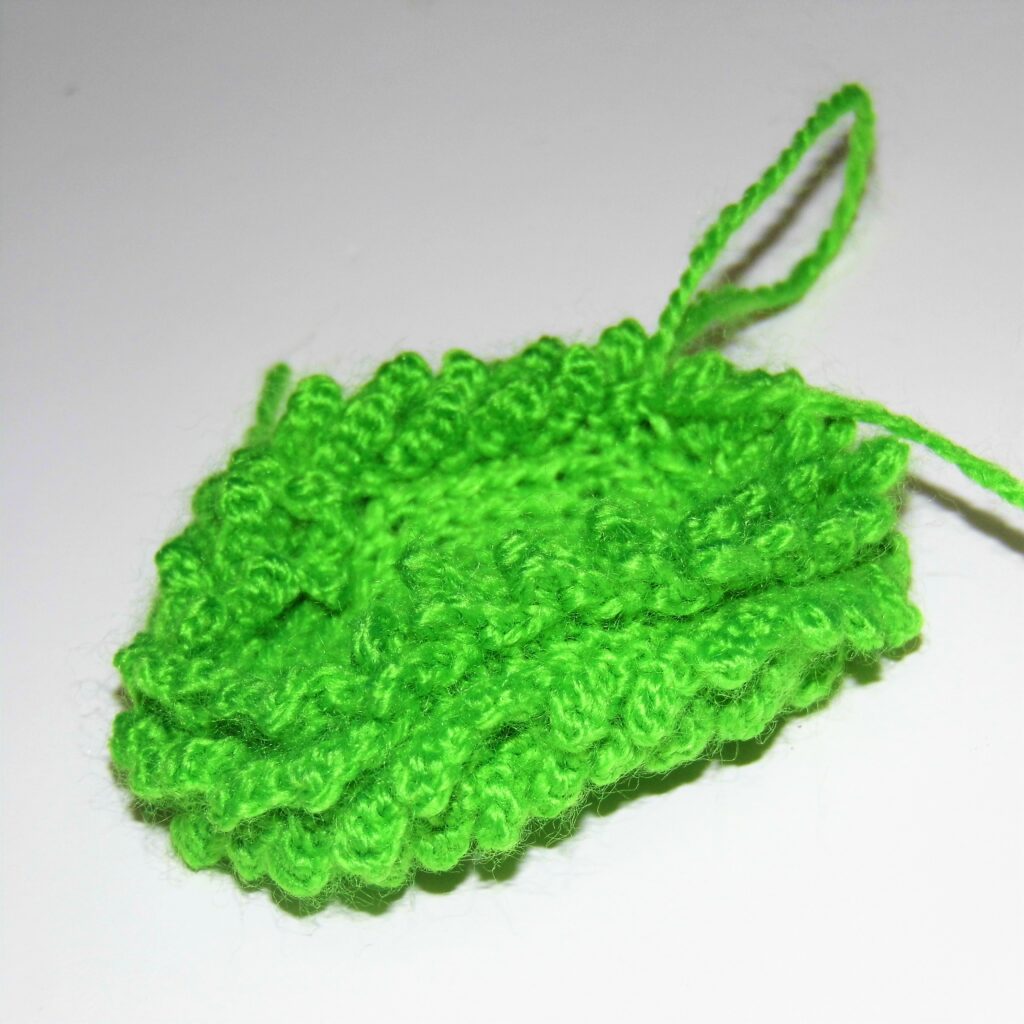
For that, I fold the piece in half and roll it.
Once it’s the shape I like, I pin it in place. I sew along the back, holding the loops carefully so they don’t separate, but leaving the petals loose.
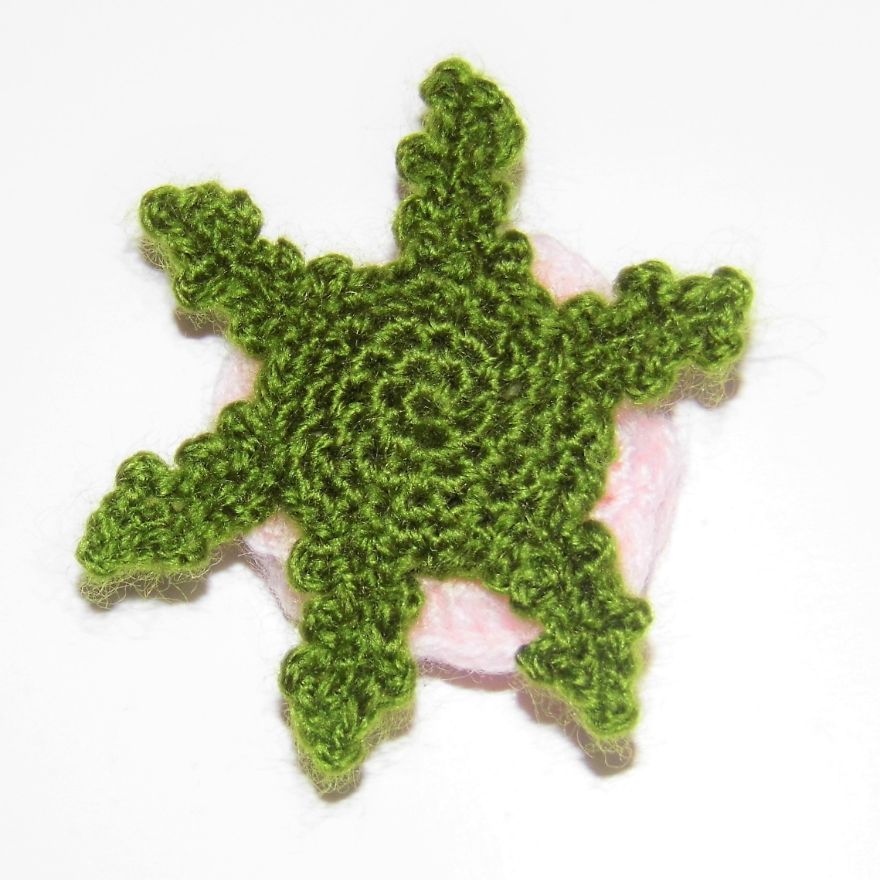
Once the flower is finished, it is time to complete it with some leaves.
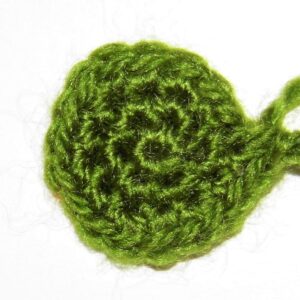
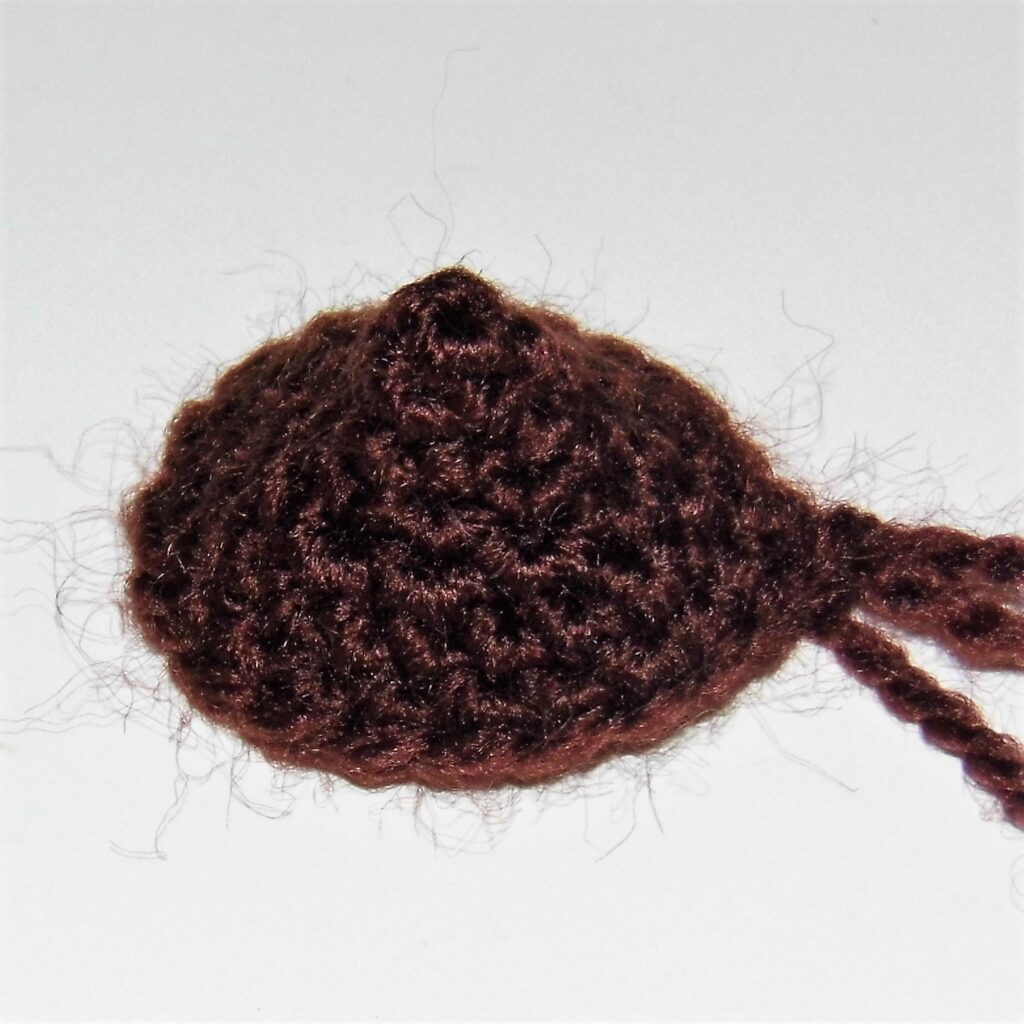
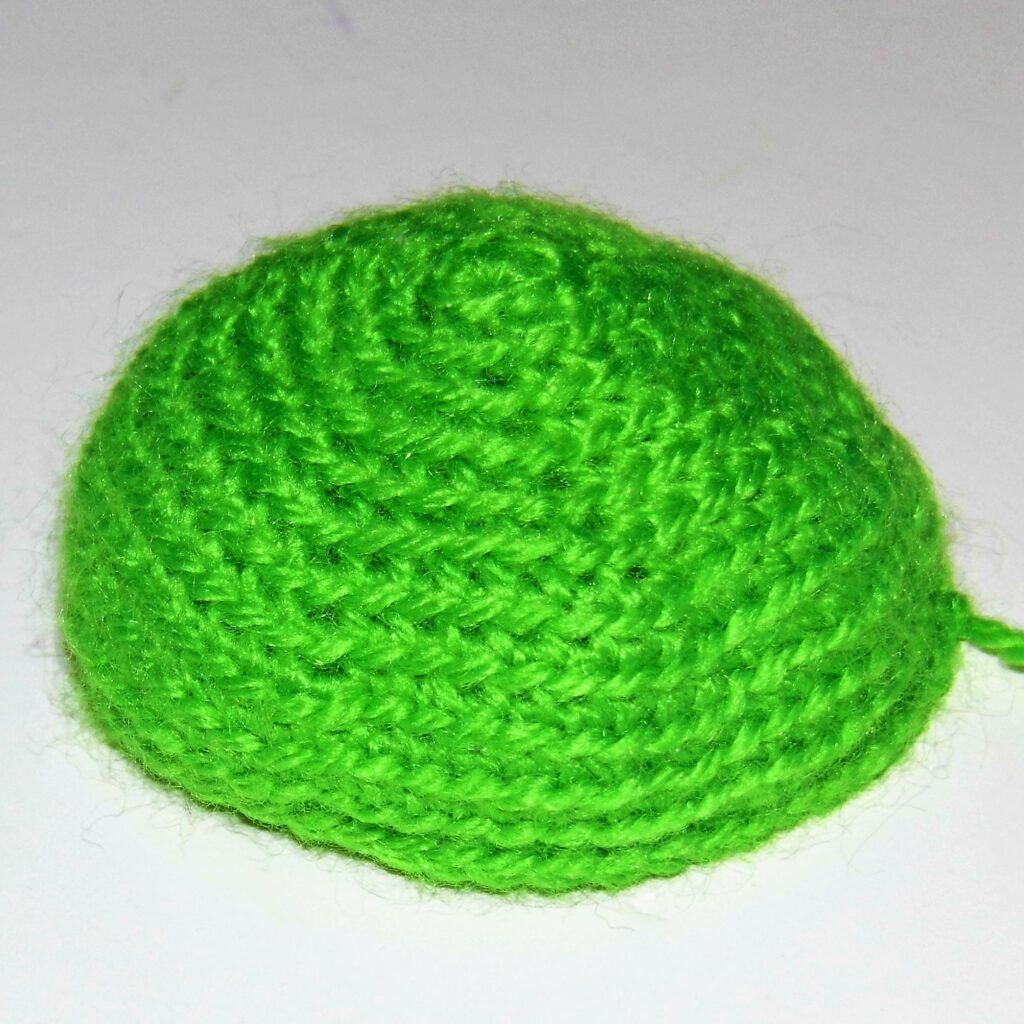
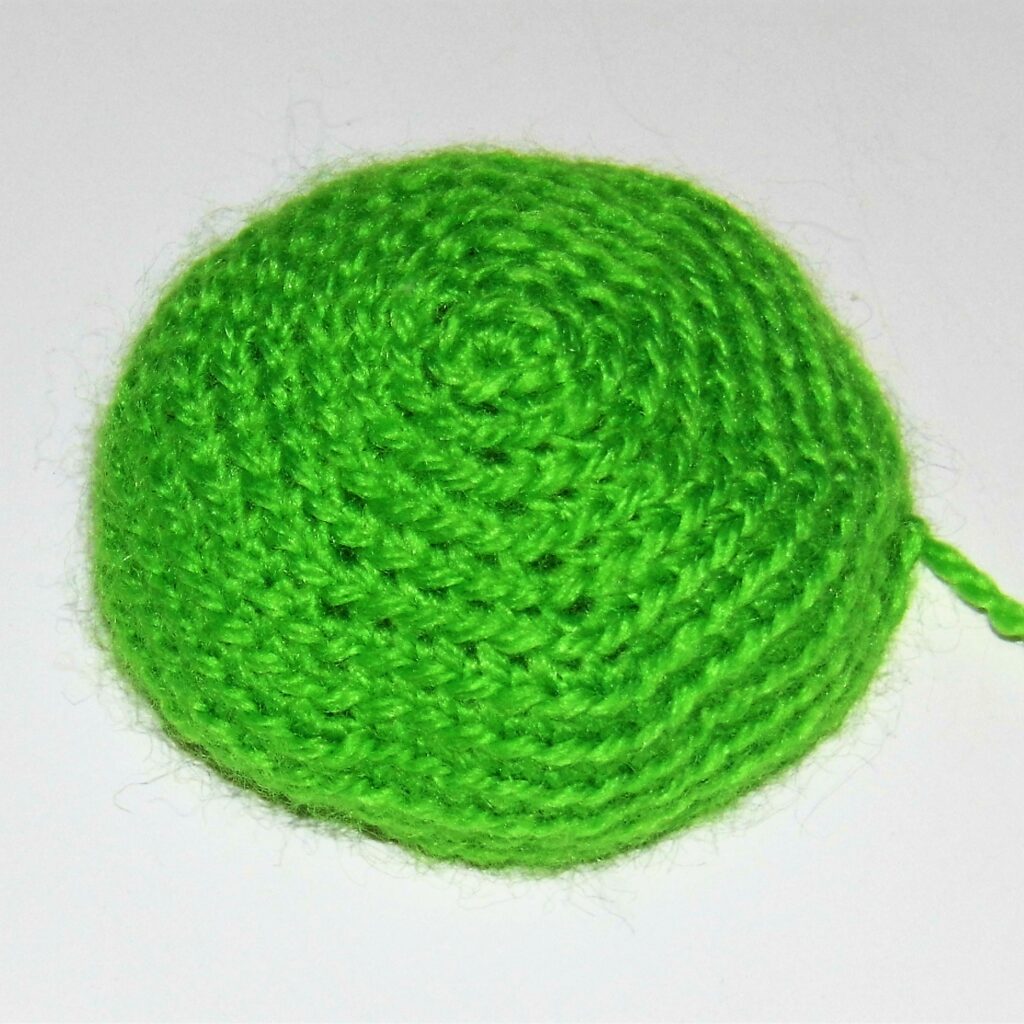
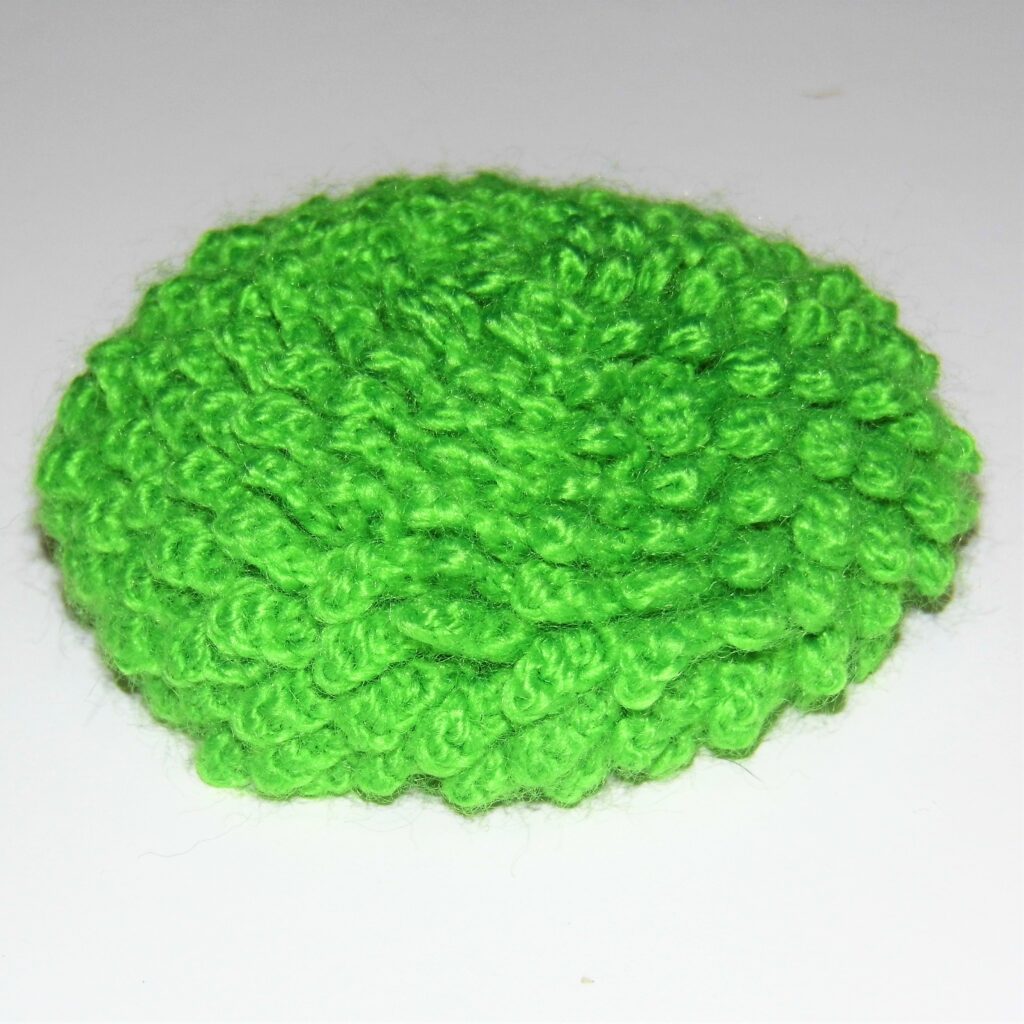
I want to cover the back of the rose, but since I don’t use fiberfill, a flat circular piece is best. Around it I will crochet the leaves. Again I am going to use even numbers divisible by 3. In this case starting with a 6 sc magic ring.
LEAVES
With olive green yarn
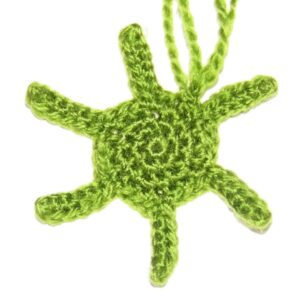
1. I Work 6 sc in magic ring.
2. Inc in every st (12).
3. “1 sc, inc”, repeat (18).
These 18 sc are enough to cover the back.
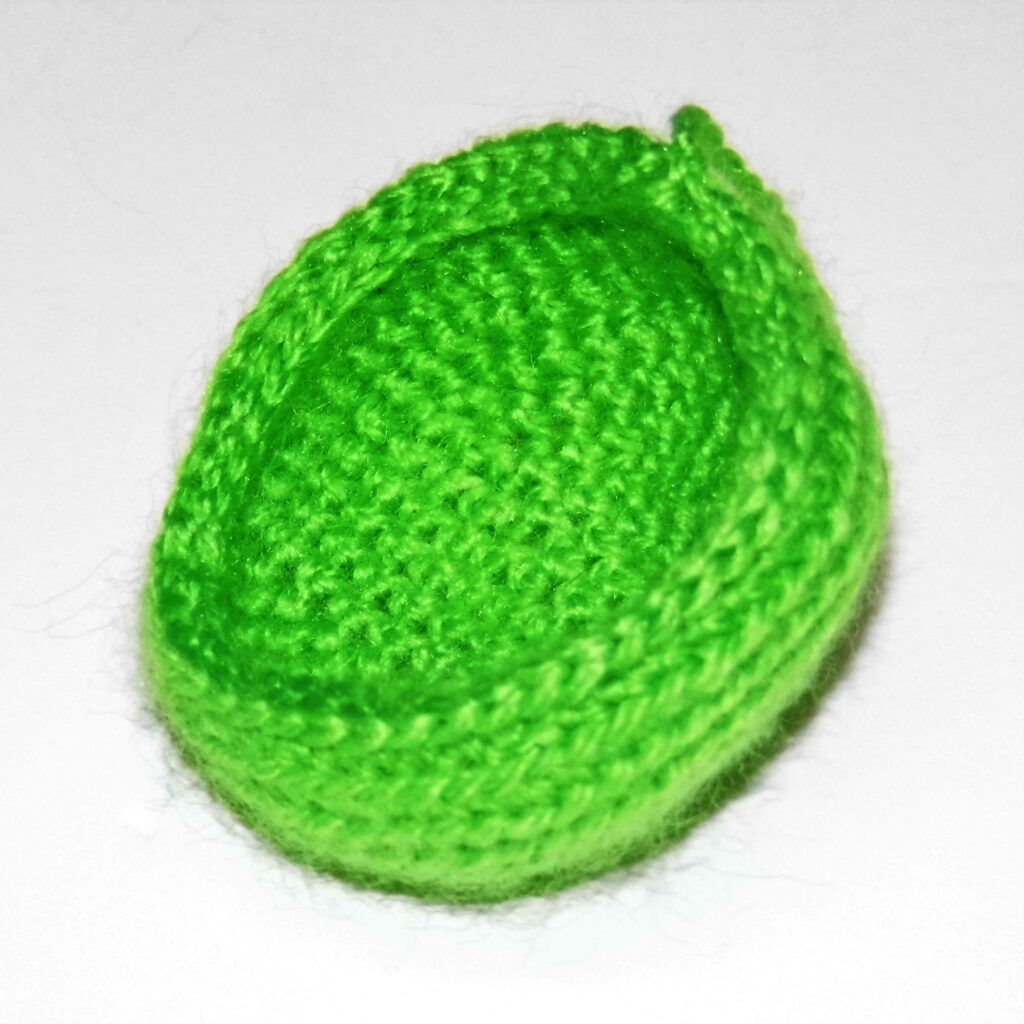
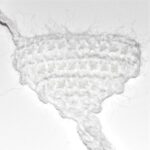
It is time to start crocheting the leaves. The idea is to do it in rows in one time. For this, I’ll use a combination of chains and sc around the main 18 sc piece. The number of chains will determine the length of the leaves and the stitches that occupy in the piece their total number. Each one will occupy 1 sc, so this time it will be the separation stitches between them that will determine the number of leaves. Being 18 sc the total stitches to crochet the leaves, the easiest thing is to make 6 leaves occupying 3 sc each, that is, 1 sc for the leaf and 2 sc separating them.
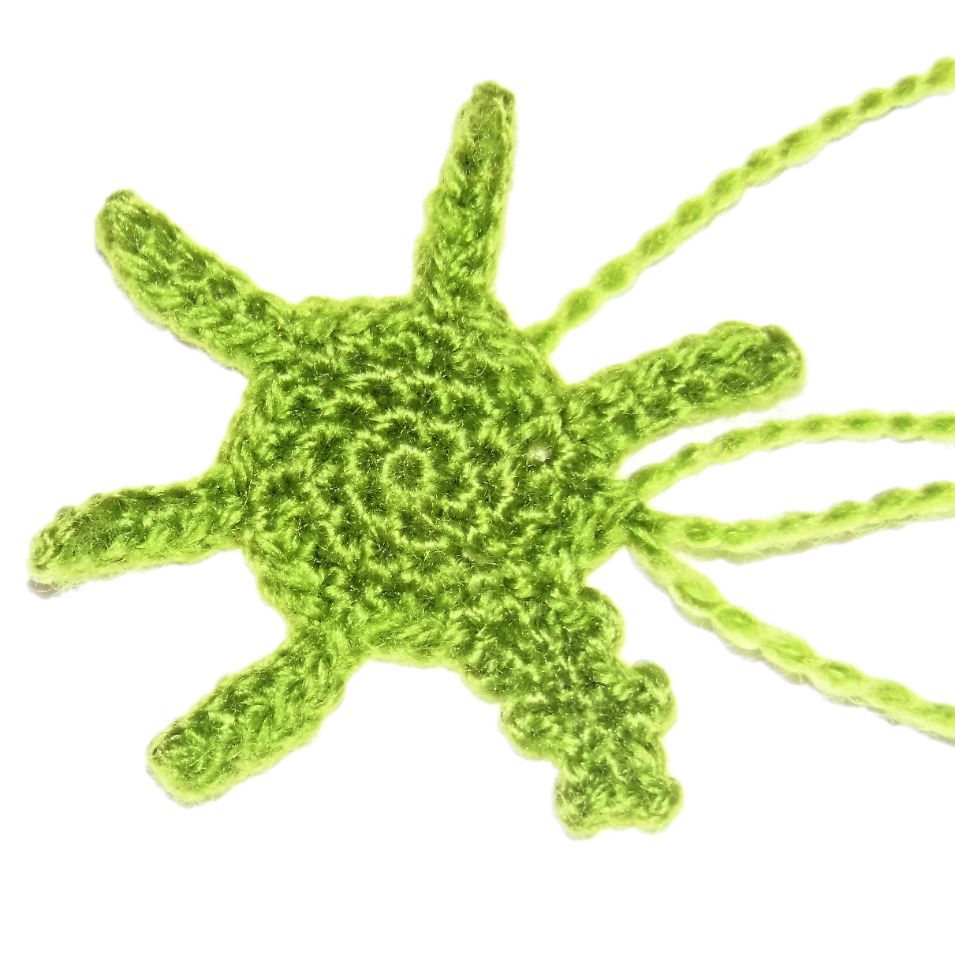
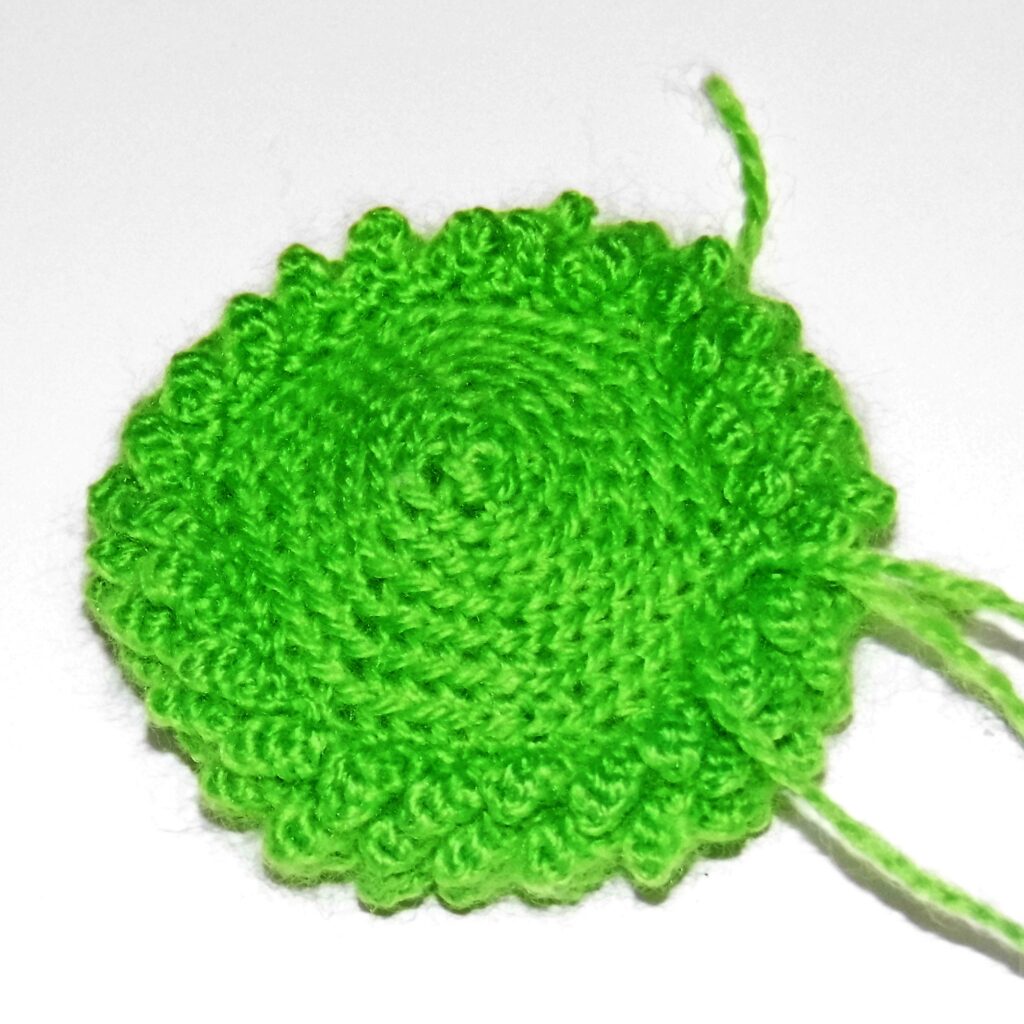
4. 1 sc, ch 7, 6 sc in the chains, 1 slip stitch over the origin point of the chains. “3 sc on the base piece, ch 7, 6 sc in the chains, 1 slip stitch over the origin point of the chains” 5 times, 2 sc.
I have already part of the 6 leaves.
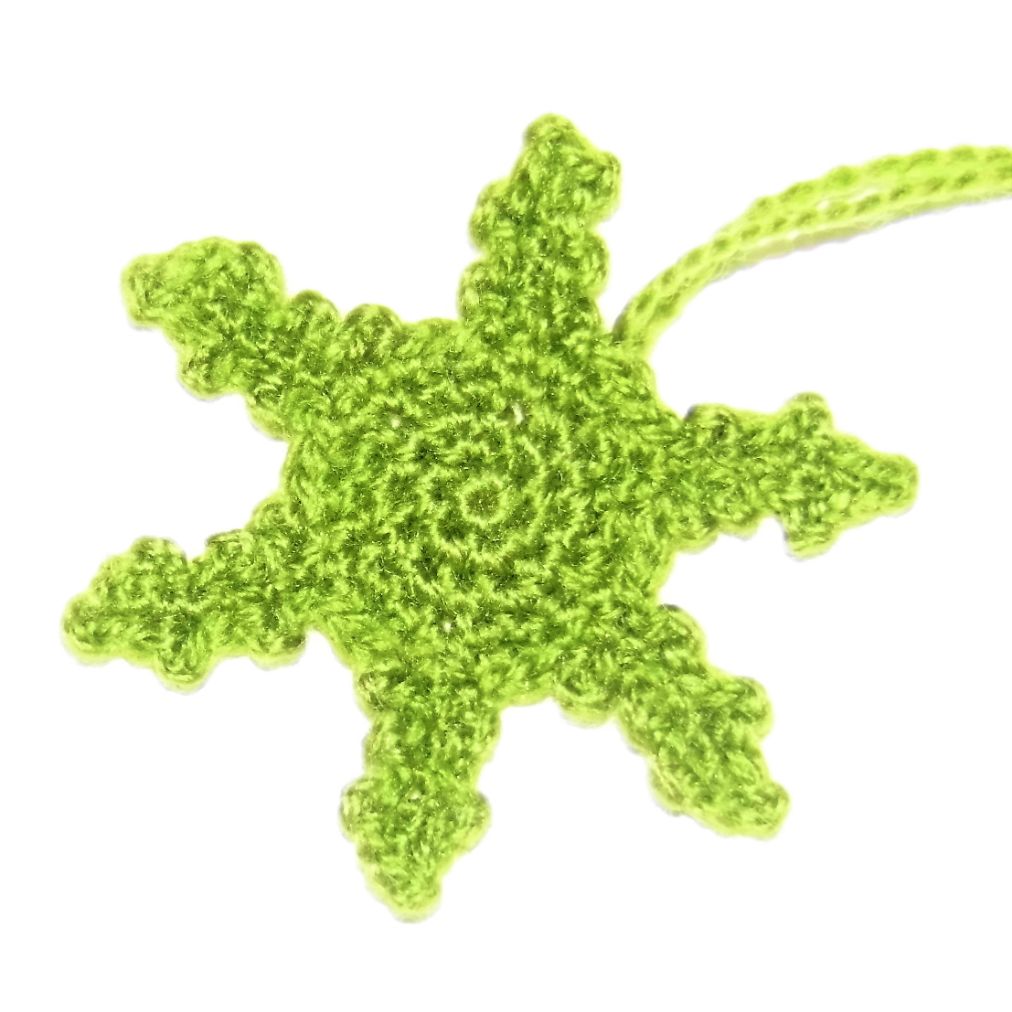
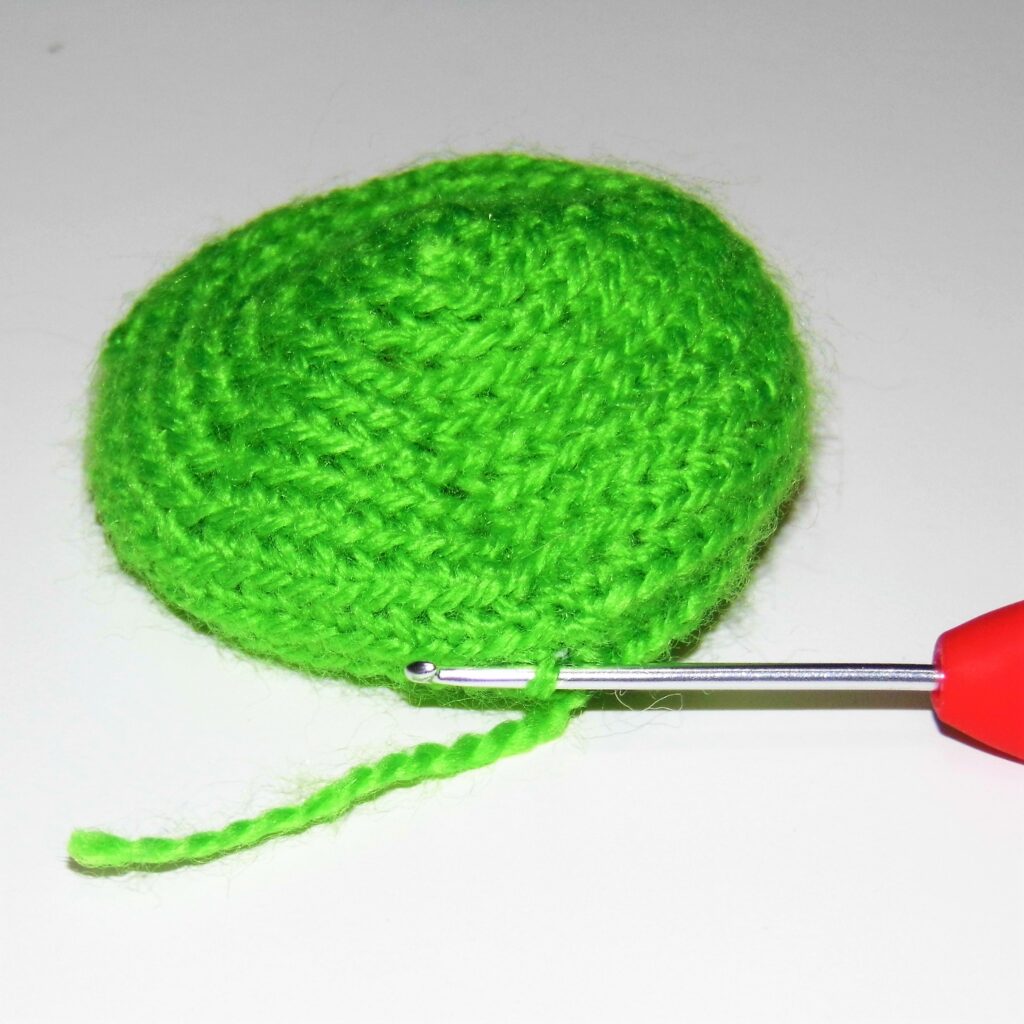
The leaves need to be shaped by incorporating some detail such as irregular edges. For this I am going to continue working around the piece, bordering the leaves adding something as simple as some chains.
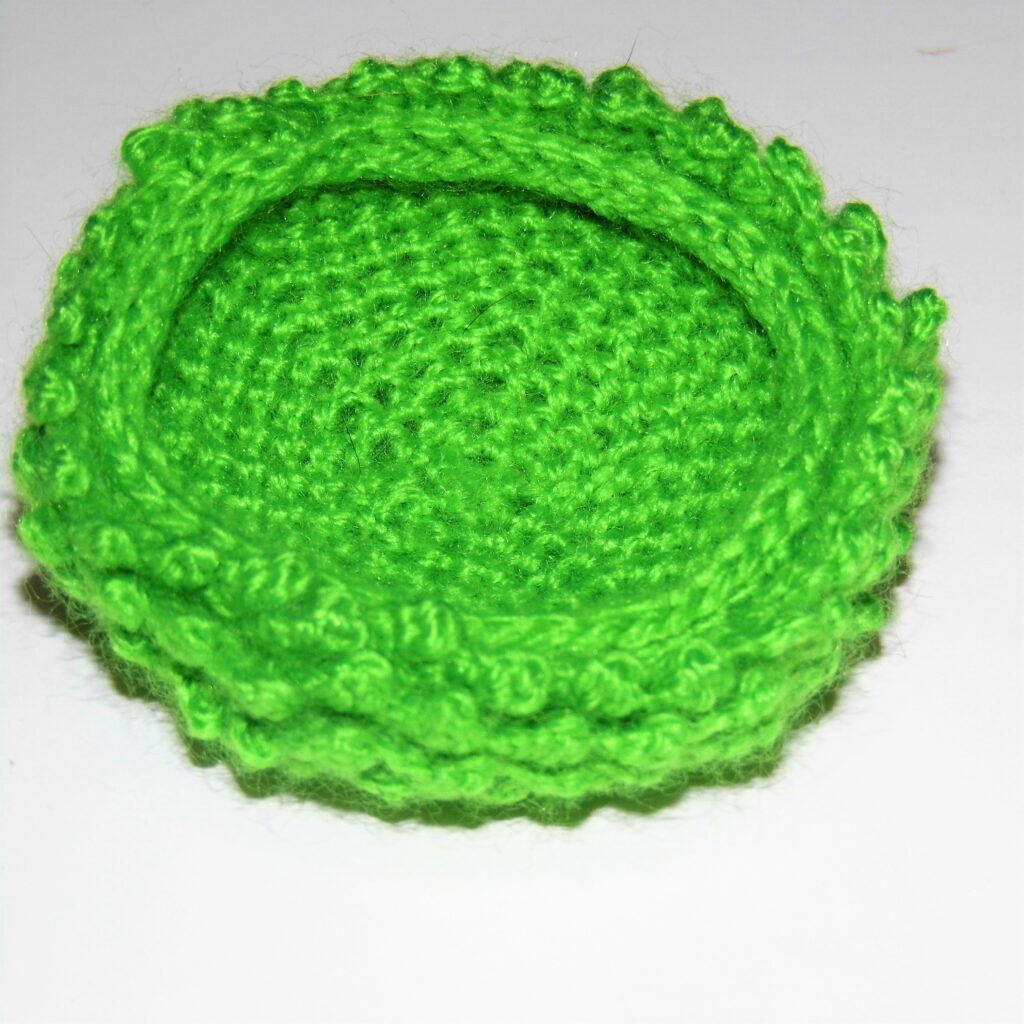
5. 1 sc, I work in the side of the chains: “1 slip st + ch 2 + 1 slip st, 1 slip st in the next chain” 3 times. I Continue crocheting in the other side of the leaf following the same pattern. 3 sc on the base piece to work on the next leaf following the same pattern. I Repeat until completing the 6 leaves and the round.
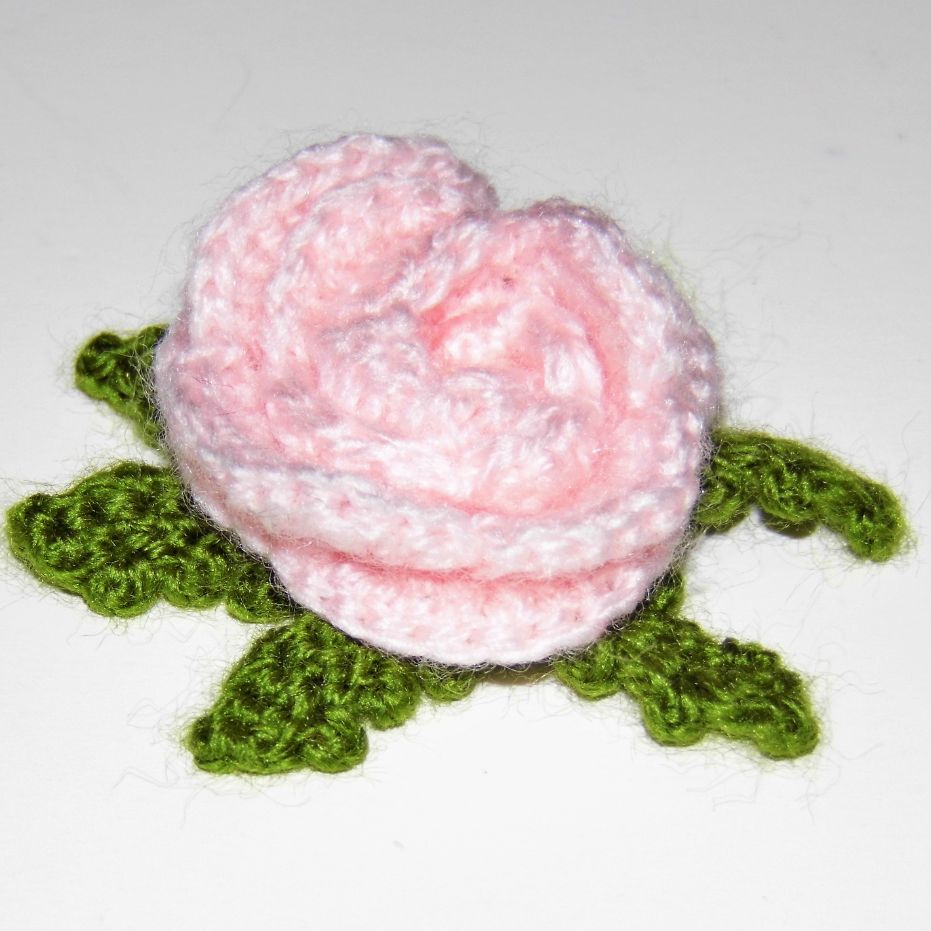
I fasten off leaving a long thread of wool to sew the piece on the back of the rose. Place the magic ring outside.
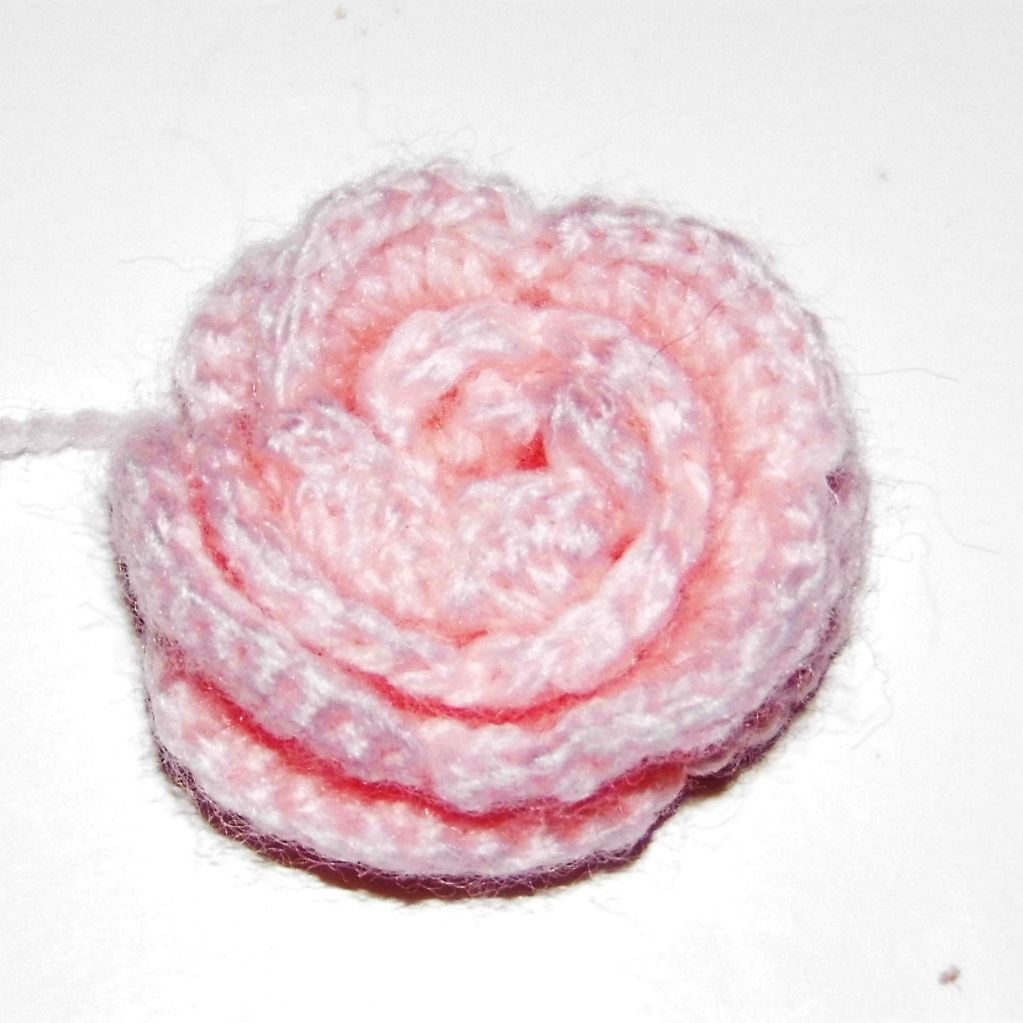
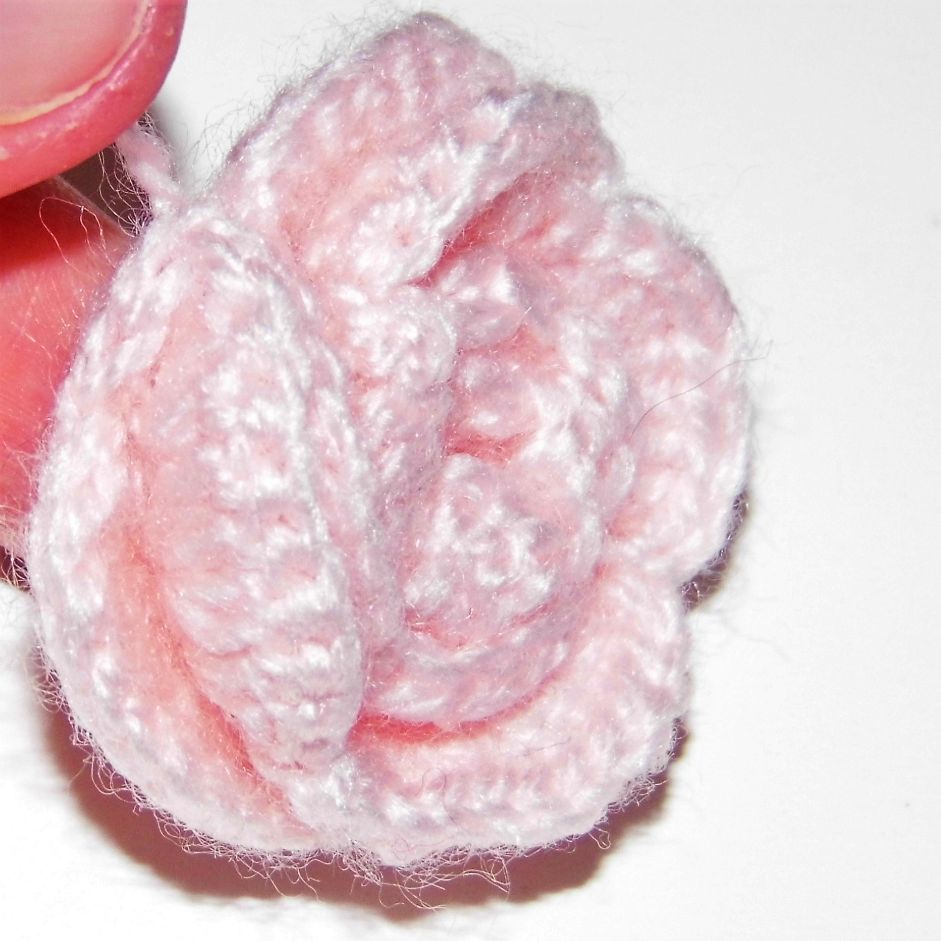
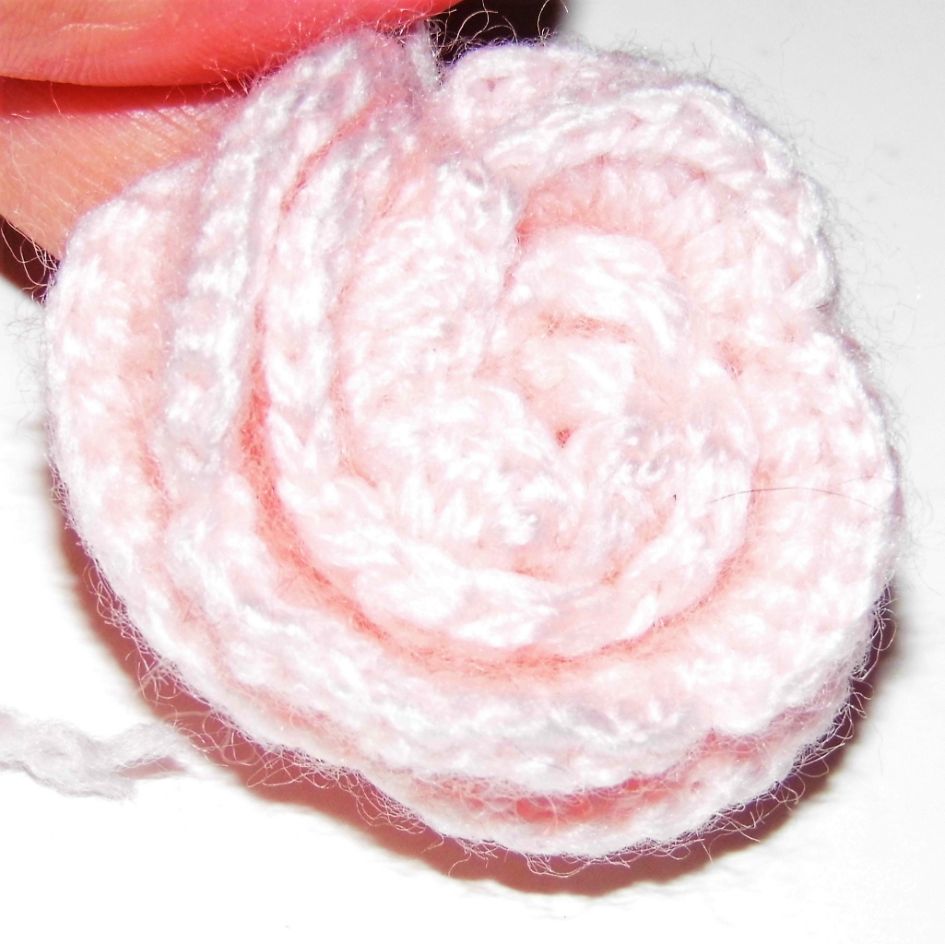
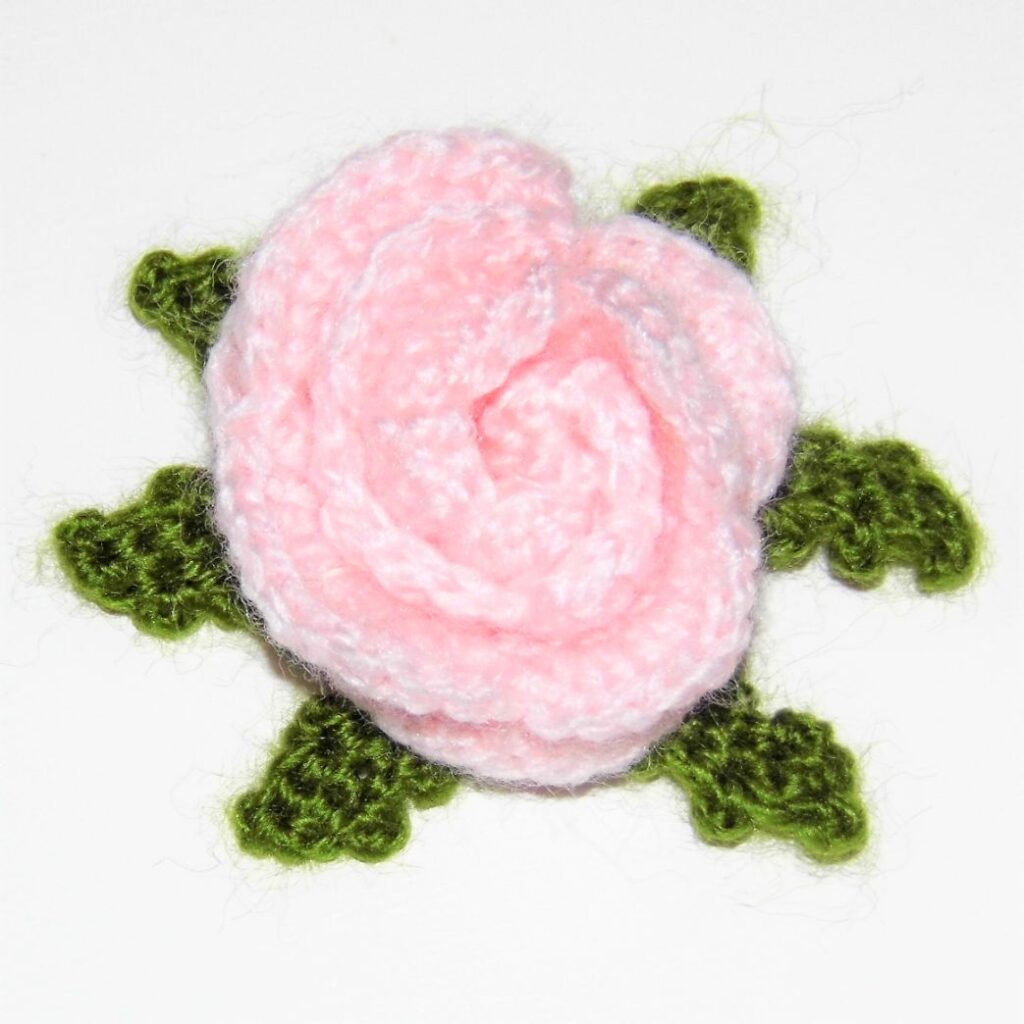
And the Rose is finished! Do you like it?
But this is the first version of the pattern and there are things to review and even modify. For example, adding height to the final petals, a touch of color to the initial ones. Maybe I should place the leaves in a way that is not so symmetrical, or modifying their size. Designing a pattern means giving it many turns, correcting, rectifying, even after finishing it.
I hope you like both the pattern and the tutorial Designing an amigurumi: Rose and find it useful.
It is chestnut time and here in my land, in Galicia, we have the tradition of celebrating the Magosto.
Do you know it? It is a popular festival that takes place in all corners of the community between the end of October and the beginning of November and whose main ingredients are chestnuts, fire and wine.
I remember when I was little the Magosto celebration at school, with the roasted chestnuts prepared by the older ones, the fun games and our faces painted with the charcoal from the bonfires (there was no wine there, of course)
There are several theories about the origin of this tradition.
Some say that it is linked to the end of the chestnut harvest, given the importance of this fruit both in gastronomy and in the Galician economy before the arrival of the potato from America.
Another more magical theory, given that the magosto is usually celebrated at the beginning of November, relates it to the celebration of Samaín, a Celtic tradition later transformed into All Saints’ Day, on November 1. And there is also the saying: “Por San Martiño faise o magosto, con castañas asadas e viño ou mosto” (For San Martín the Magosto is made, with roasted chestnuts and wine or grape juice) (San Martin is celebrated on November 11)
They say that at that time Celtic rituals were performed that linked wine with life and chestnuts with death, each roasted chestnut symbolizing a soul that was freed from purgatory. How curious, right?
To celebrate this tradition with you I bring you a small gift:
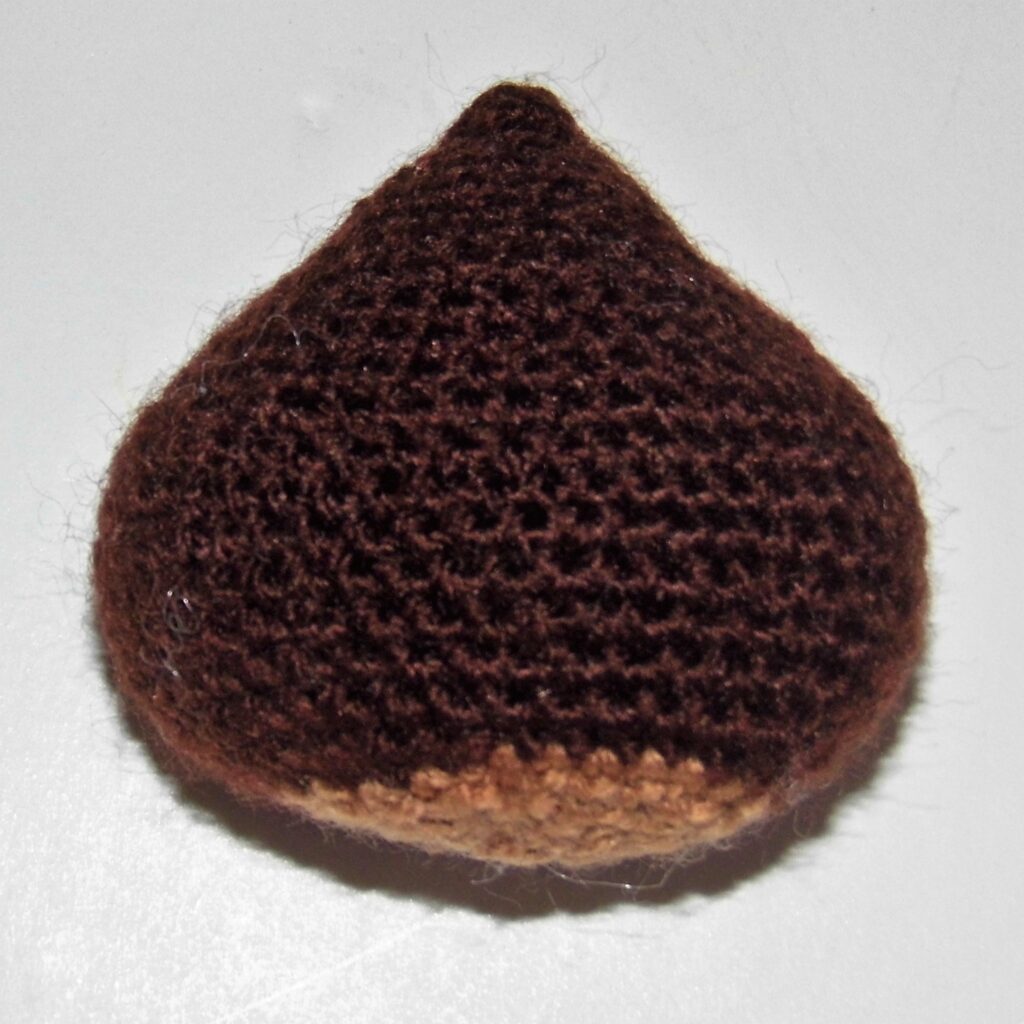
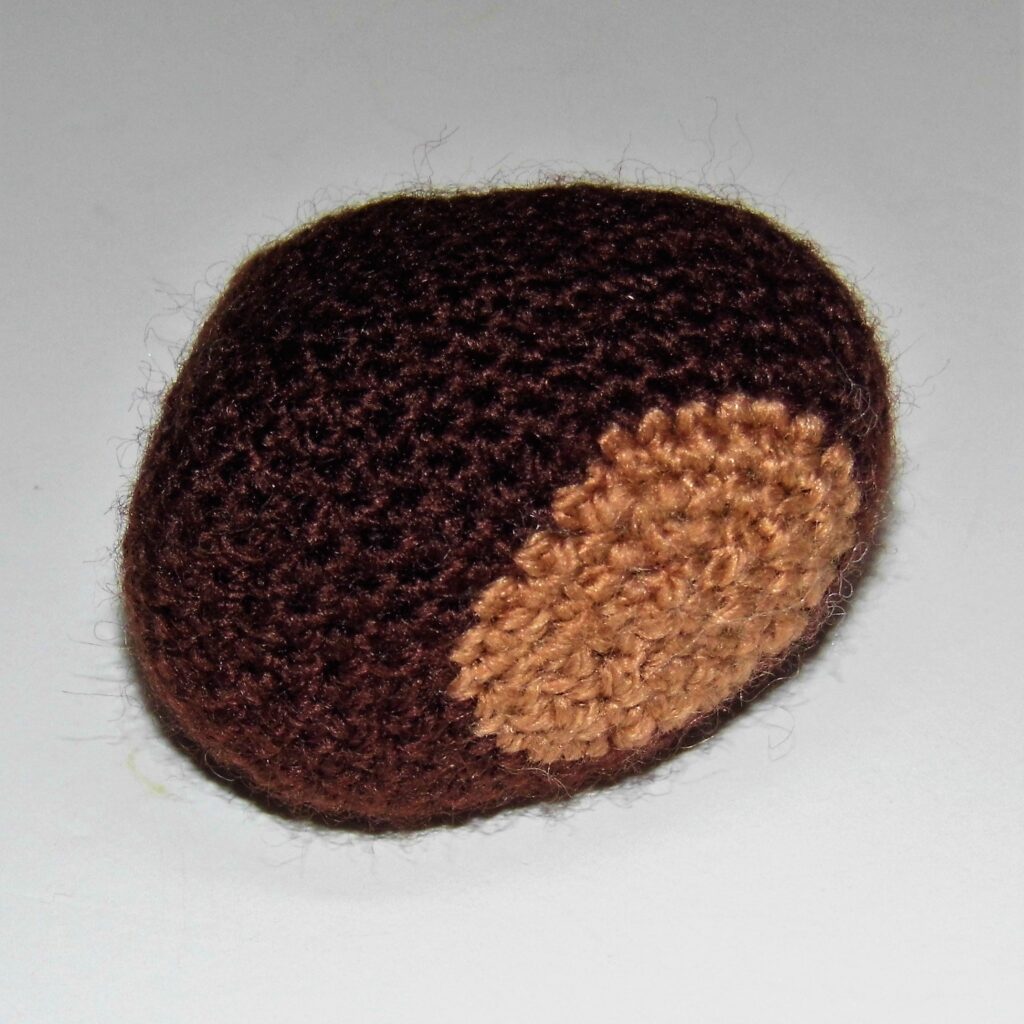
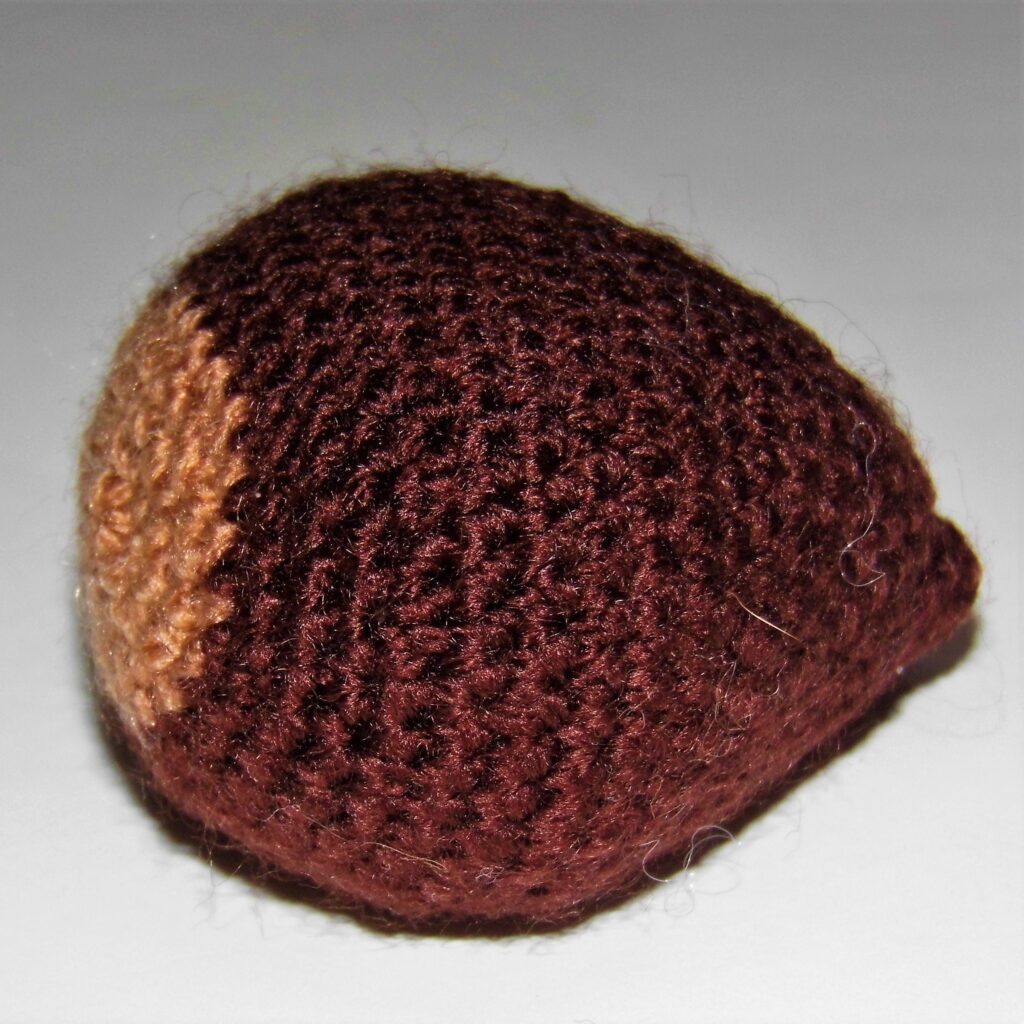
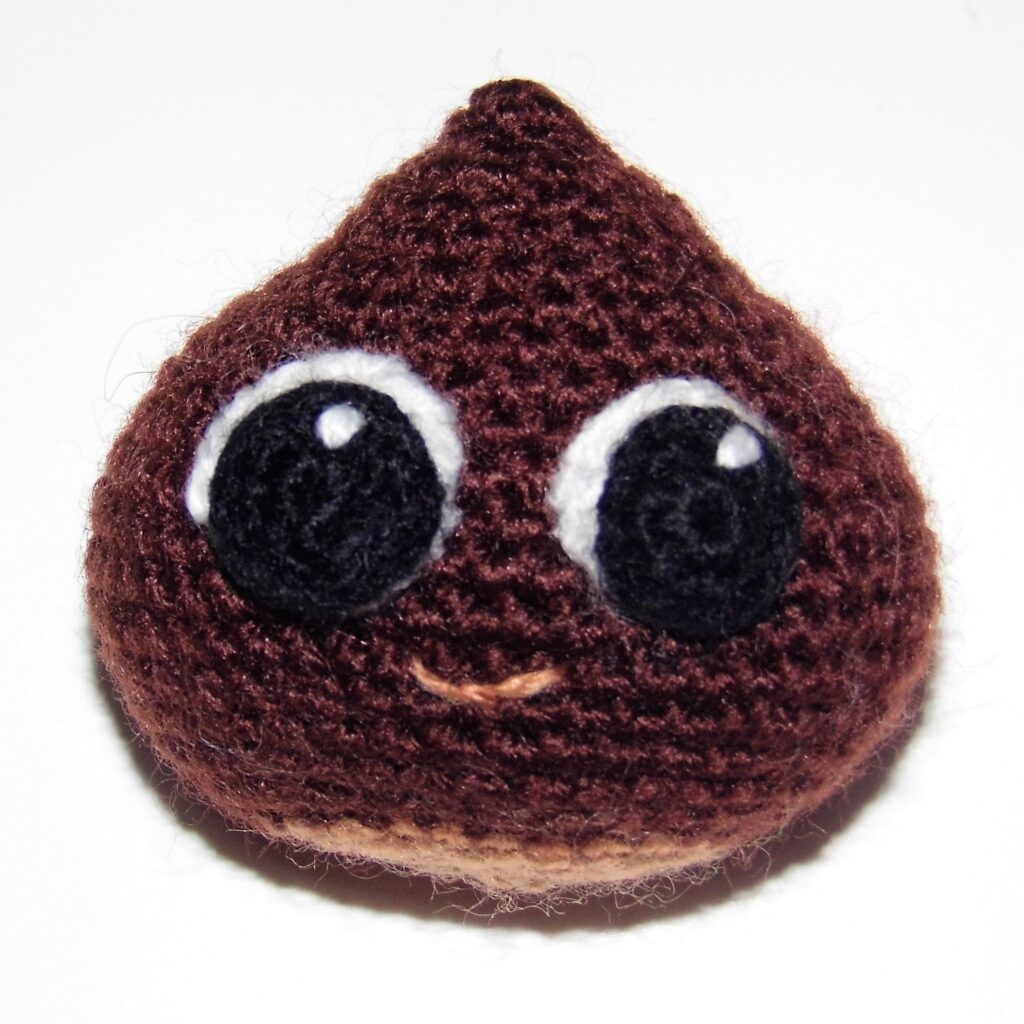
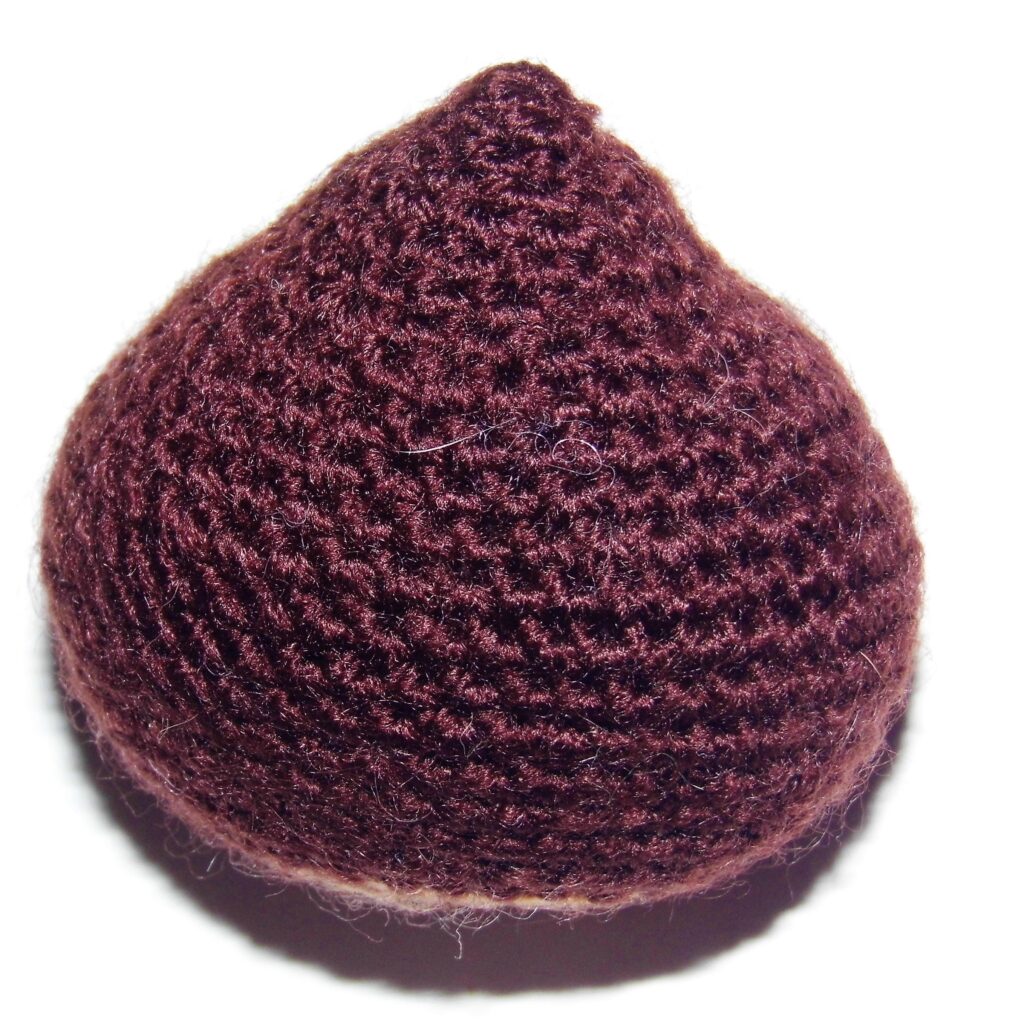
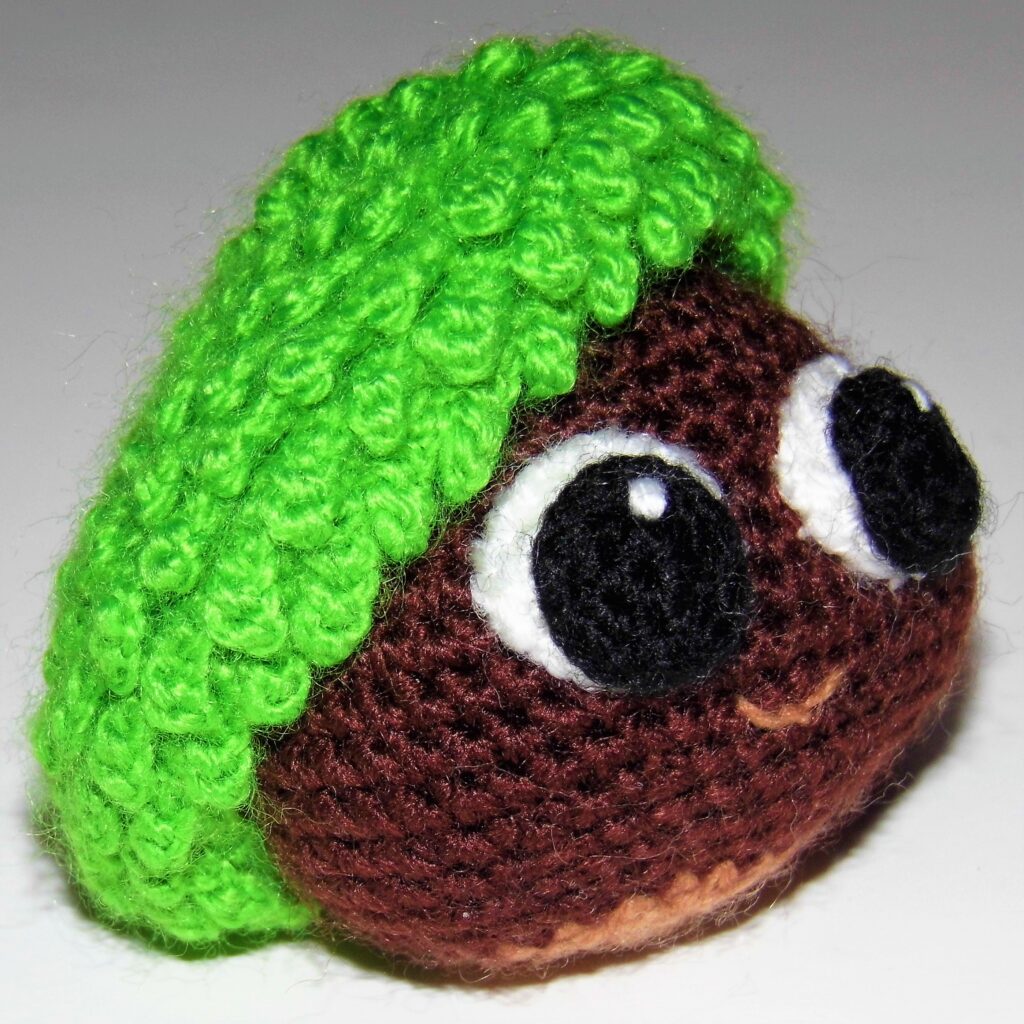
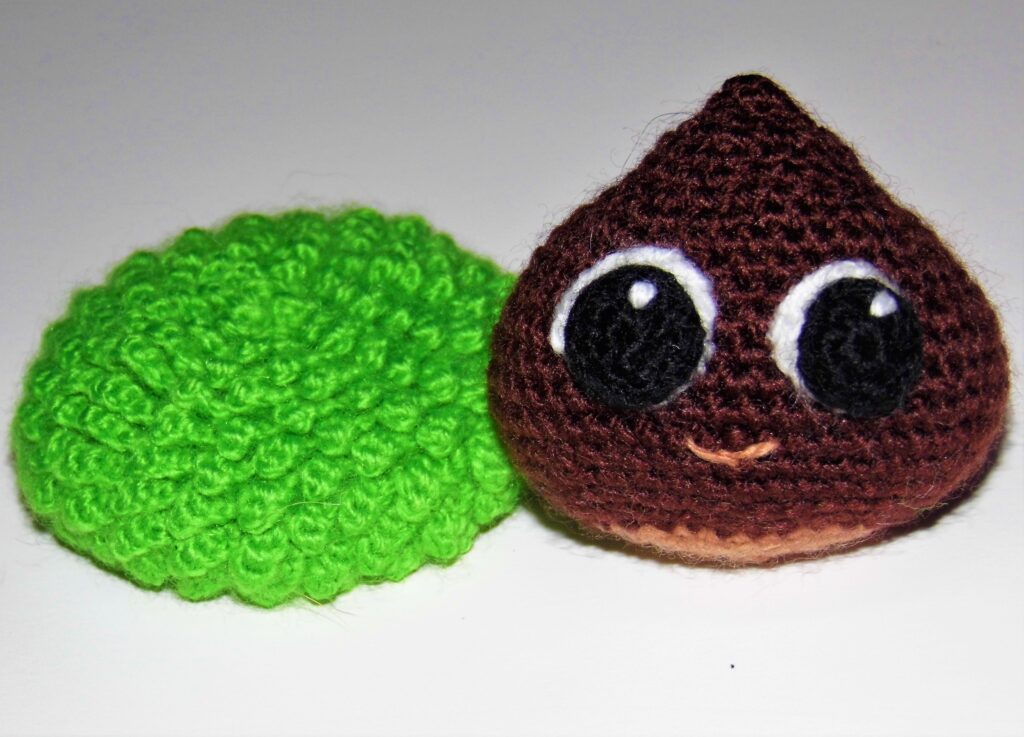
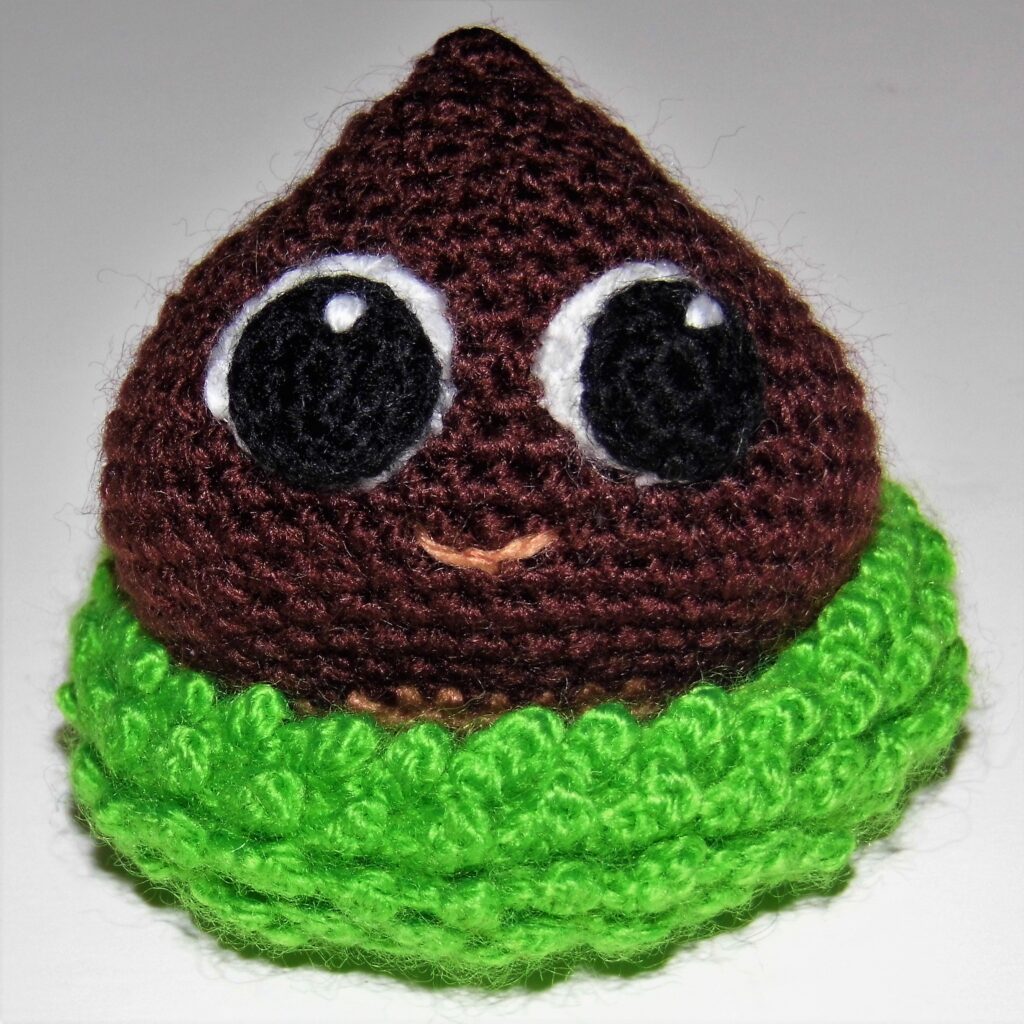
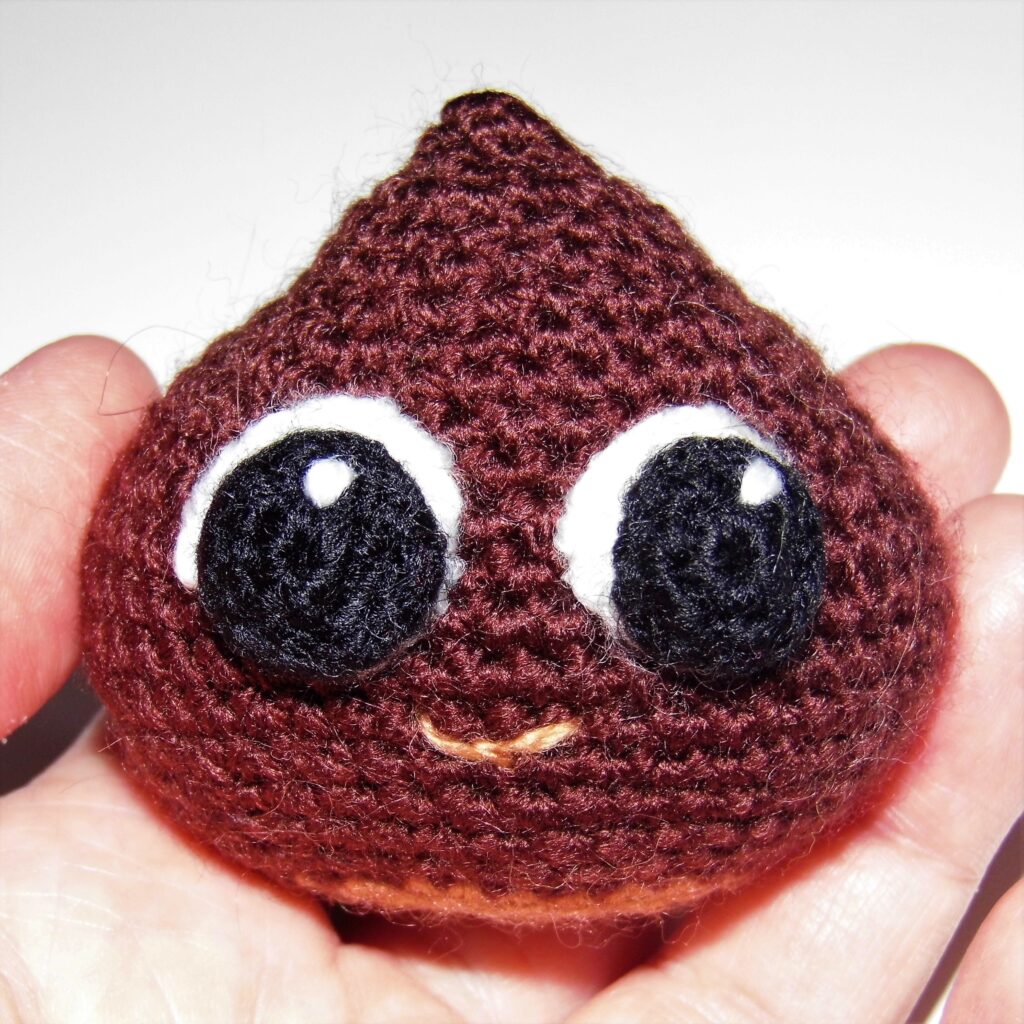
Chestnut Amigurumi Pattern
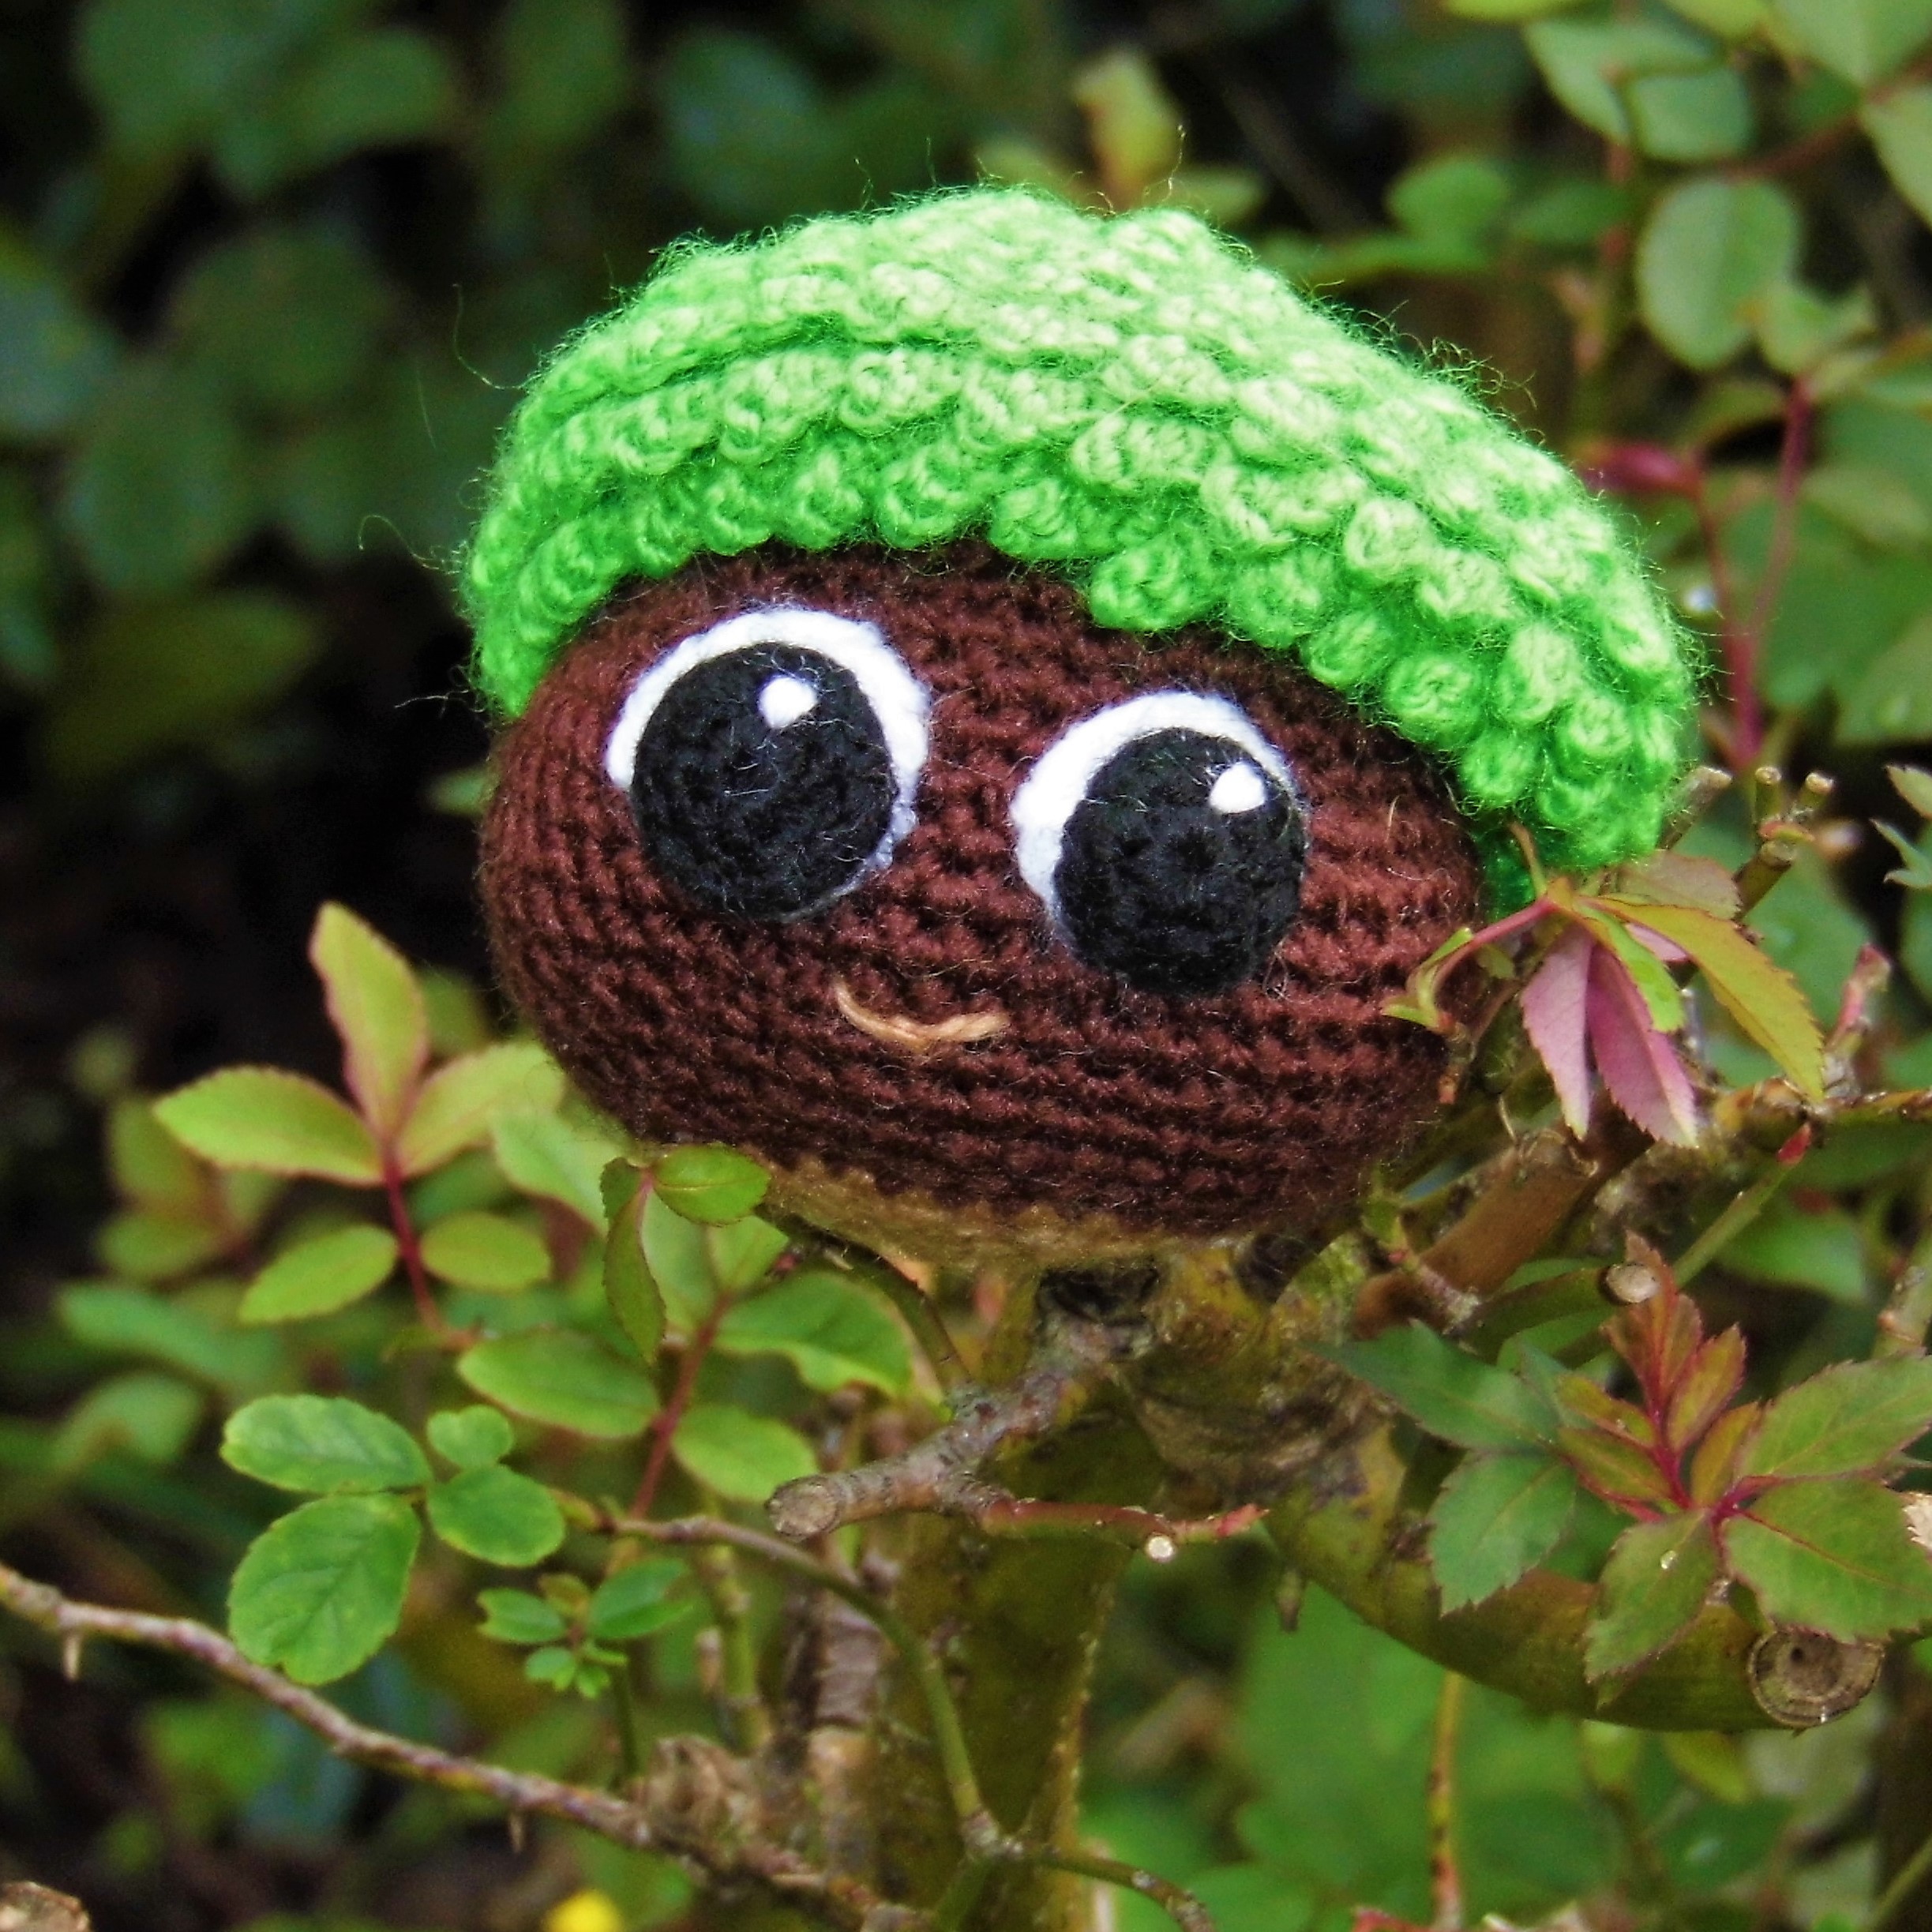
It is a simple pattern, with which you can crochet a funny chestnut with its bur, Kawaii style and like all my designs “totally soft”
MATERIALS – Yarn of different colors: white, black, brown, light brown, light green. – Thickness of the yarn: 3 mm. – Hook according to the thickness of the yarn. – Yarn needle. – Fiberfill.
ABBREVIATIONS sc: single crochet st: stitch ch: chain inc: increase dec: decrease BLO: Back Loops Only Fill the doll with fiberfill as you crochet.
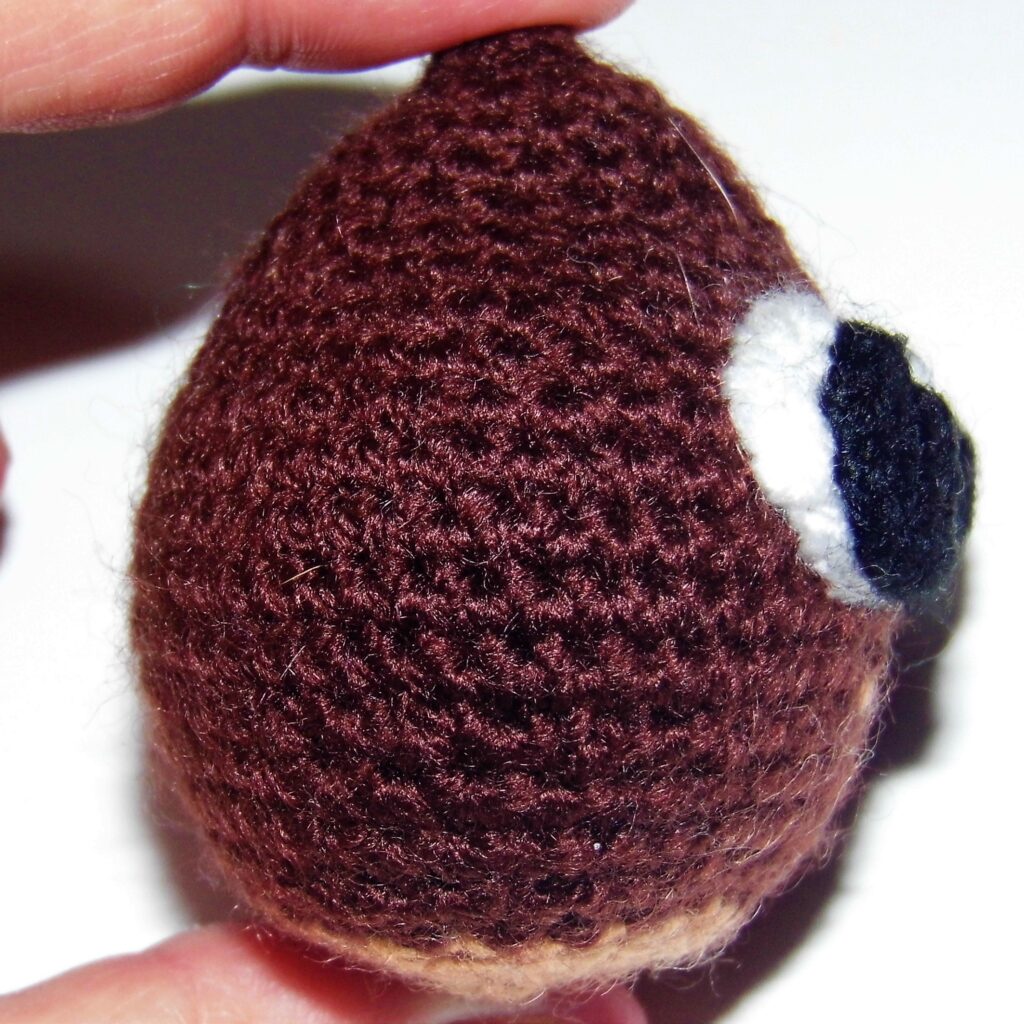
22. Change to light brown yarn and work 5 sc, “1 sc, dec” 3 times, 6 sc, “1 sc, dec” 3 times, 1 sc (24).
23. 1 dec, “2 sc, dec” 5 times, 2 sc (18).
24. “1 sc, dec”, repeat (12).
25. Dec in every st (6).
Fasten off. Sew the hole with the yarn needle.
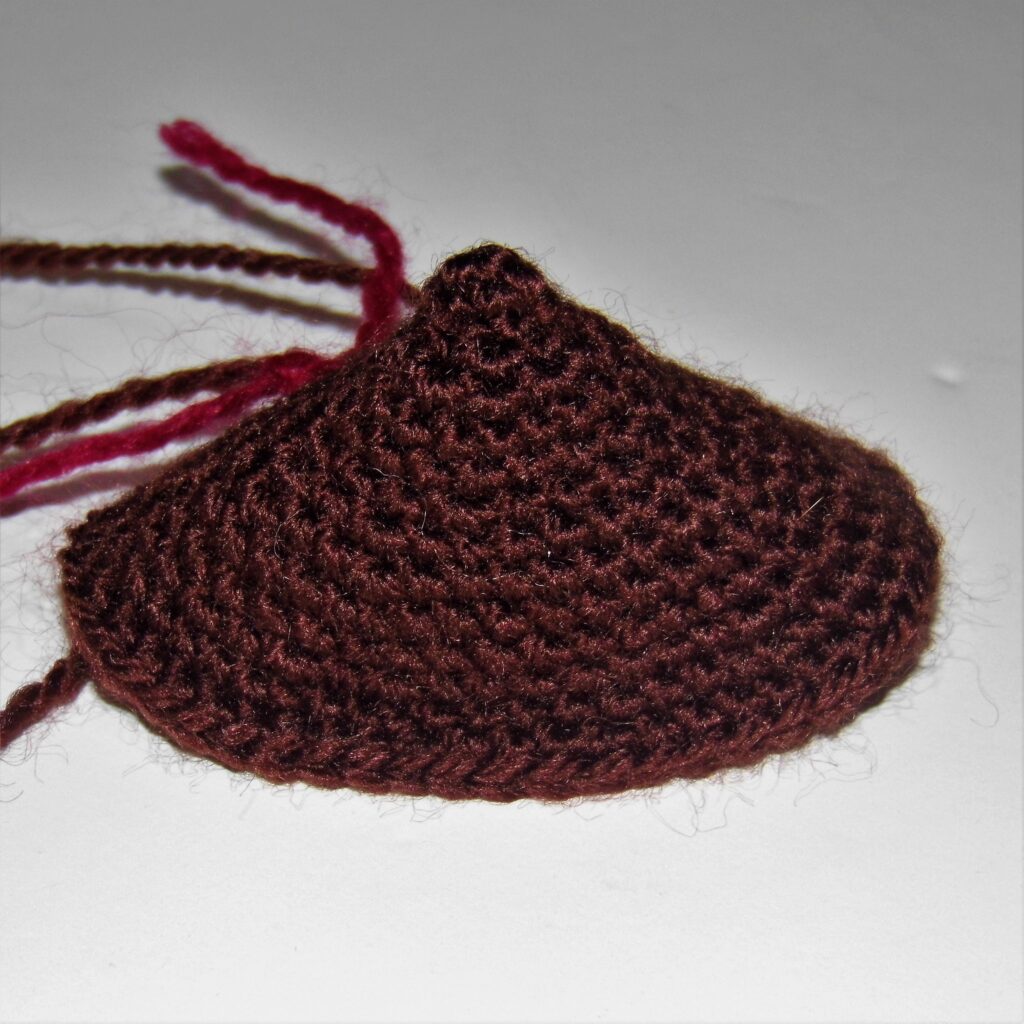
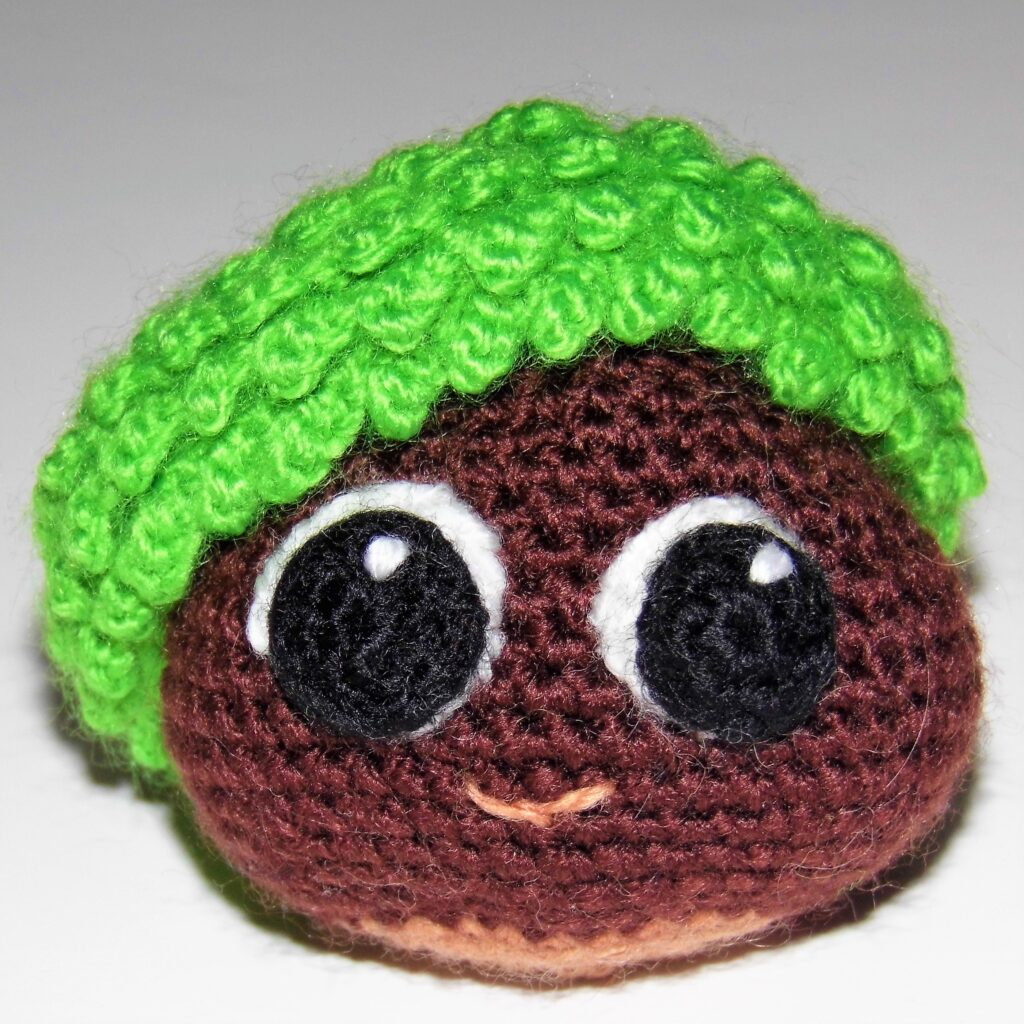
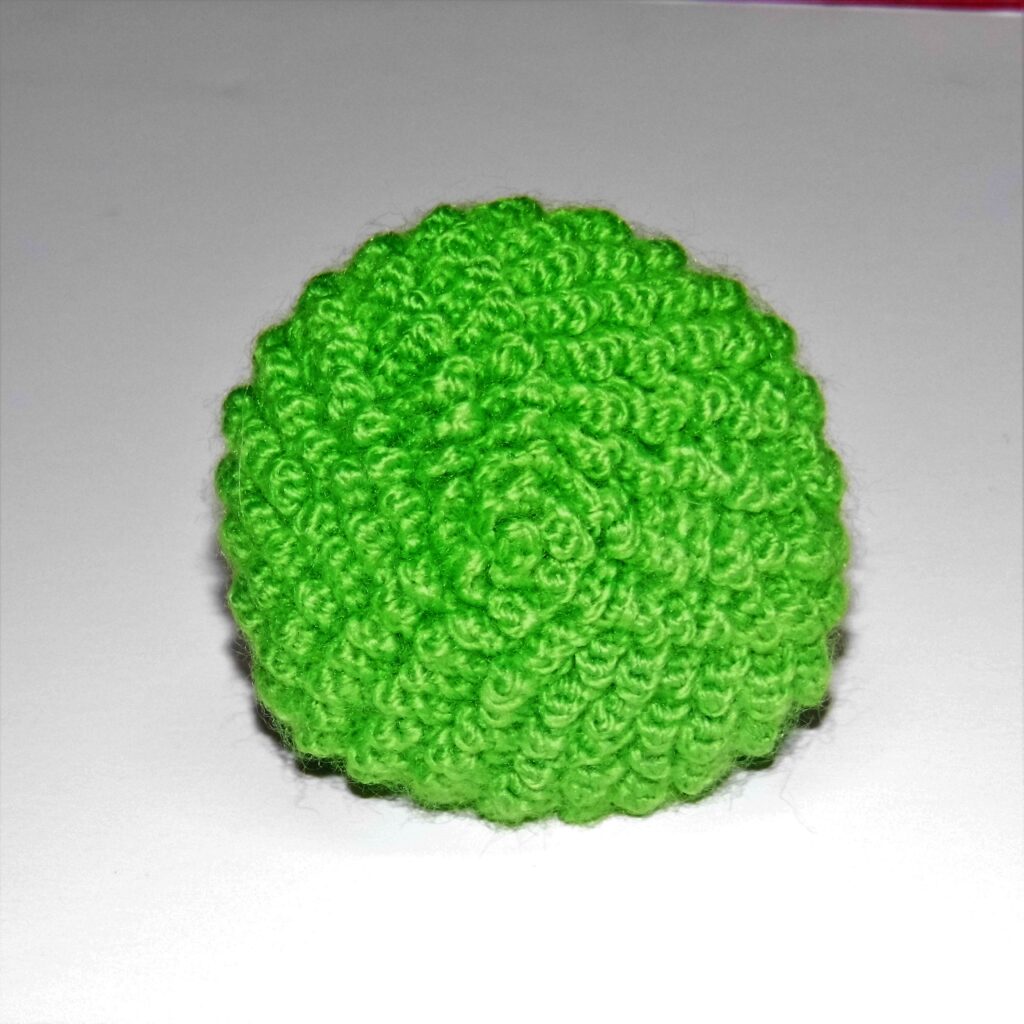
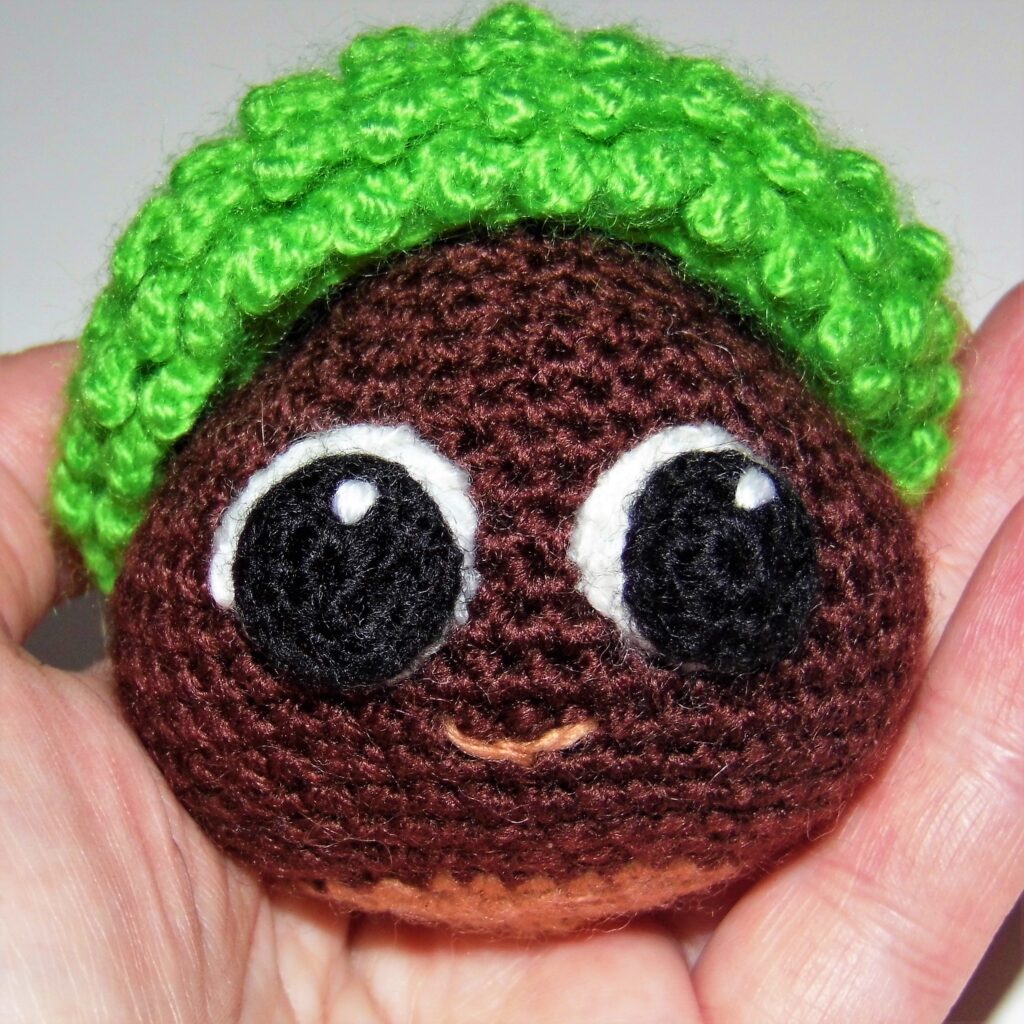
CHESTNUT BUR
With light green yarn
1. Work 6 sc in magic ring.
2. From this round and the next ones you are going to work in back loops only: Inc in every st (12).
3. BLO “1 sc, inc”, repeat (18).
4. BLO “2 sc, inc”, repeat (24).
5. BLO “3 sc, inc”, repeat (30).
6. BLO “4 sc, inc”, repeat (36).
7. BLO “5 sc, inc”, repeat (42).
8. BLO “6 sc, inc”, repeat (48).
9. BLO “7 sc, inc”, repeat (54).
10. and 11. BLO 1 sc in each st (54).
12. BLO “7 sc, dec”, repeat (48).
13. 1 sc in the post of each st (48).
Fasten off.
COMPLETE THE BUR
With light green yarn
Start working in the free loops from the final round until the beginning of the piece. Work the following sequence: “1 sc, ch 3, 2 slip st in the chains, 1 slip st in the point origin of the chains, 1 sc in the next st” Repeat to the end.
Fasten off.
EYES (x2)
Background
With White yarn
1. Work 6 sc in magic ring.
2. Inc in every st (12).
Fasten off.
Pupil
With black yarn
1. Work 6 sc in magic ring.
2. 1 sc in each st (6).
Fasten off.
Sew the pupil attached to the bottom of the white background and the whole eye leaving 10 sc of separation from the pointed part of the chestnut and 3 sc of separation between them in the middle part. With white yarn embroider the twinkle.
Centered under the eyes, leaving 1 sc of separation, embroider the mouth with light brown yarn.
Finished!
I hope you enjoy crocheting this cute chestnut and that you liked the history of this tradition!
Remember that if you crochet it you can send me the photos by email or comment on what you want here in the post.
See you soon!
If you liked the Chestnut Amigurumi Pattern, you may want to see other patterns related to Galicia:
Enjoy the free Shamrock Keychain Amigurumi Pattern
Although the origin of this celebration is Irish, in an increasingly globalized world, it can be said that today it is celebrated worldwide, including Spain and of course, my land, Galicia.
Our common Celtic roots connect us historically and culturally with Ireland.
Thus, for example, the Tower of Hercules, in A Coruña, has Celtic elements, among which the statue of King Breogán stands out, who, according to Irish legends, founded Brigantia and built a Tower so high that it allowed one to see the coasts of Ireland.
Breogán is considered the mythological father of the Galician people, Galicia being poetically described as “Fogar de Breogán” (Home of Breogán) and this is even reflected in the Galician anthem.
To celebrate, I bring you a small detail that, as you know, is one of the symbols of Saint Patrick’s Day:
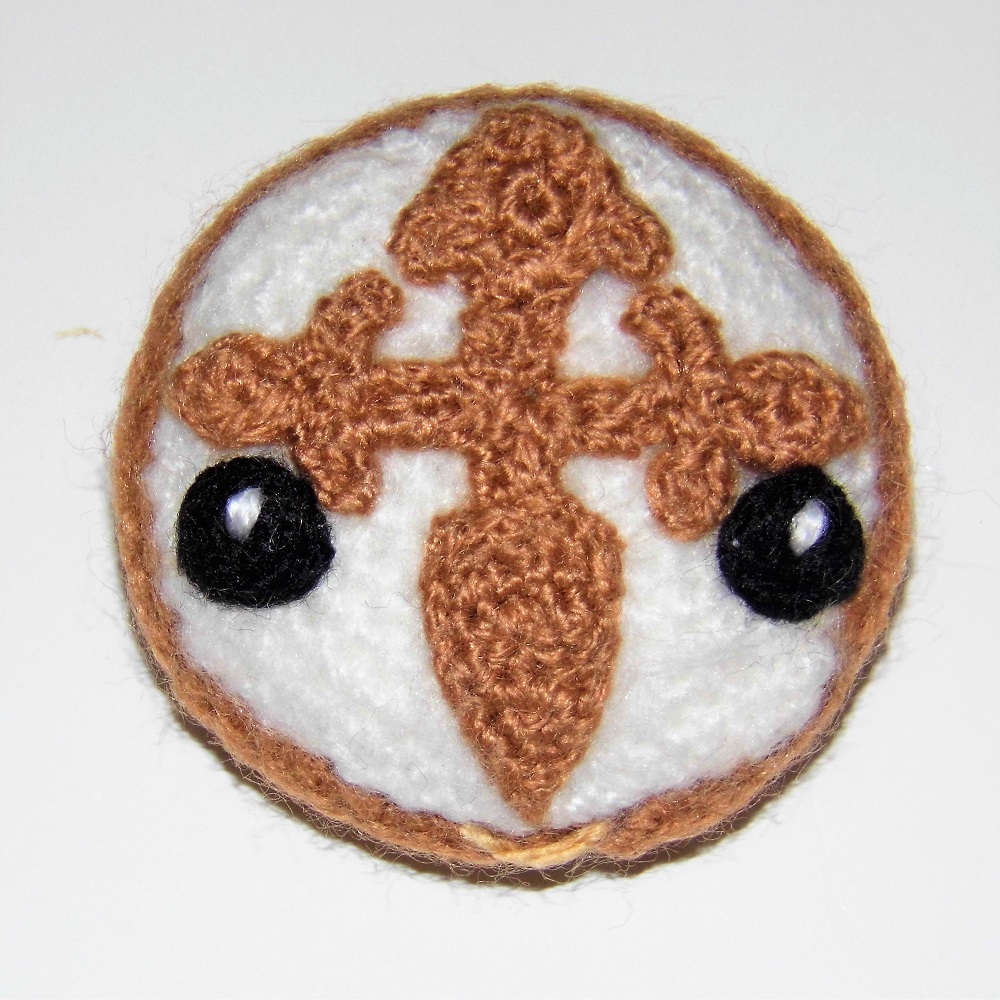
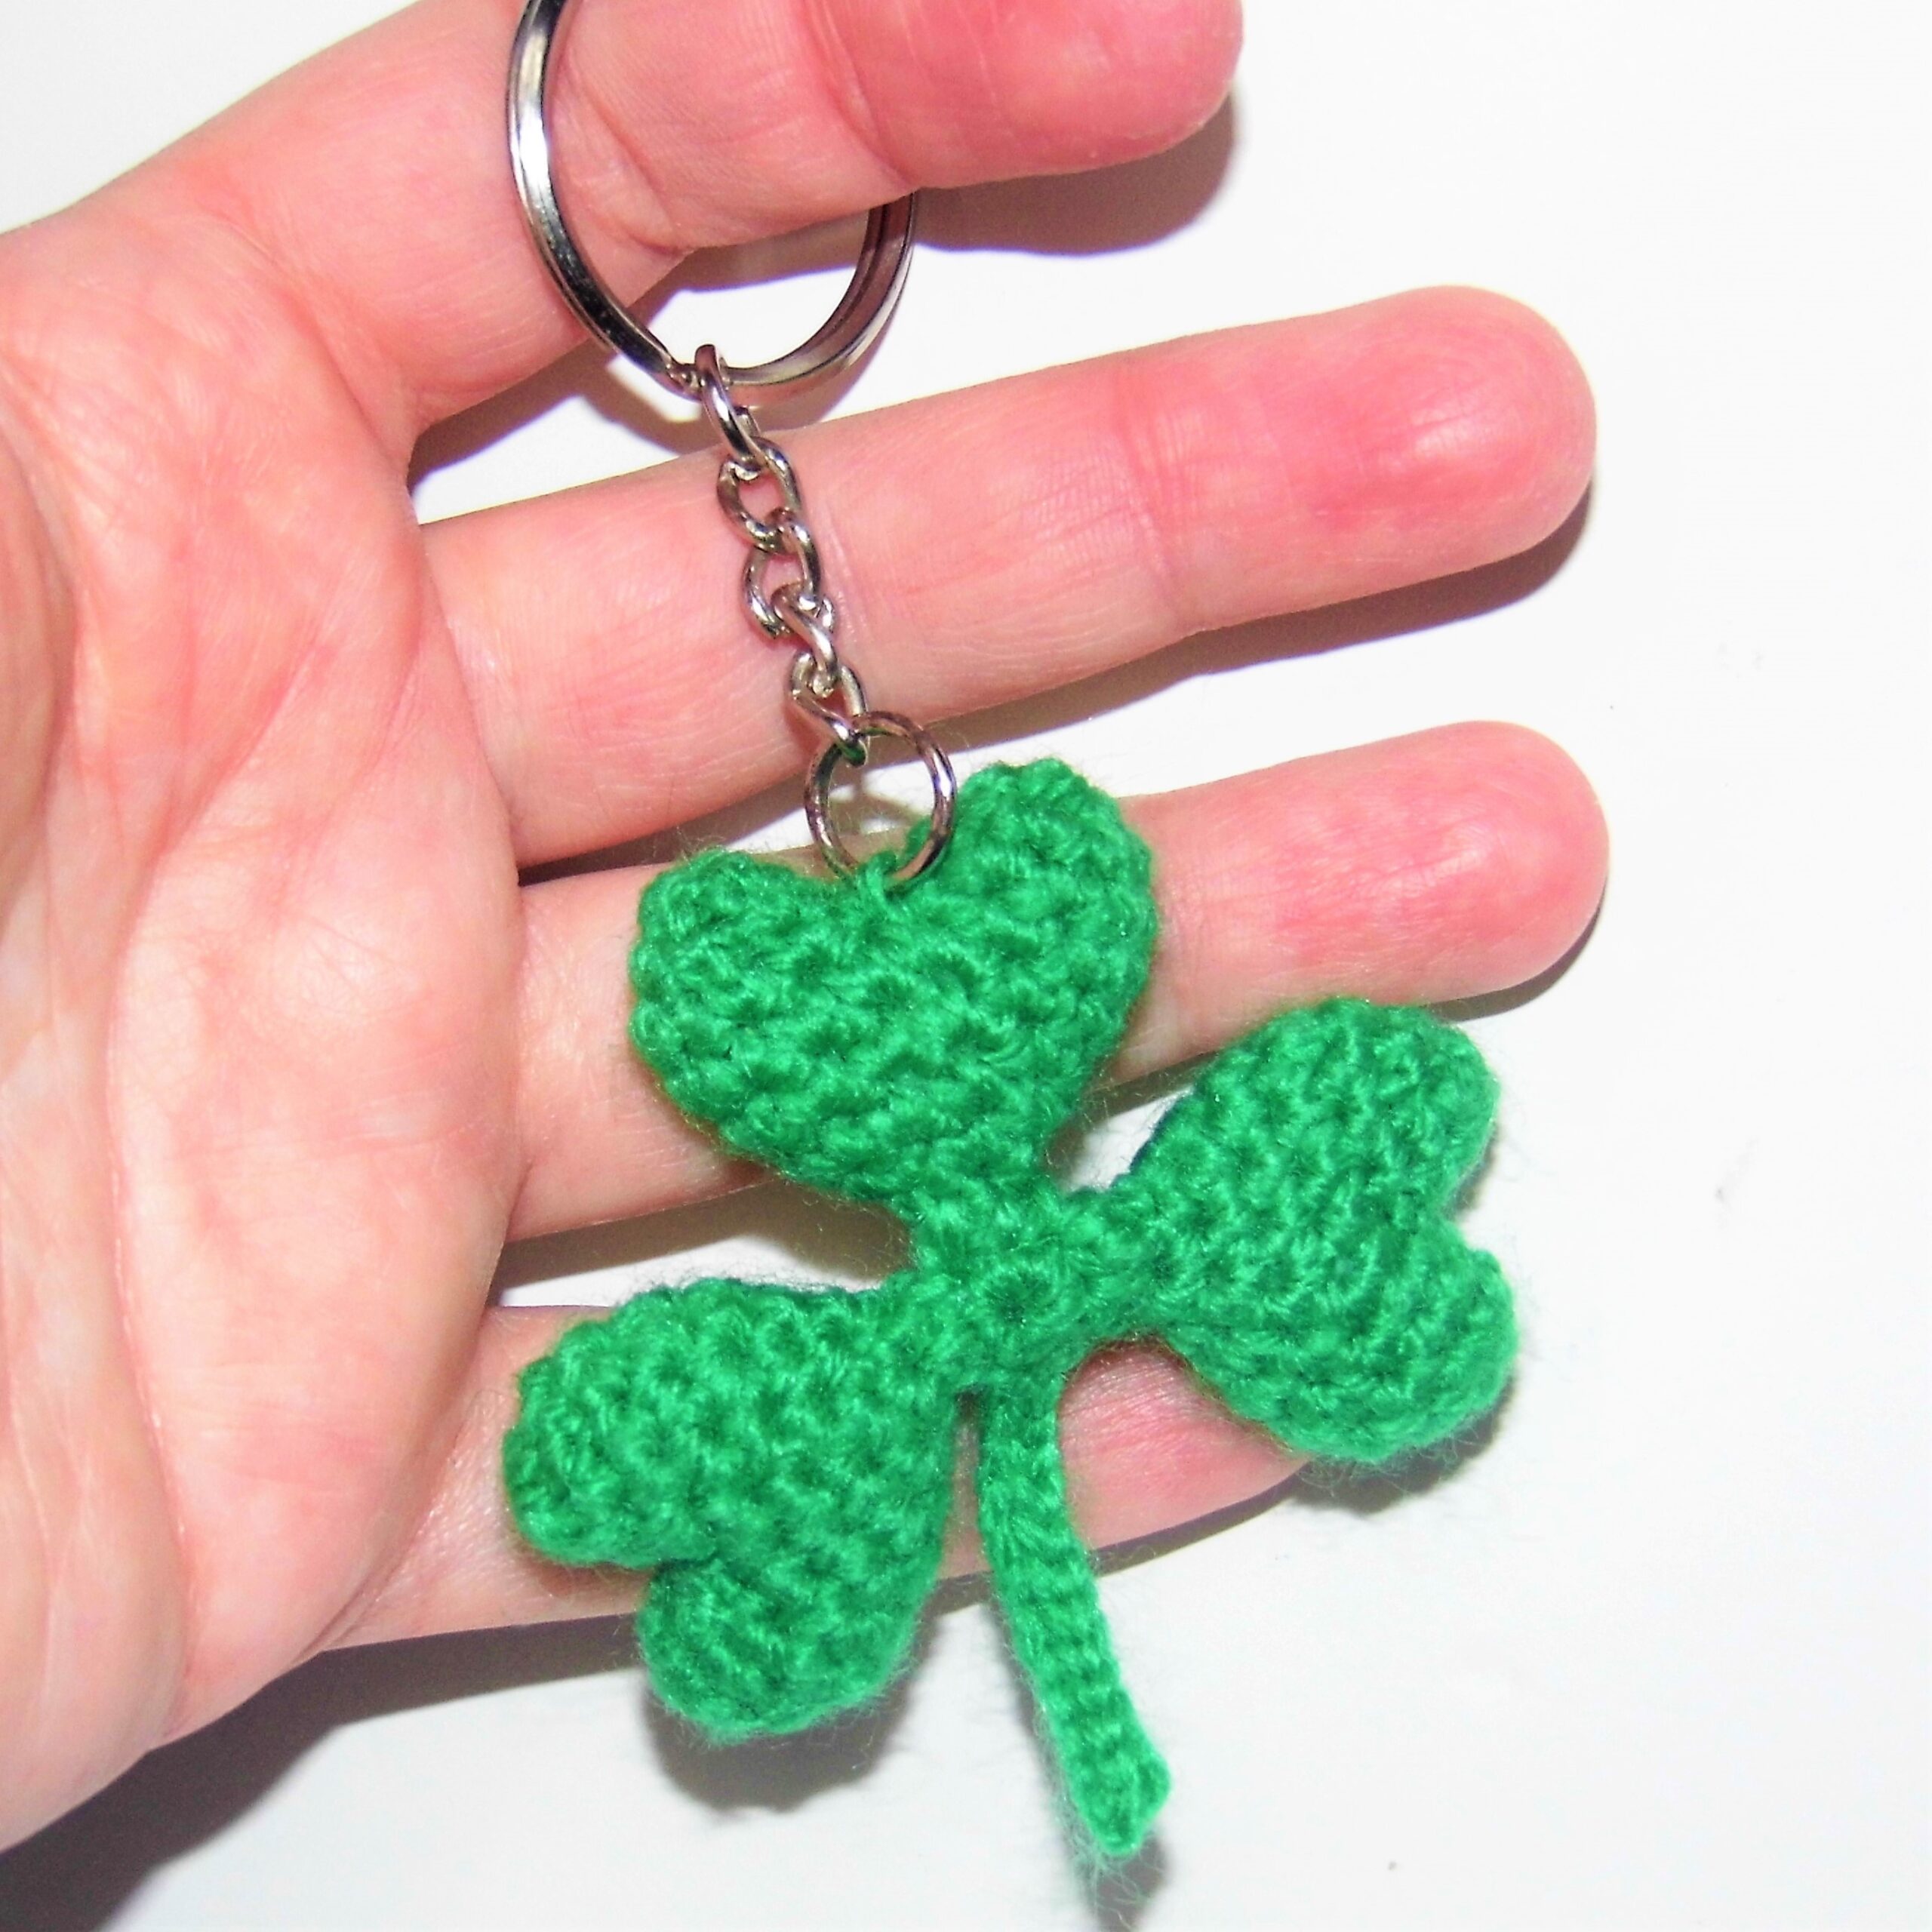
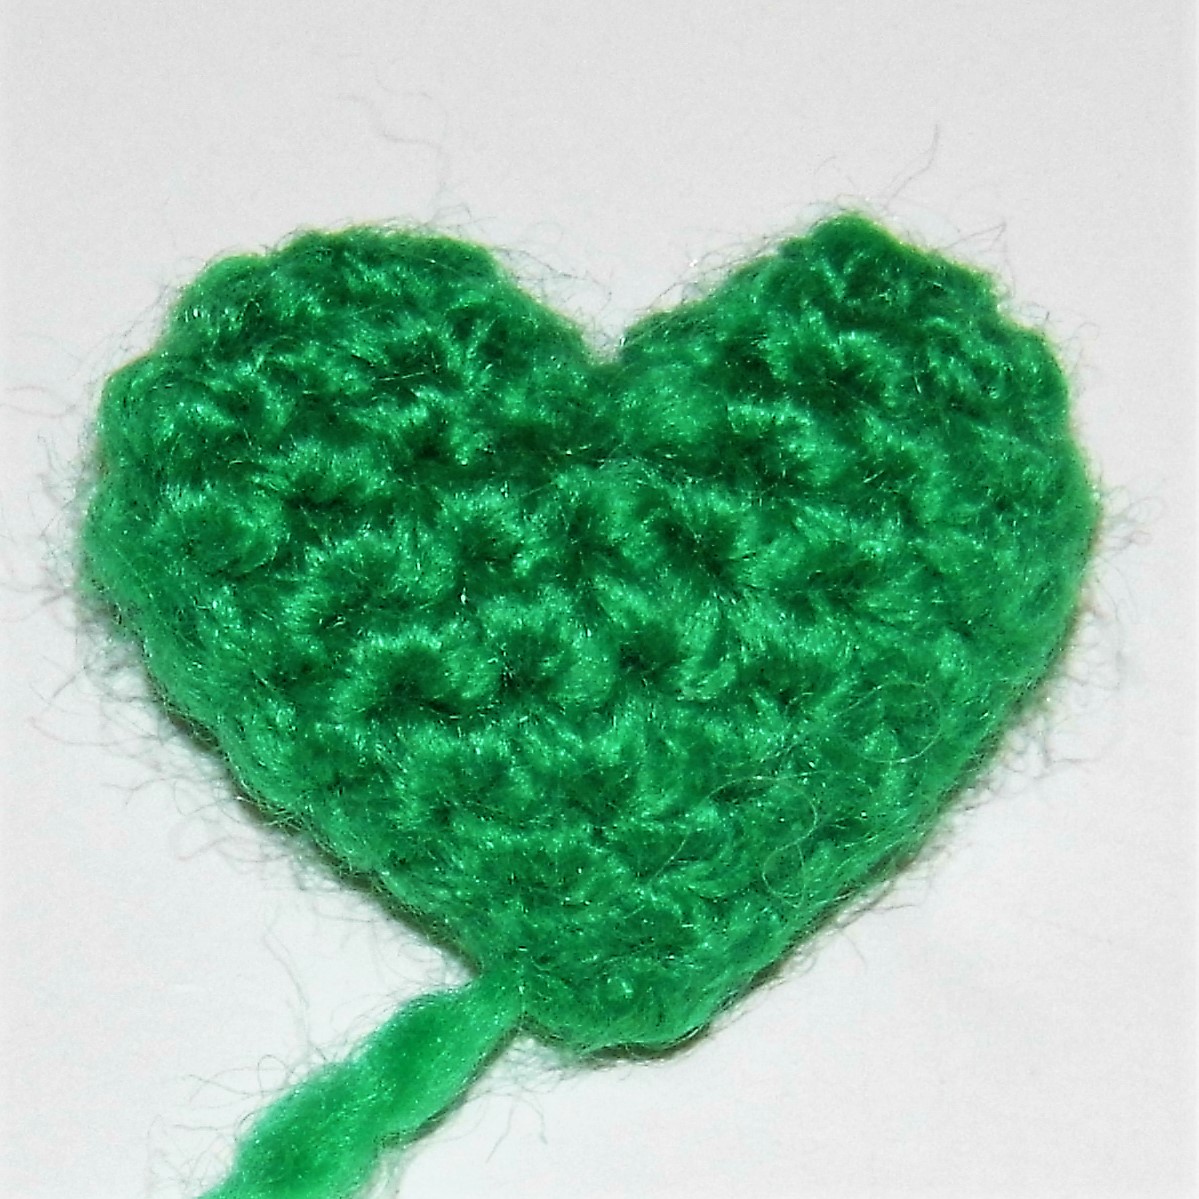
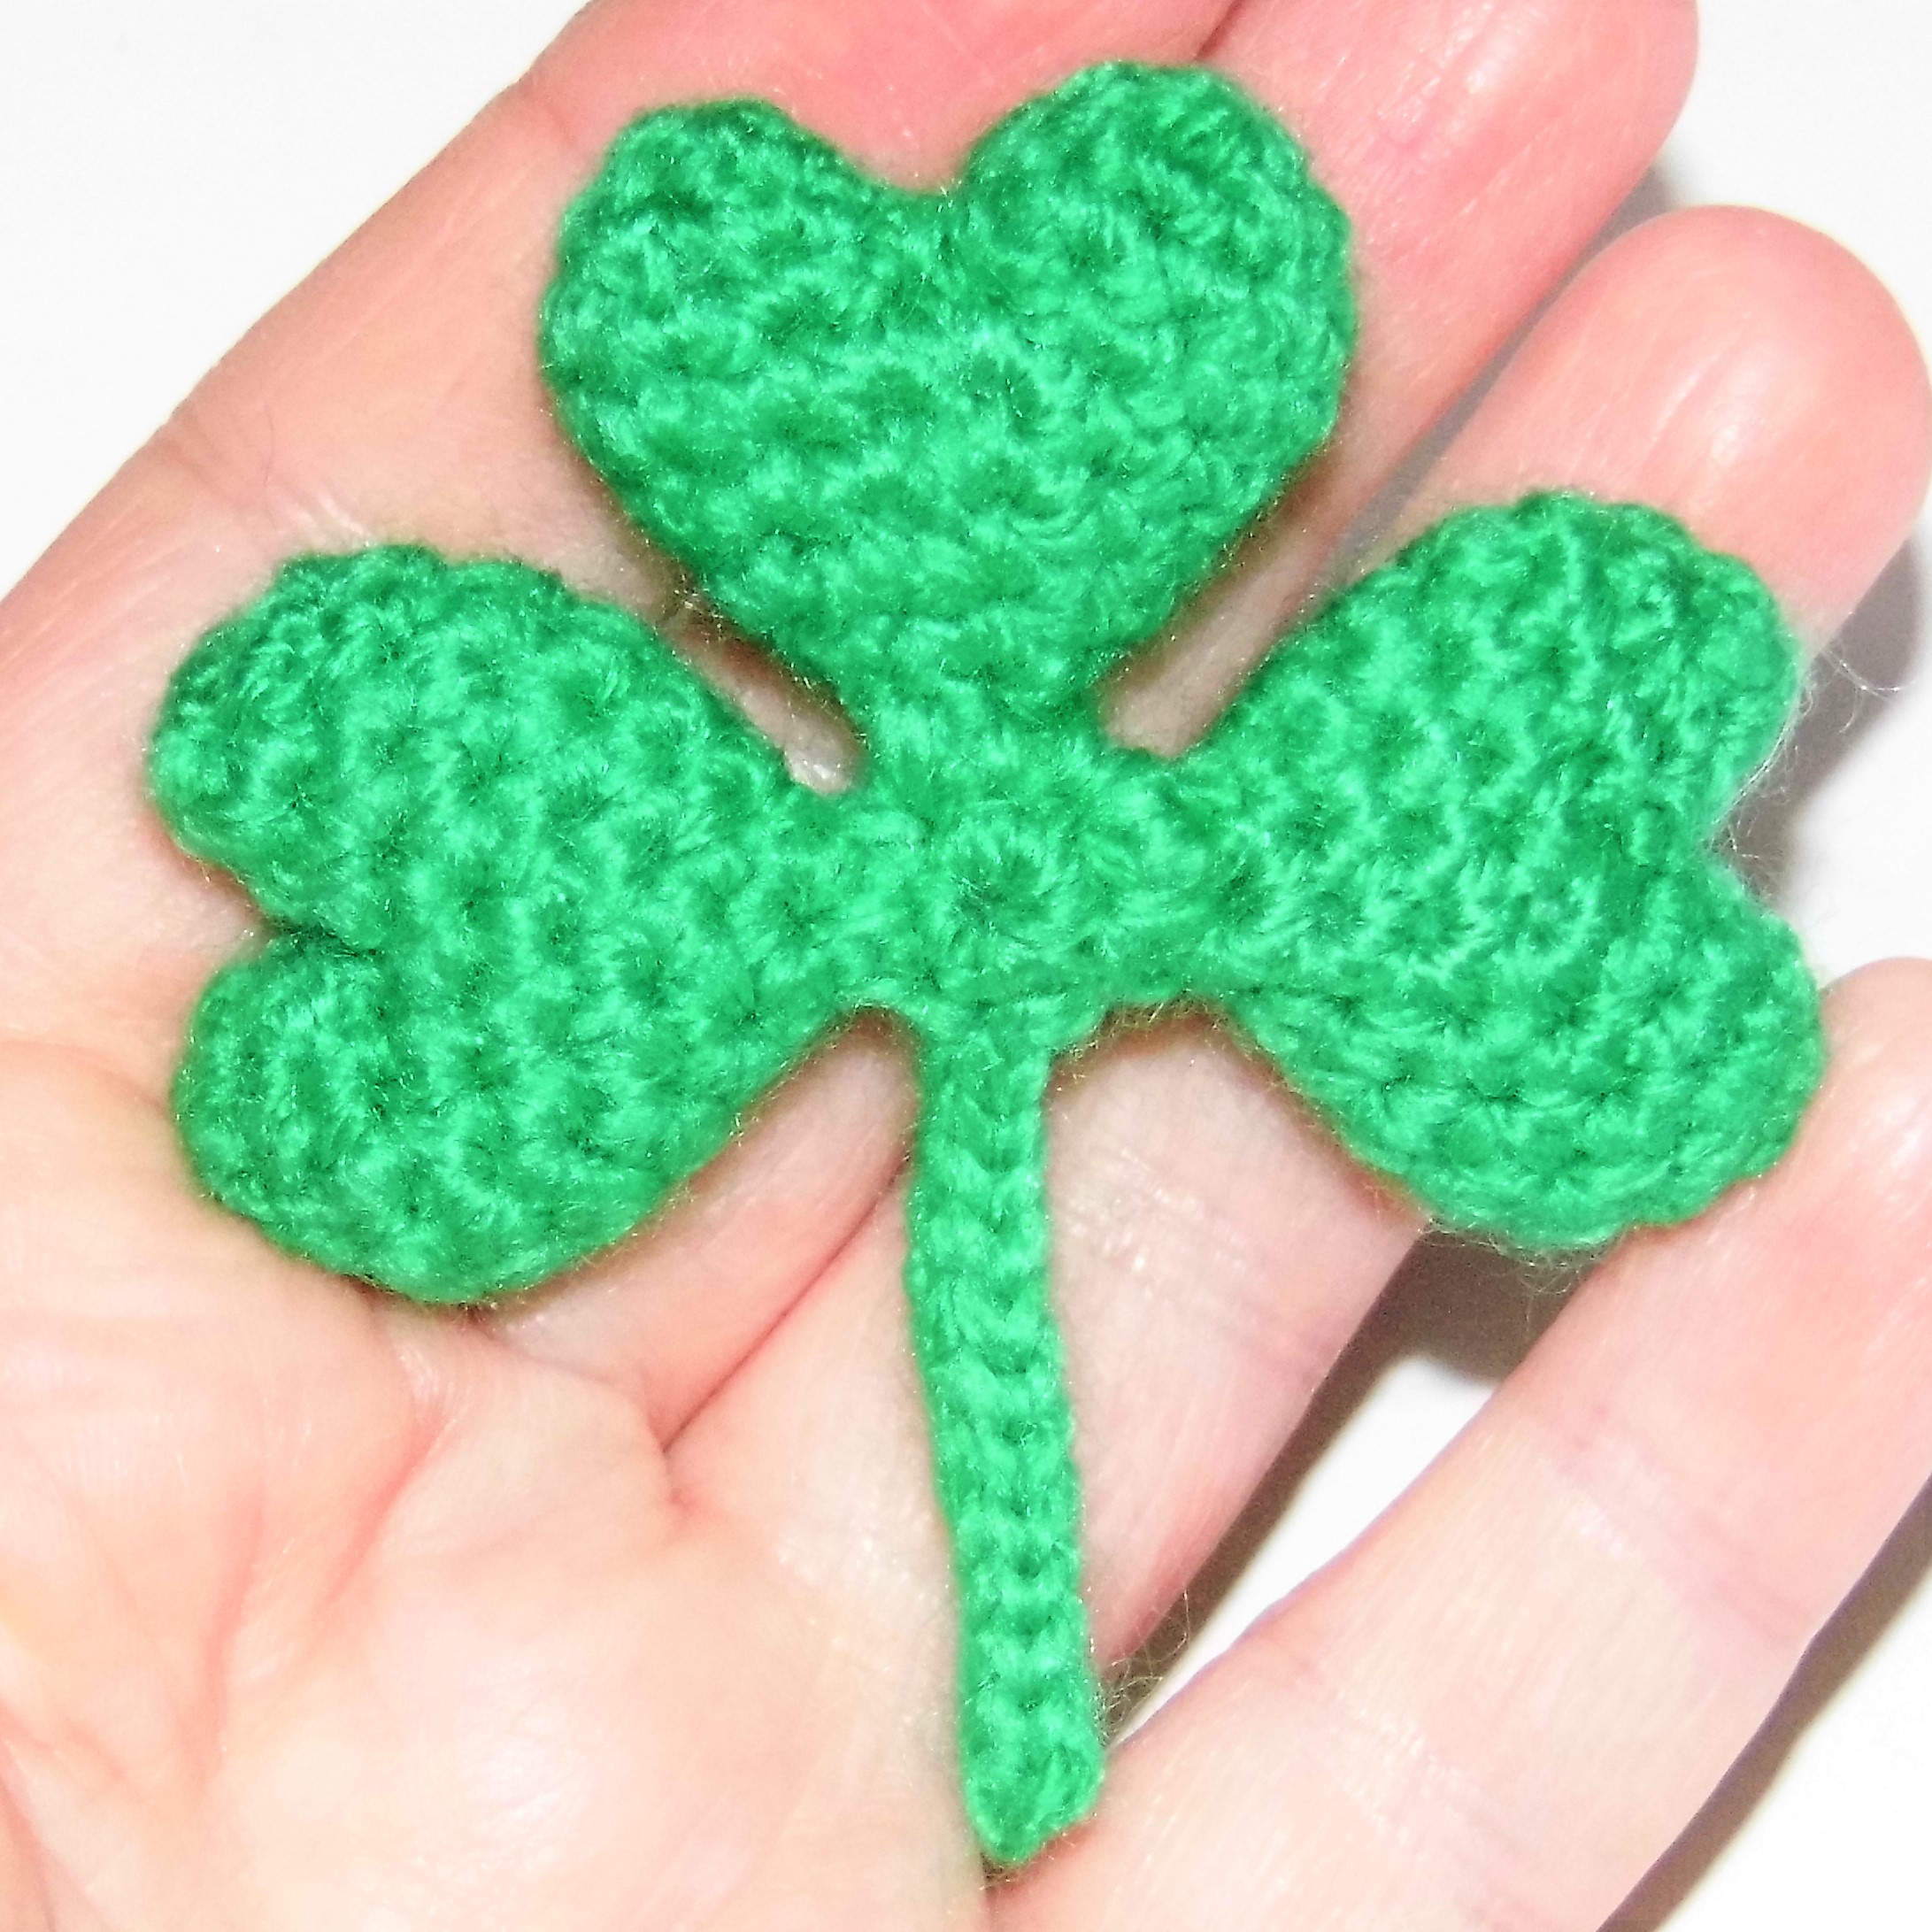
Shamrock Keychain Amigurumi Pattern
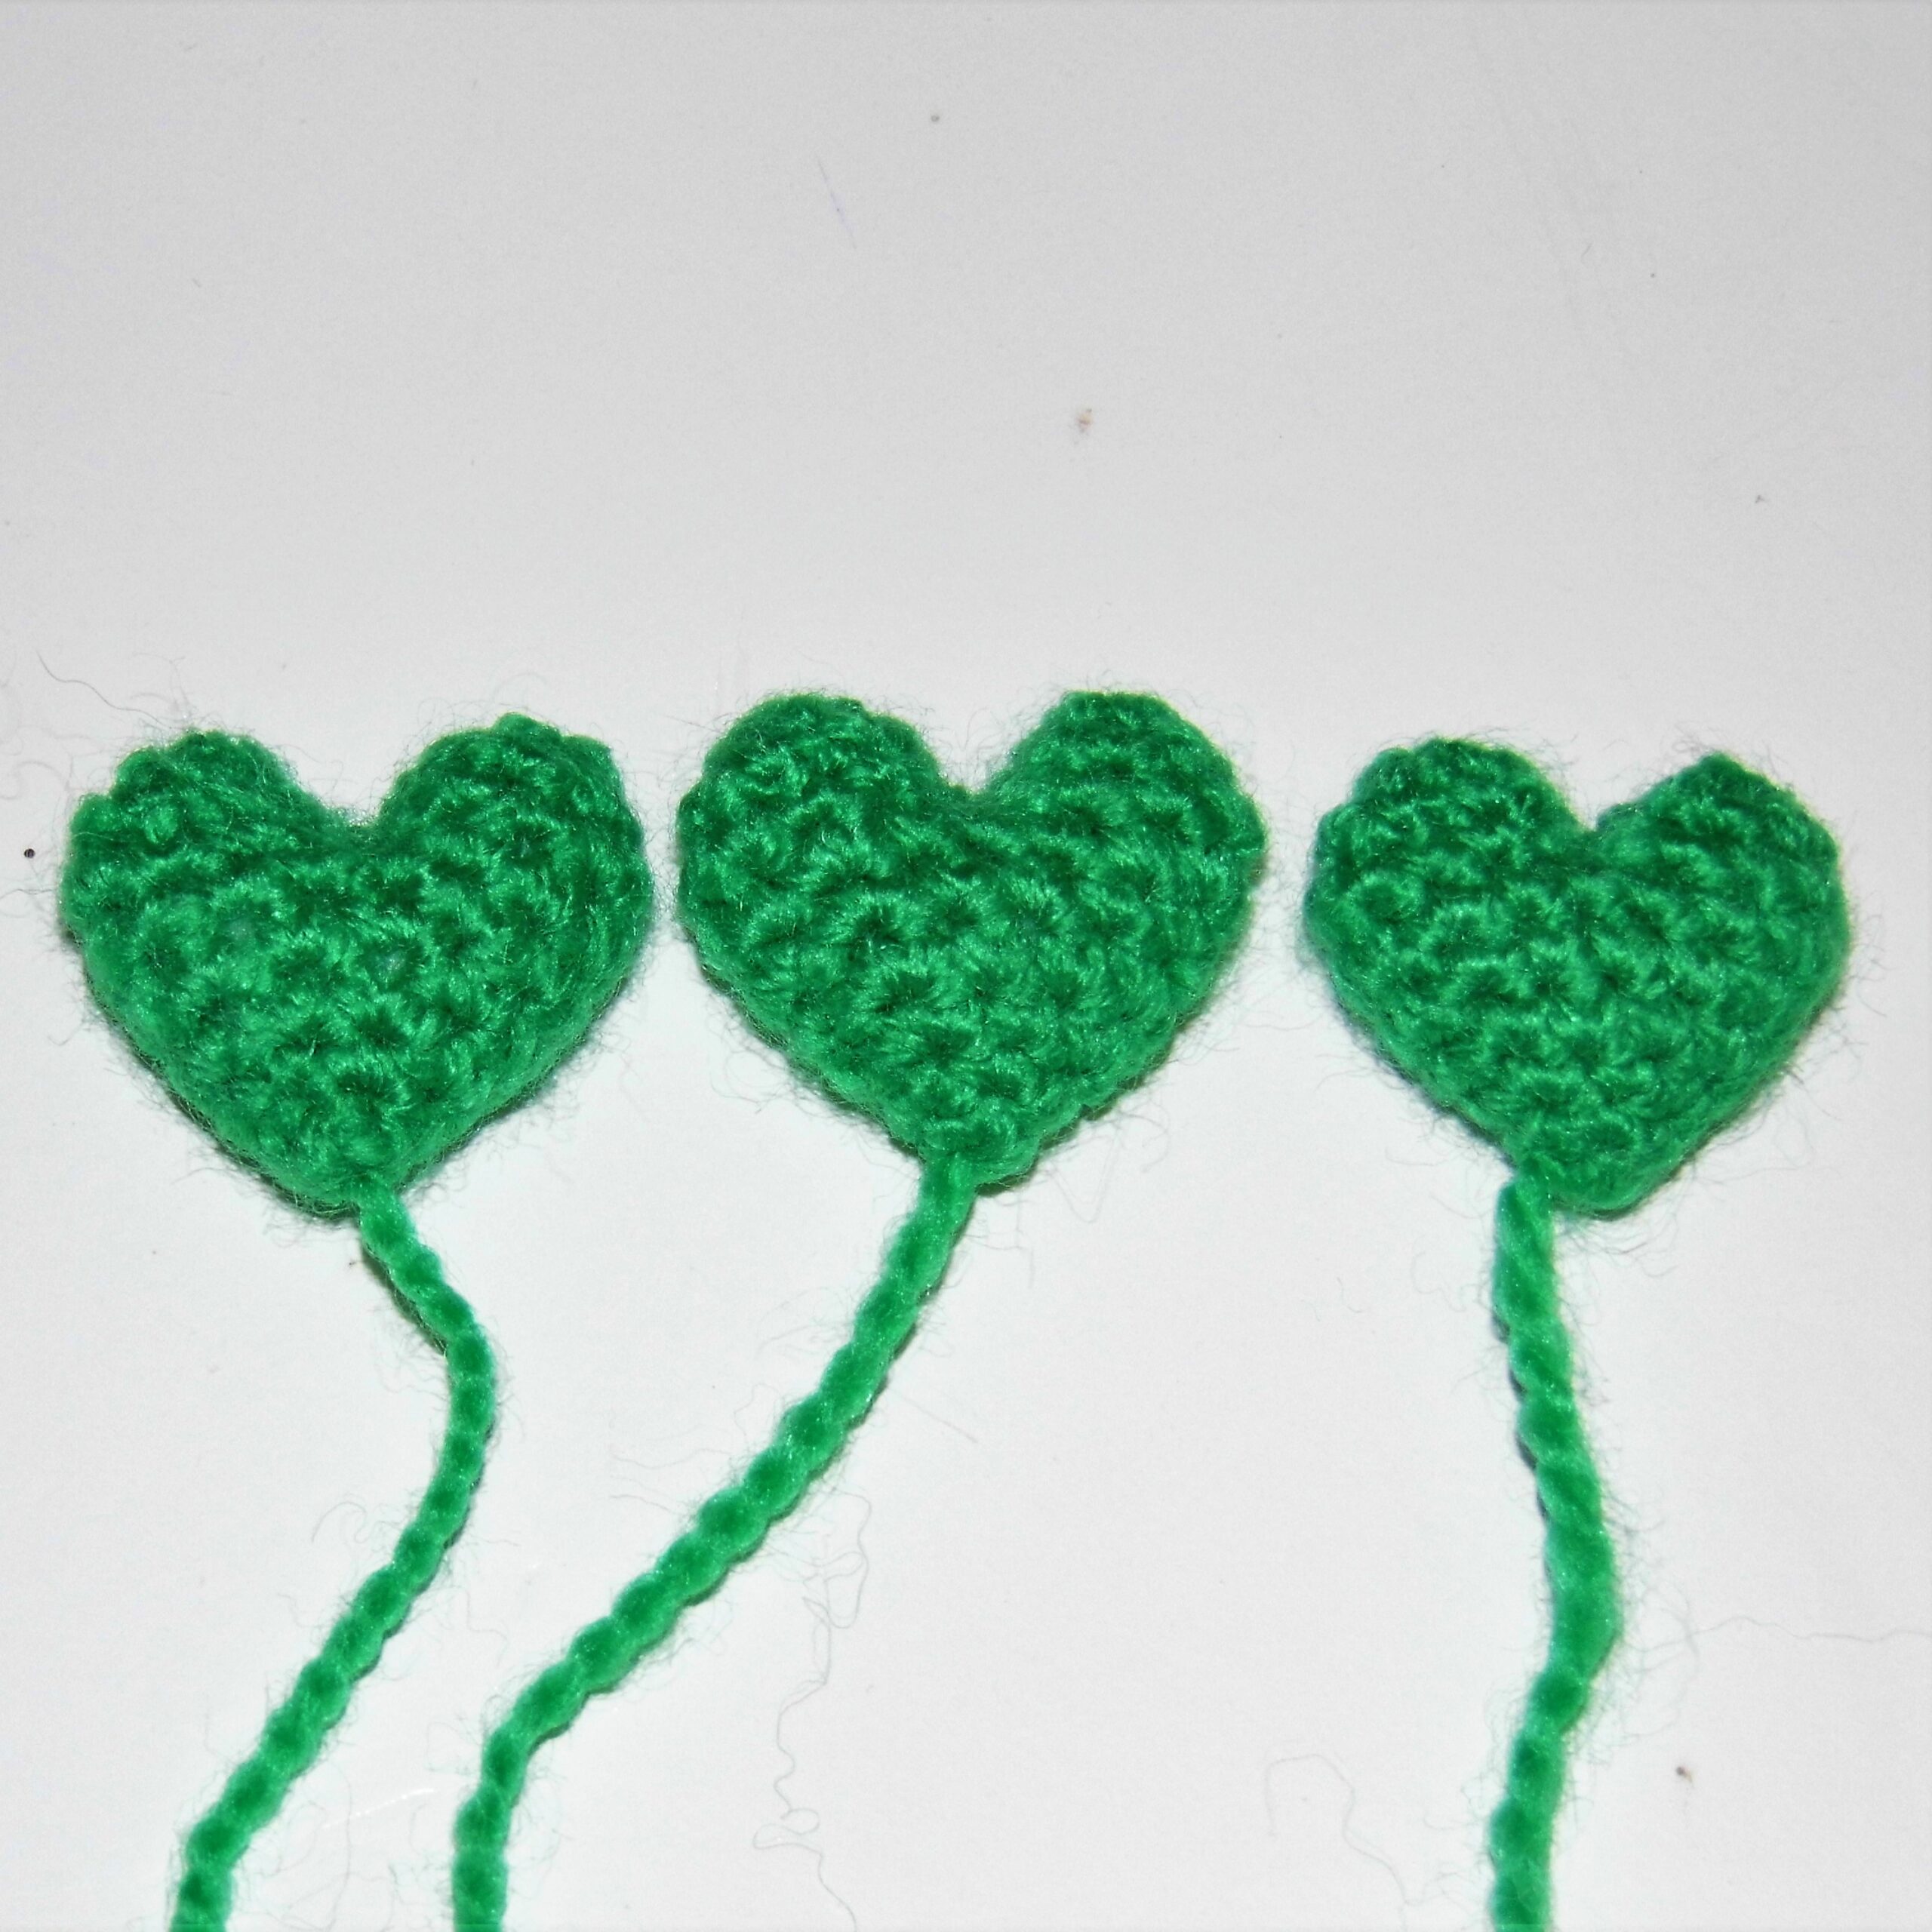
It is a very easy and quick pattern to make and it is super nice as a keychain. I have made it with 3 leaves, but if you want it to give you more luck, you only have to add one more leaf…
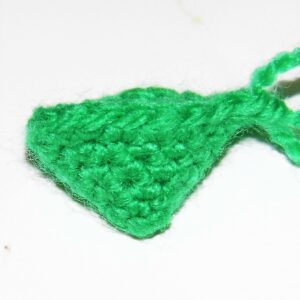
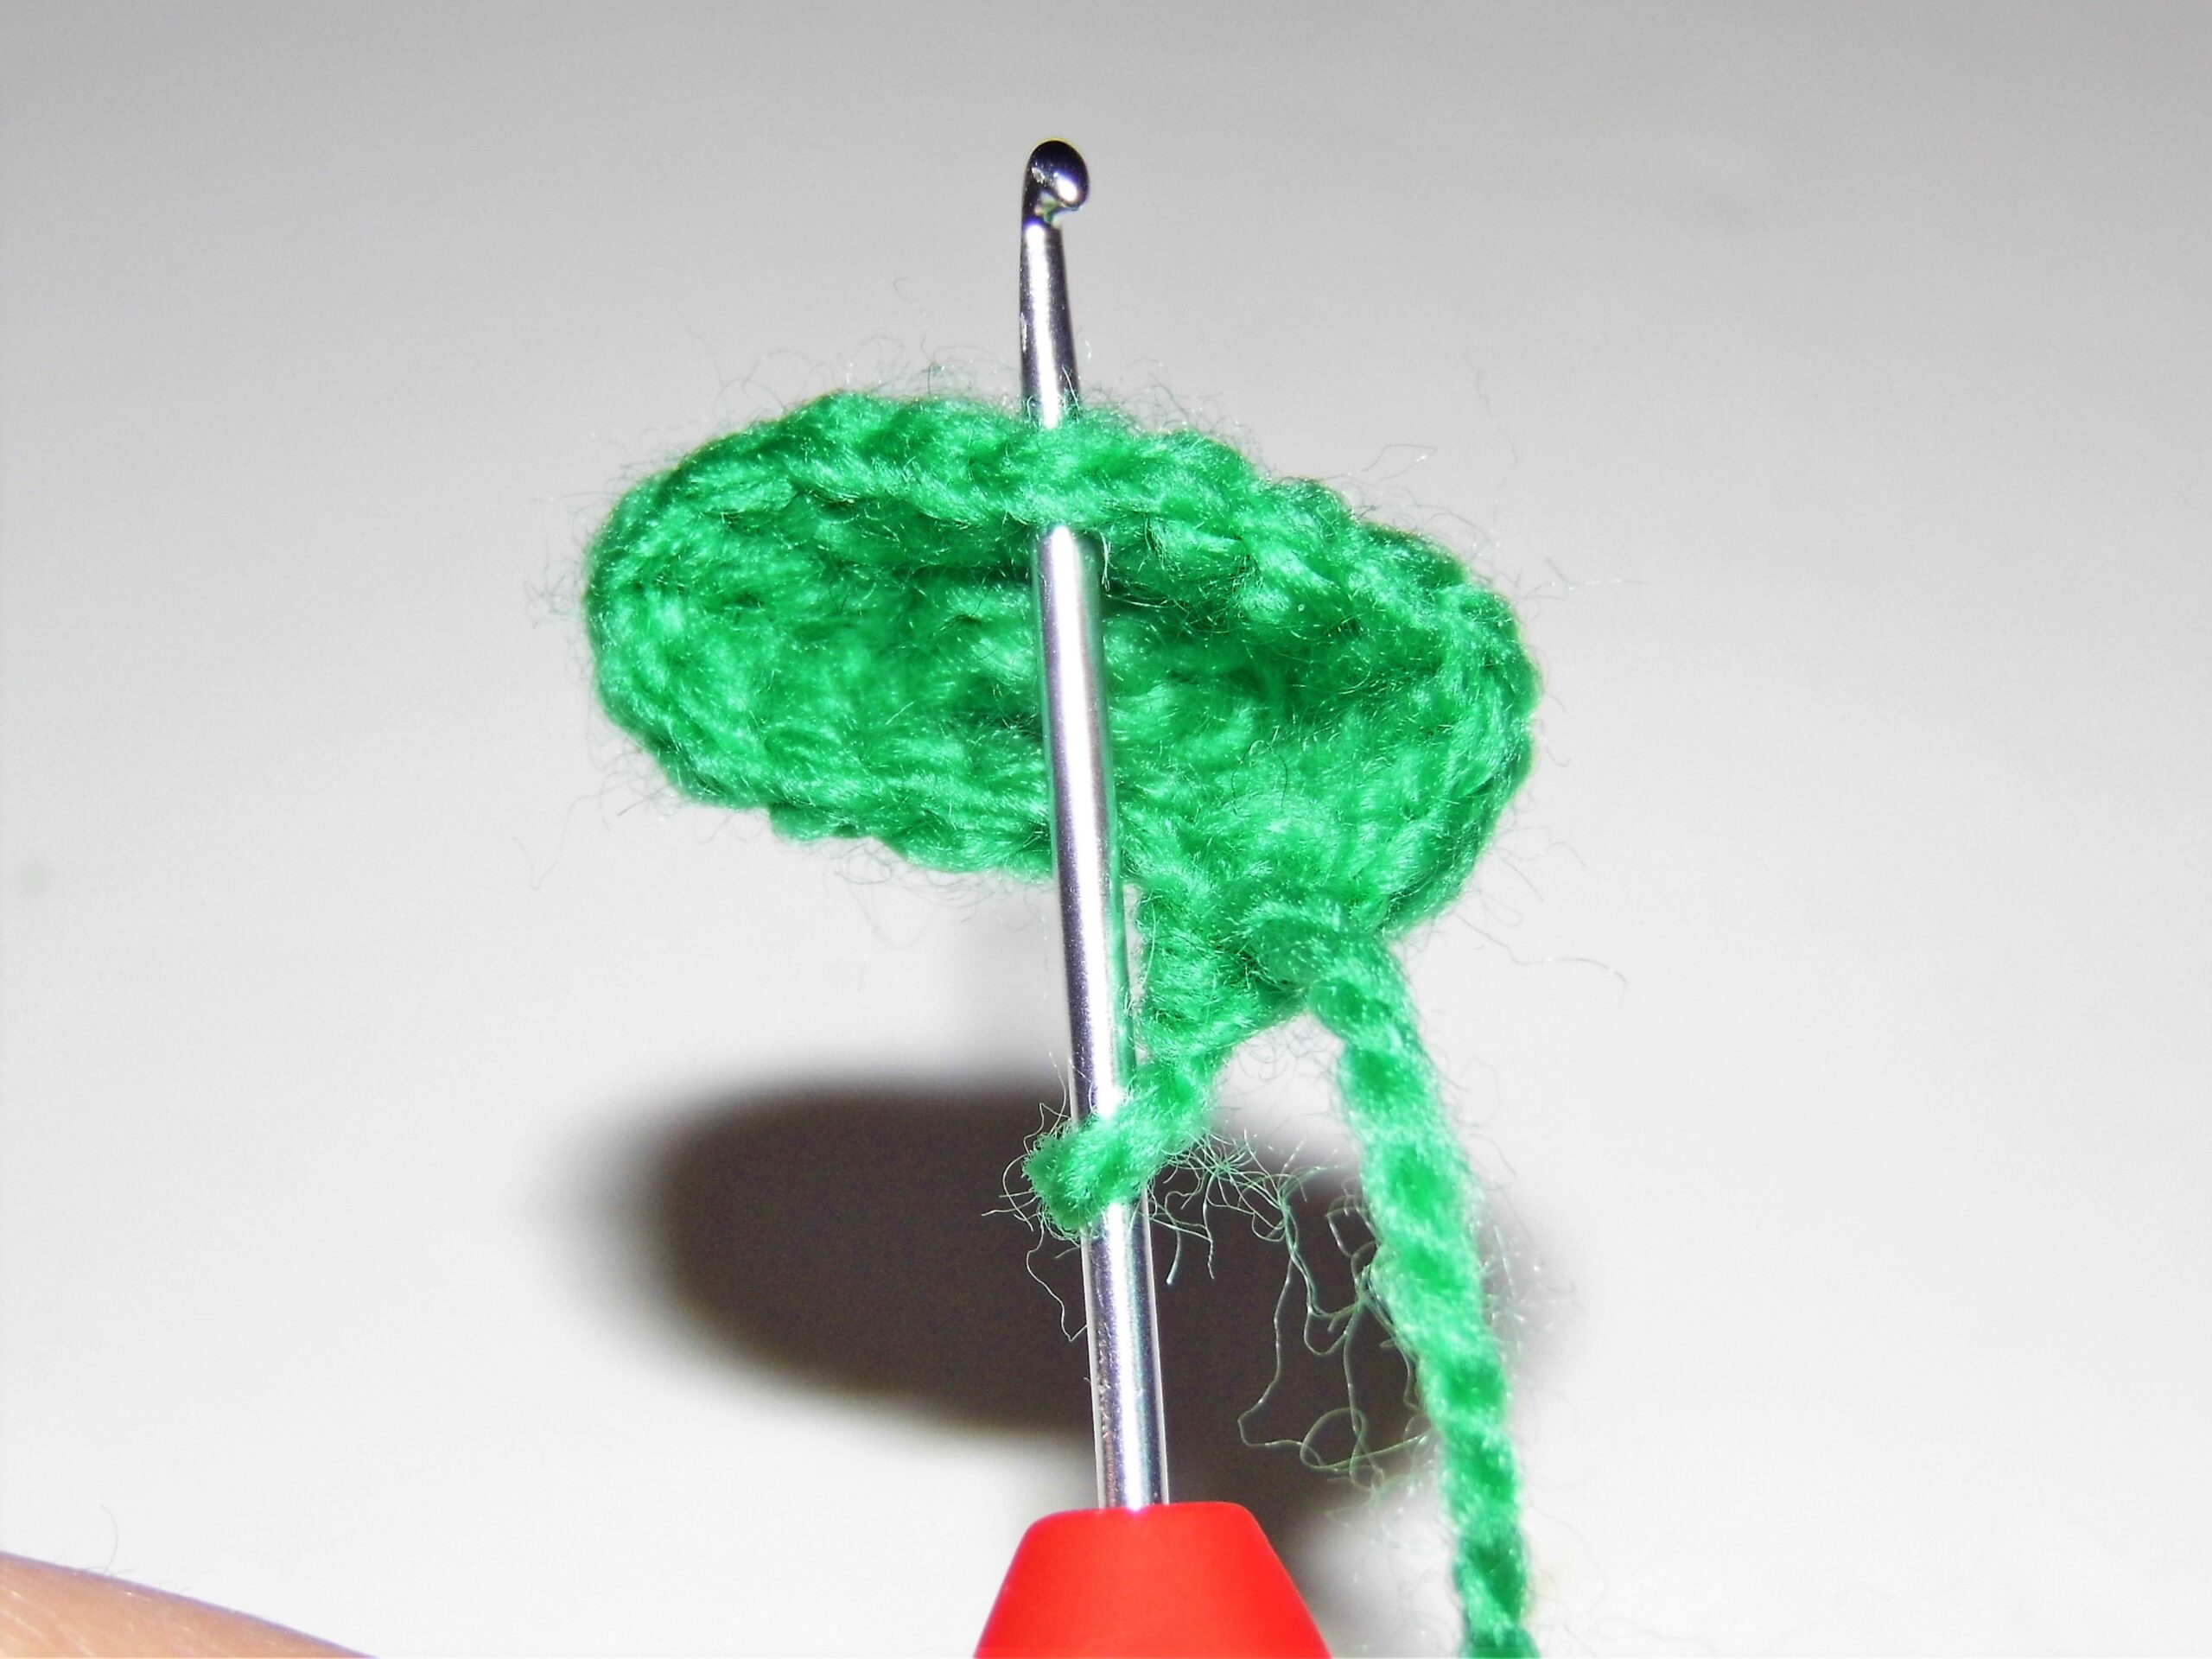
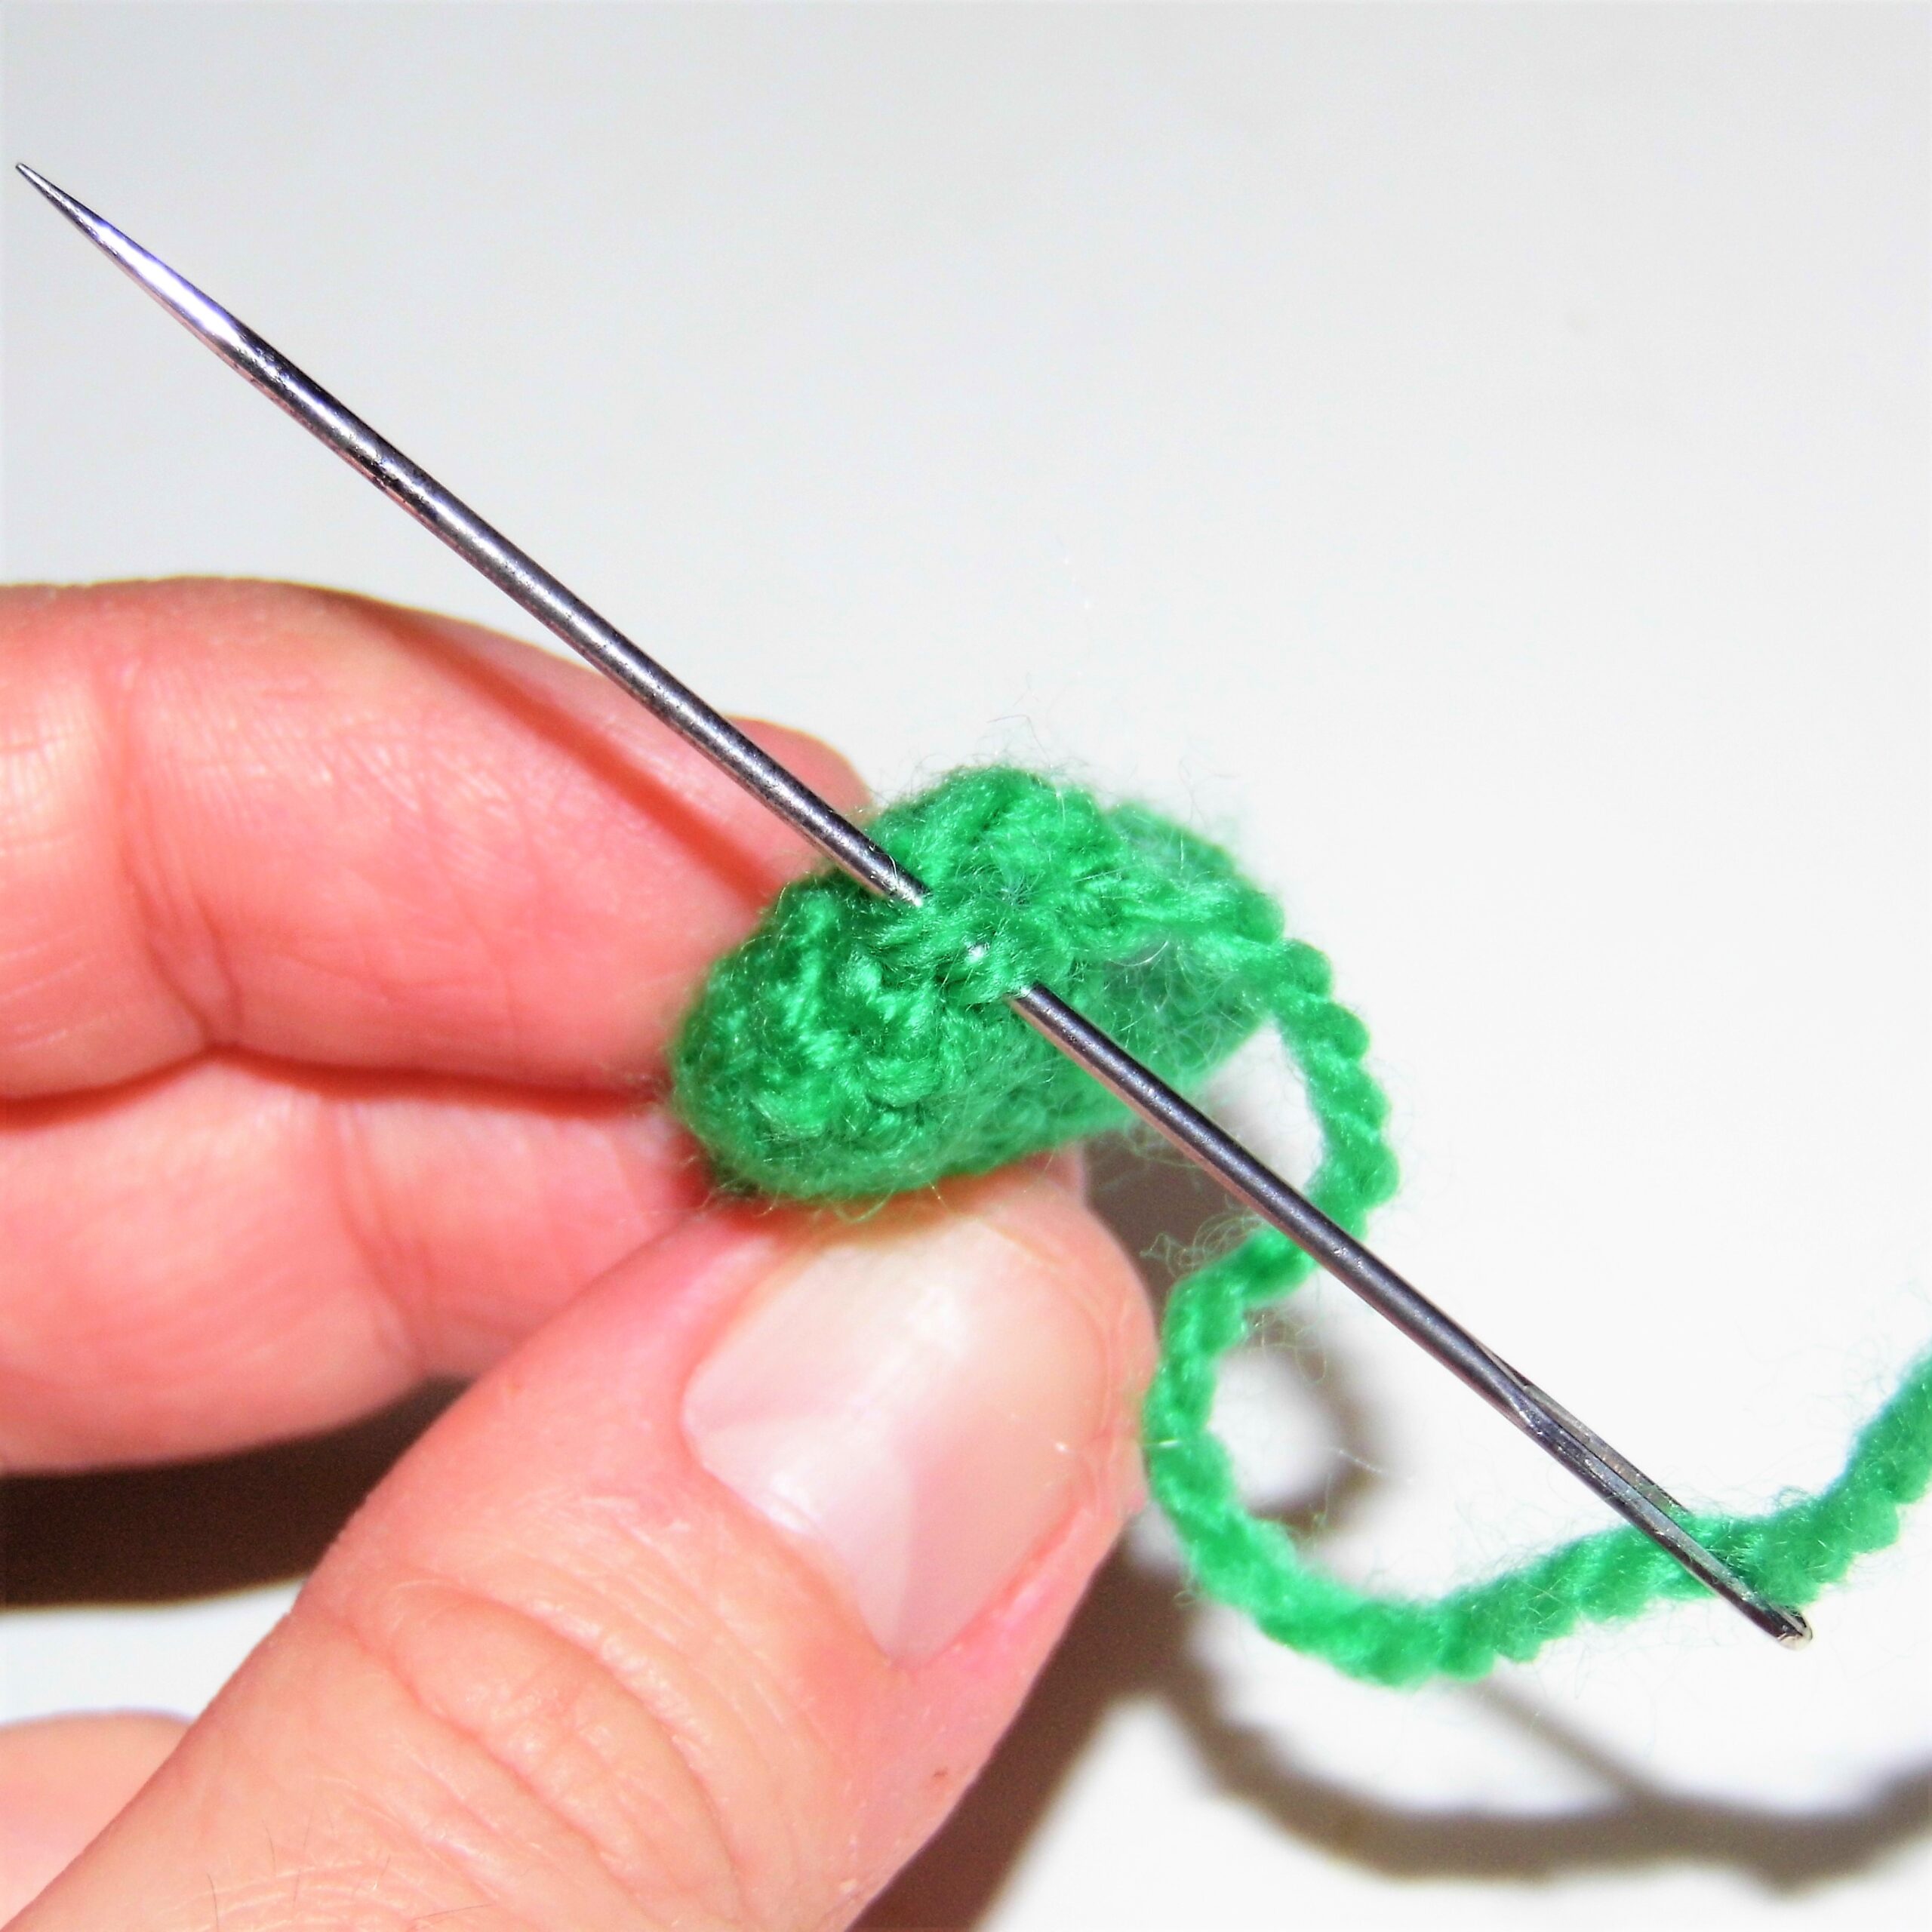
1. From the place where you are, that is, from the round marker, count the previous 8 sc, which together with the marked sc will form the half of 9 sc of the piece. Join in the last sc of the 8 with a sc, place the round marker and crochet the 9 sc (9).
2. “1 sc, dec”, repeat (6).
Stuff the piece almost completely. Fasten off. Sew the hole with the yarn needle.
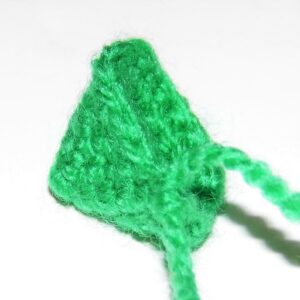
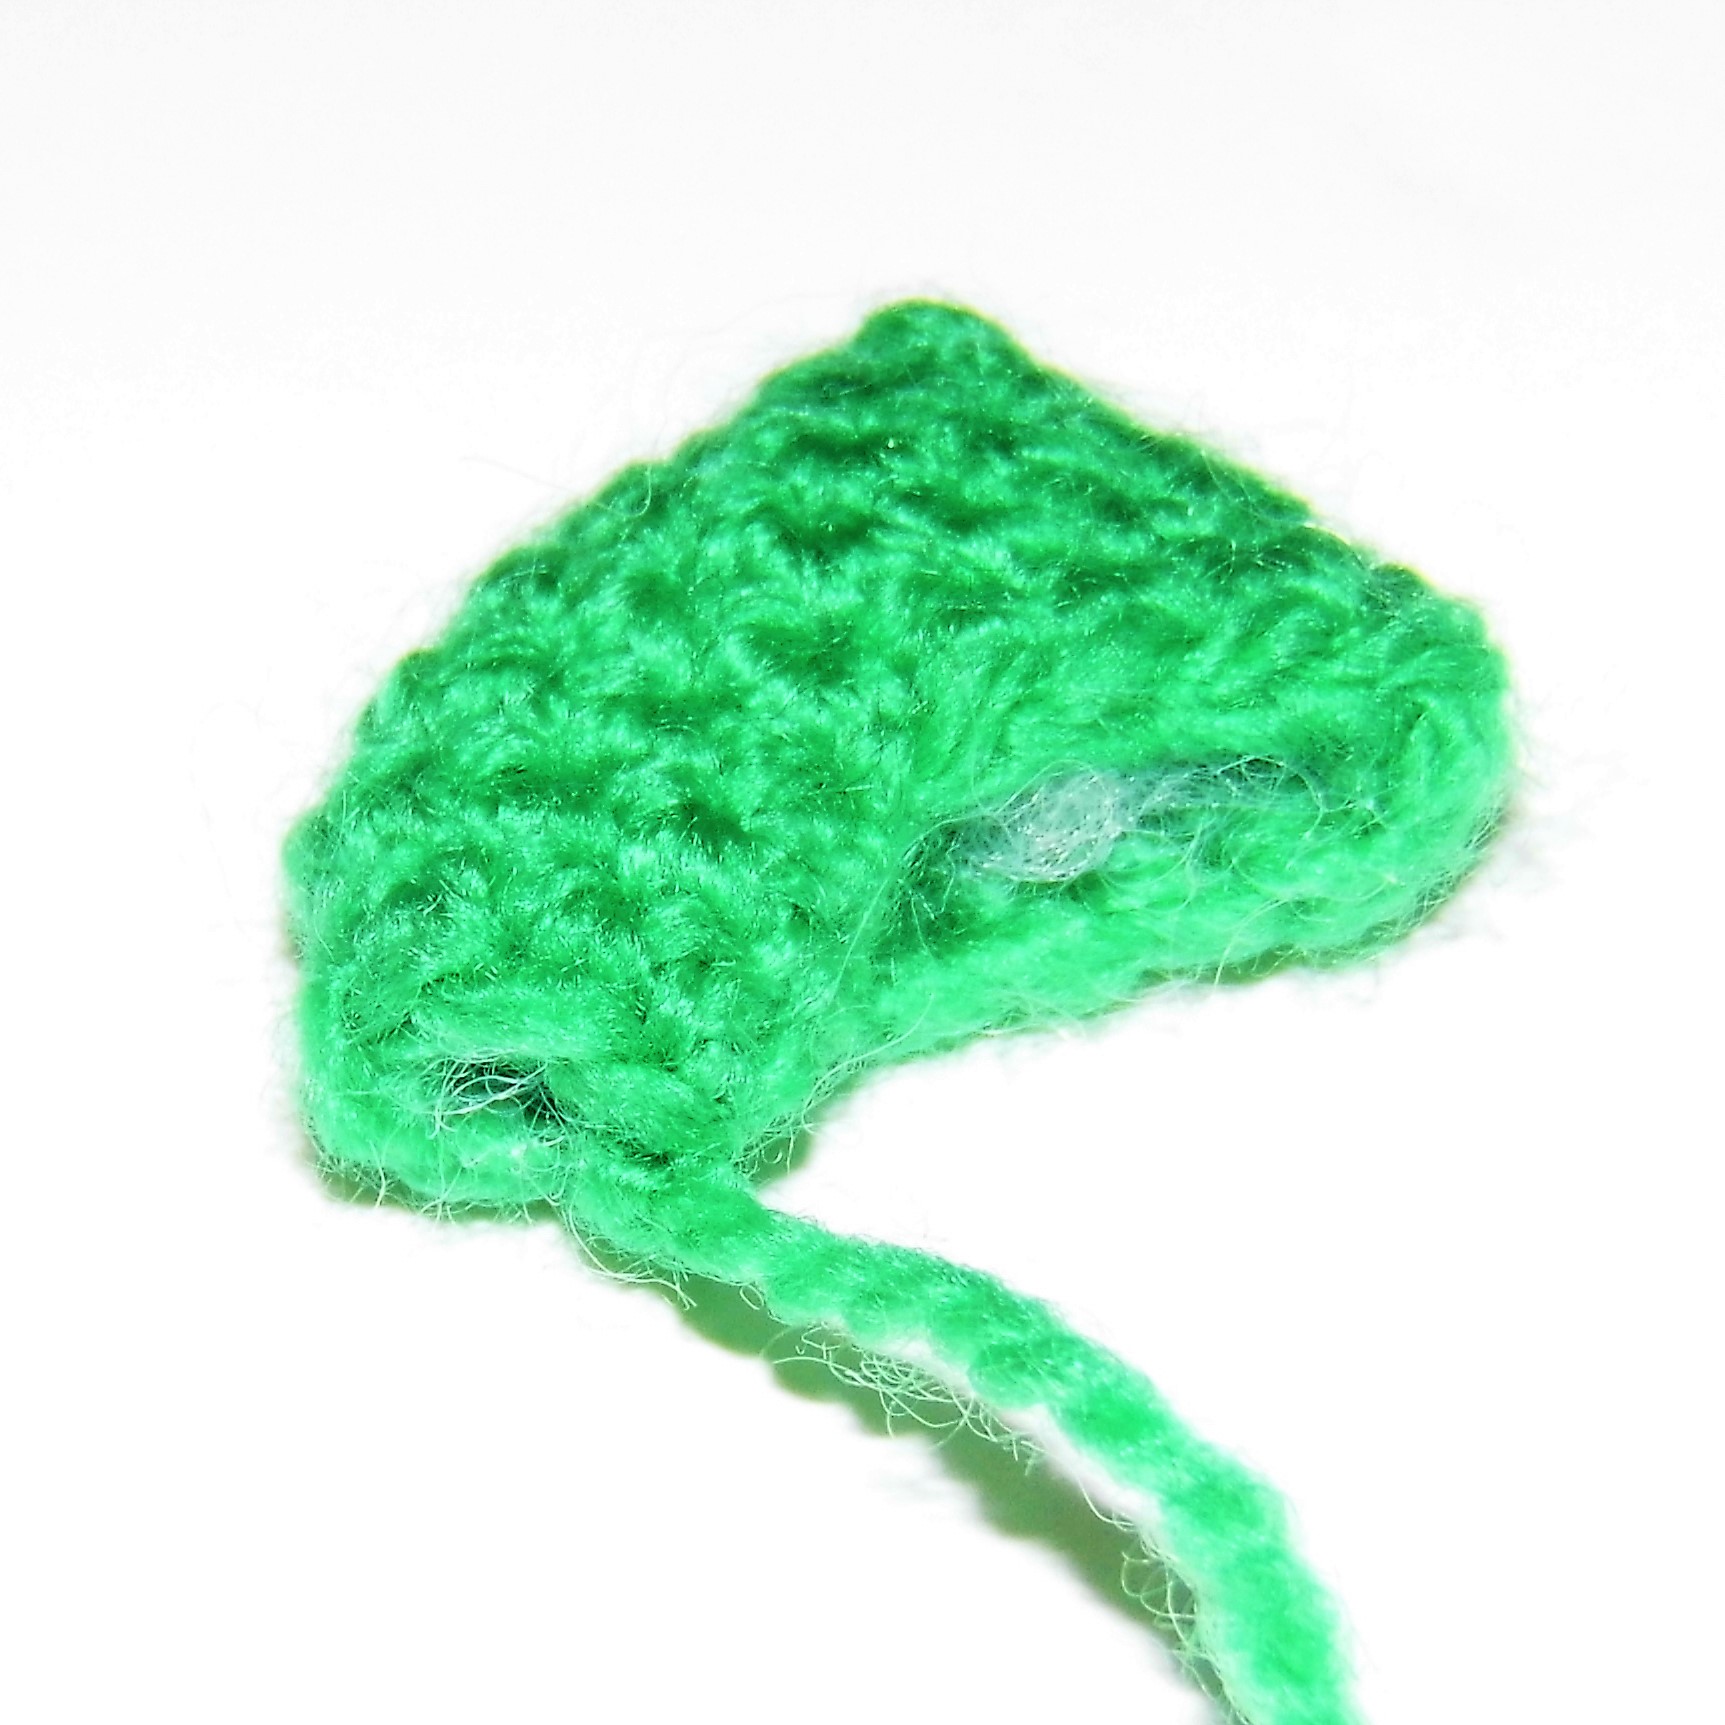
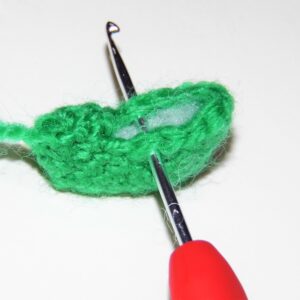
To crochet the other half, join, with the part you just crocheted placed on the left, in the first of the sc and work in the last a sc.
Place the marker and continue working following the same pattern.
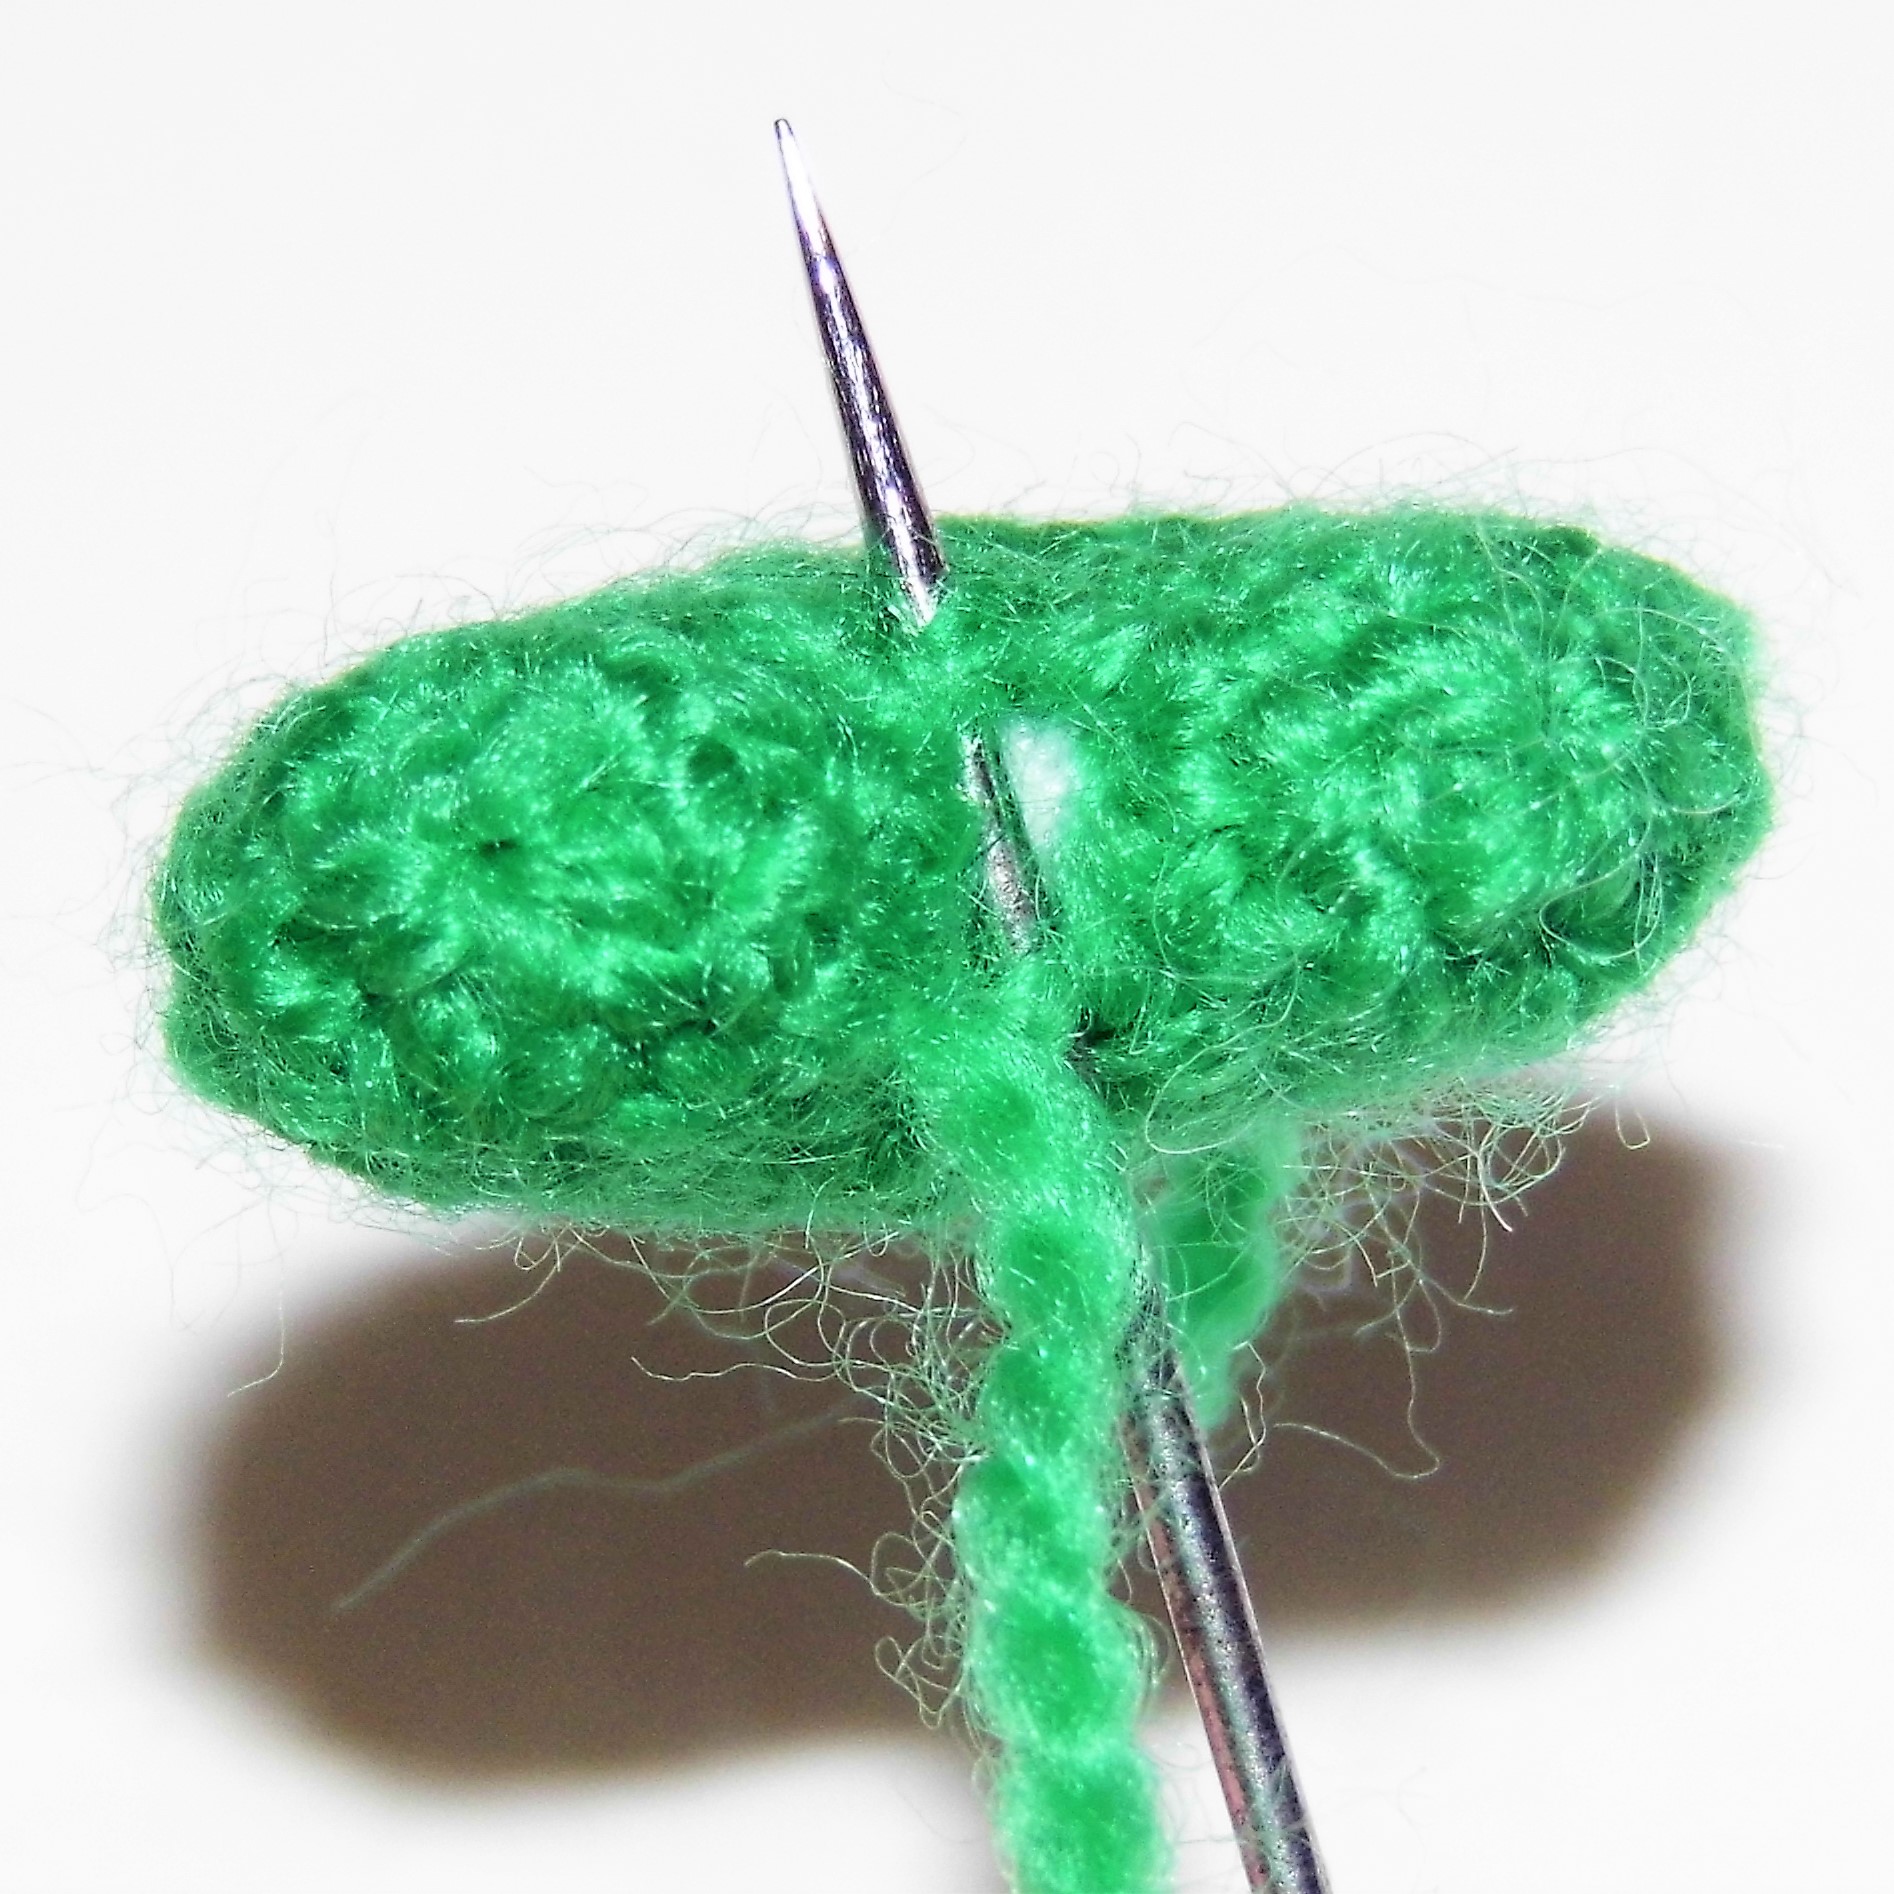
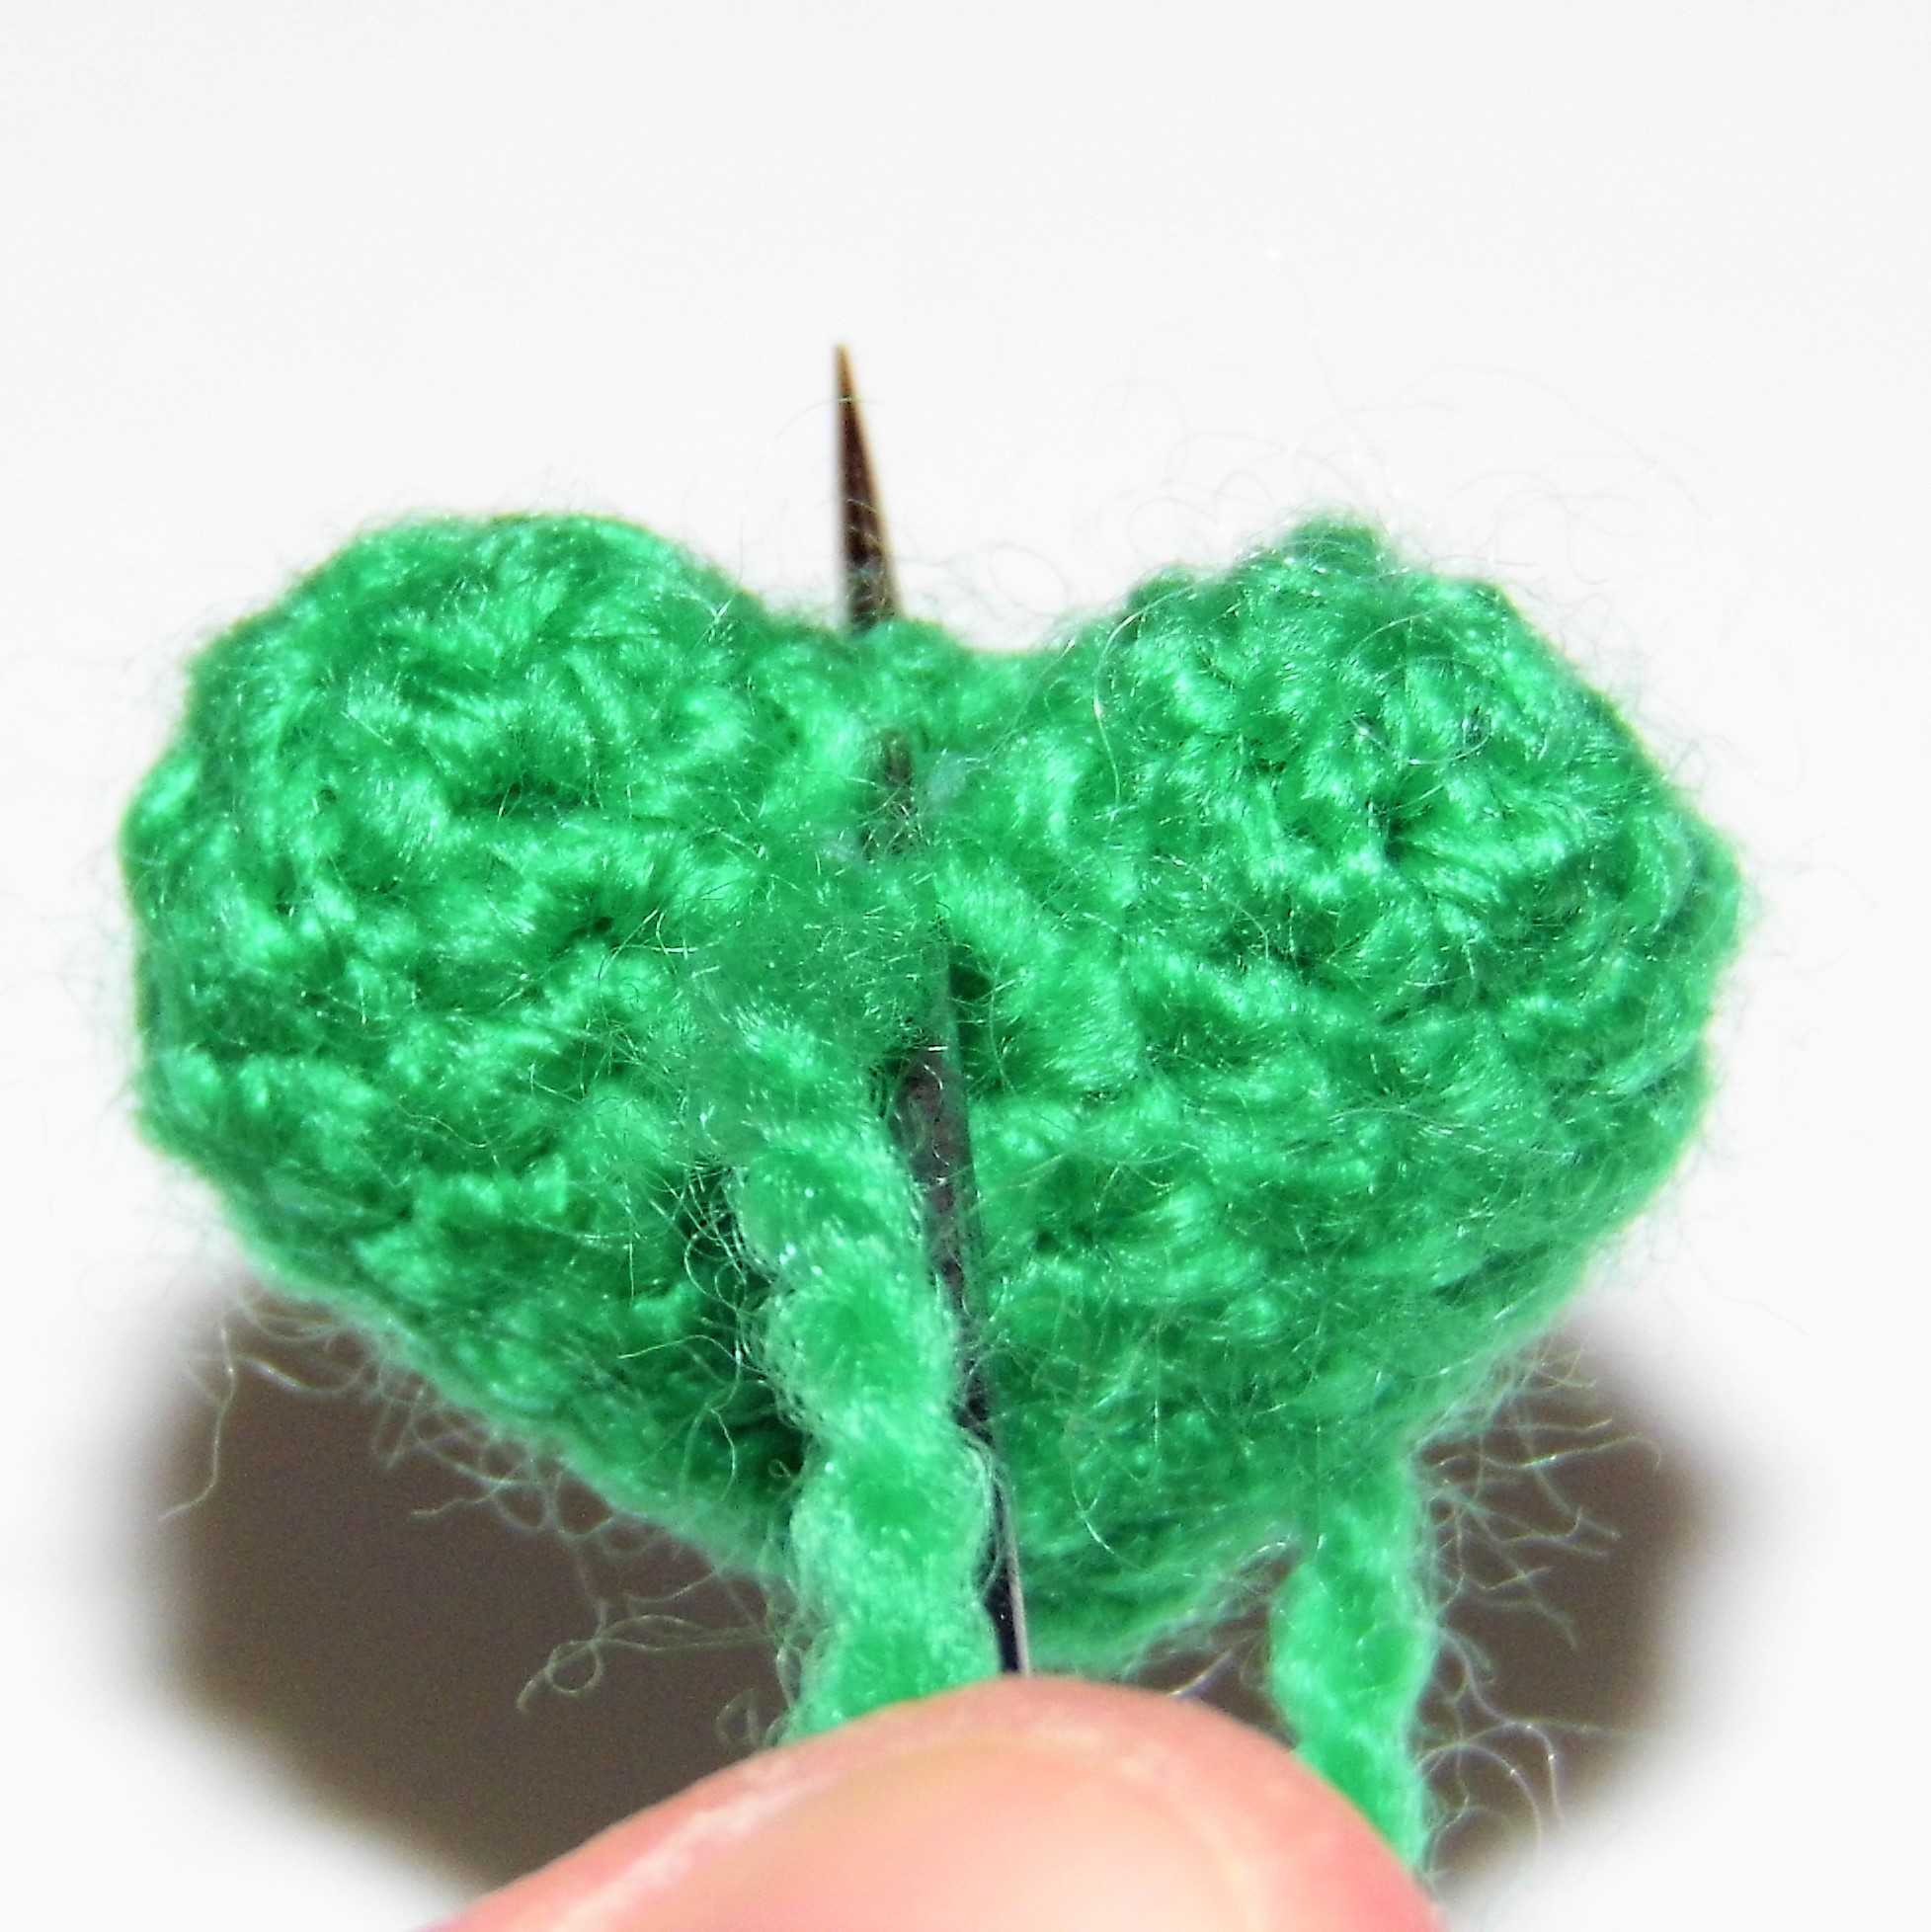
Stuff completely. Fasten off. Sew the hole with the yarn needle.
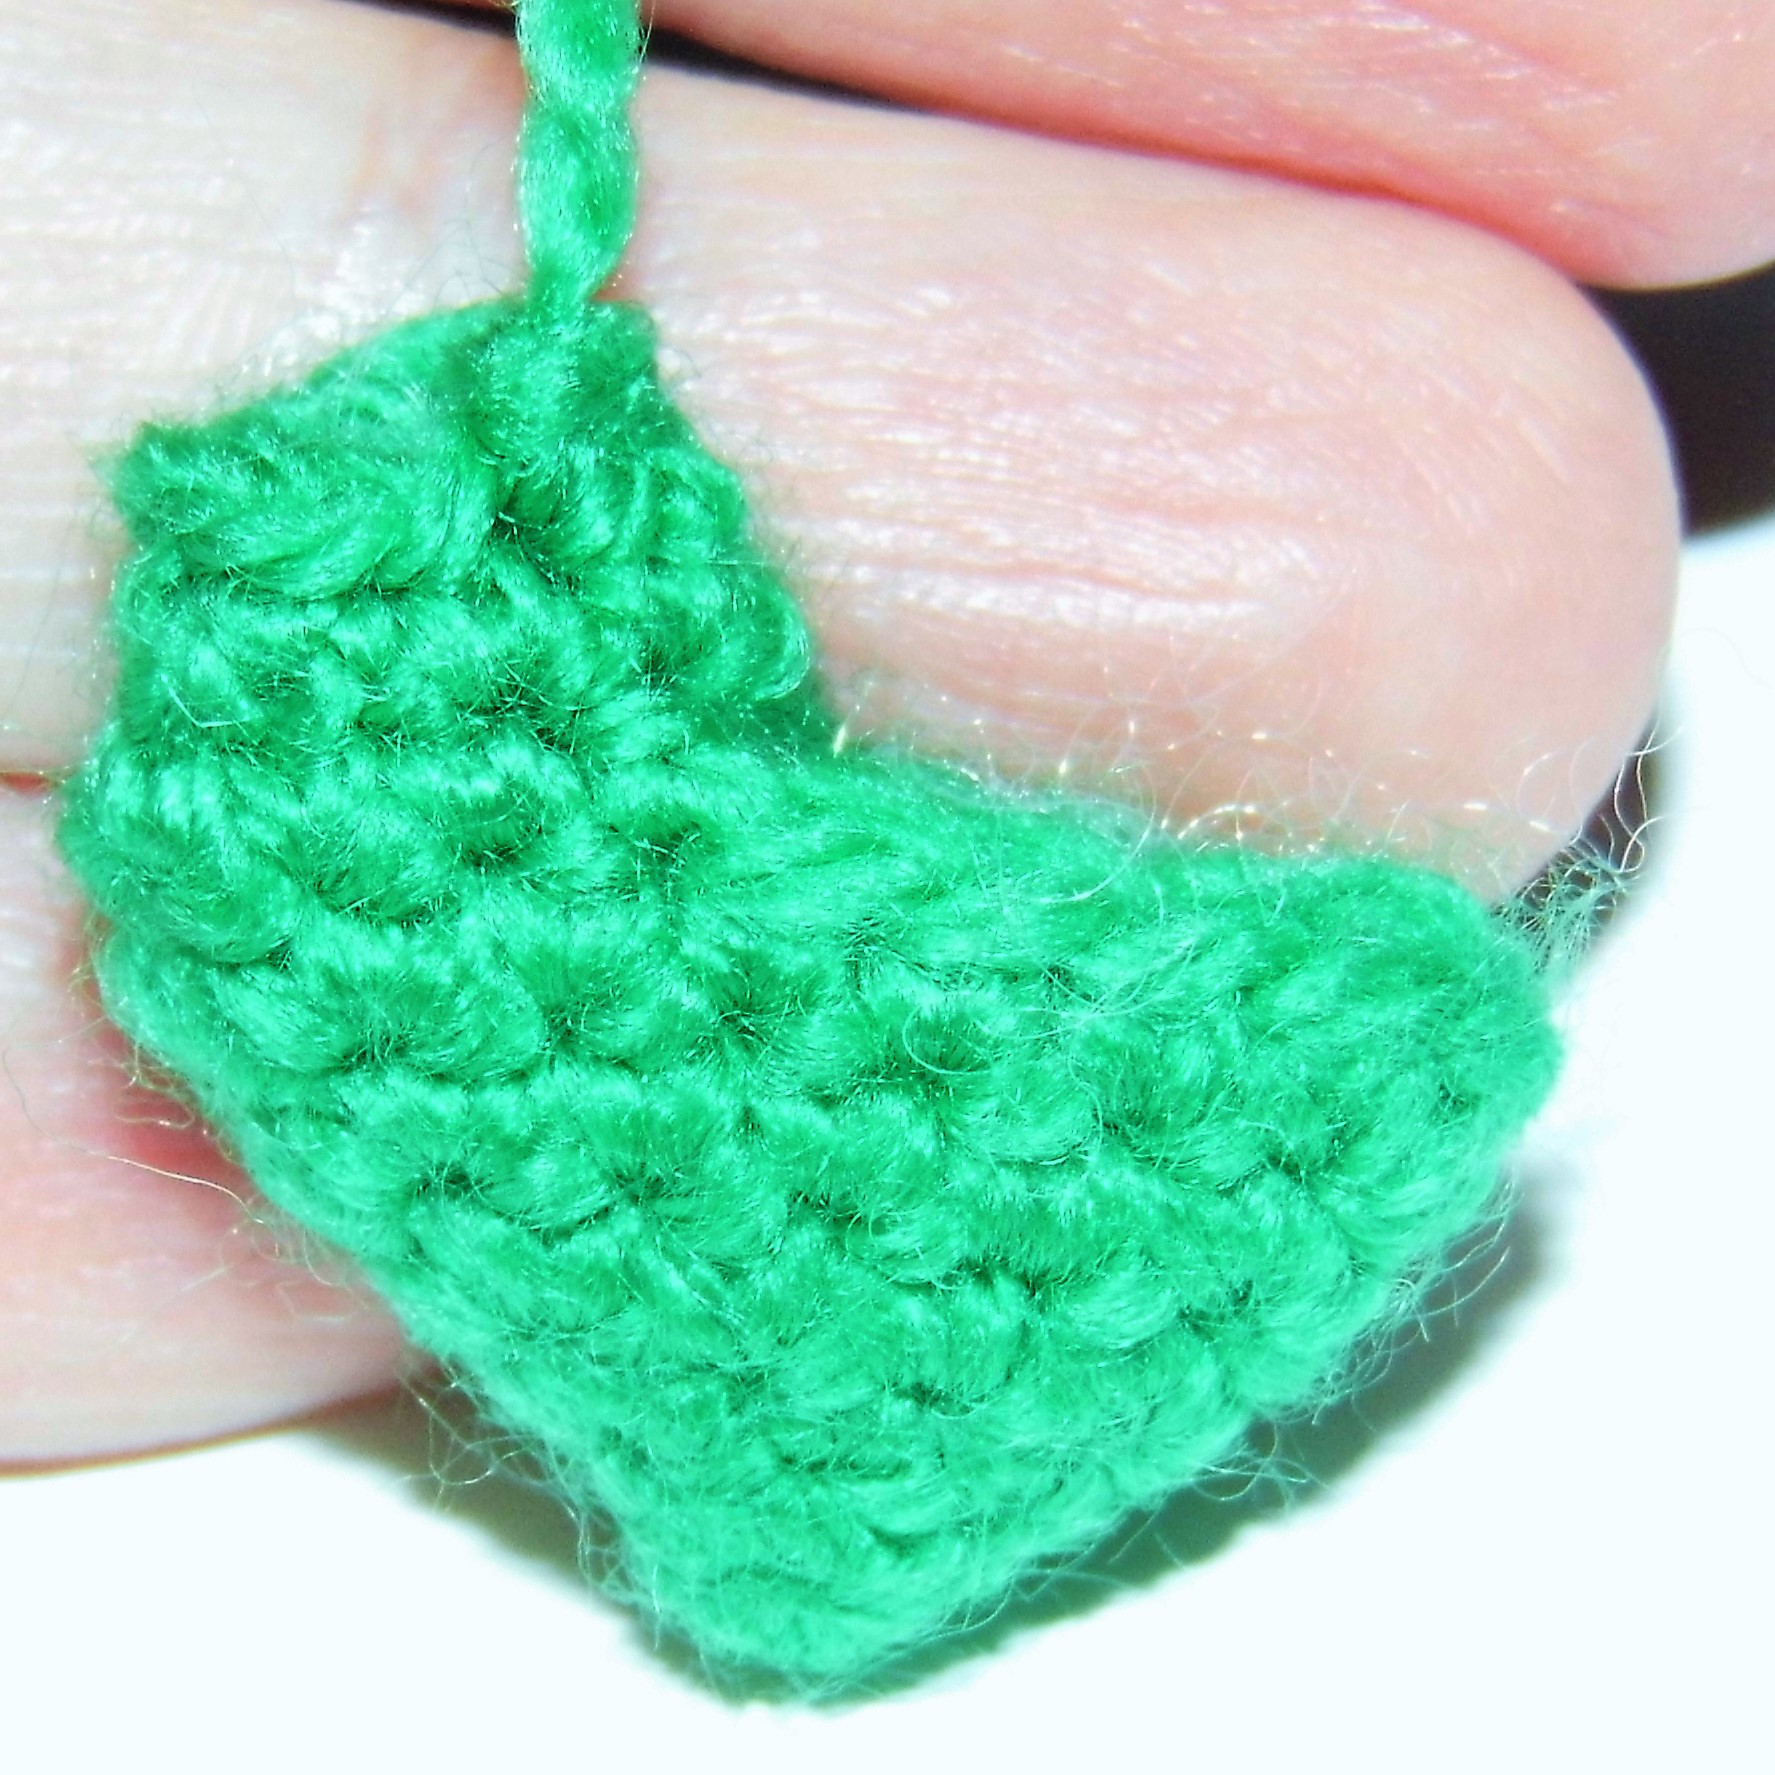
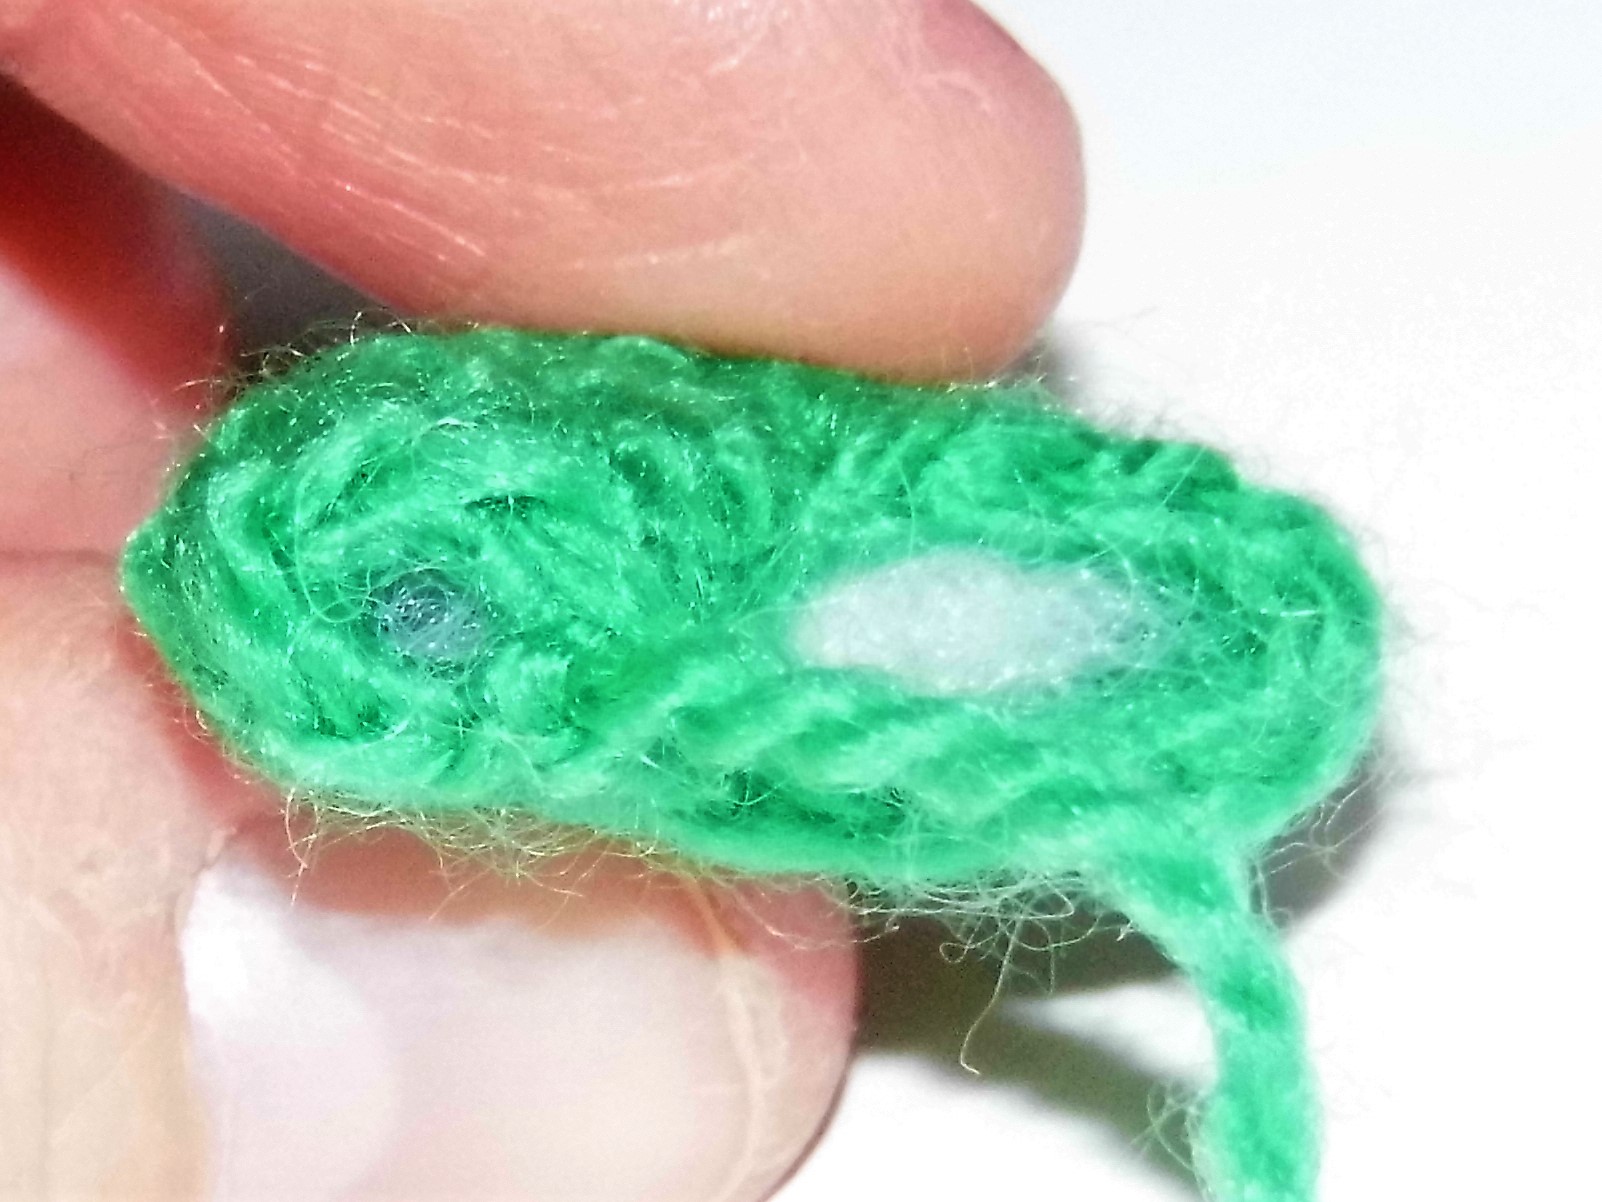
Sew the small gap that has remained between the two halves with the yarn needle.
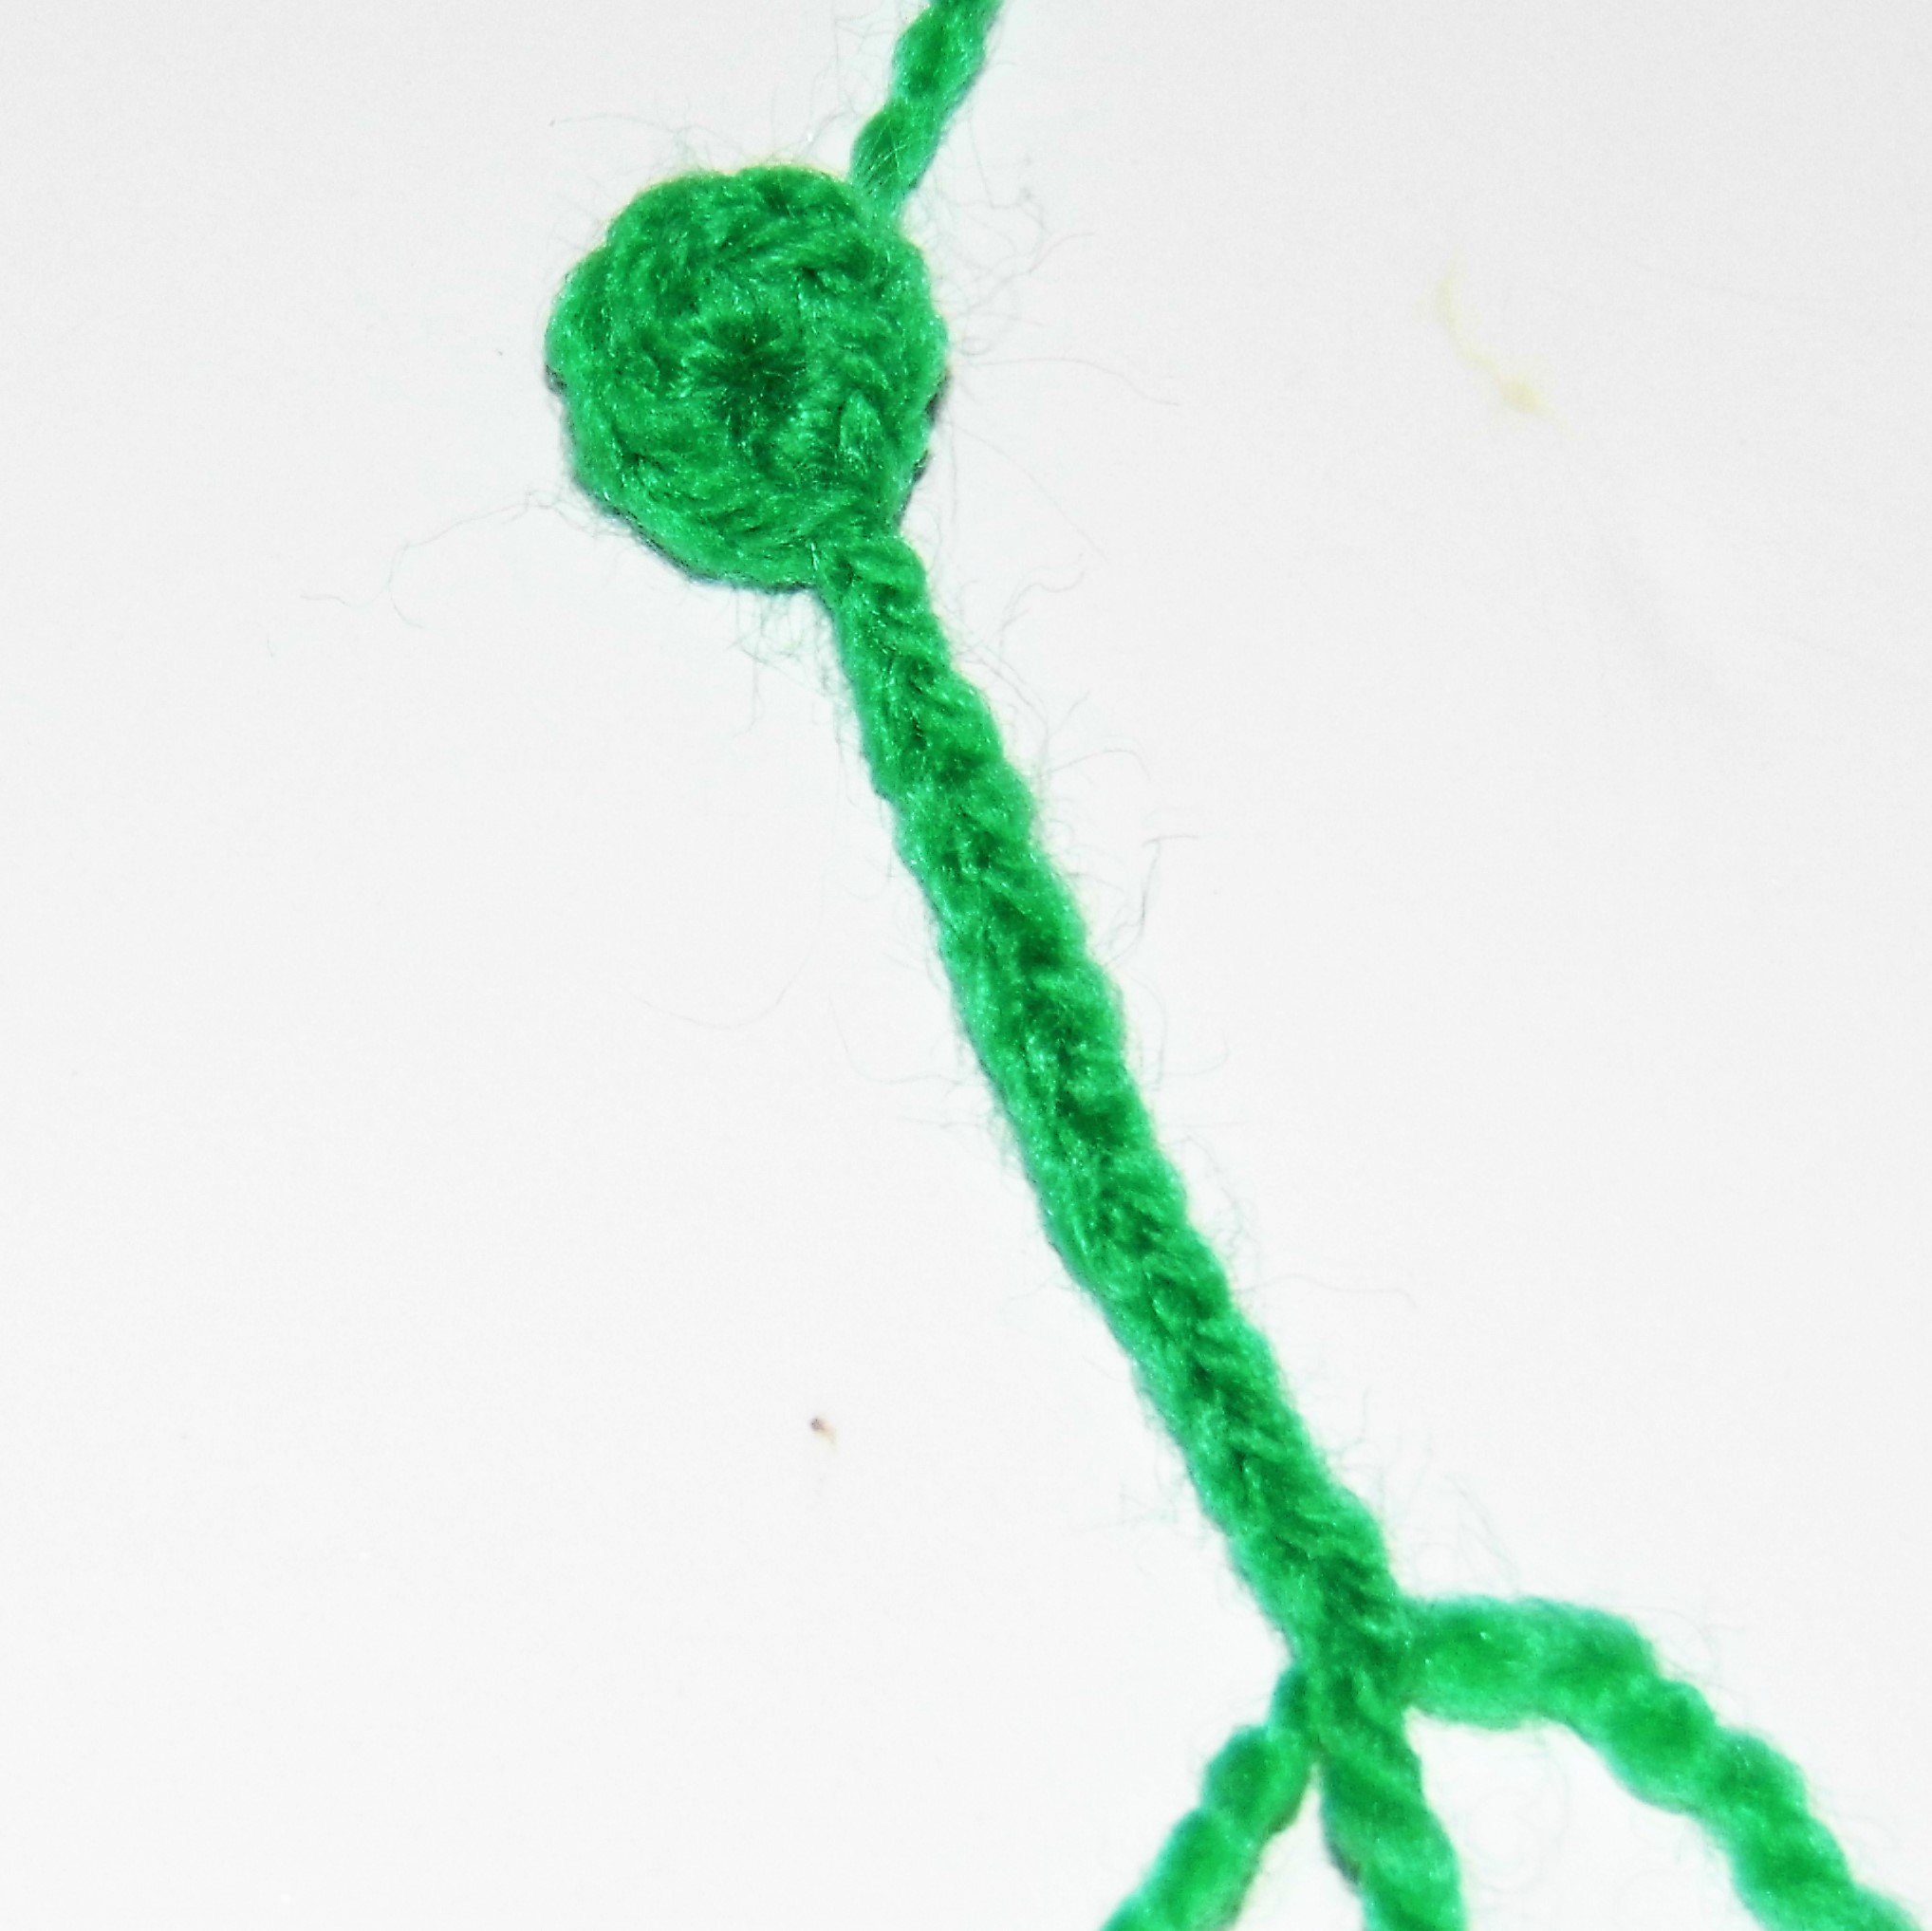
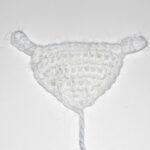
CENTRAL PART AND STEM:
With green yarn
1. Work 7 sc in magic ring
2. Ch 13 and work 12 slip stitches on the chains, 1 slip stitch in the origin stitch of the chains.
Fasten off.
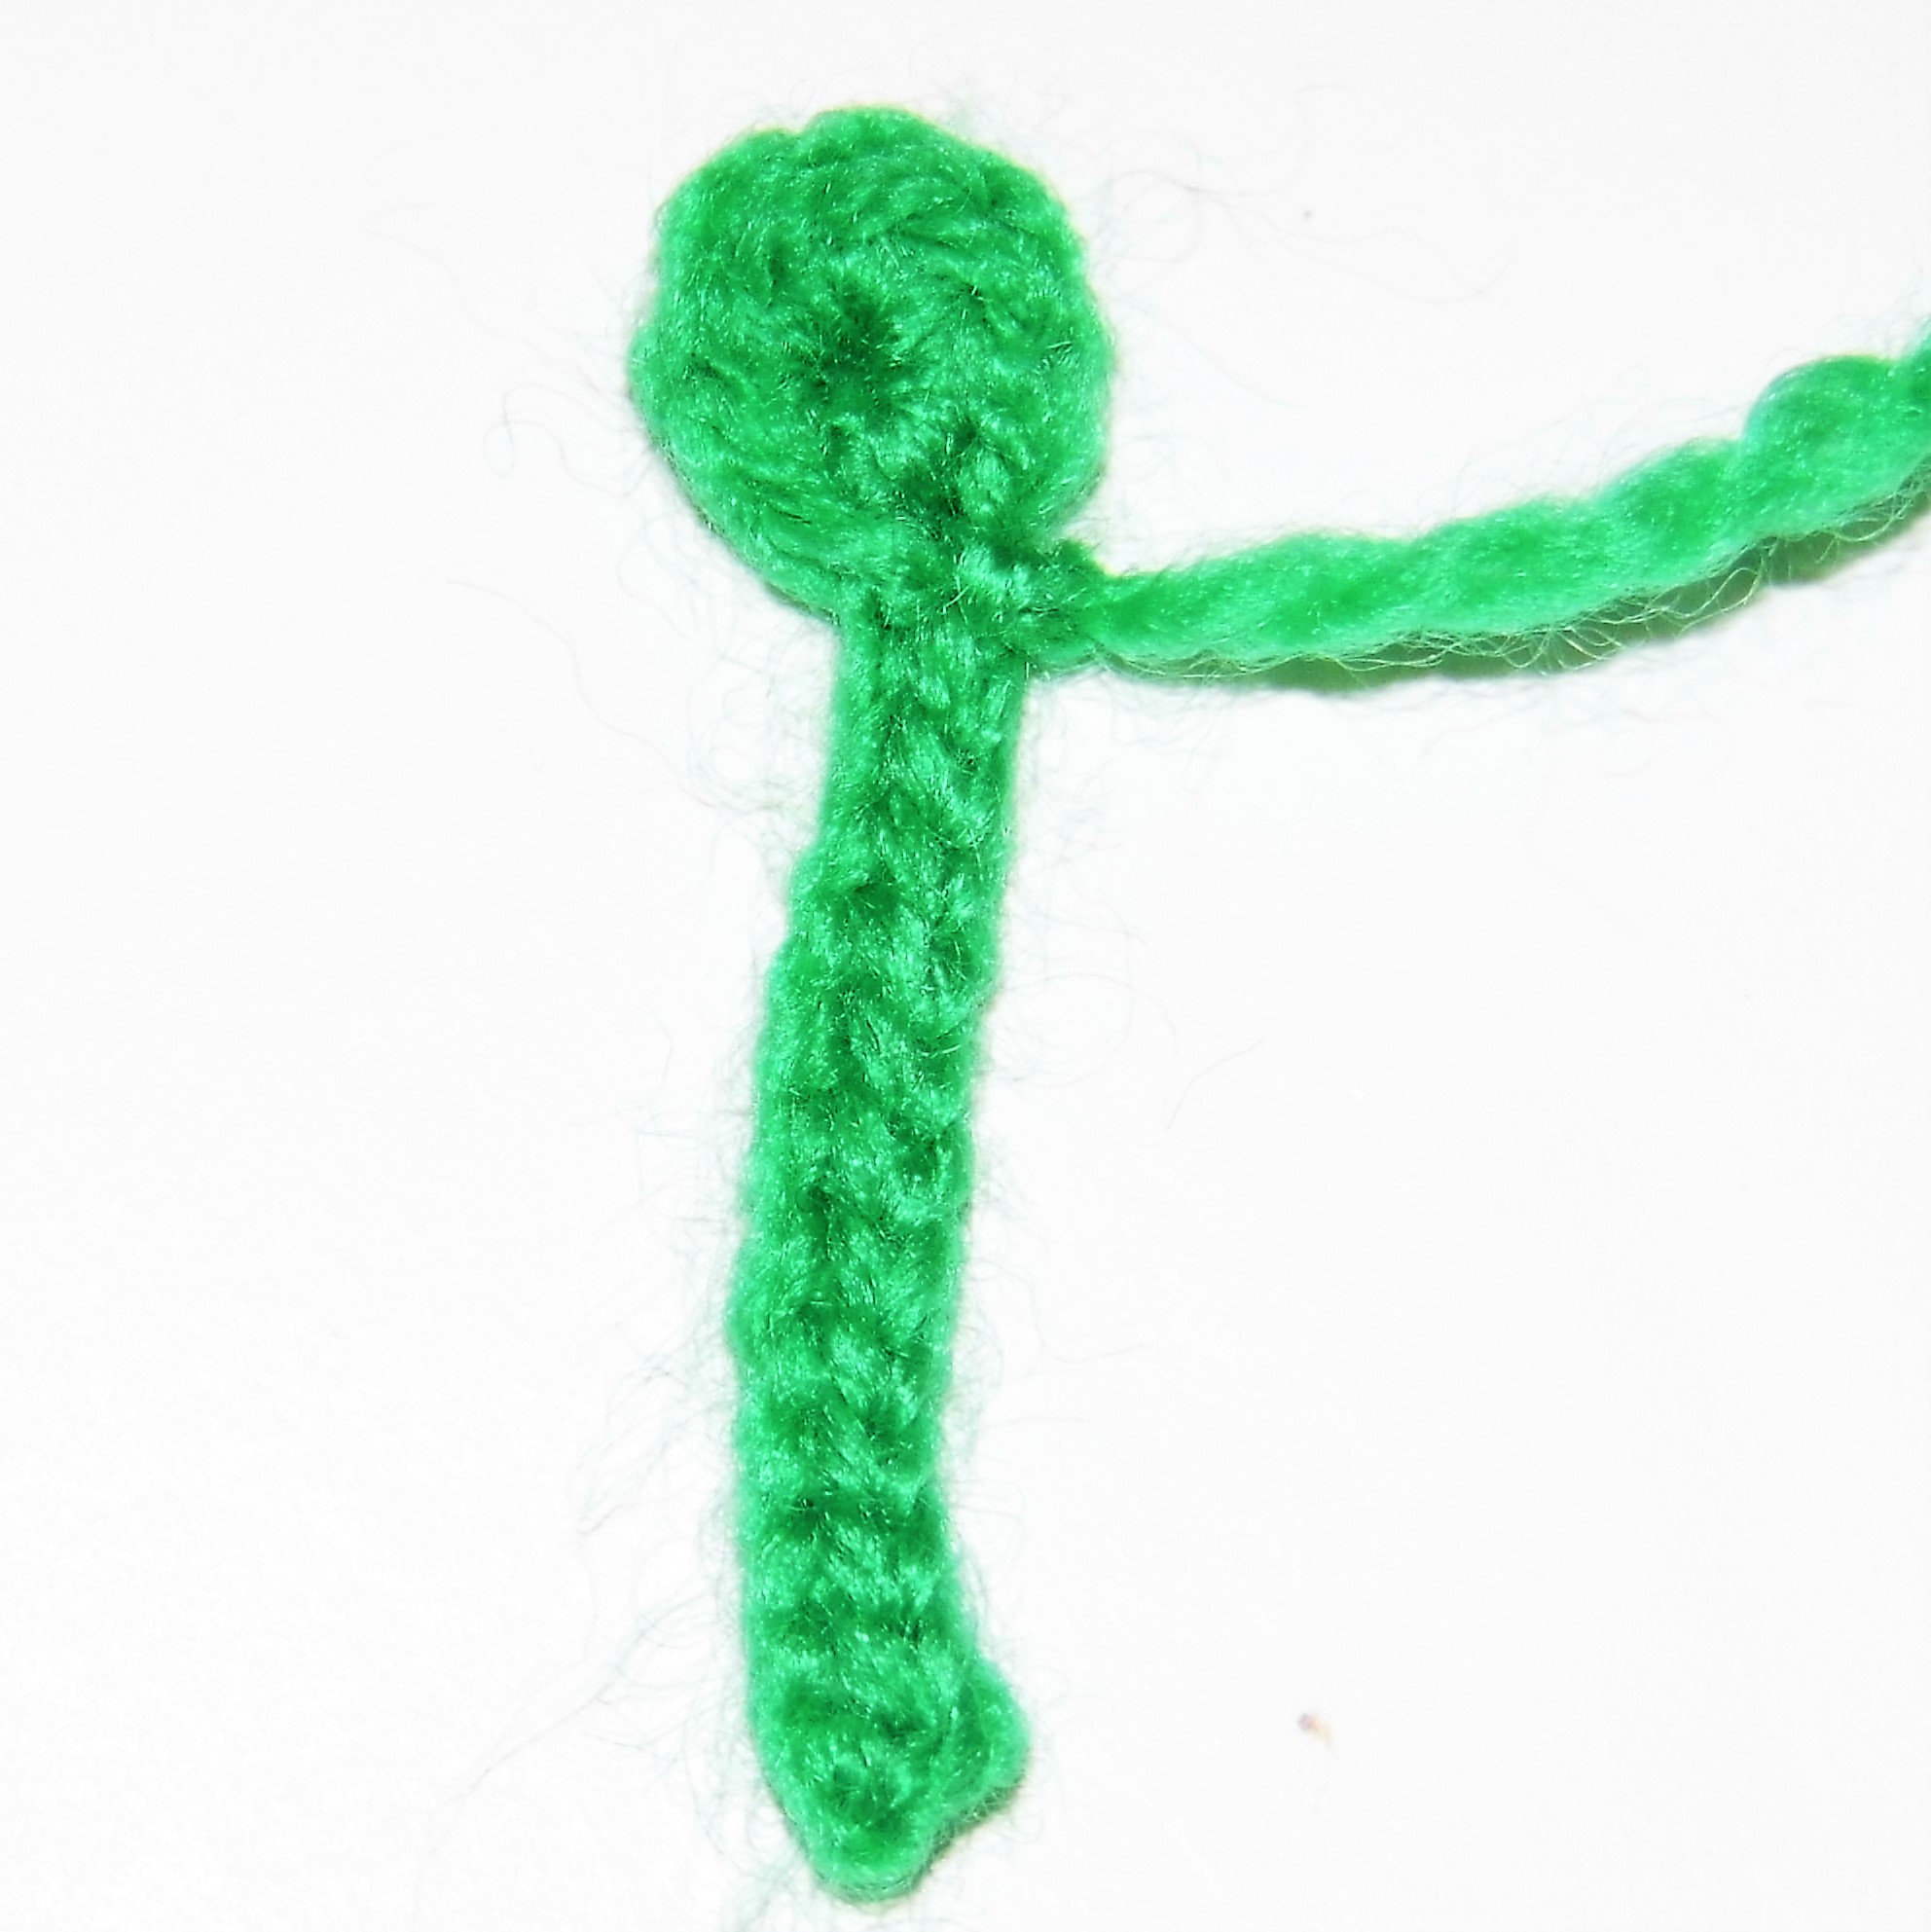
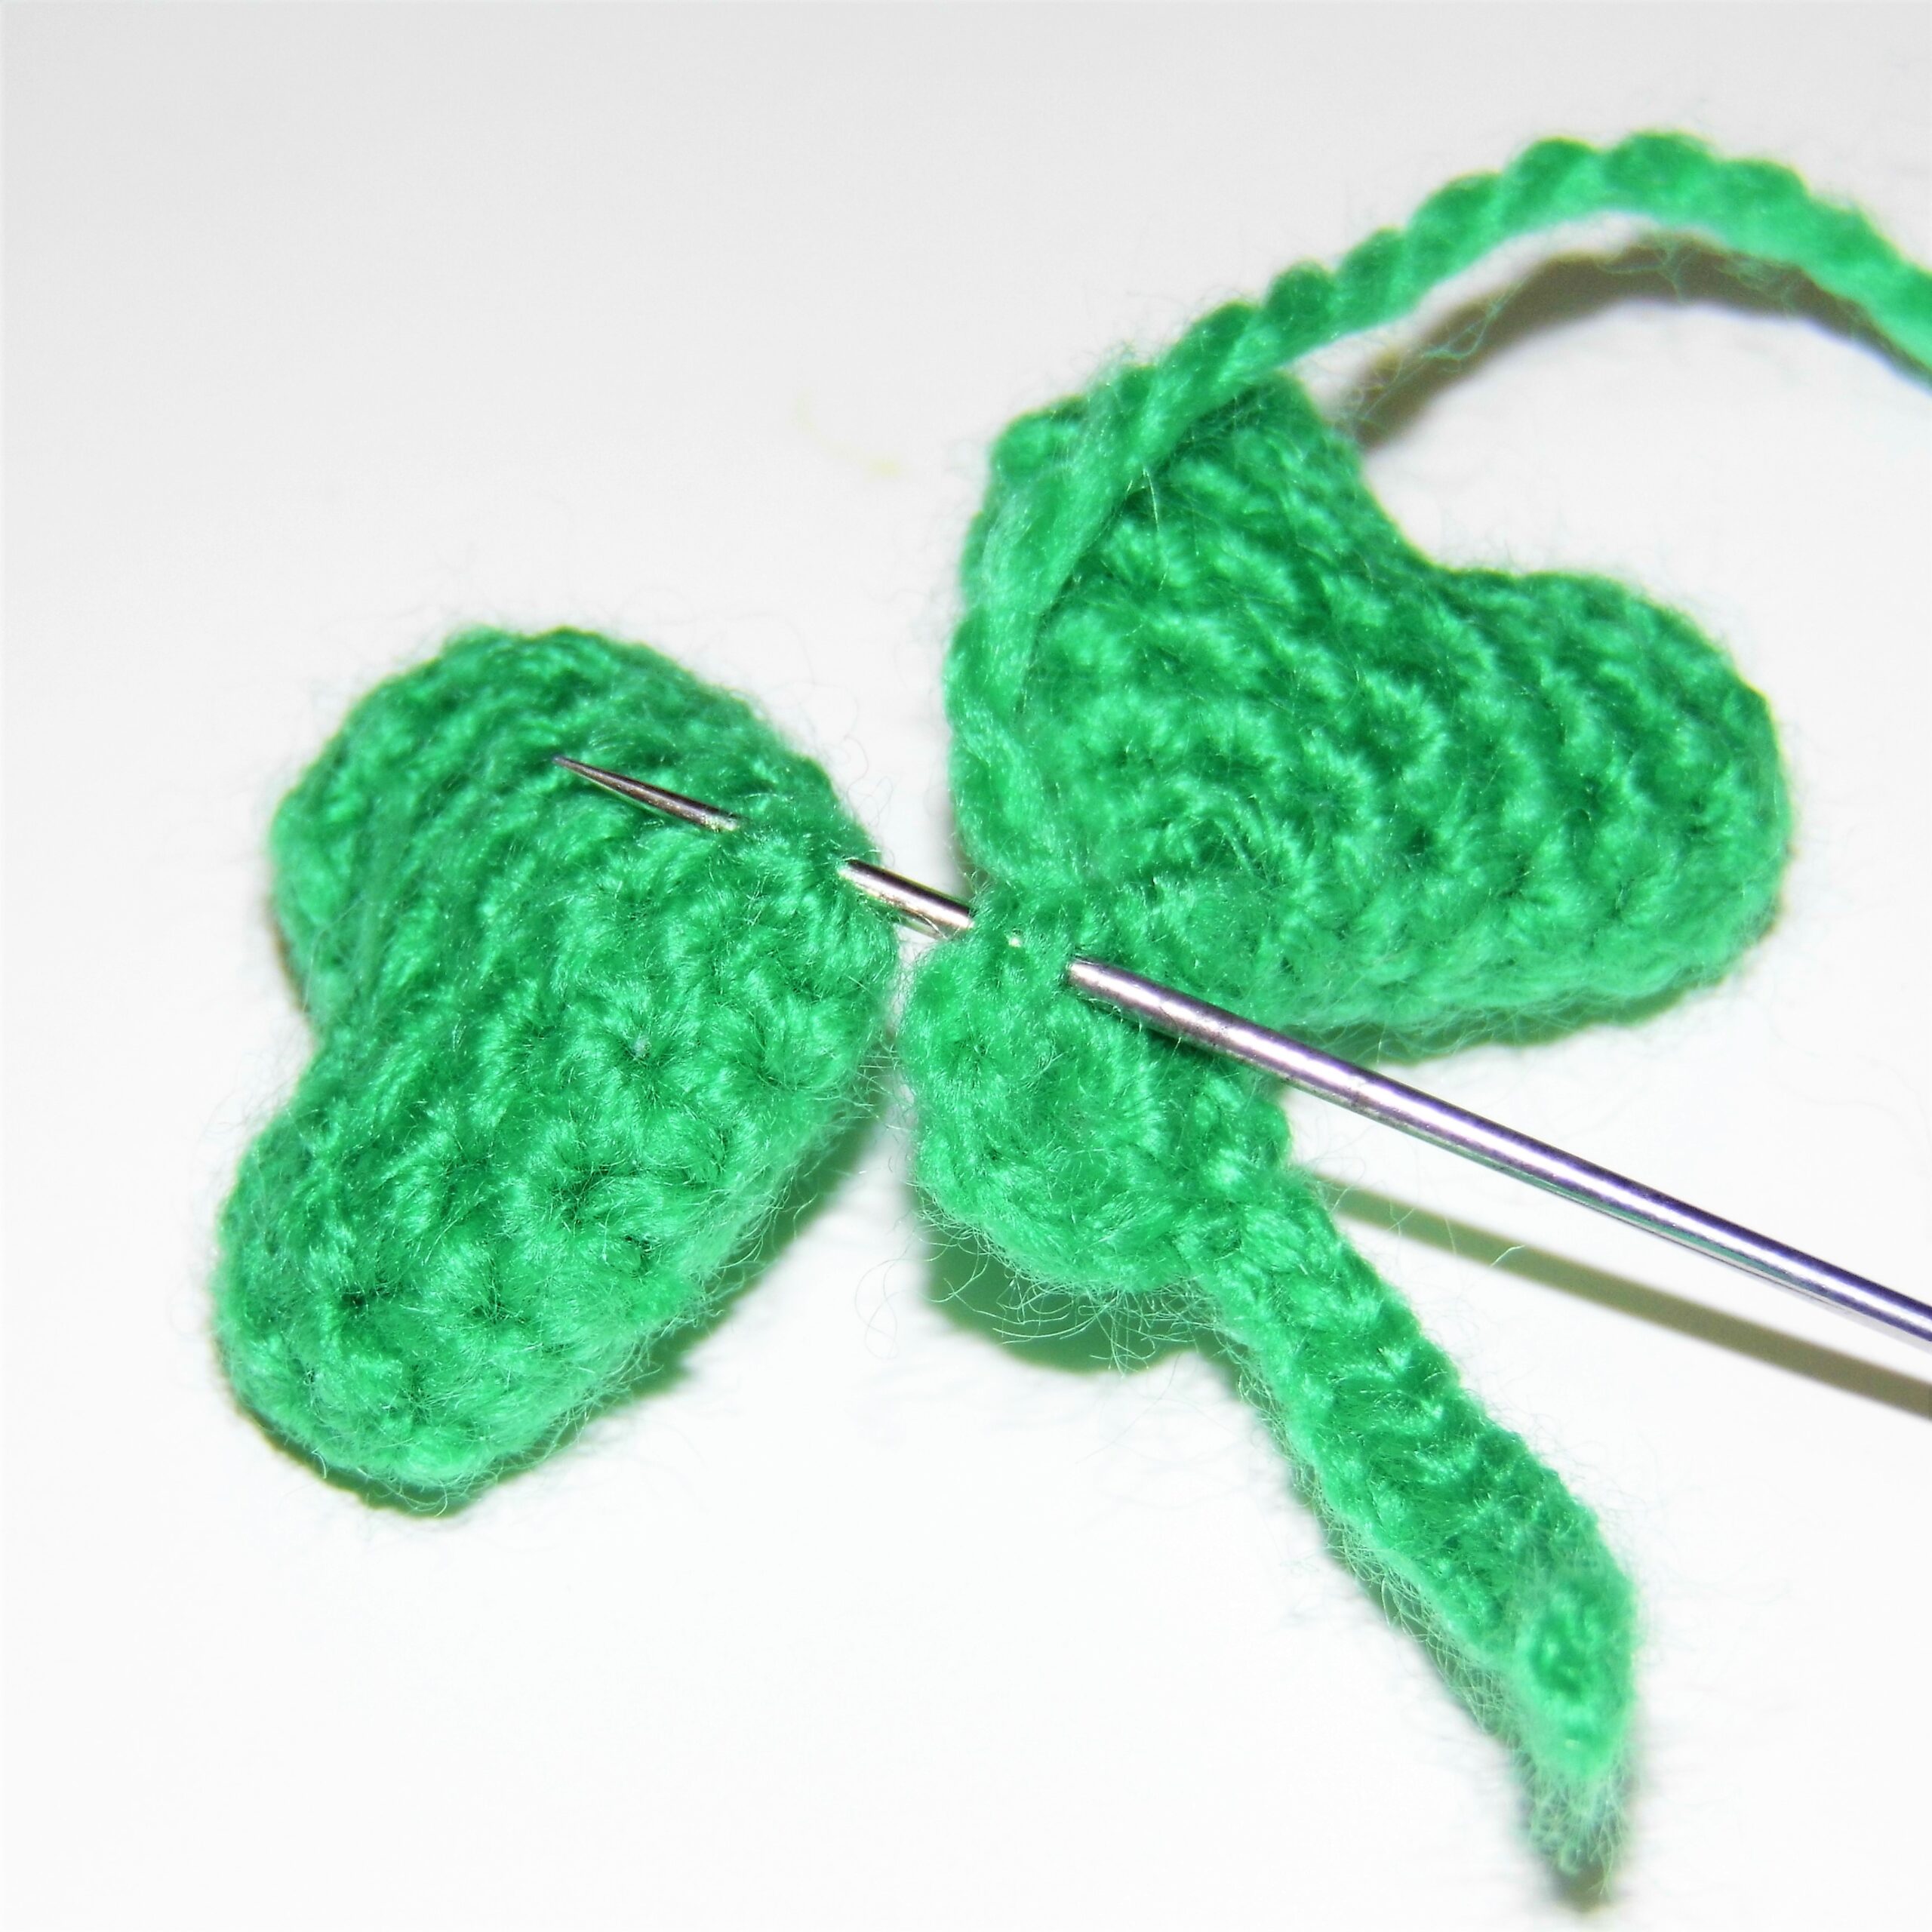
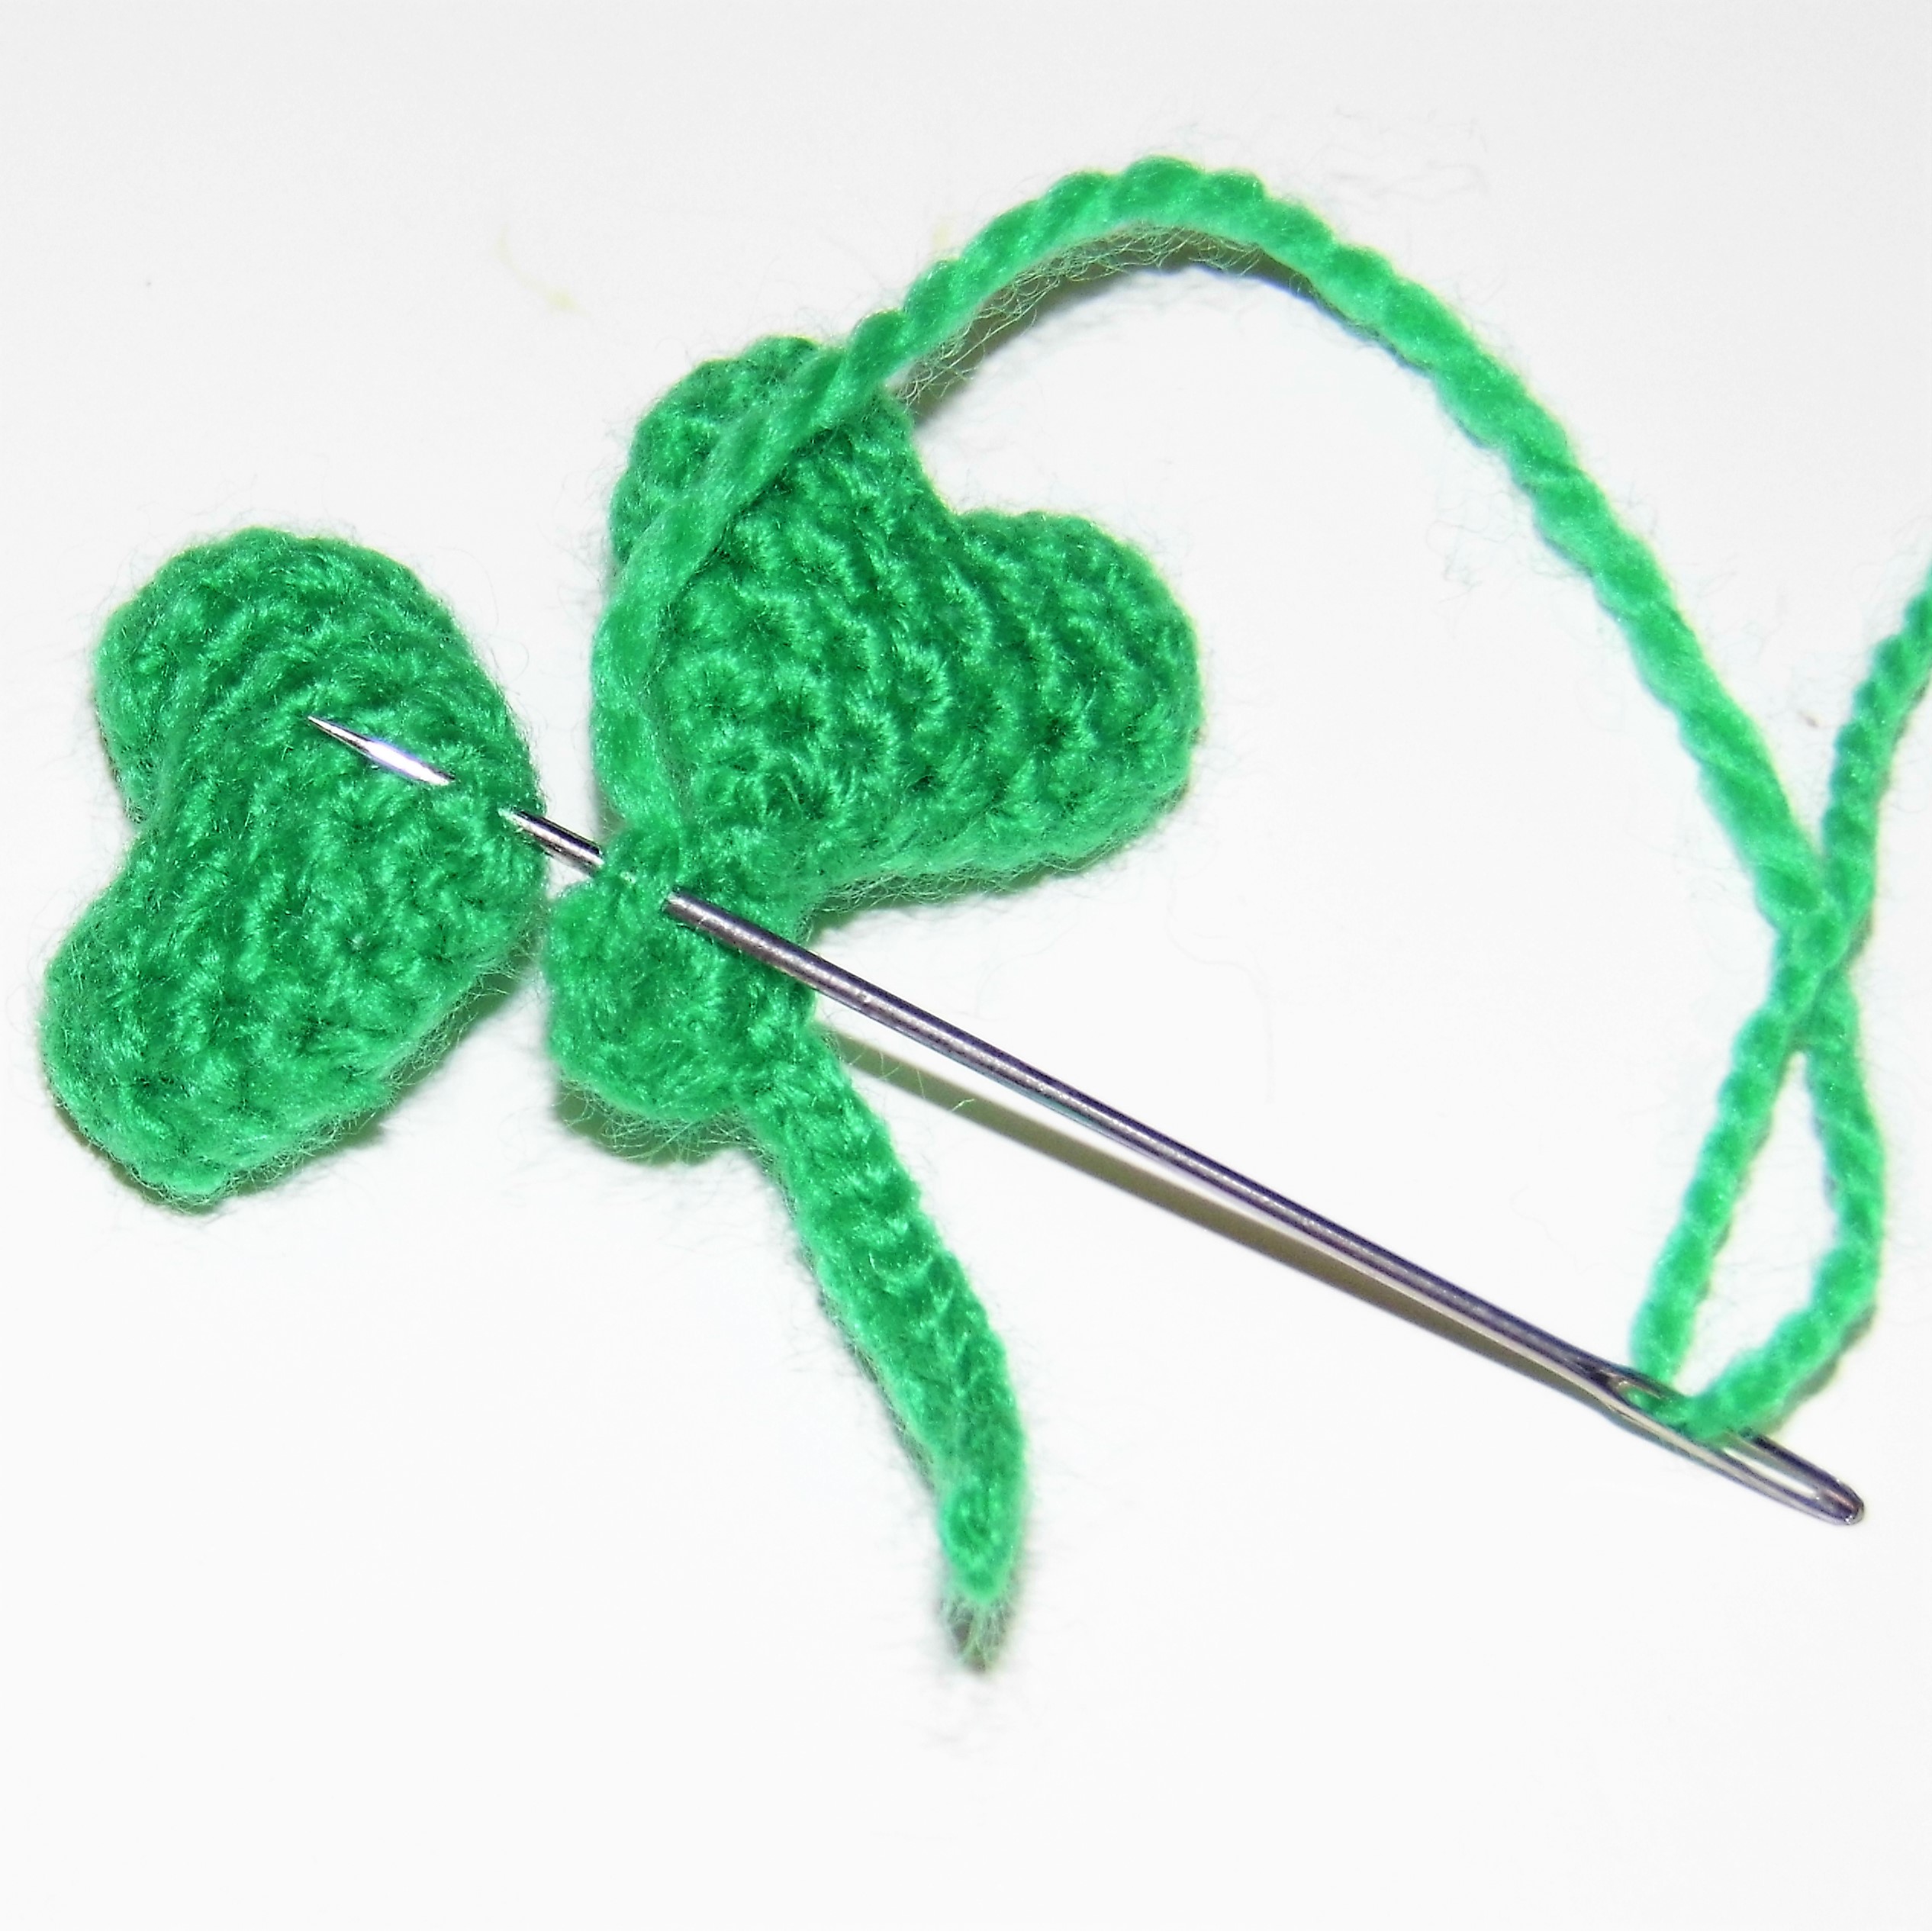
Sew a first leaf through its magic ring to 3 sc of the center part. Do it next to the stem. Sew the next 2 leaves over the last sc of the center where you sewed the previous one and into the next 2 sc. In this way you will have sewn the 3 leaves on the 6 sc of the magic ring of the central part.
Finished!
I hope you liked the brief historical reference and enjoy crocheting the pattern.
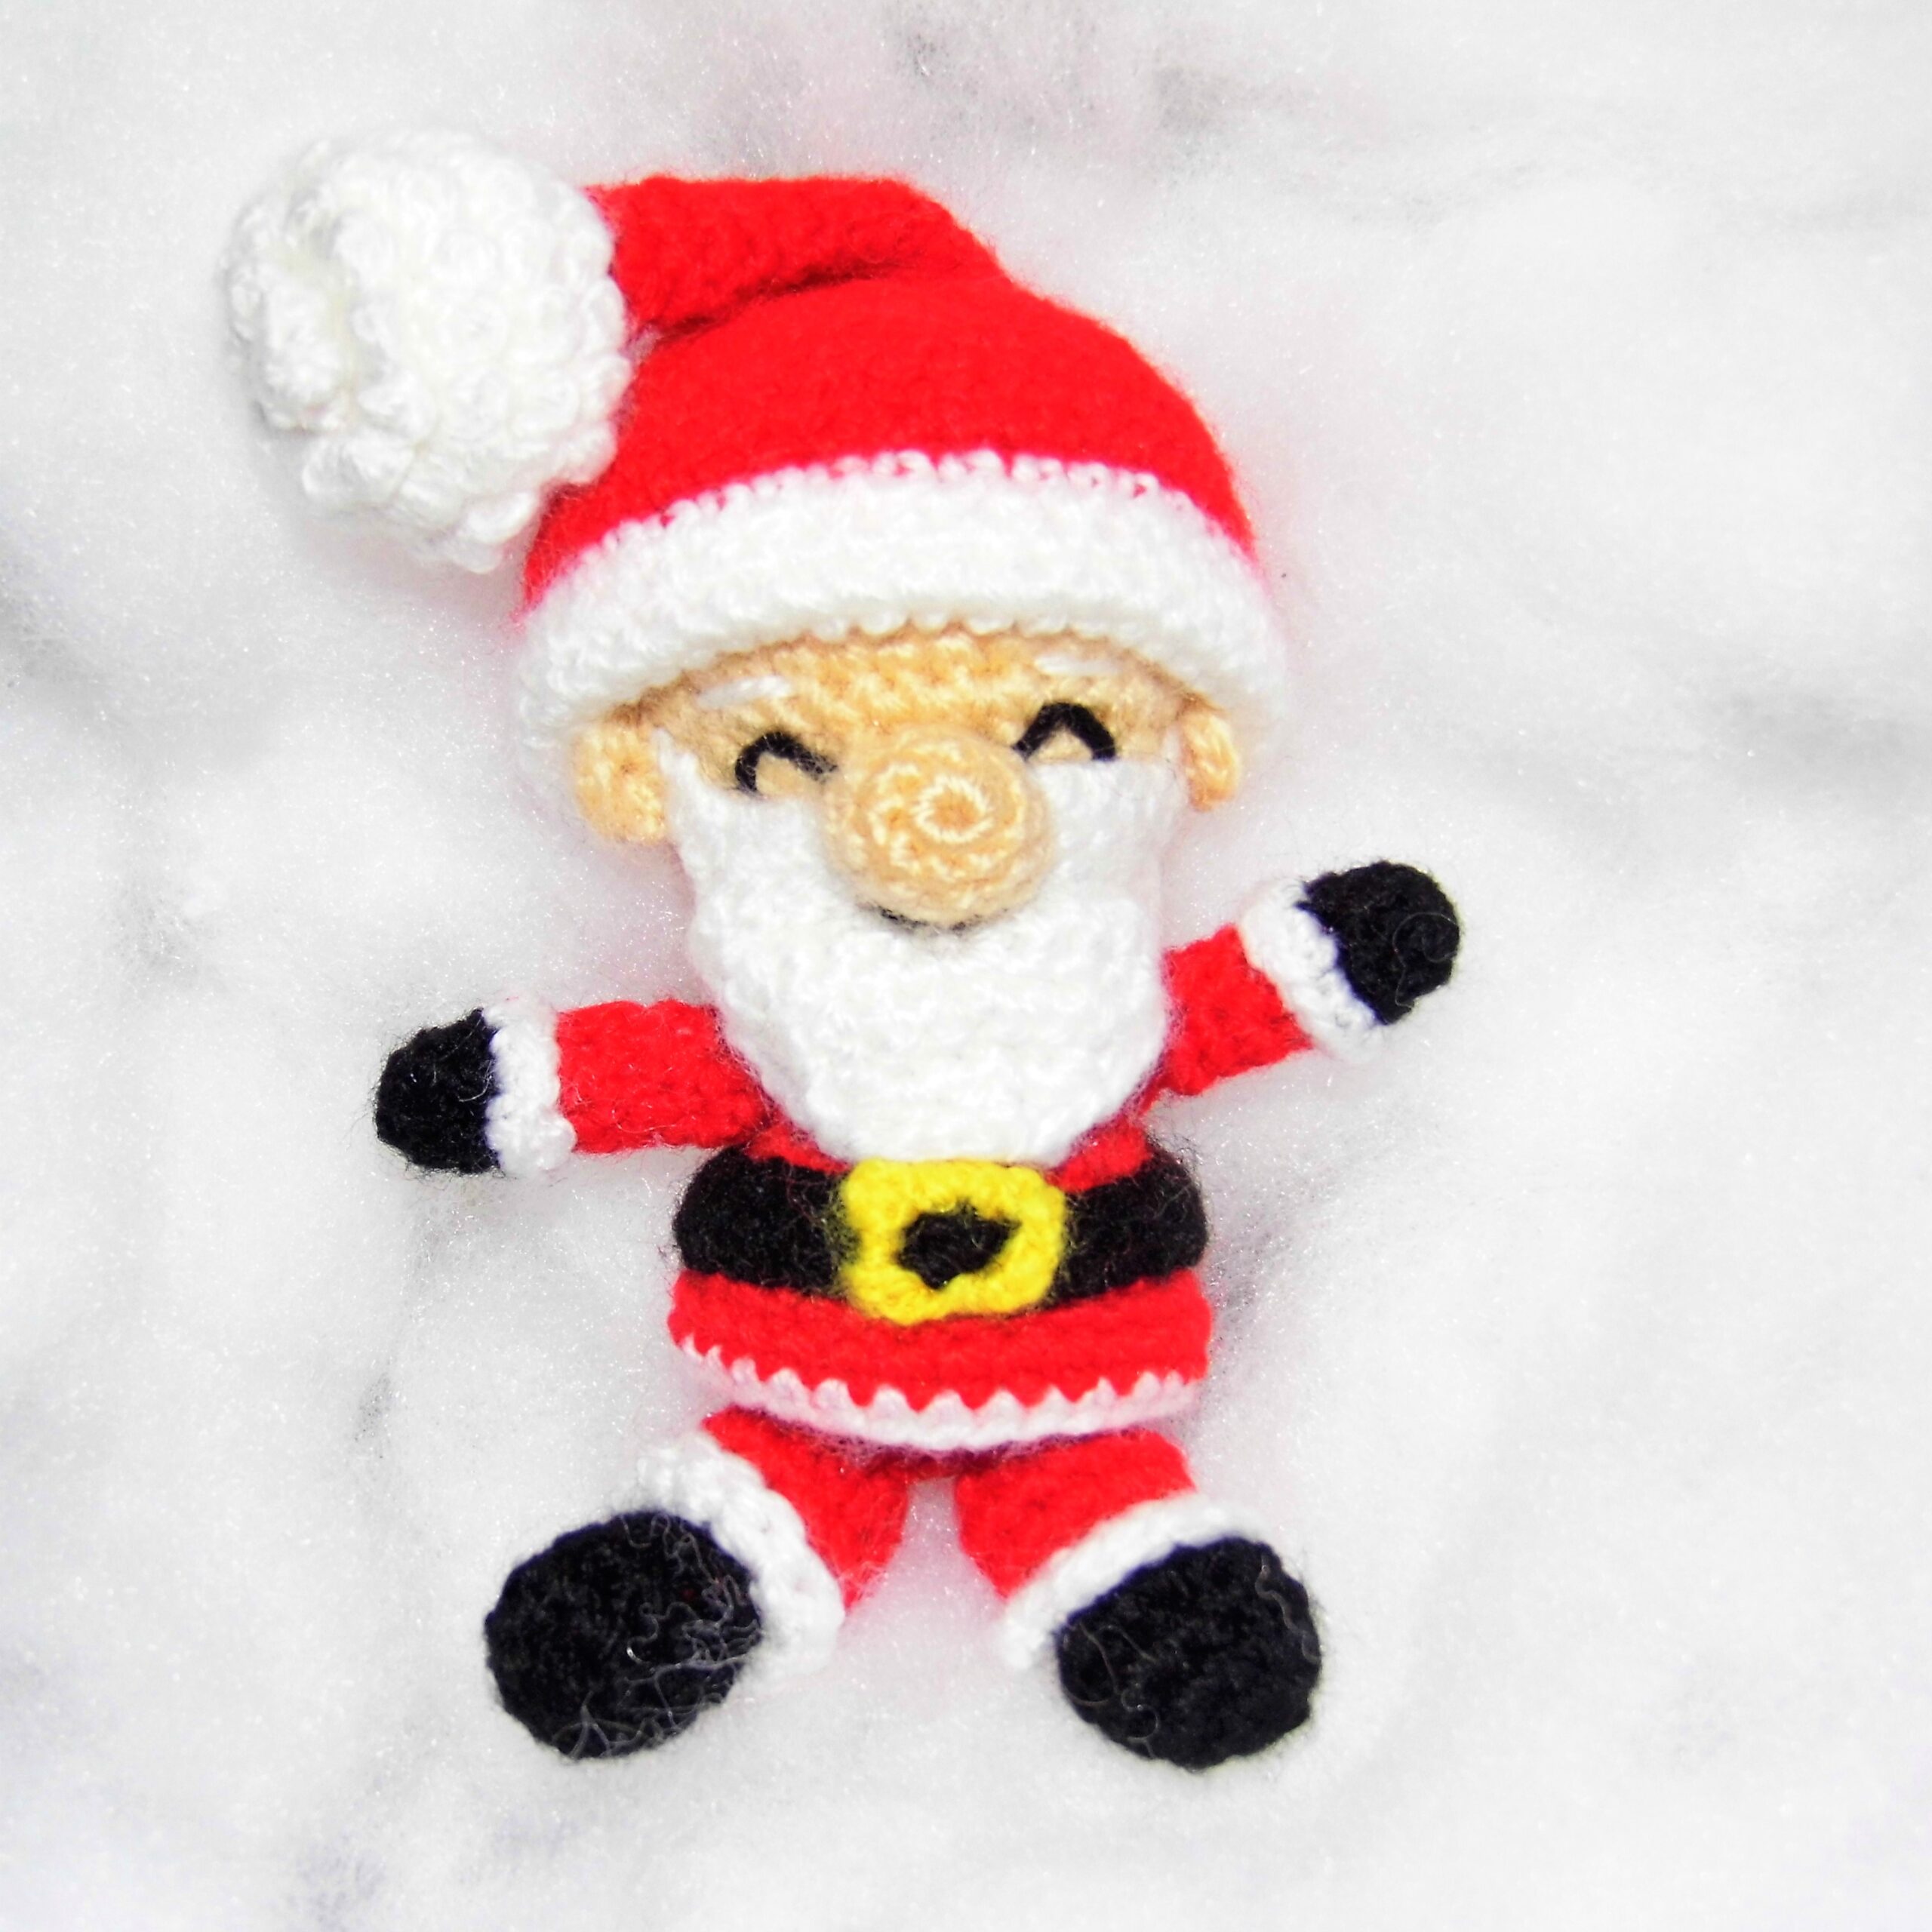
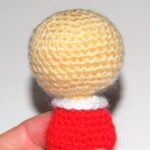
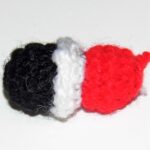
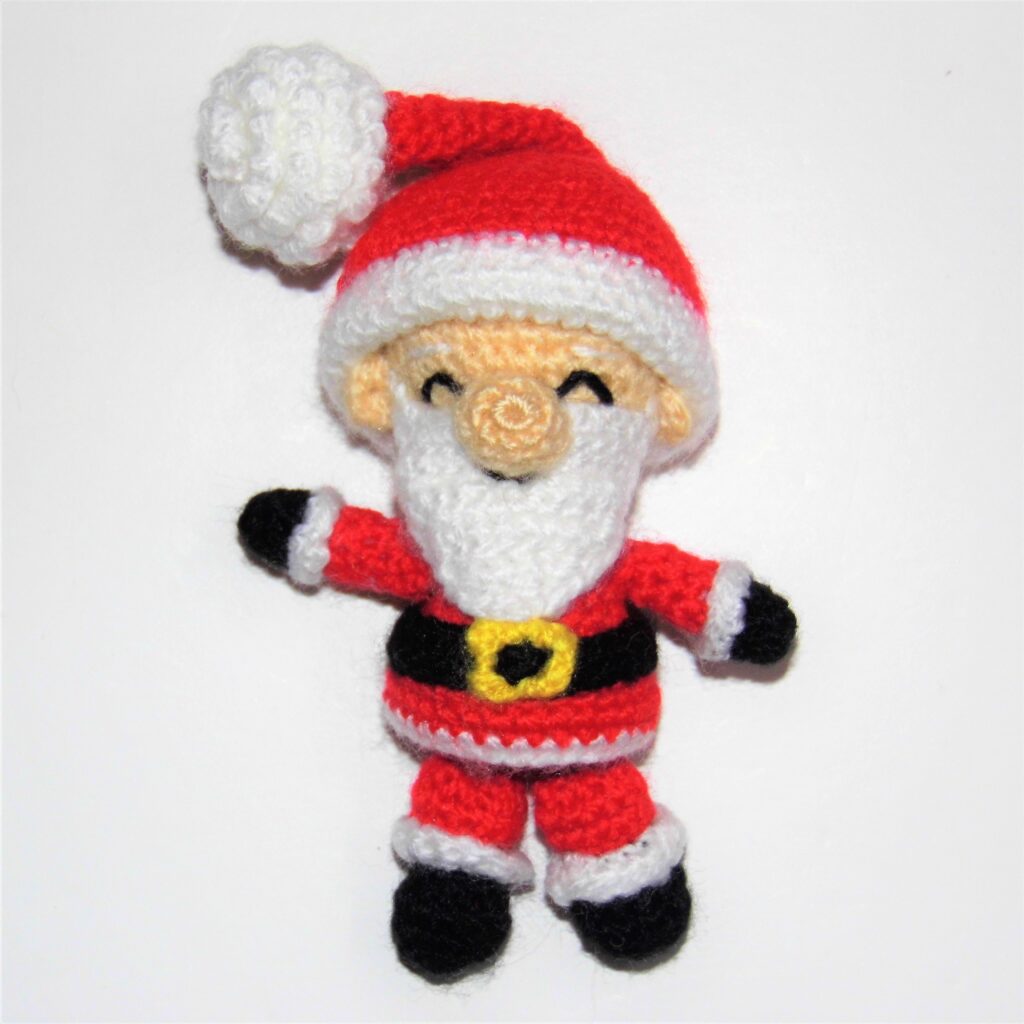
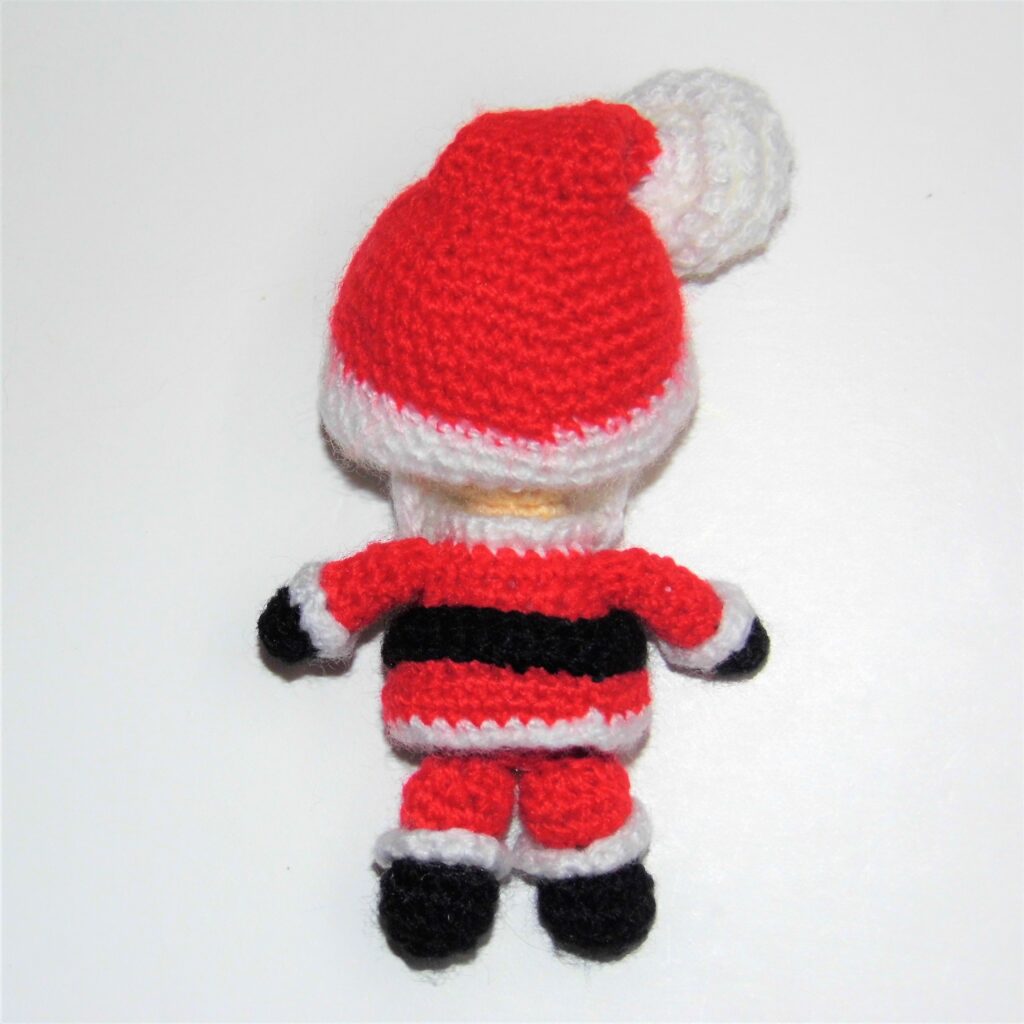
At the end of 2021 I want to wish you a Happy Holidays with the pattern of this little Santa Claus amigurumi that I am sure you will love.
MATERIALS
Yarn of different colors: white, black, skin color, red, yellow.
Thickness of the yarn: 3 mm.
Hook according to the thickness of the yarn.
Yarn needle.
Fiberfill.
ABBREVIATIONS
sc: single crochet
st: stitch
ch: chain
inc: increase
dec: decrease
Fill the doll with fiberfill as you crochet.
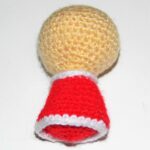
HEAD / BODY
With skin color yarn
1. Work 6 sc in magic ring.
2. Inc in every st (12).
3. “1 sc, inc”, repeat to the end of the round (18).
4. “2 sc, inc”, repeat (24).
5. “3 sc, inc”, repeat (30).
6. to 11. 1 sc in each stitch (30).
12. “3 sc, dec”, repeat (24).
13. 1 sc in each stitch (24).
14. “2 sc, dec”, repeat (18).
15. “1 sc, dec”, repeat (12).
16. Dec in every st (6).
17. Inc in every st (12).
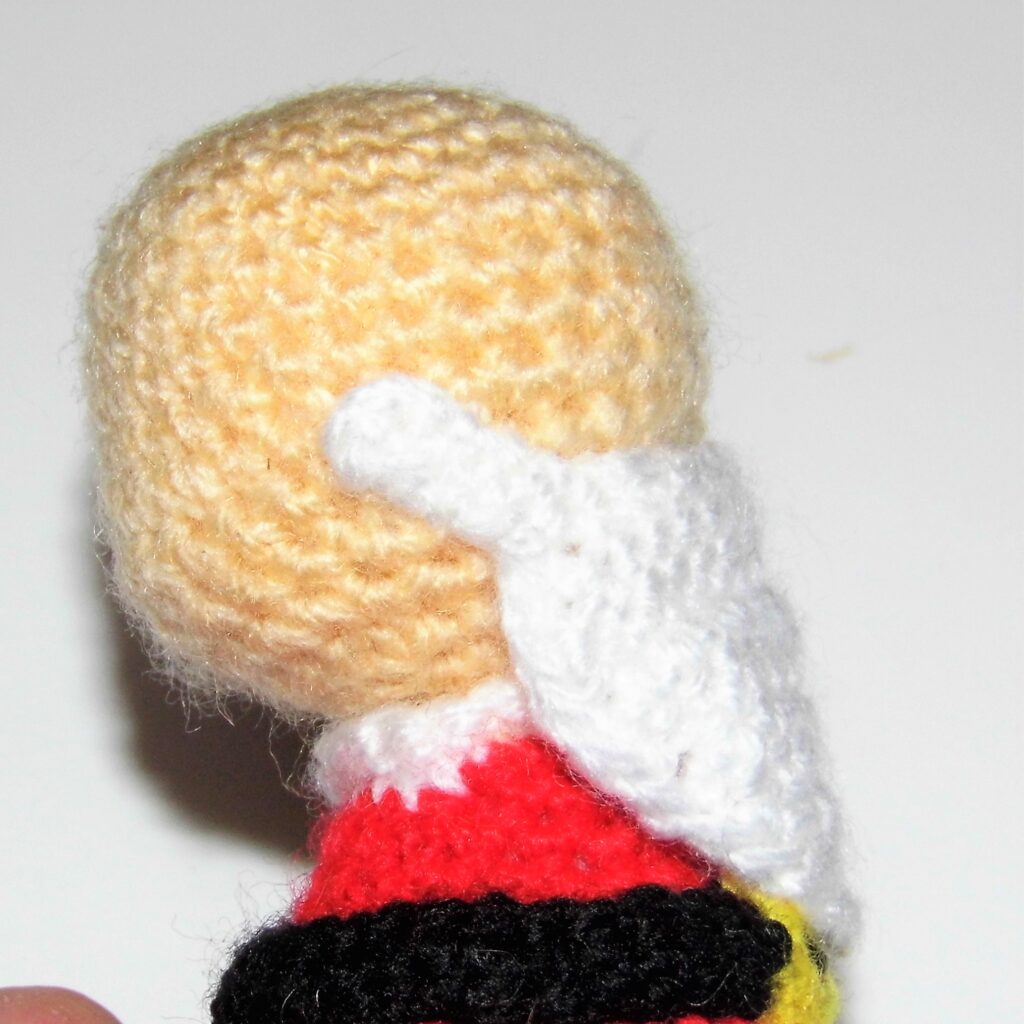
18. Change to White yarn and work “1 sc, inc”, repeat (18).
19. Change to red yarn and work in back loops only 1 sc in each stitch (18). You will return to this round to complete the collar.
20. and 21. 1 sc in each st (18).
22. “2 sc, inc”, repeat (24).
23. “3 sc, inc”, repeat (30).
24. 1 sc in each st (30).
25. Work 1 sc in back loops only (30). You will return to this round to complete the jacket.
26. “3 sc, dec”, repeat (24).
27. “2 sc, dec”, repeat (18).
28. “1 sc, dec”, repeat (12).
29. Dec in every st (6).
Fasten off.
Sew the hole with the yarn needle.
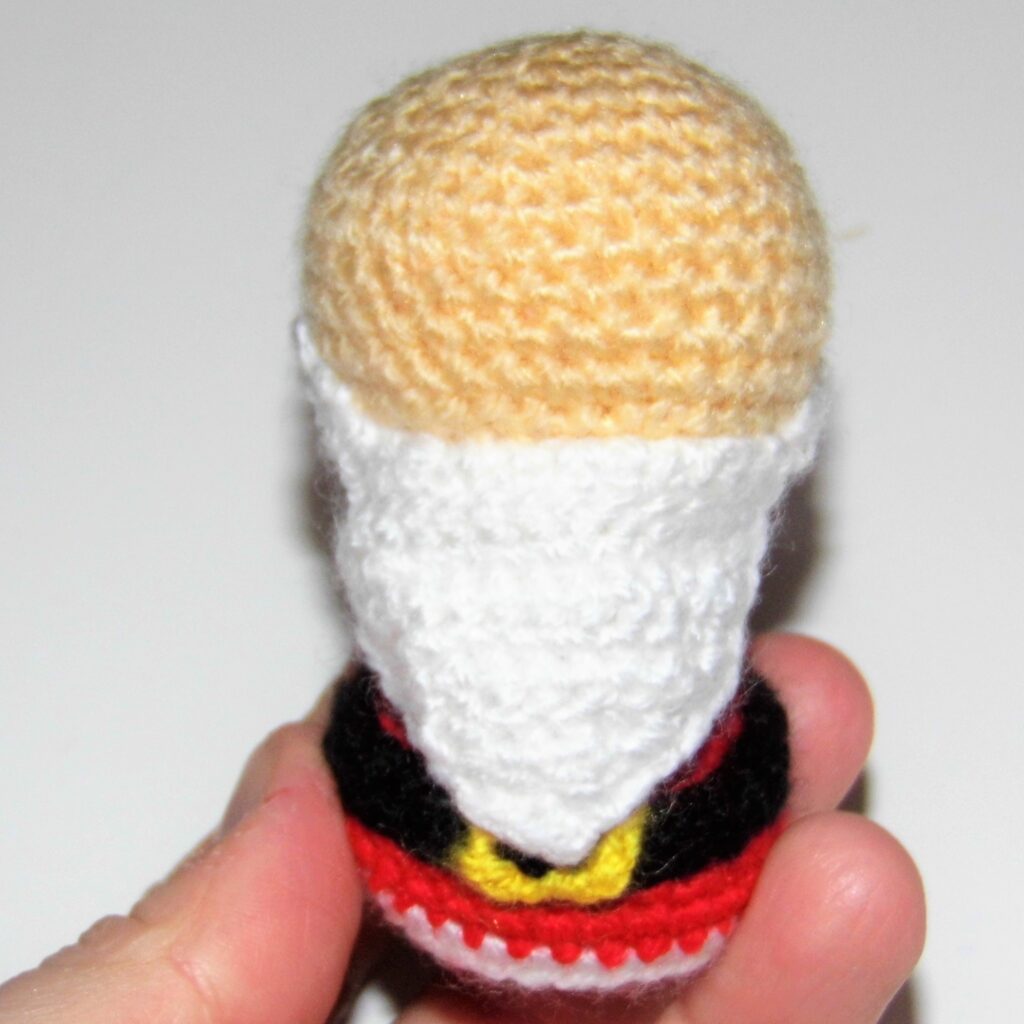
Complete the collar
With white yarn
Return to round 19 and holding the doll with the head pointing down, work in the free loops 1 sc in each stitch (18).
Fasten off.
Complete the jacket
With red yarn
1. Return to round 25 and holding the doll with the head pointing down, work in the free loops 1 sc in each stitch (30).
2. 1 sc in each st (30).
3. Change to white yarn and work 1 sc in each st (30).
Fasten off.
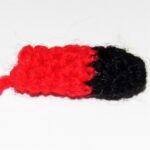
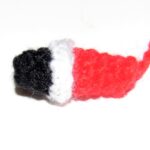
ARMS (x2)
With black yarn
1. Work 6 sc in magic ring.
2. and 3. 1 sc in each st (6).
4. Change to red yarn and work in back loops only 1 sc in each stitch (6). You will return to this round to complete the sleeve.
5. to 8. 1 sc in each st (6).
Fasten off.
Complete the sleeve
With white yarn
Return to round 4 of the arm and holding it with the hand pointing down work in the free loops inc in every st (12).
Fasten off.
FEET / LEGS (x2)
With black yarn
1. Work 6 sc in magic ring.
2. Inc in every st (12)
3. and 4. 1 sc in each stitch (12).
5. Dec in every st (6).
6. Change to red yarn and work in back loops only inc in every st (12). You will return to this round to complete the pants.
7. and 8. 1 sc in each stitch (12).
9. Dec in every st (6).
Fasten off.
Complete the pants
With white yarn
1. Return to round 6 of the leg and holding it with the foot pointing up, work in the free loops inc in every st (12).
2. 1 sc in each st (12).
Fasten off.
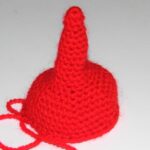
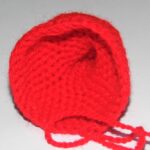
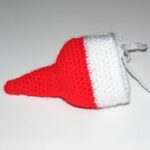
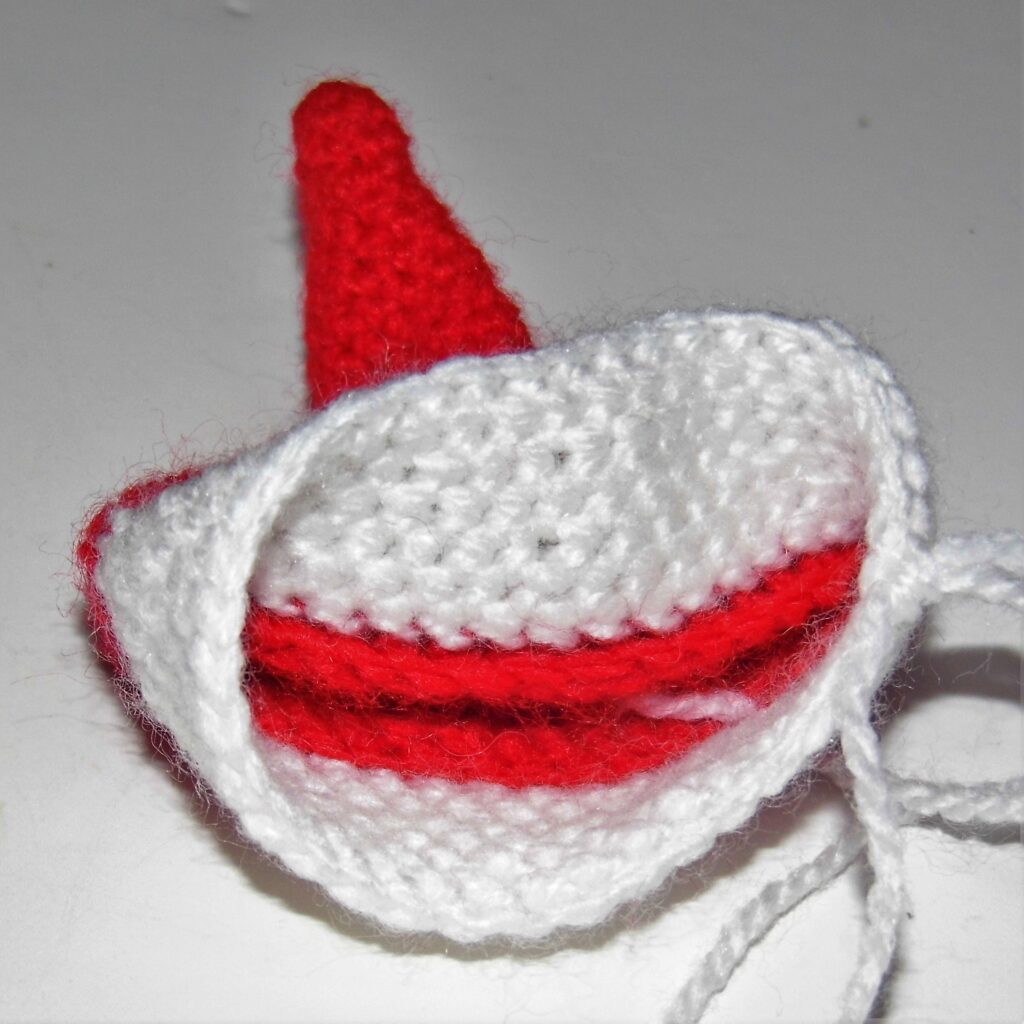
HAT
With red yarn
1. Work 6 sc in magic ring.
2. and 3. 1 sc in each st (6).
4. “1 sc, inc”, repeat (9).
5. and 6. 1 sc in each st (9).
7. “2 sc, inc”, repeat (12).
8. and 9. 1 sc in each st (12).
10. “3 sc, inc”, repeat (15).
11. and 12. 1 sc in each st (15).
13. “4 sc, inc”, repeat (18).
14. and 15. 1 sc in each st (18).
16. “2 sc, inc”, repeat (24).
17. “3 sc, inc”, repeat (30).
18. “4 sc, inc”, repeat (36).
19. “5 sc, inc”, repeat (42).
20. to 22. 1 sc in each st (42).
23. “5 sc, dec”, repeat (36).
24. Change to white yarn and work 1 sc in each st in front loops only (36). You will return to this round to join the edge of the hat.
25. to 30. 1 sc in each st (36).
31. Join with slip stitches the sc from the last round with the loops from round 24.
Fasten off.
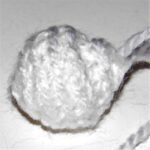
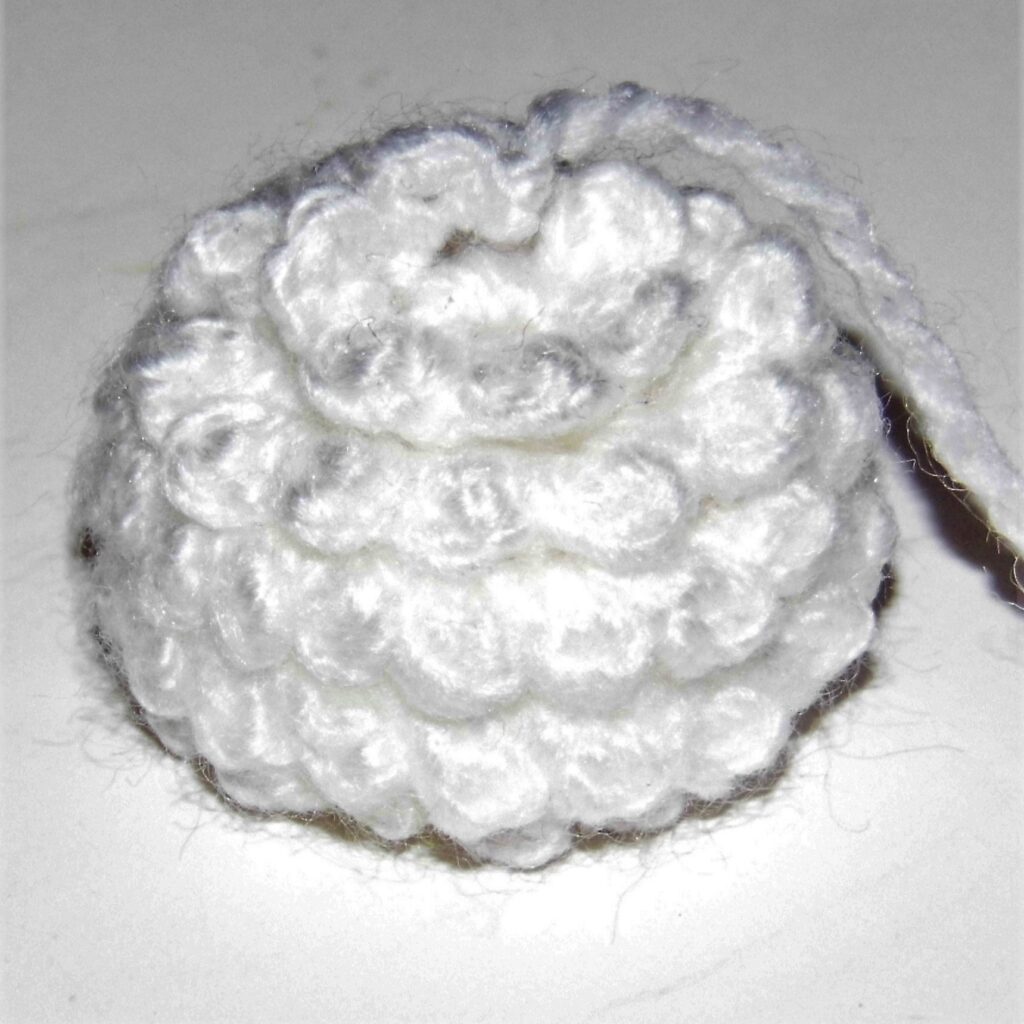
Pompom
With white yarn
1. Work 6 sc in magic ring.
2. In back loops only work inc in every st(12).
3. In back loops only work “1 sc, inc”, repeat (18).
4. and 5. In back loops only work 1 sc in each stitch (18).
6. In back loops only work “1 sc, dec”, repeat (12).
7. Dec in all stitches (6).
8. Turn the piece and work in the free loops: 1 slip stitch, ch 3 in the same stitch, 1 slip stitch in that same stitch. In this way you are going to crochet some small waves around the pompom until you reach the beginning of it.
Sew the pompom to the tip of the hat.
EARS (x2)
With skin color yarn
Work 6 sc in magic ring Ring without closing with the slip stitch.
NOSE
With skin color yarn
1. Work 8 sc in magic ring.
2. to 4. 1 sc in each st (8).
Fasten off.
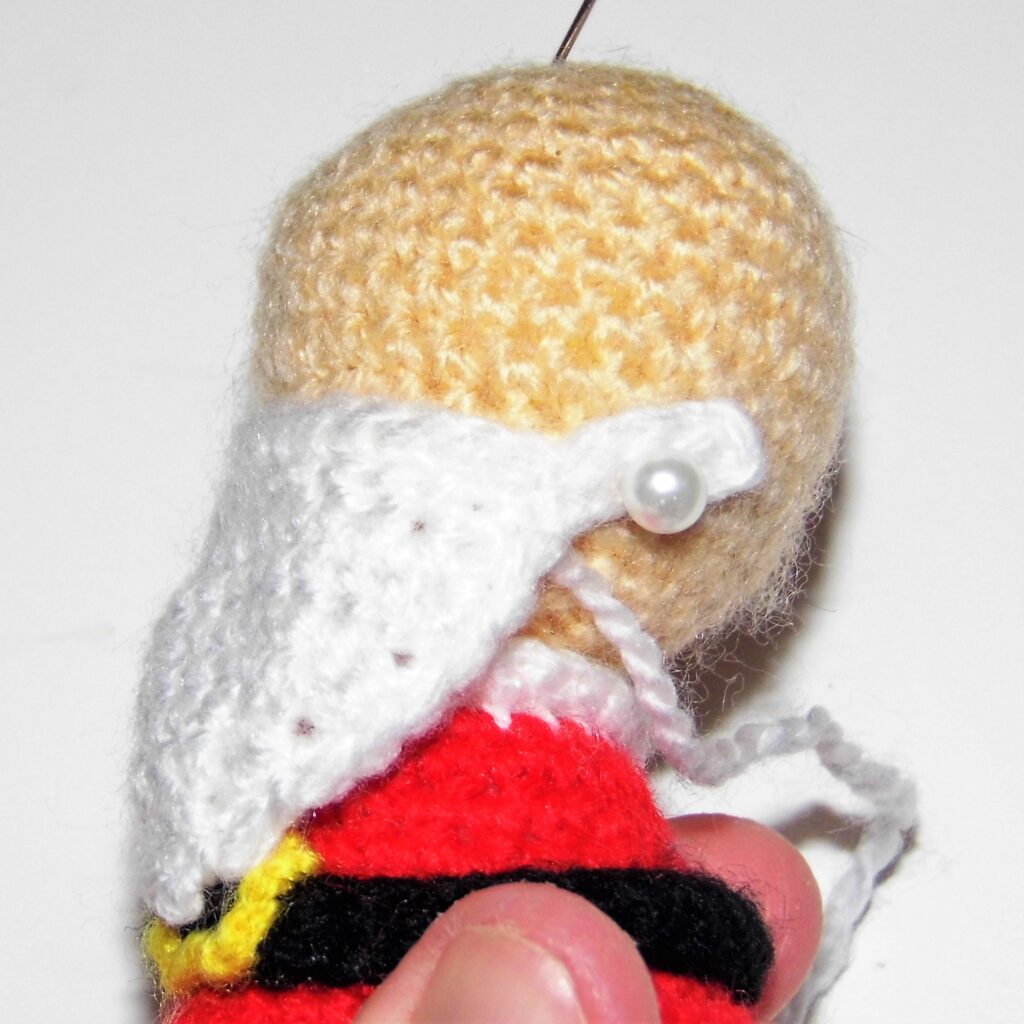
BEARD
With white yarn
1. Ch 13 and work 12 sc on thdm
2. and 3. Ch 1, turn and work 1 sc in each stitch (12).
4. to 8. Don’t ch 1, turn and work 1 sc in each st until you reach the last 2 sc, then dec 1 (10), (8), (6), (4), (2).
9. Place the round marker to start working around the piece with sc: 8 sc + Ch 5 and work 4 sc on the chains and 1 slip stitch to the point of origin of the chains (first sideburn) +Ch 5 and work 4 sc on the chains and 1 slip stitch to the point of origin of the chains (second sideburn) + 8 sc + 2 sc.
Fasten off.
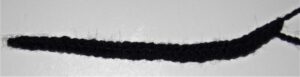
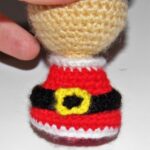
BELT
With black yarn
Ch 31 and work 30 sc on the chains.
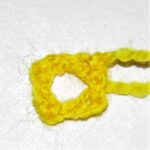
Belt buckle
With yellow yarn
Ch 3, 1 slip stitch on the last chain, Ch 3 , 1 slip stitch on the last chain of this group of 3, Ch 3, 1 slip stitch on the last chain of this group, Ch 2, 1 slip stitch on the first chain of all.
Fasten off.
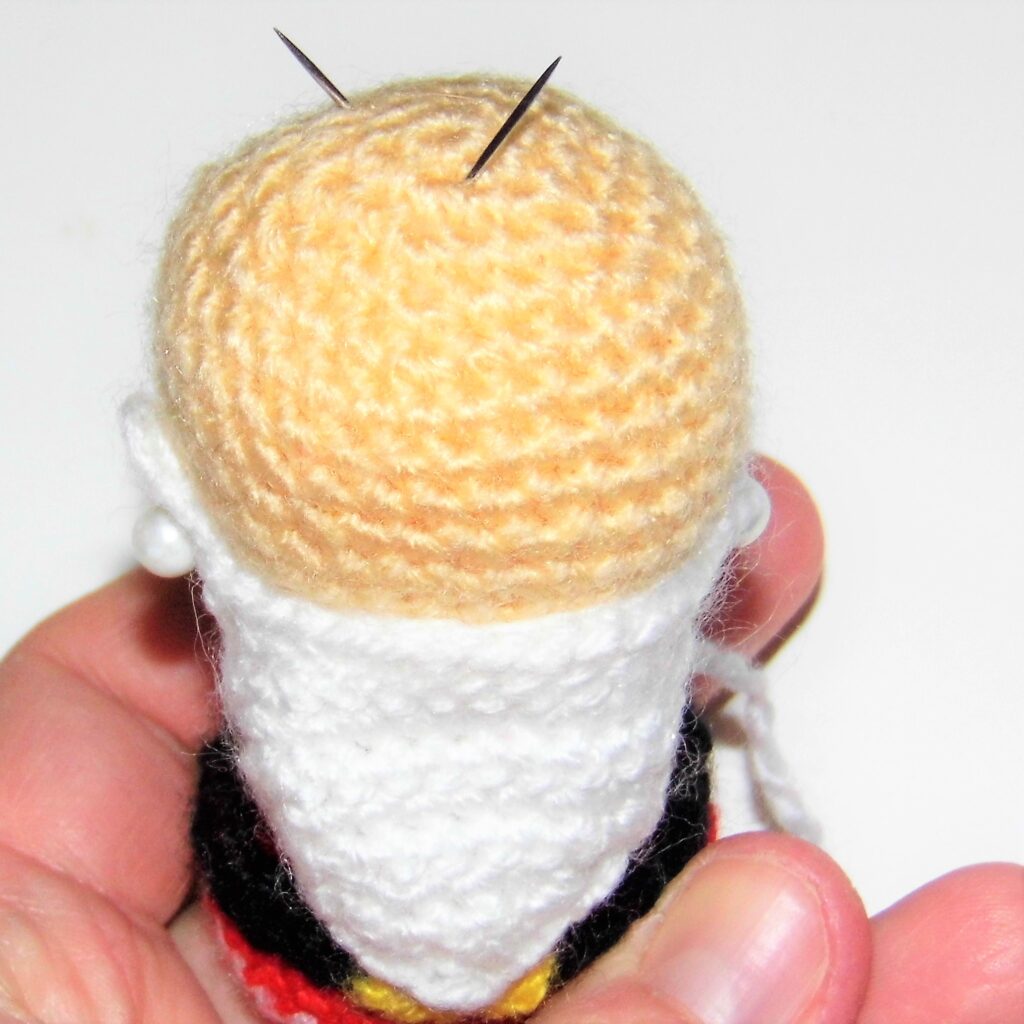
ASSEMBLY
Sew the beard on round 12 of the head.
Centered on it, in that same round, sew the nose.
Underneath, with black yarn embroider the mouth in a V shape and above the beard, that is, on round 12 on both sides of the nose embroider the eyes in a reverse V shape, leaving 2 sc of separation in their open part.
With white yarn, embroider the eyebrows, leaving 1 sc of separation over the eyes and with a length of 3 sc.
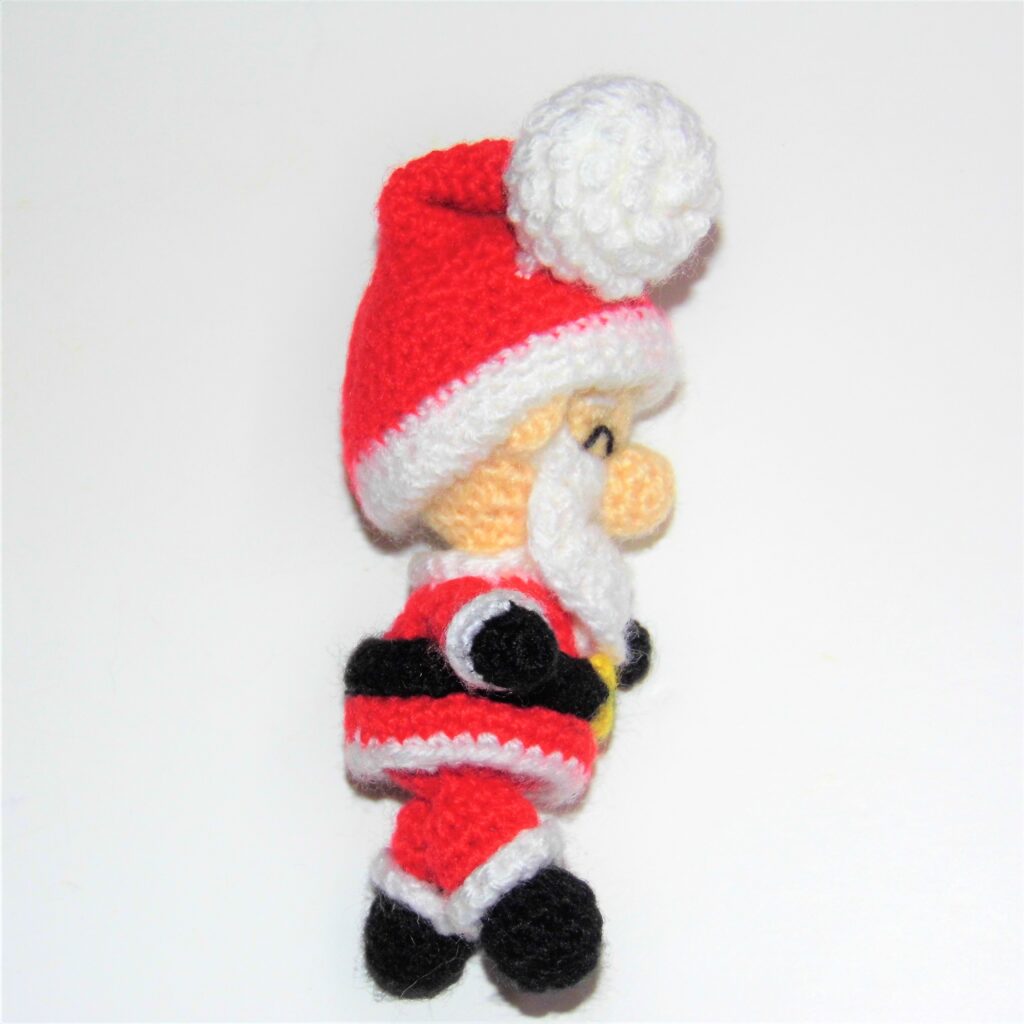
Sew the hat by placing it over the eyebrows and adjusting it behind the head, leaving 4 sc of separation from the neck line. The hat will cover part of the sideburns. Sew the ears over them so that the hat is on top, giving the doll a funny look. Fold the tip of the hat to the side and sew the pompom to it in a hidden way to keep the shape.
Sew the belt leaving 3 sc of separation from the last round of the jacket and on this, centered the buckle.
Sew the arms in line in relation to the ears under the color change line of the white collar and red jacket.
Finally, sew the legs centered on the lower part of the body, leaving 1 sc of separation from the last round of the body.
Finished your Santa Claus Amigurumi! It was easy, right?
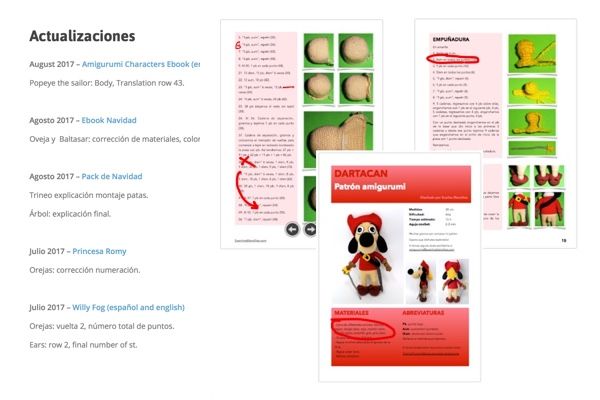
As much effort you put into doing things right, there is something that escapes me. What happens is not for you?. That’s why I want to talk to you about a new updates section.
At the hour of writing my amigurumi patterns I put all my attention, but is a process of many steps:
the draft and the final on paper and then step into digital format, write, add photos, editing, proofreading, translation …
And when you least expect a number that can ruin the whole pattern escapes, or repeat a sequence, or you skip a turn, the self-correcting plays a trick on you … a thousand things can go wrong.
Thinking and thinking about how to make you things easier, because no matter how hard I will still be minor niggles, I decided to add a new section to the website with updates and bug patterns that make them.
This way you can easily check if there have been any changes to your employer and to download and updated from your account.
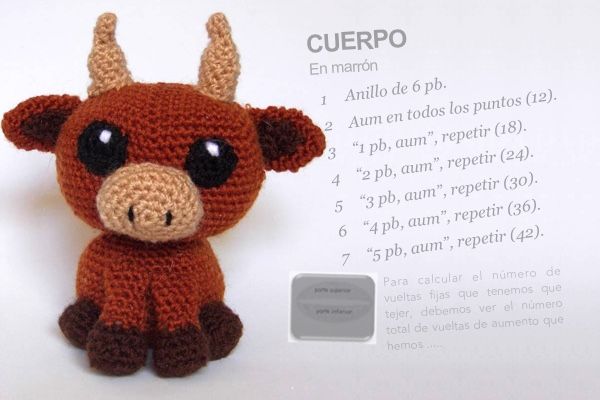
We are going to carry out an analysis of an amigurumi pattern through which we will see:
General aspects of a pattern: materials, abbreviations, filling and finishing of the piece.
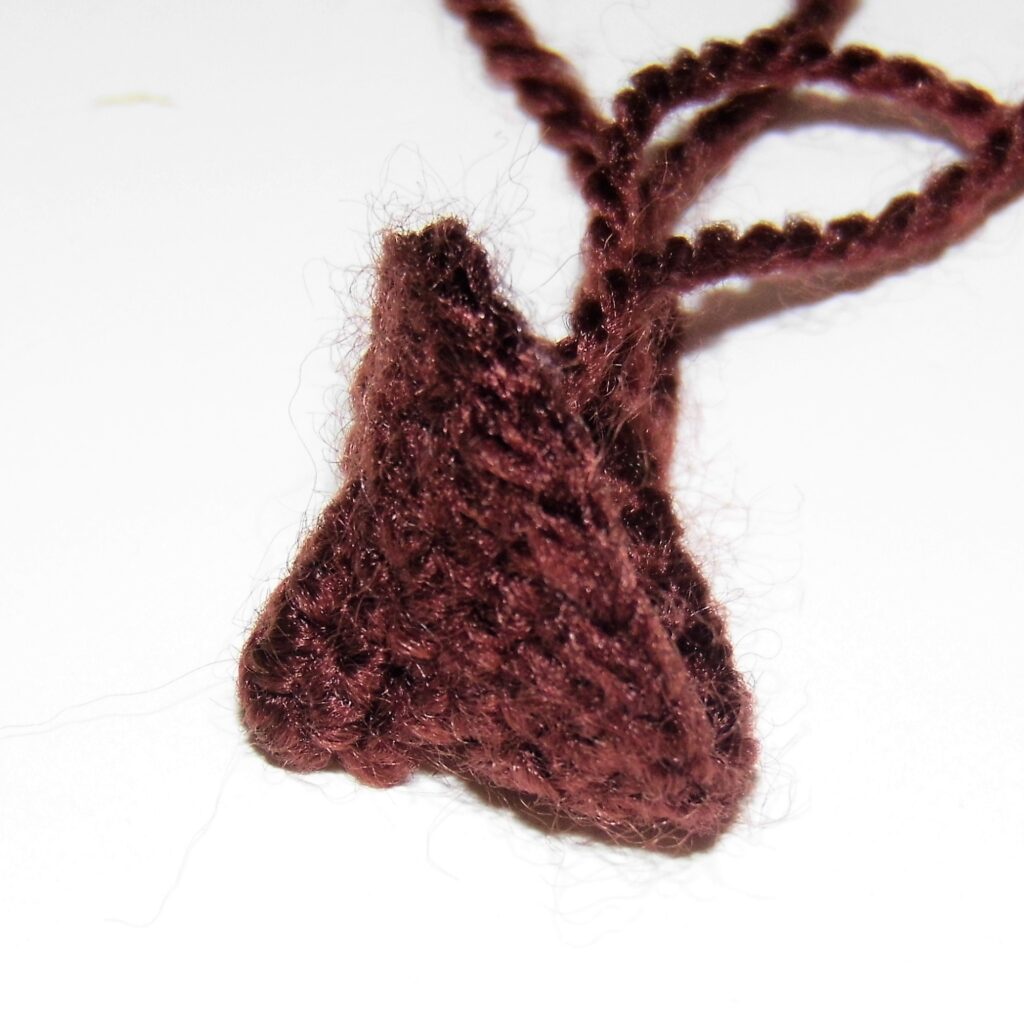
Use of the different types of rows to give rise to the following figures: oval, perfect sphere, thin and elongated shape with variation of size and simple, triangular shape crocheted into spiral and straight way, half sphere, elongated irregular shape, flat circle, lineal shape.
Form an edge in the fabric.
Losing stitches by crocheting in straight.
Calculation of the sequences that we use in the increasing and decreasing rounds: combinations of stitches.
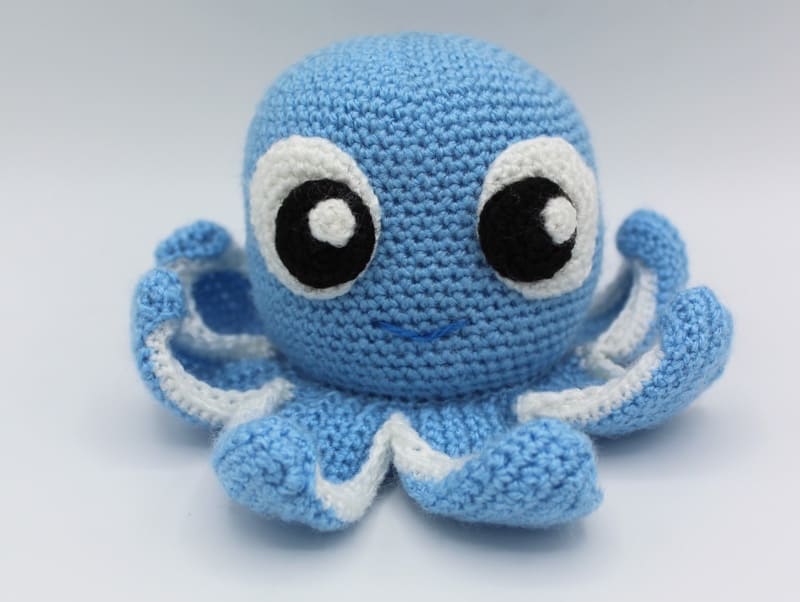
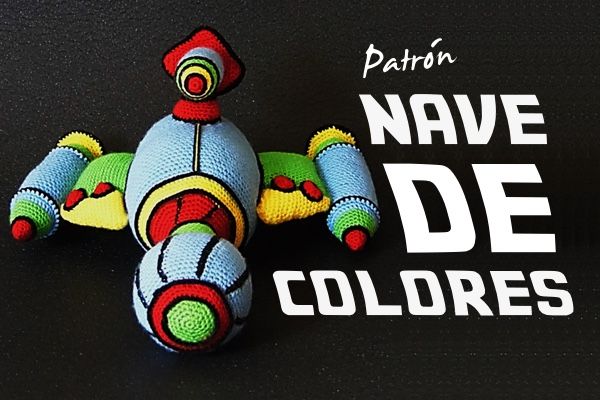
Hello! I present to you: Colors Spaceship Amigurumi Pattern.
I like the idea of traveling through space, discover other planets, think that there are wonderful worlds inhabited by extraordinary beings … let the imagination fly …
But don’t you think the spaceships are a bit boring?
Are we going to travel through the universe on a sad gray spaceship?
Of course not!
I show you a new pattern: This fun colors spaceship amigurumi pattern that will be the envy of most intrepid captains.
With the one-piece crocheted hull and big other pieces, it´s the perfect toy for kids.
As in all my designs is completely soft and also, when using bright colors and highlighting the elements in black, we give it the appearance of a cartoon. Continue reading Colors Spaceship Amigurumi Pattern
We use cookies to optimize our website and our service.
Functional
Always active
The technical storage or access is strictly necessary for the legitimate purpose of enabling the use of a specific service explicitly requested by the subscriber or user, or for the sole purpose of carrying out the transmission of a communication over an electronic communications network.
Preferences
The technical storage or access is necessary for the legitimate purpose of storing preferences that are not requested by the subscriber or user.
Statistics
The technical storage or access that is used exclusively for statistical purposes.The technical storage or access that is used exclusively for anonymous statistical purposes. Without a subpoena, voluntary compliance on the part of your Internet Service Provider, or additional records from a third party, information stored or retrieved for this purpose alone cannot usually be used to identify you.
Marketing
The technical storage or access is required to create user profiles to send advertising, or to track the user on a website or across several websites for similar marketing purposes.