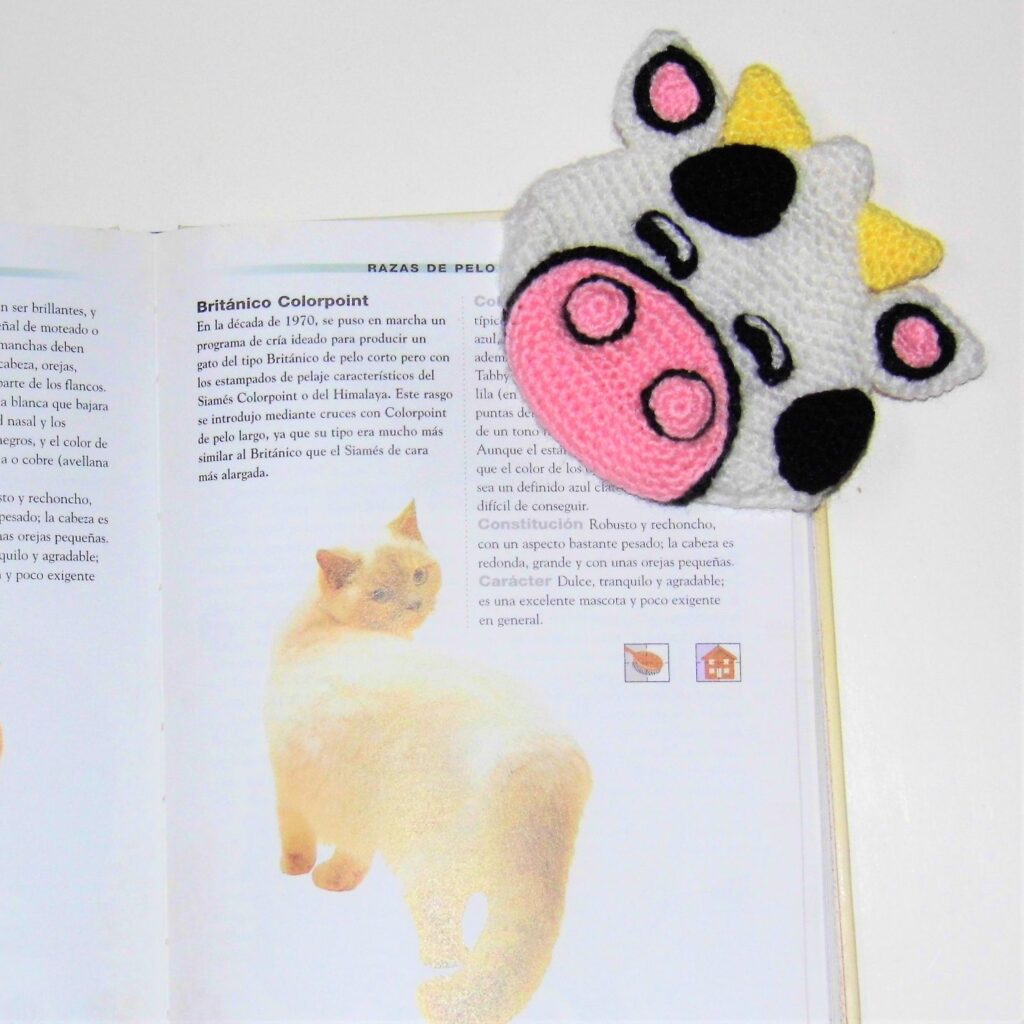
With the Tutorial Designing an Amigurumi: Little Cow Bookmark you will learn about triangular shapes, 3D and flat pieces and thick edges.
We are at the end of August. September is coming soon and back to school. There are many of you who asked me for a new bookmark since you really liked the one with the monkey. I had to start designing it now or it wouldn’t arrive on time, but what to do this time? I needed new ideas. Another elongated bookmark like the little monkey? It would be more of the same and my intention was to try something new.
The first thing I had to do was choose the shape of the bookmark and searching through the different models, I really liked the corner bookmarks, especially for the versatility they offer in order to adapt them to create different figures.
I wanted something simple, with simple shapes, worked with basic stitches and taking advantage of the fact that the main piece would be triangular, I could focus on that shape to design most of the rest of the elements of what I intended to be another little animal.
One of my favorites whose shape would be perfect and that I could easily design according to my conditions is the cow. Decided! The new pattern would be a little Cow Bookmark:
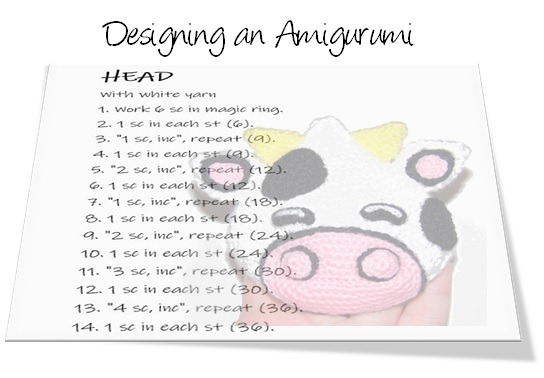
Designing an amigurumi: Little Cow bookmark
The design would have to consist of:
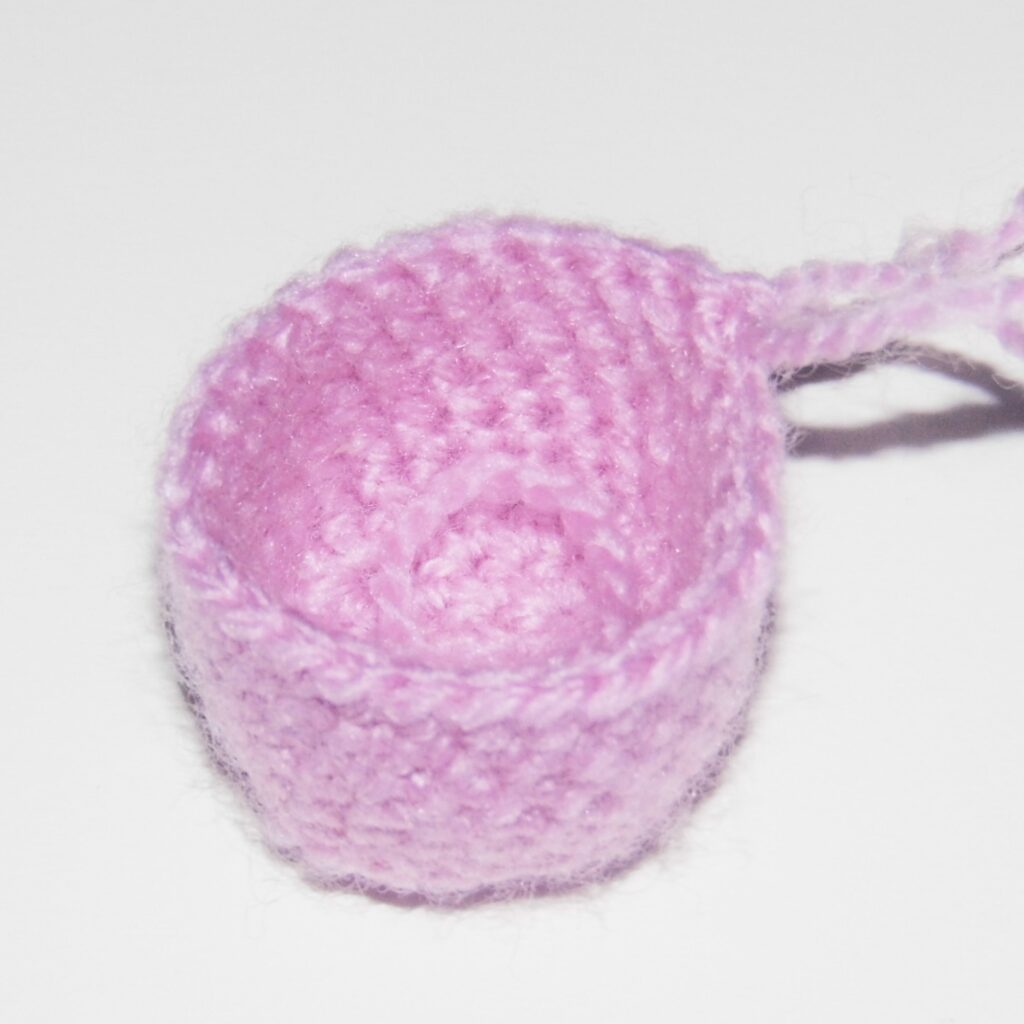
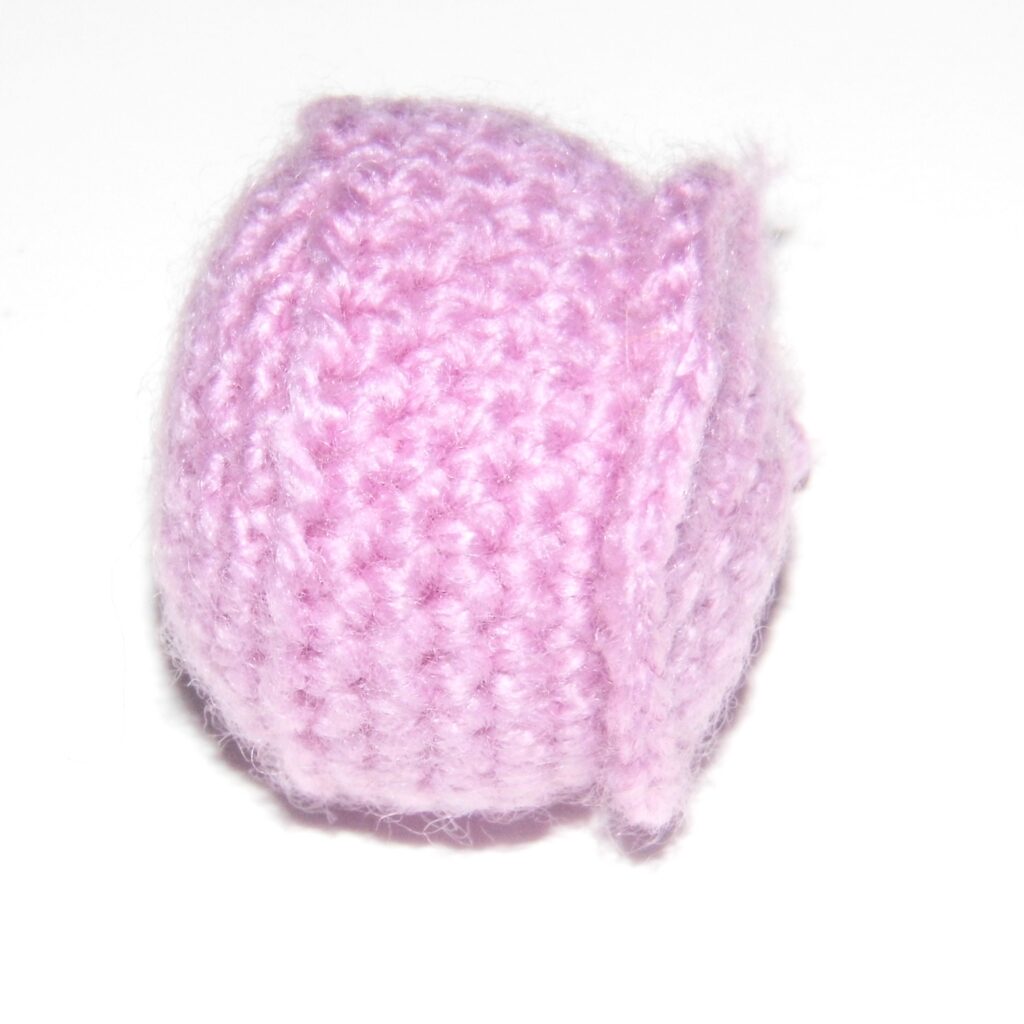
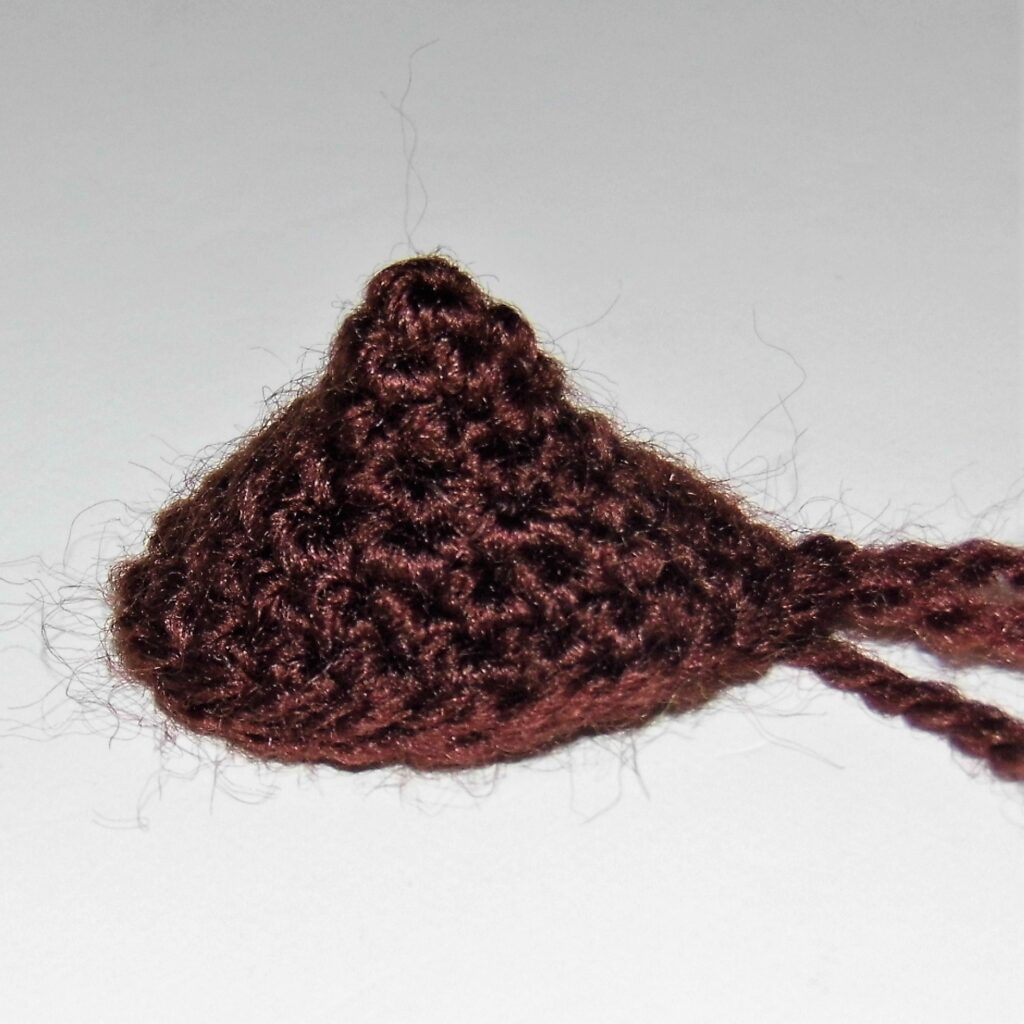
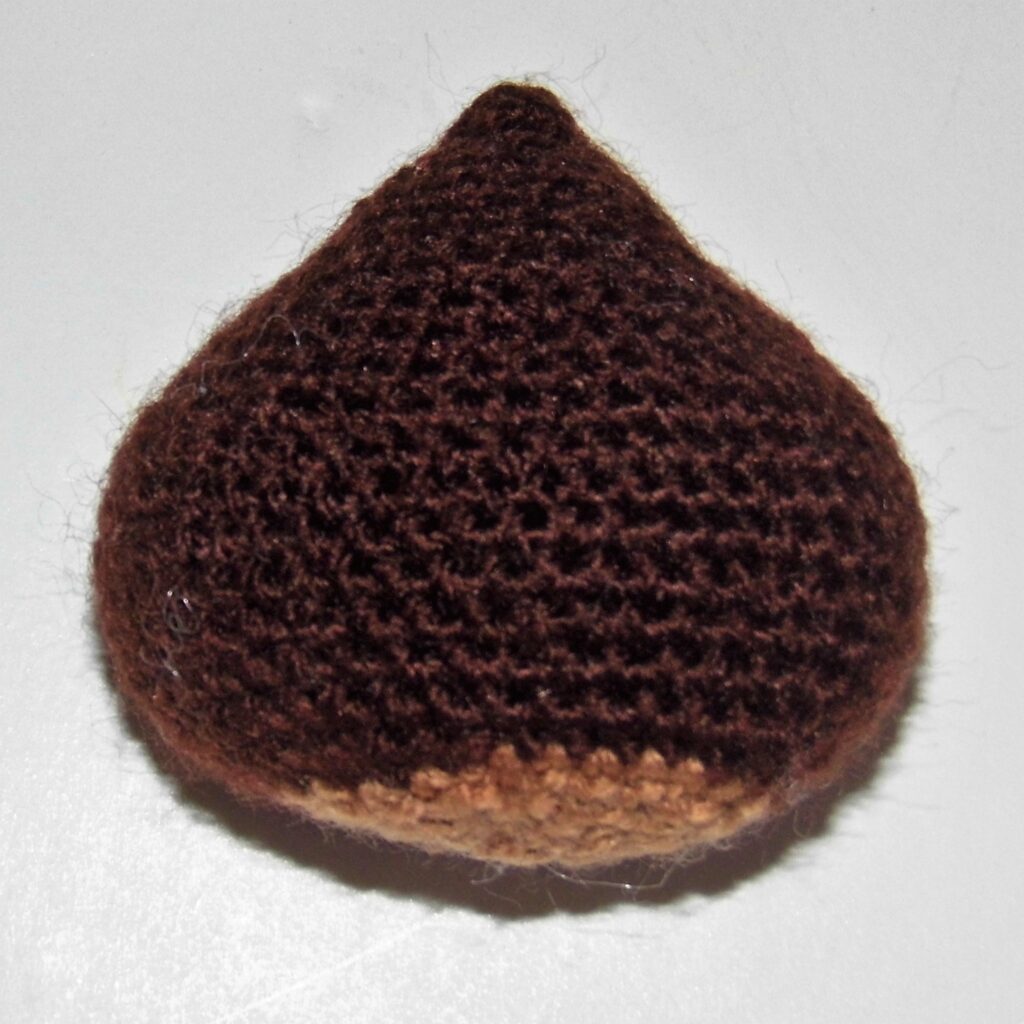
A triangular, hollow main piece, of the right size to insert the page of a book into it, rigid enough at the edges so that it maintains its shape as it does not have fiberfill stuff.
This piece must also have the peculiarity that one of the sides is longer than the other.
Start designing the pattern:
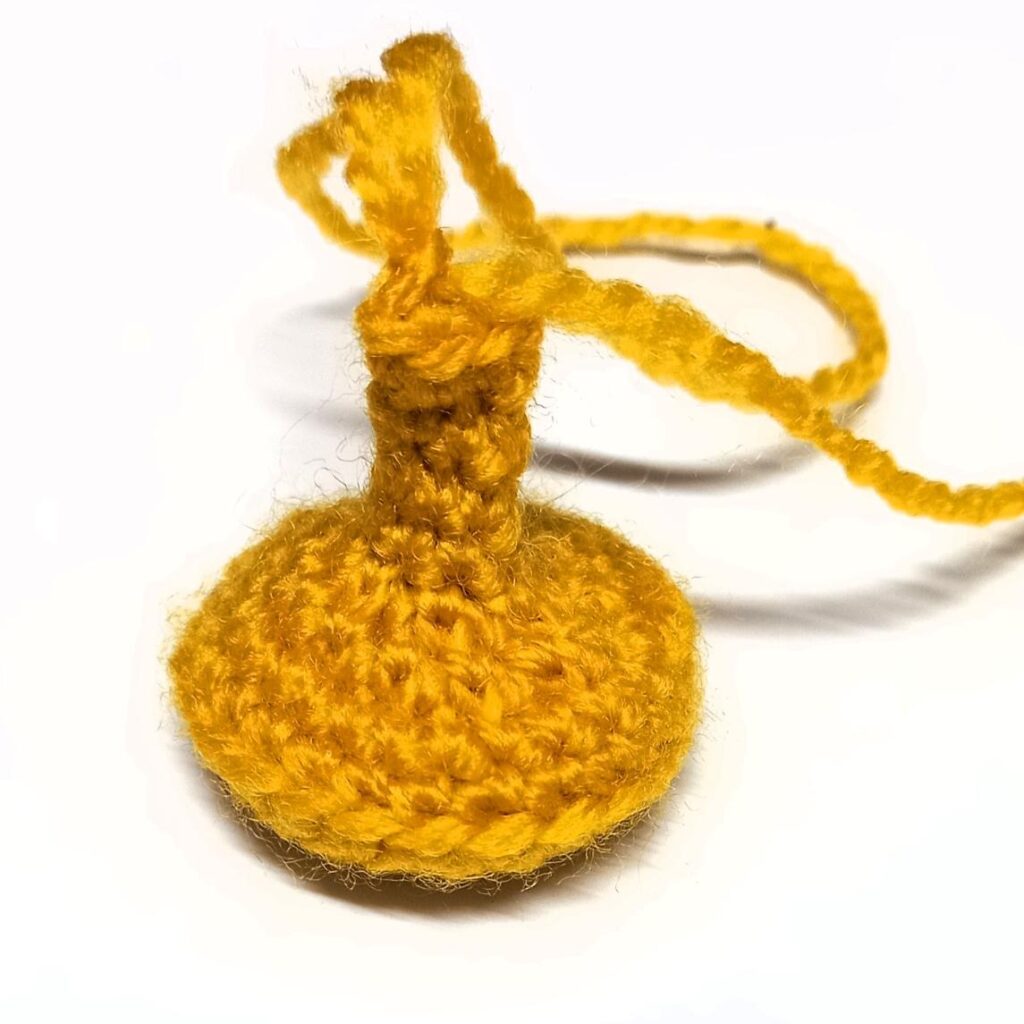
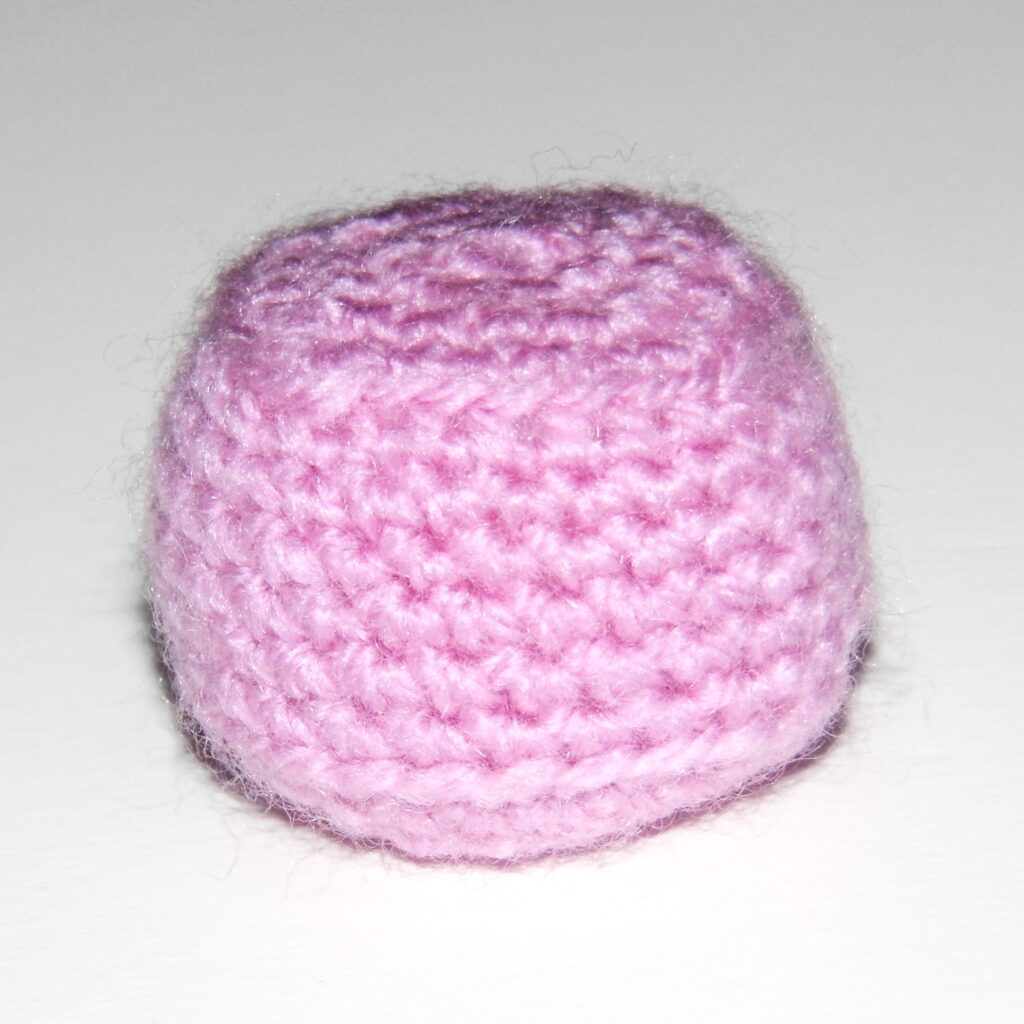
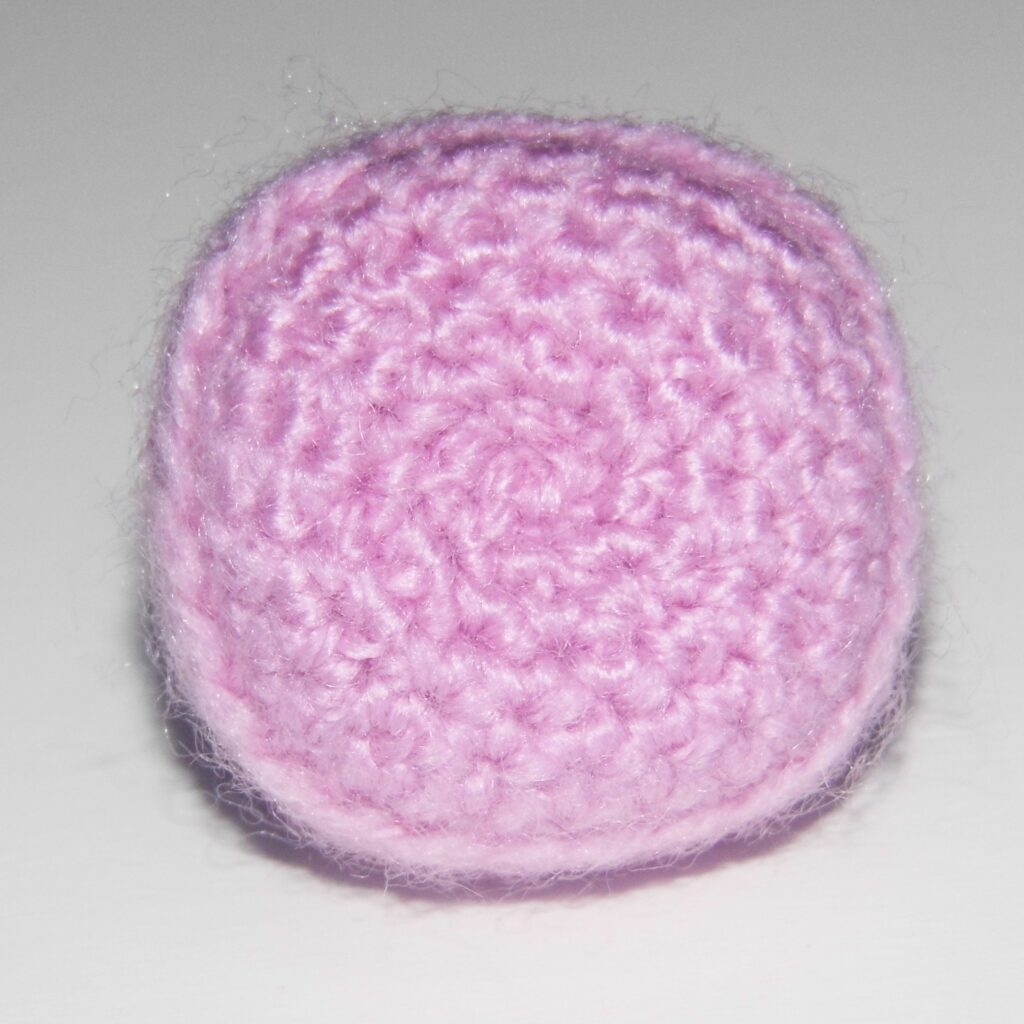
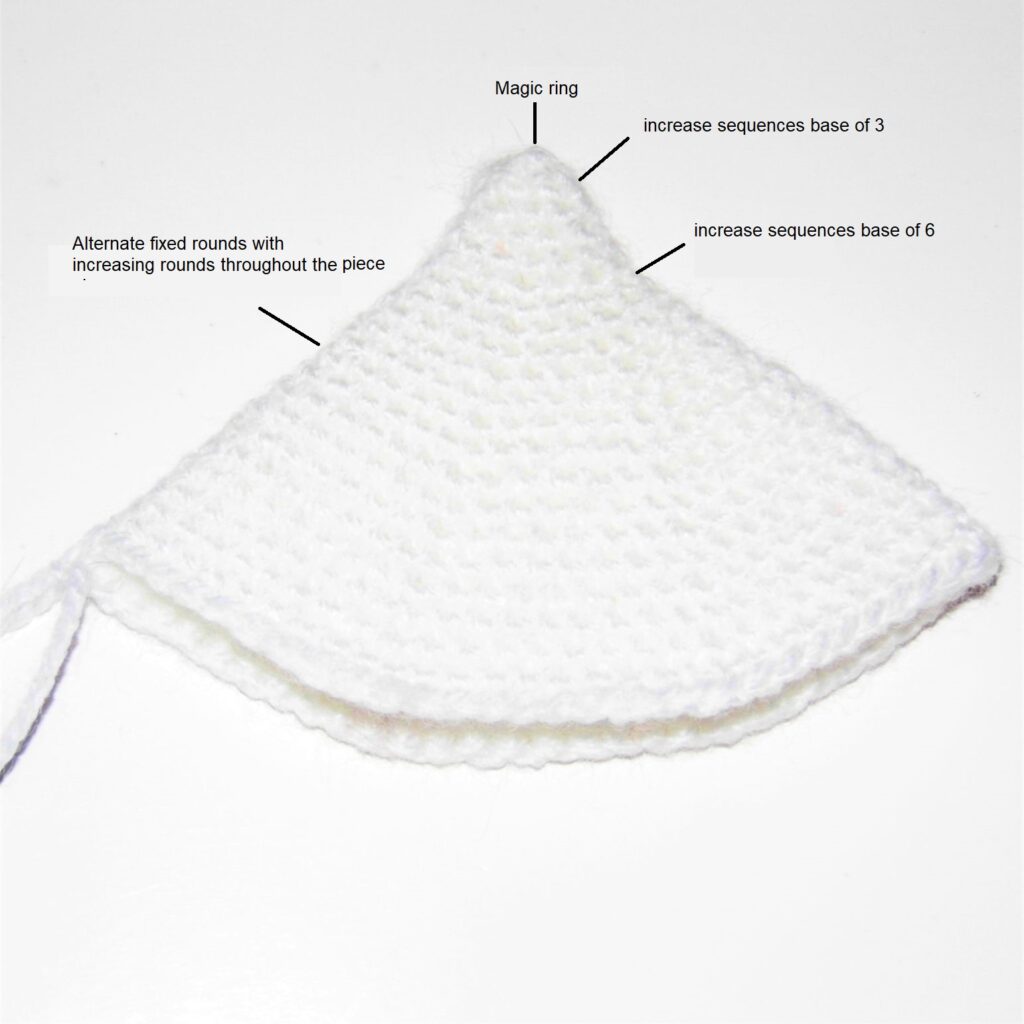
Main Piece
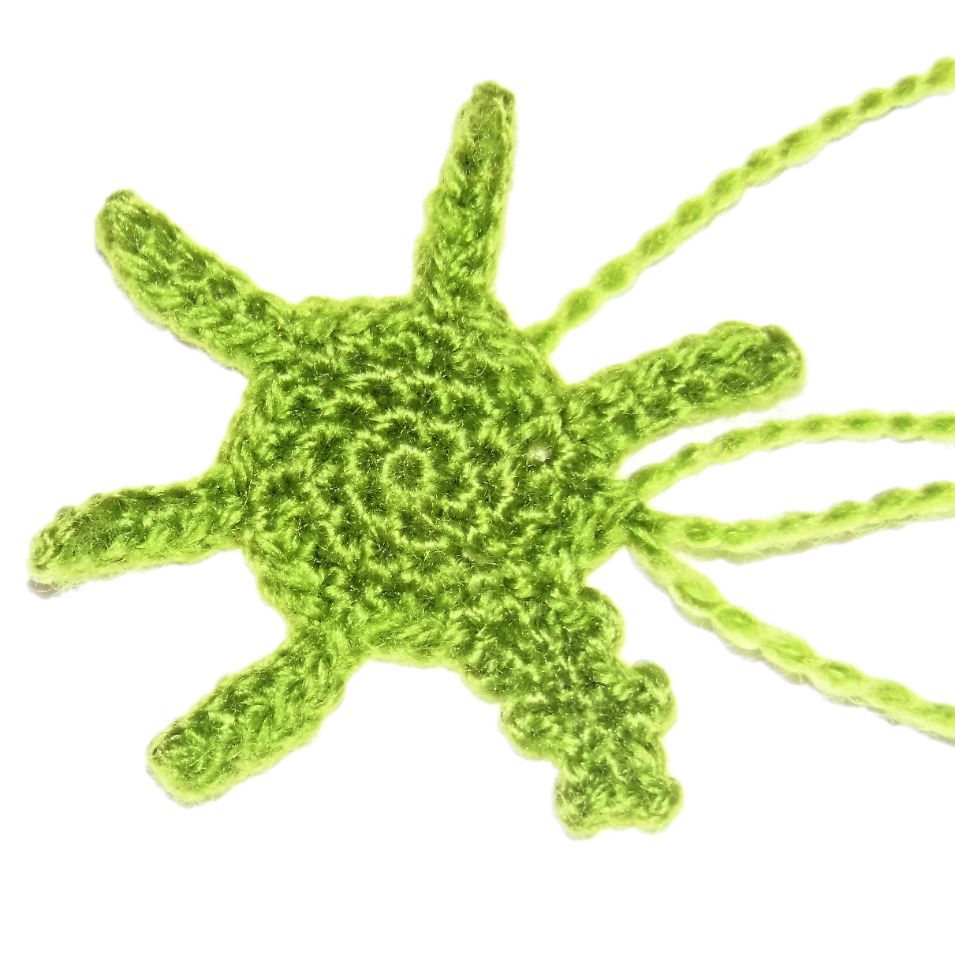
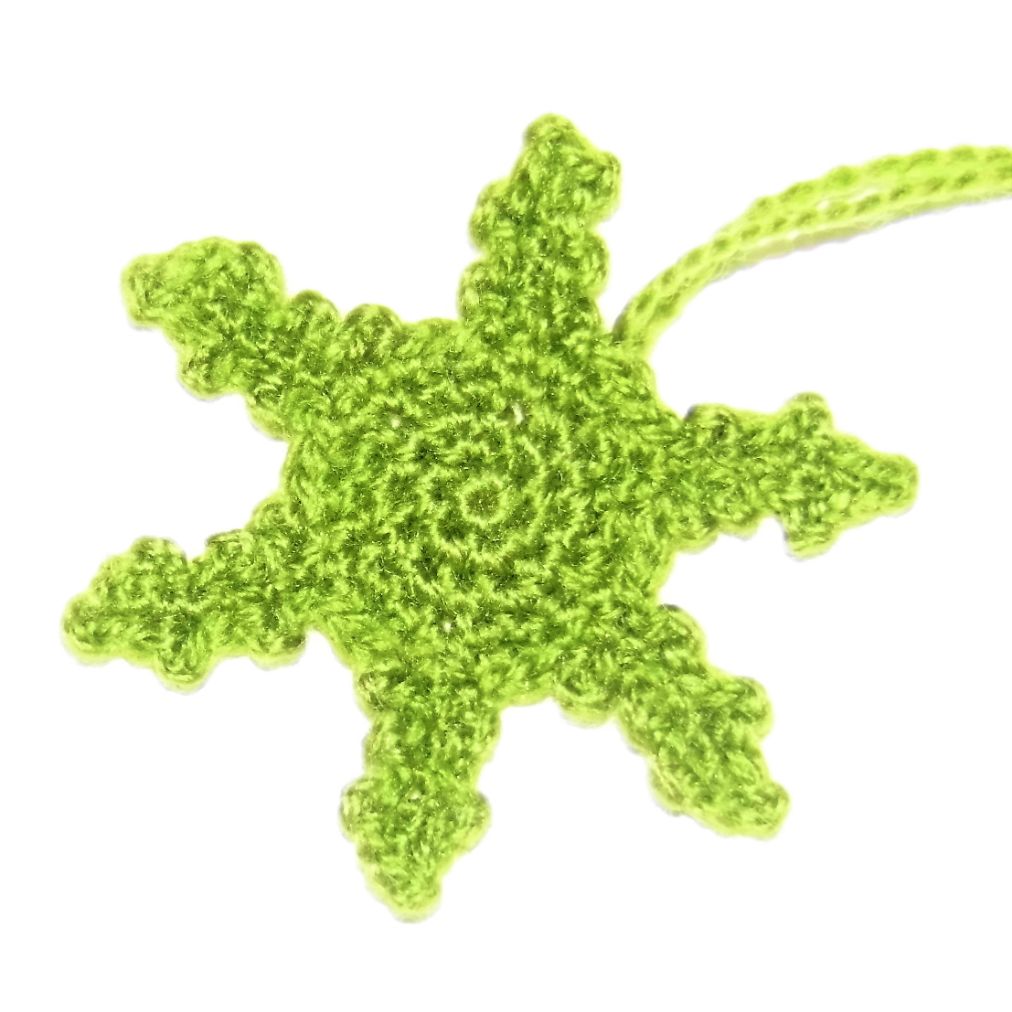
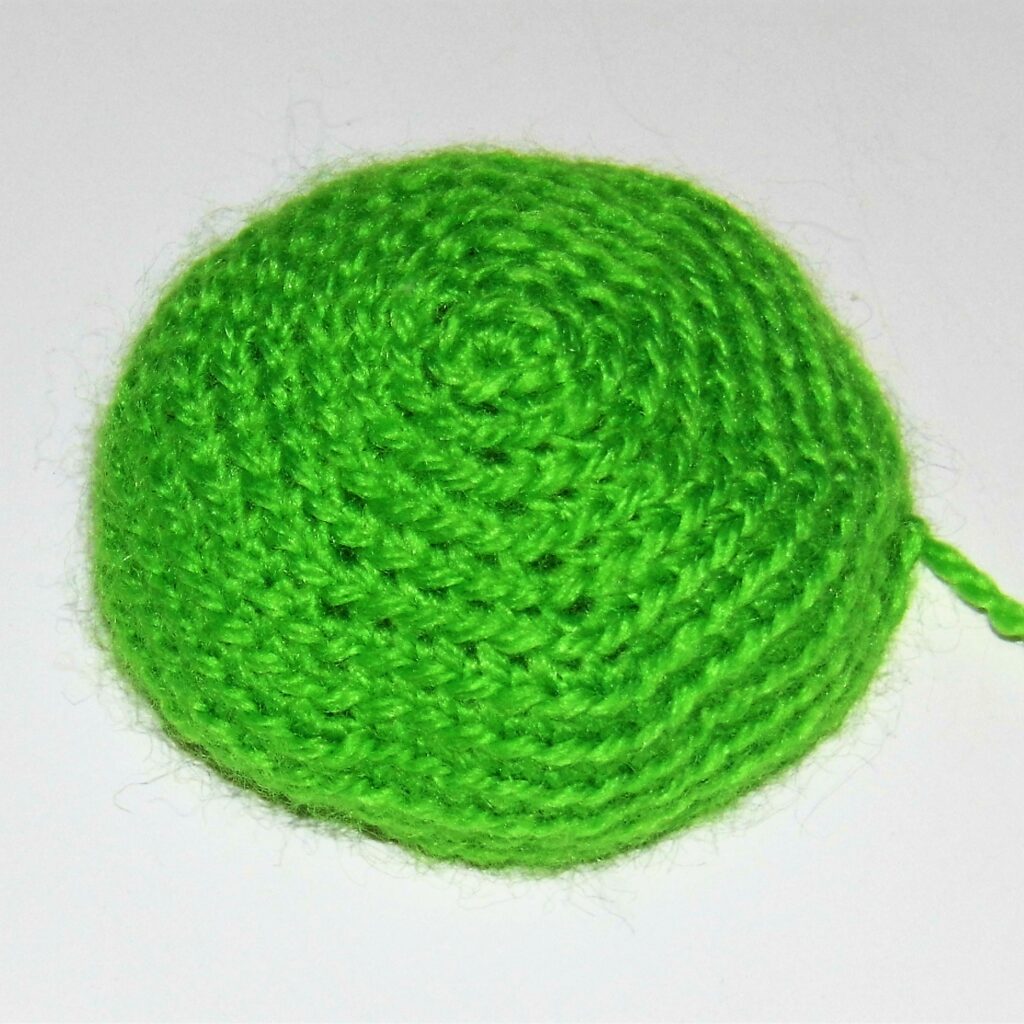
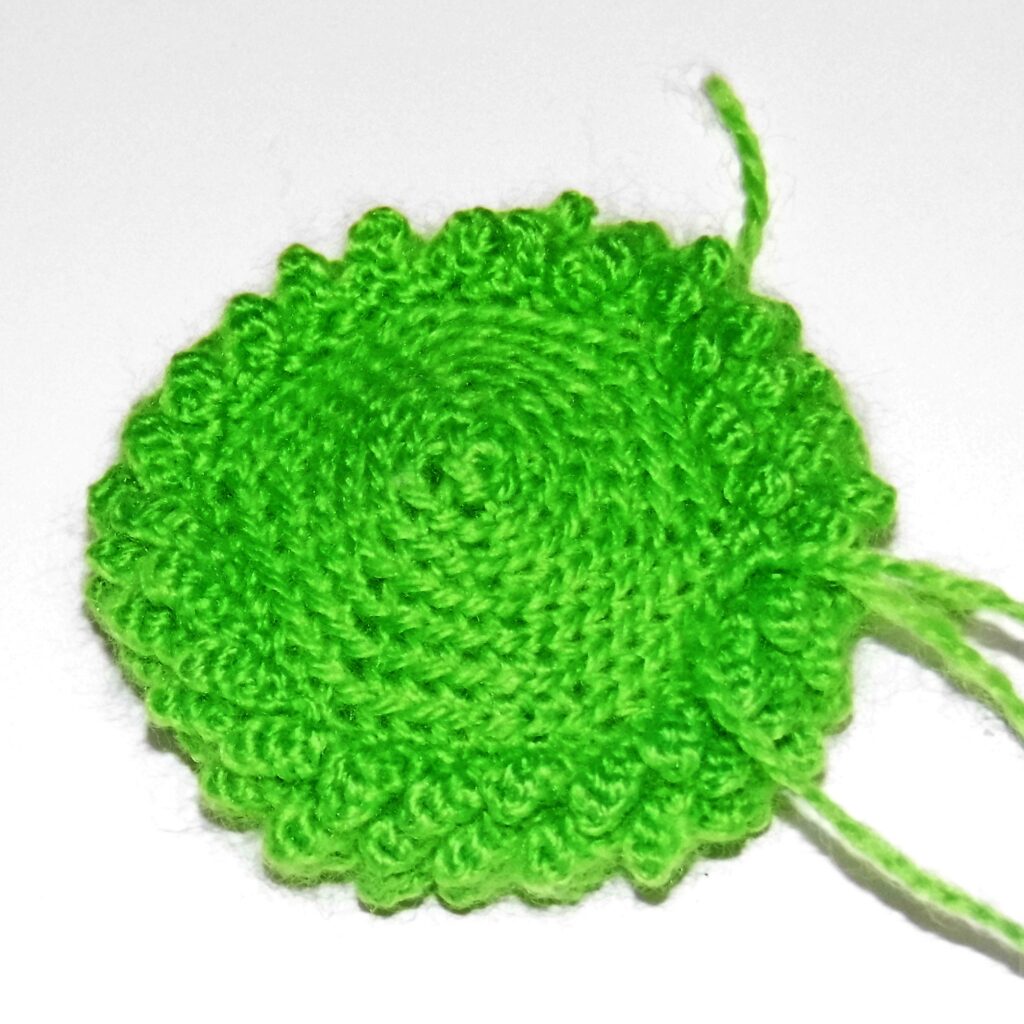
To give the piece a triangular shape, I will work the first rounds with increase sequences based on 3, that is, I will use sequences of stitches in which I will make 3 increases on each round.
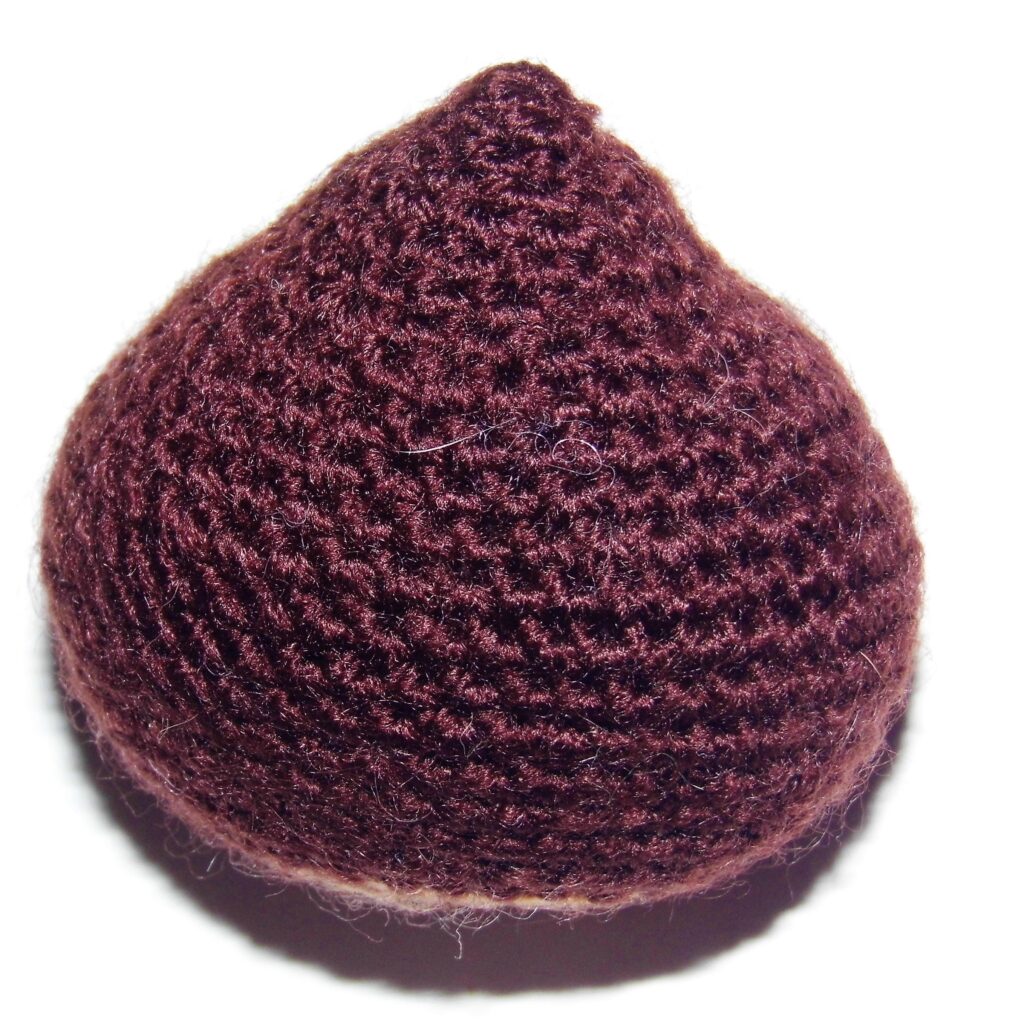
The beginning of the piece, on the other hand, I want it to be more pointed and therefore after the magic ring, instead of making an increasing round, what I do is a fixed round, that is, a round without modifying the total number of points but that lengthens the piece.
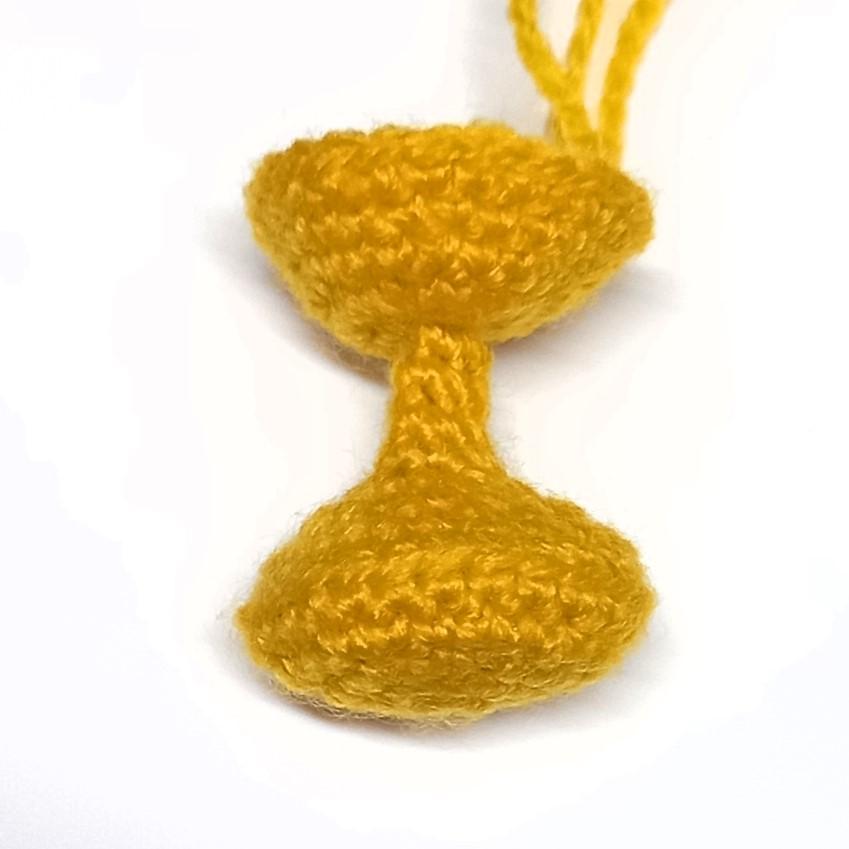
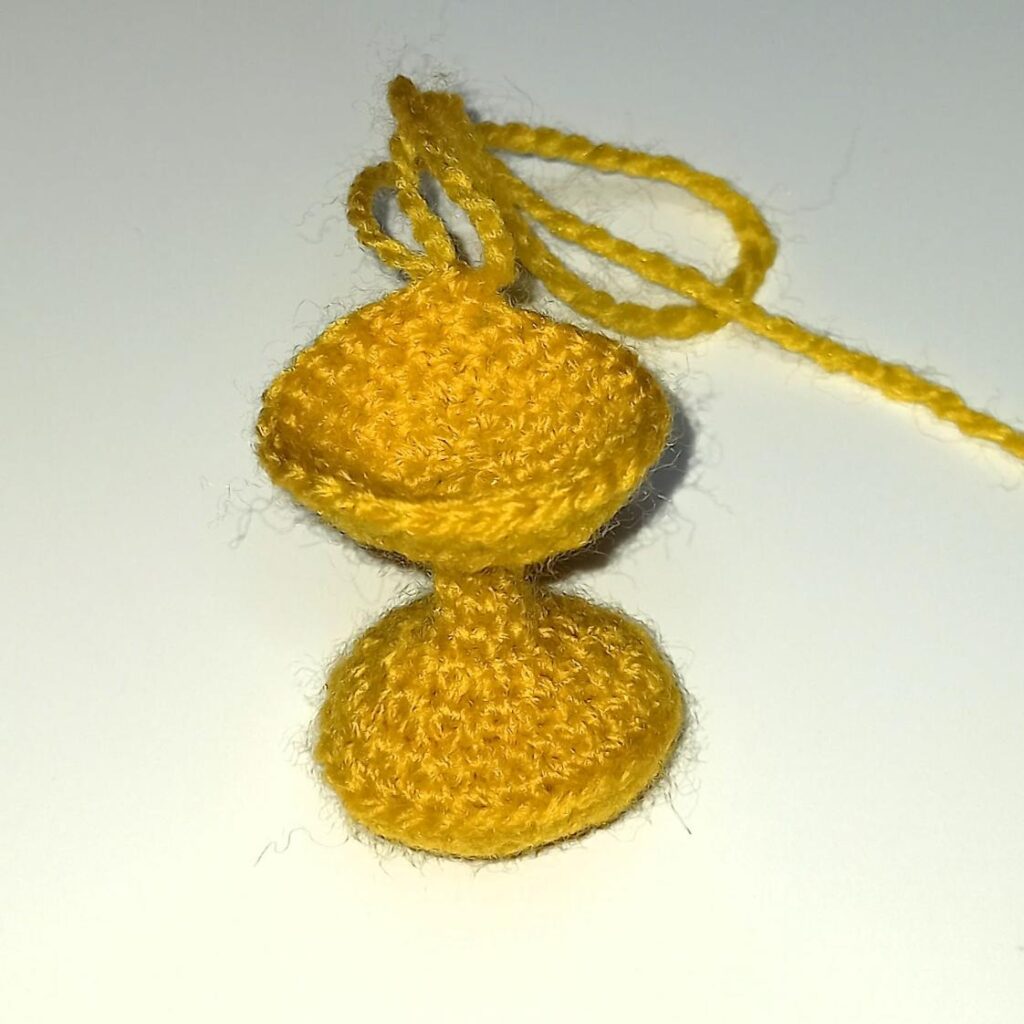
It is time to alternate increasing rounds with fixed rounds to shape the piece. If I only use increasing rounds, the piece would become too wide very quickly, so fixed rounds must also be used, to, in addition to increasing the width, lengthen the piece.
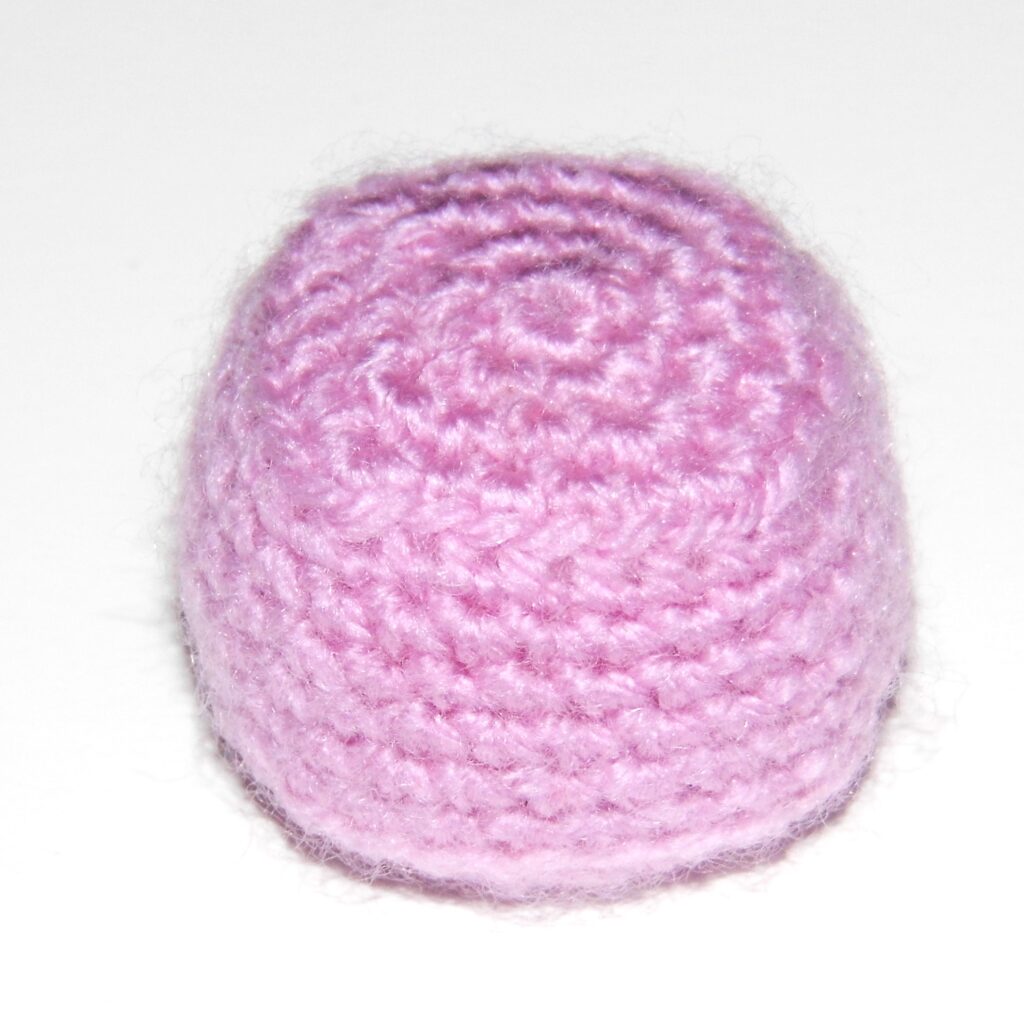
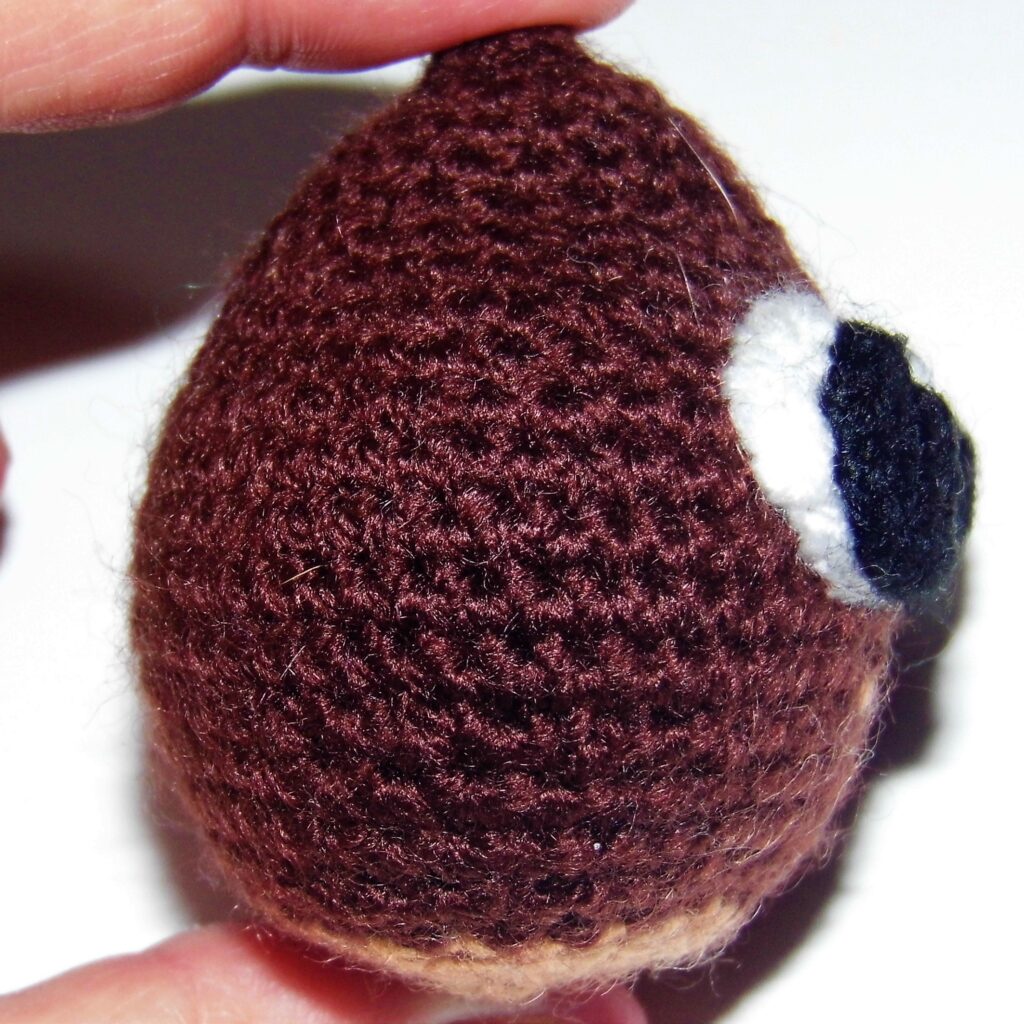
Once the pointed shape has started, I need the piece to be wider, so I have to expand the increase sequences and go from making the rounds based on the 3 to making them on the 6. That way I will make 6 increases in each round, which will change the shape of the piece, expanding the triangle.
Divide the piece
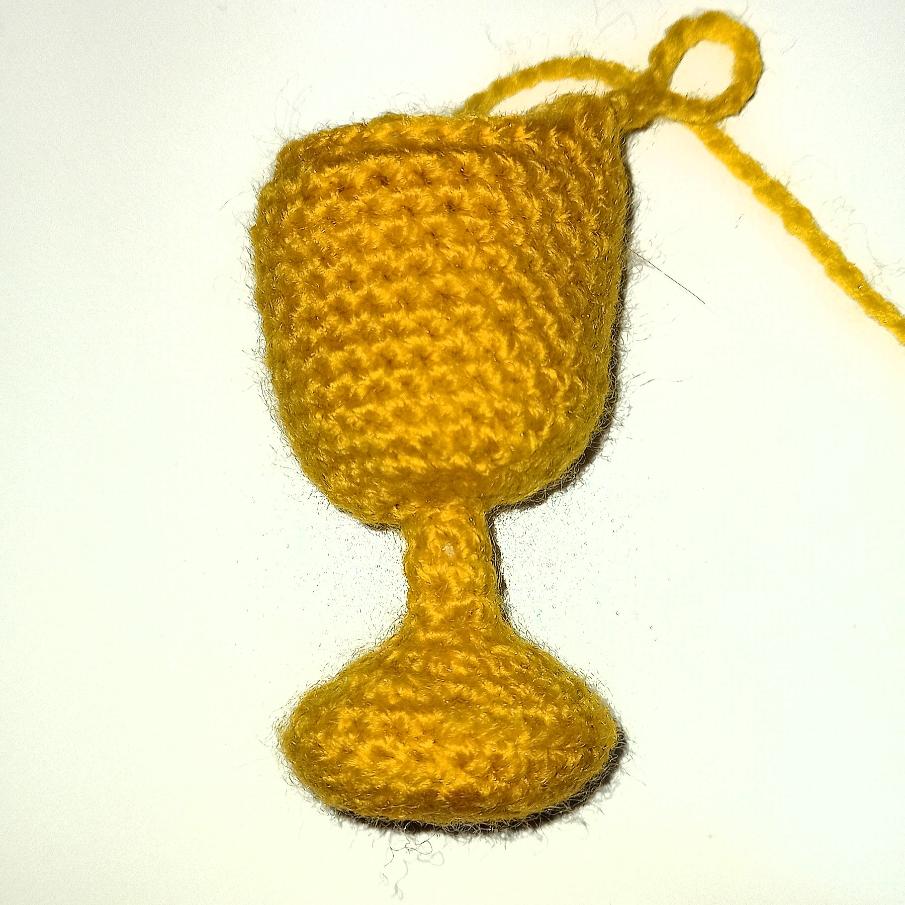
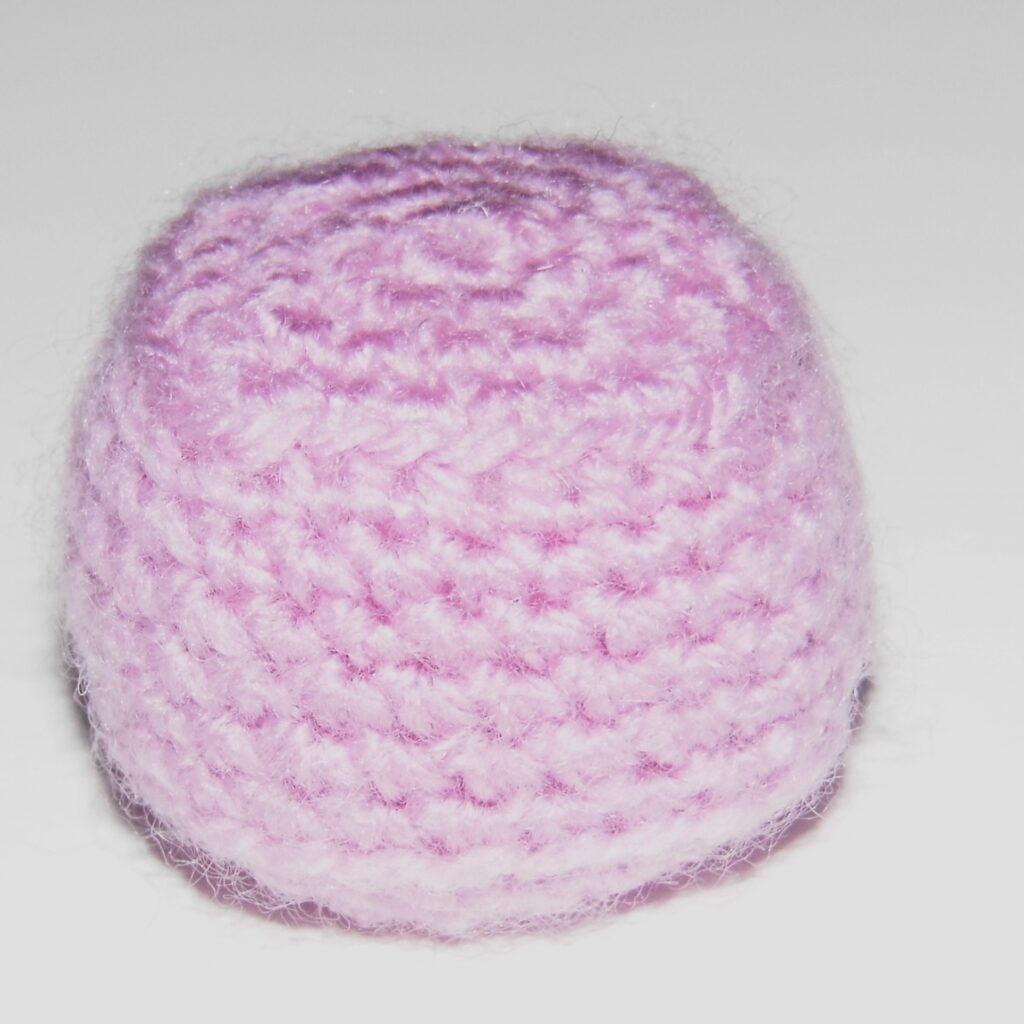
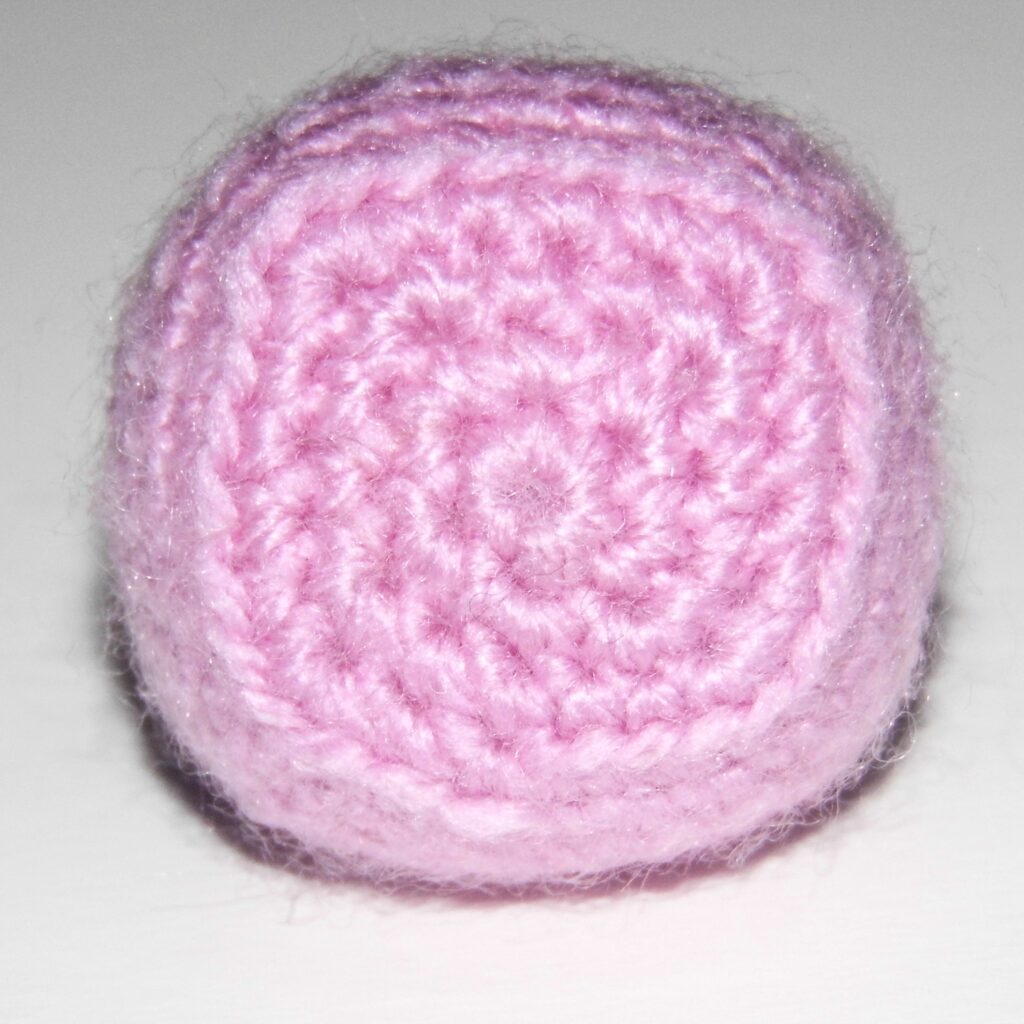
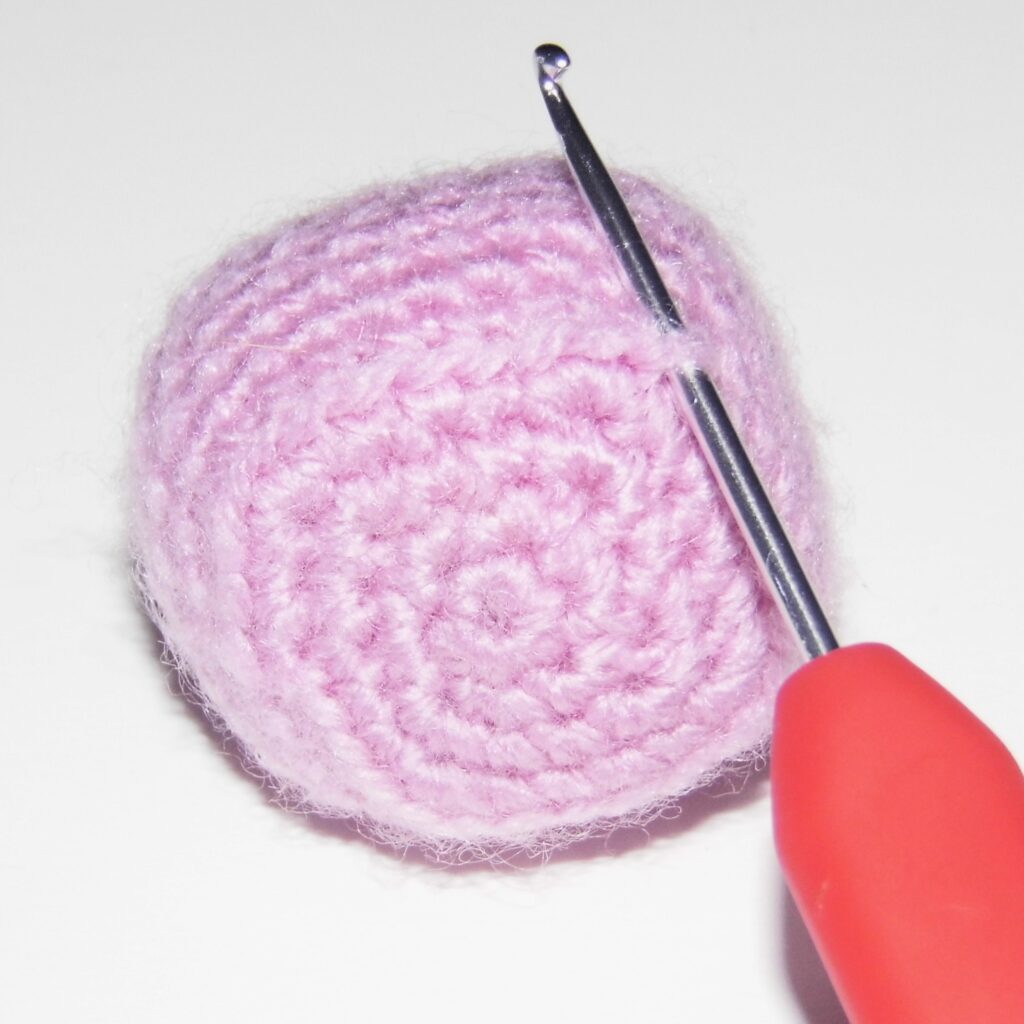
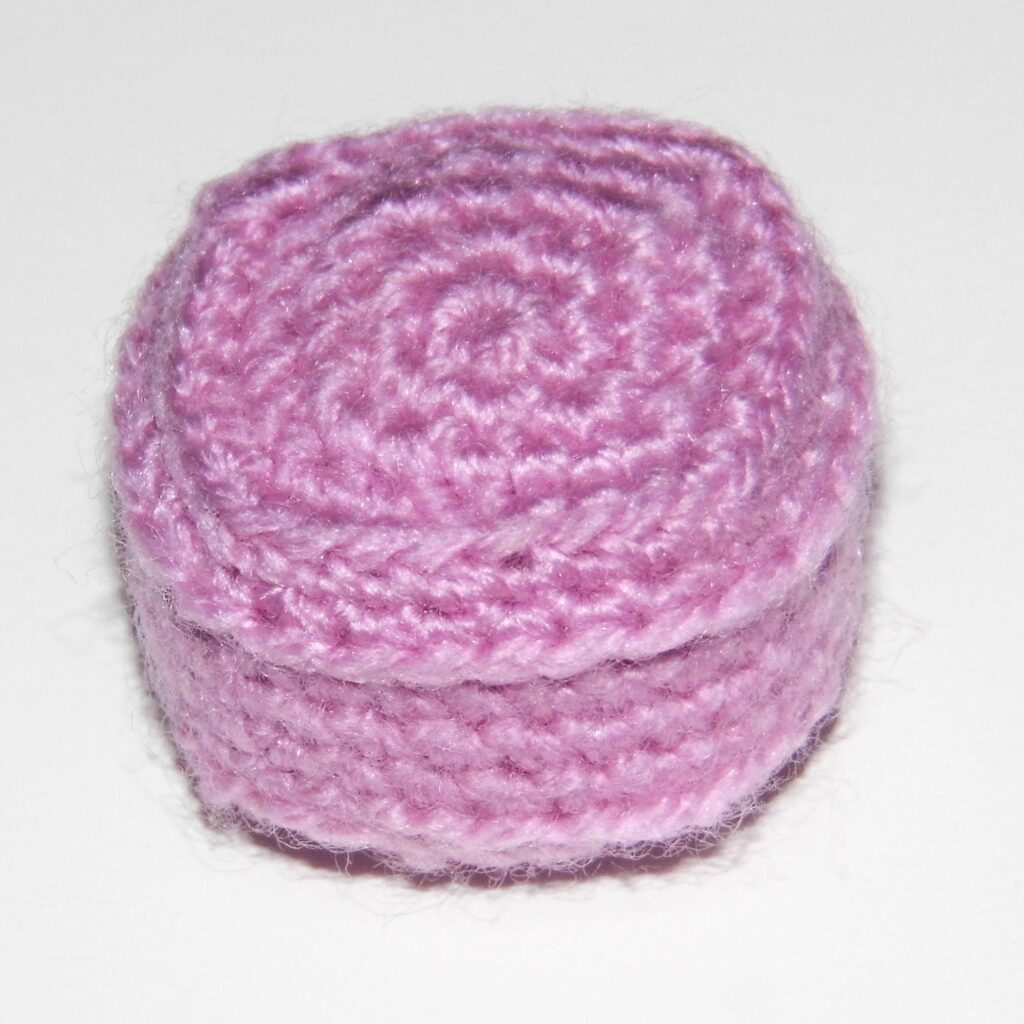
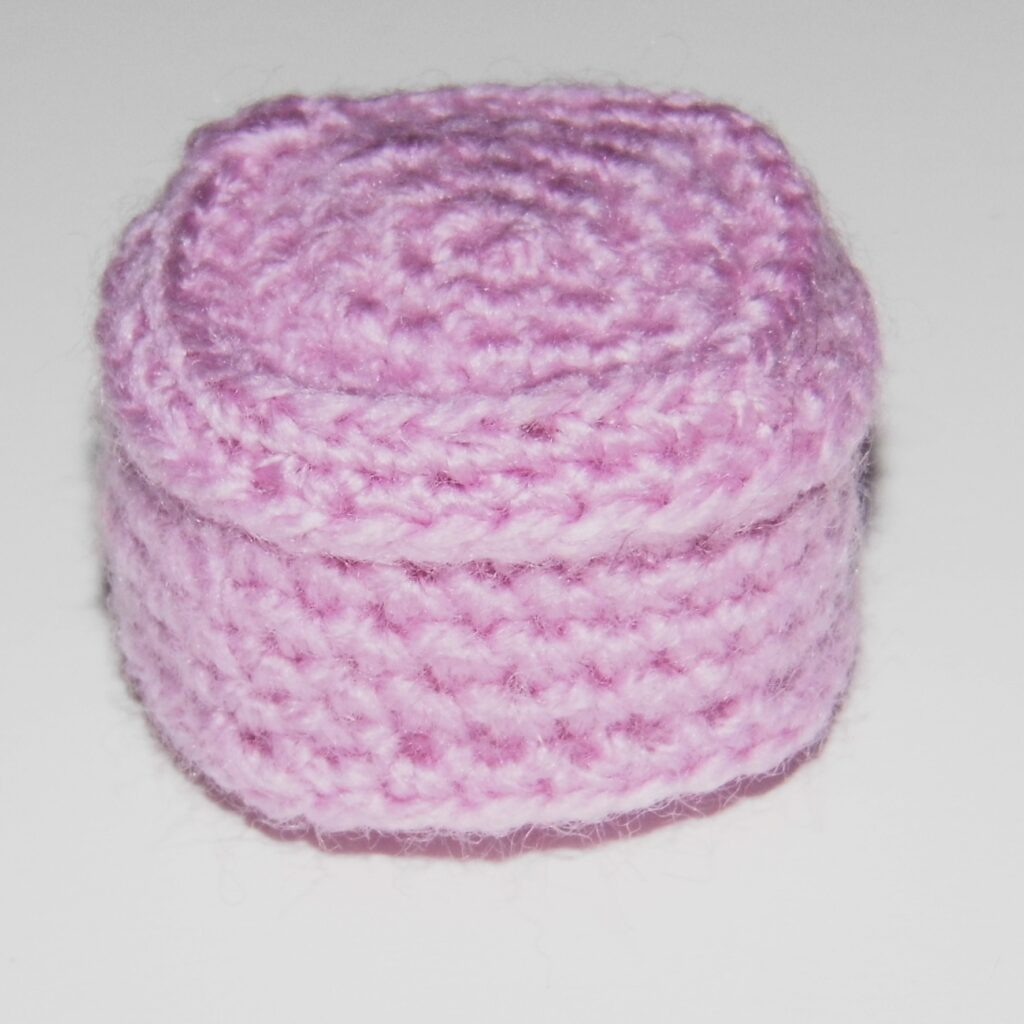
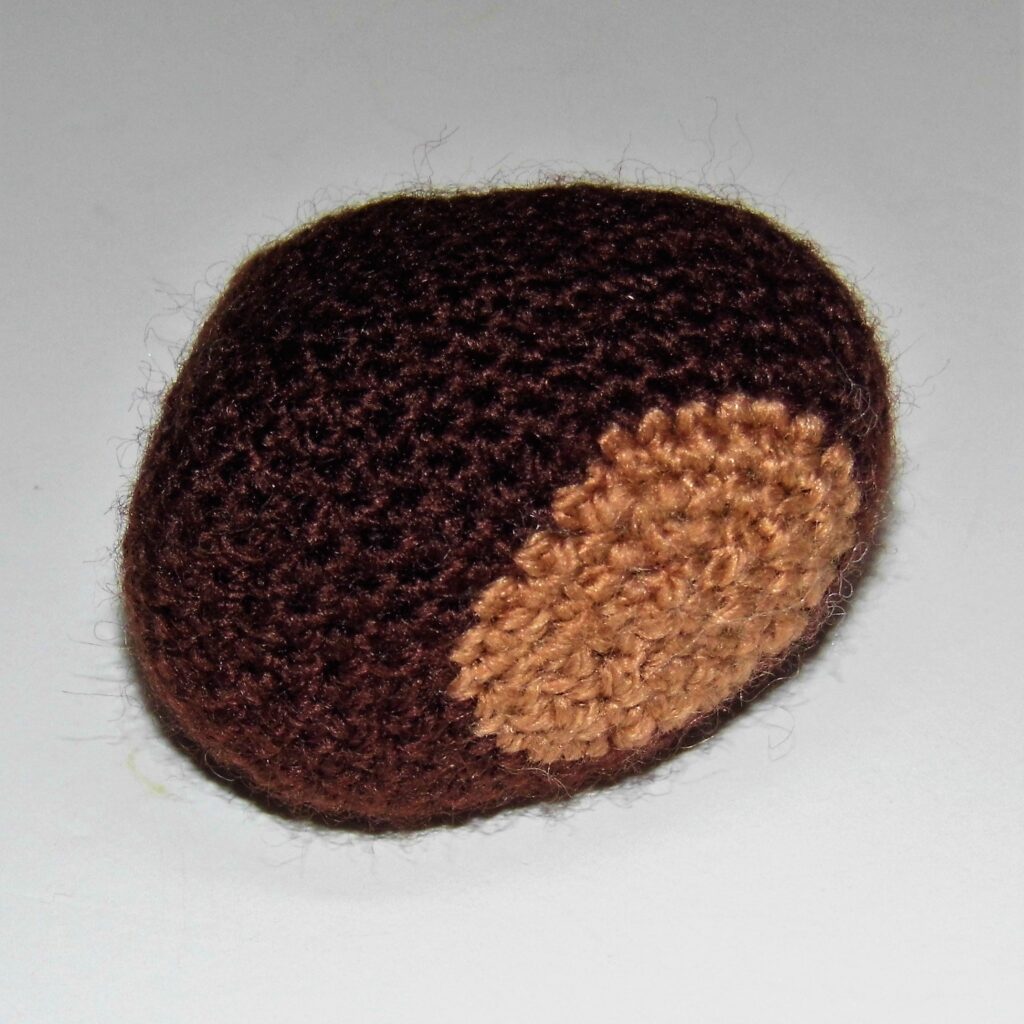
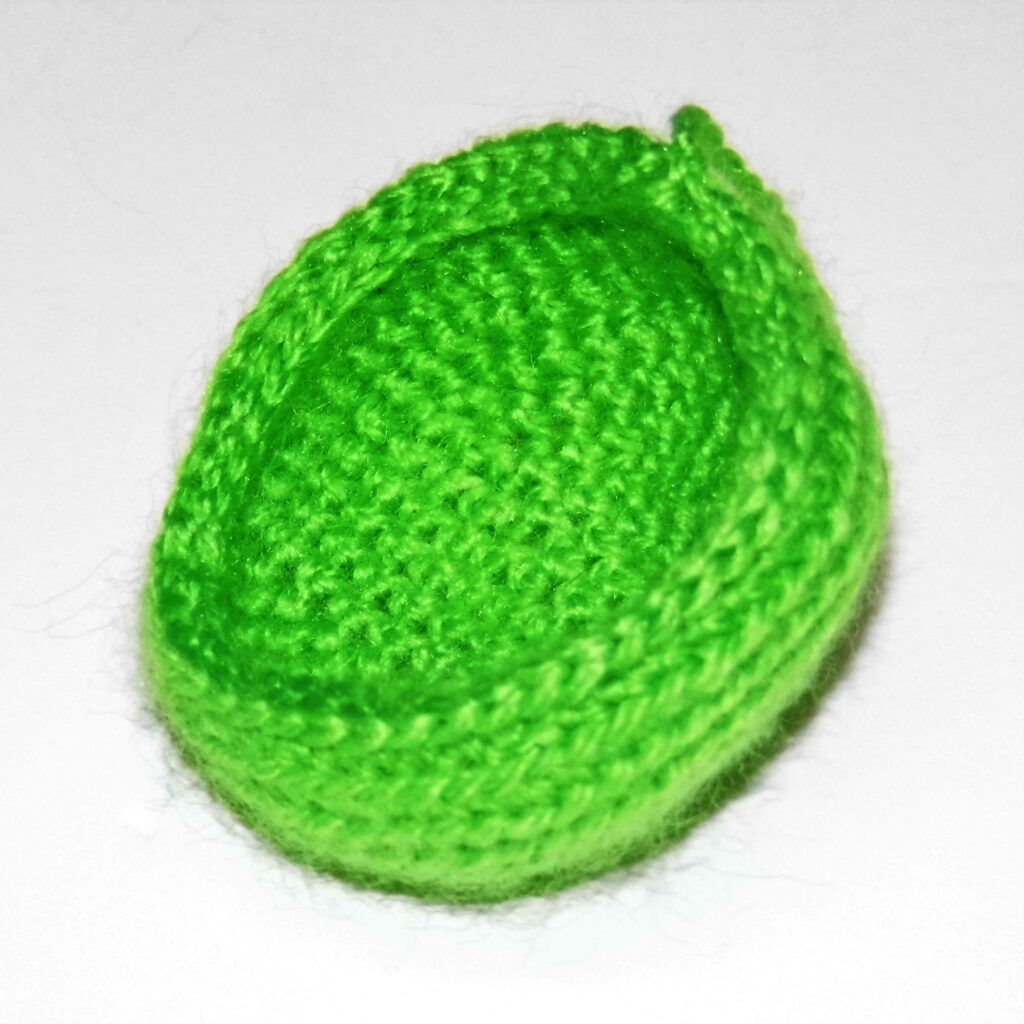
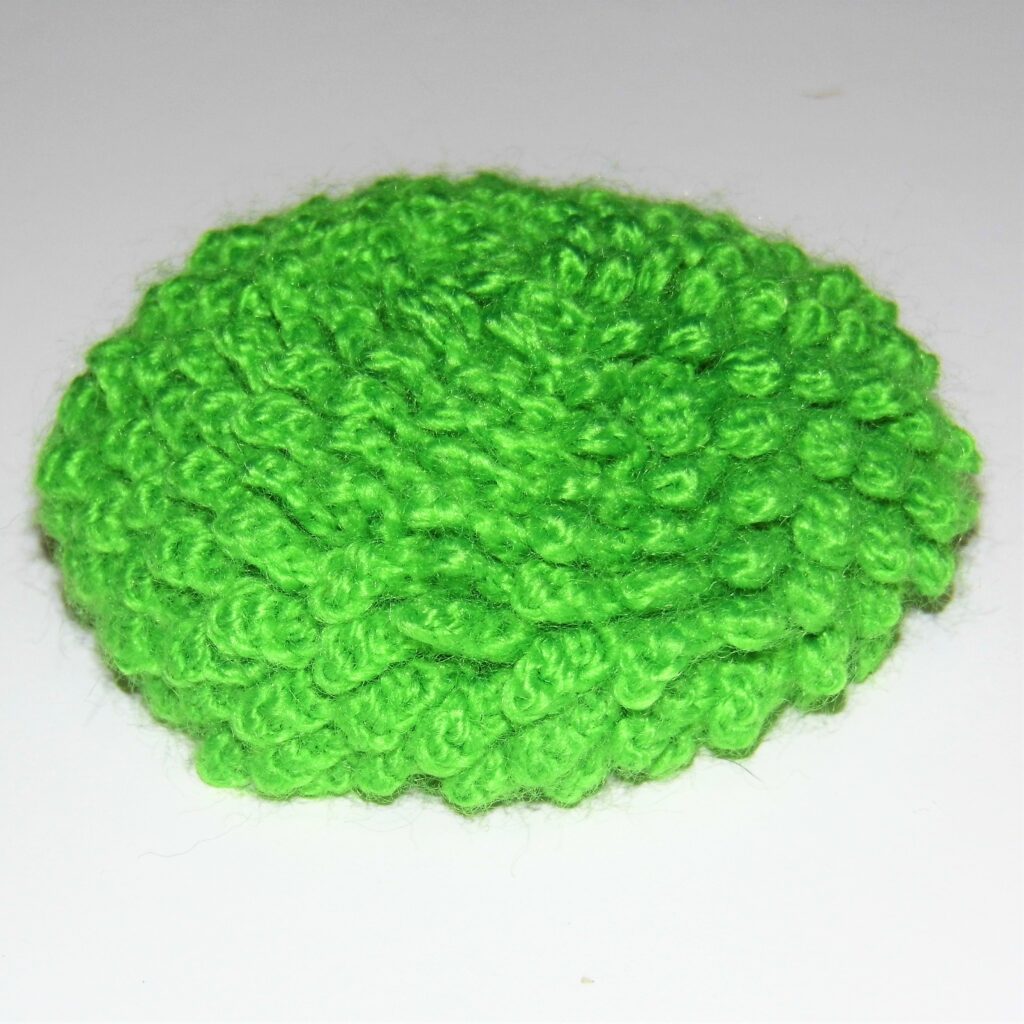
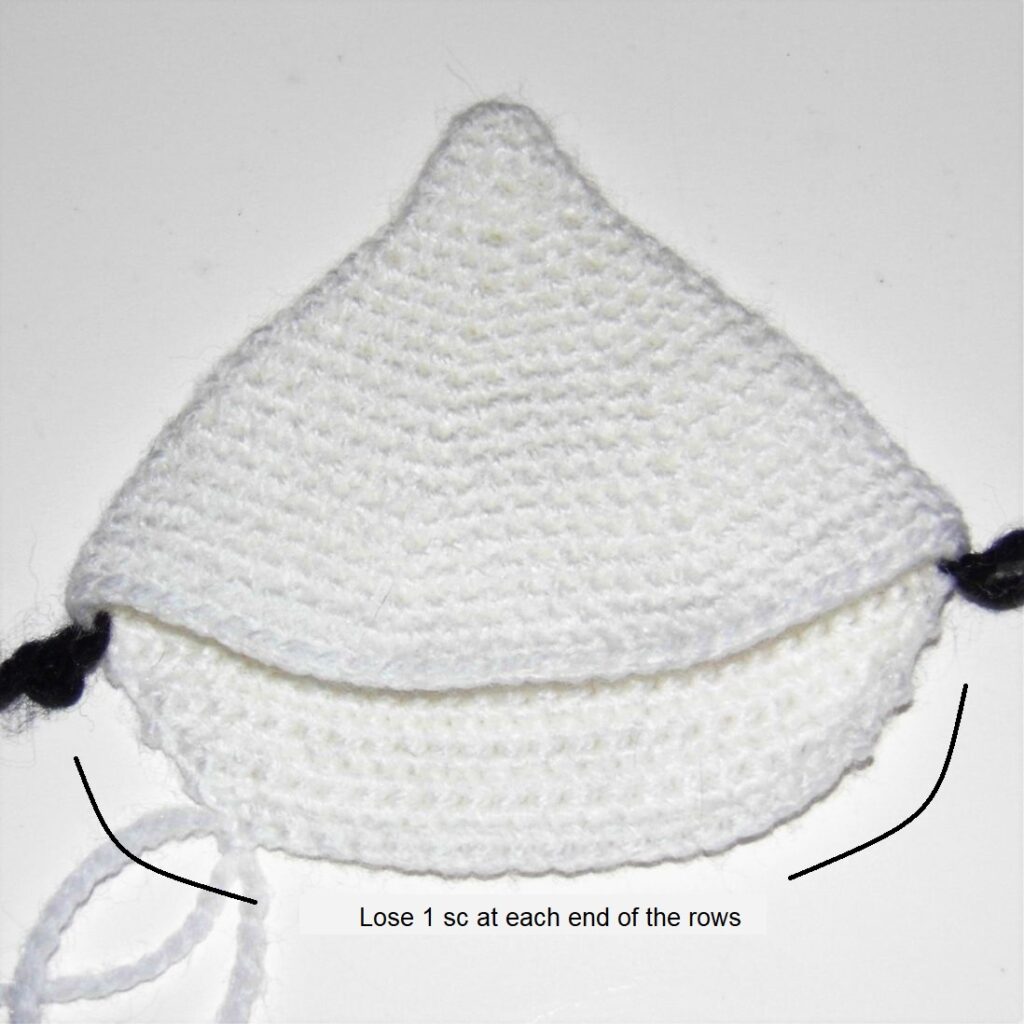
Measuring the length and width I need, after round 23 with 60 stitches in total, I have to change the way I continue crocheting. I need one of the sides of the piece to be longer, so the easiest thing to do is to divide the piece into 2 equal parts and continue crocheting only on one of them.
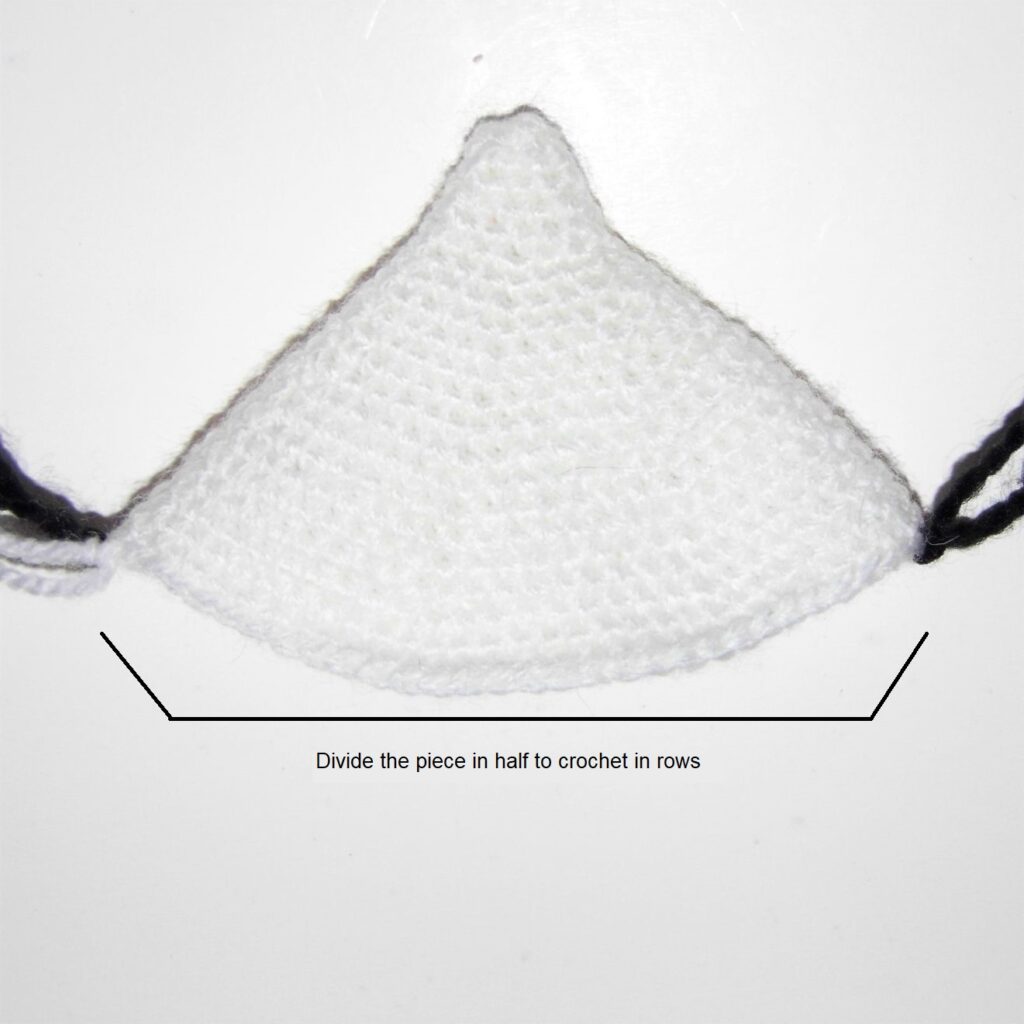
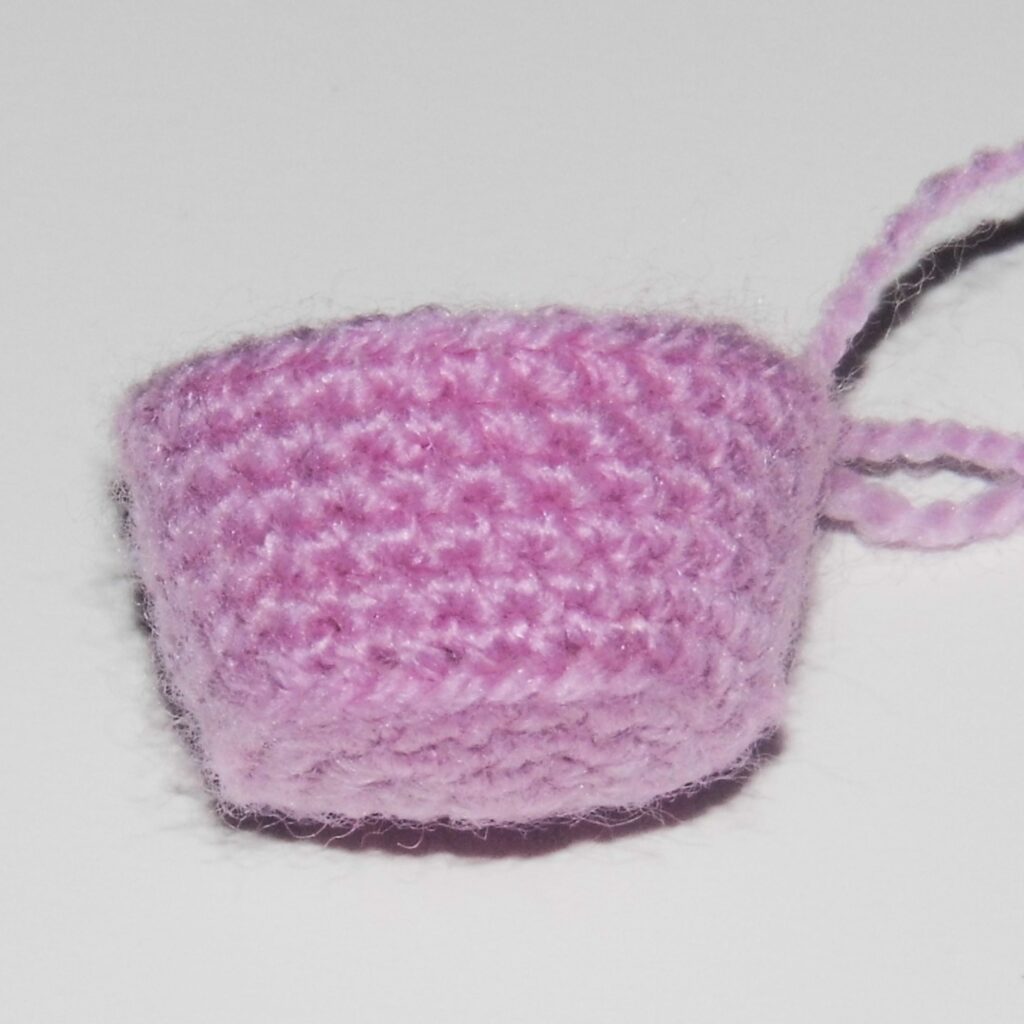
Once the division is done I have to start working in rows instead of doing it in the round, as many rows as the length I want this side to be. However, I am not interested in having the side be straight since then I would lose the shape that I want to give to my cow’s head. To give a more rounded shape I am going to reduce the length of each row by losing a sc at each end, turning without ch 1 and making a final decrease.
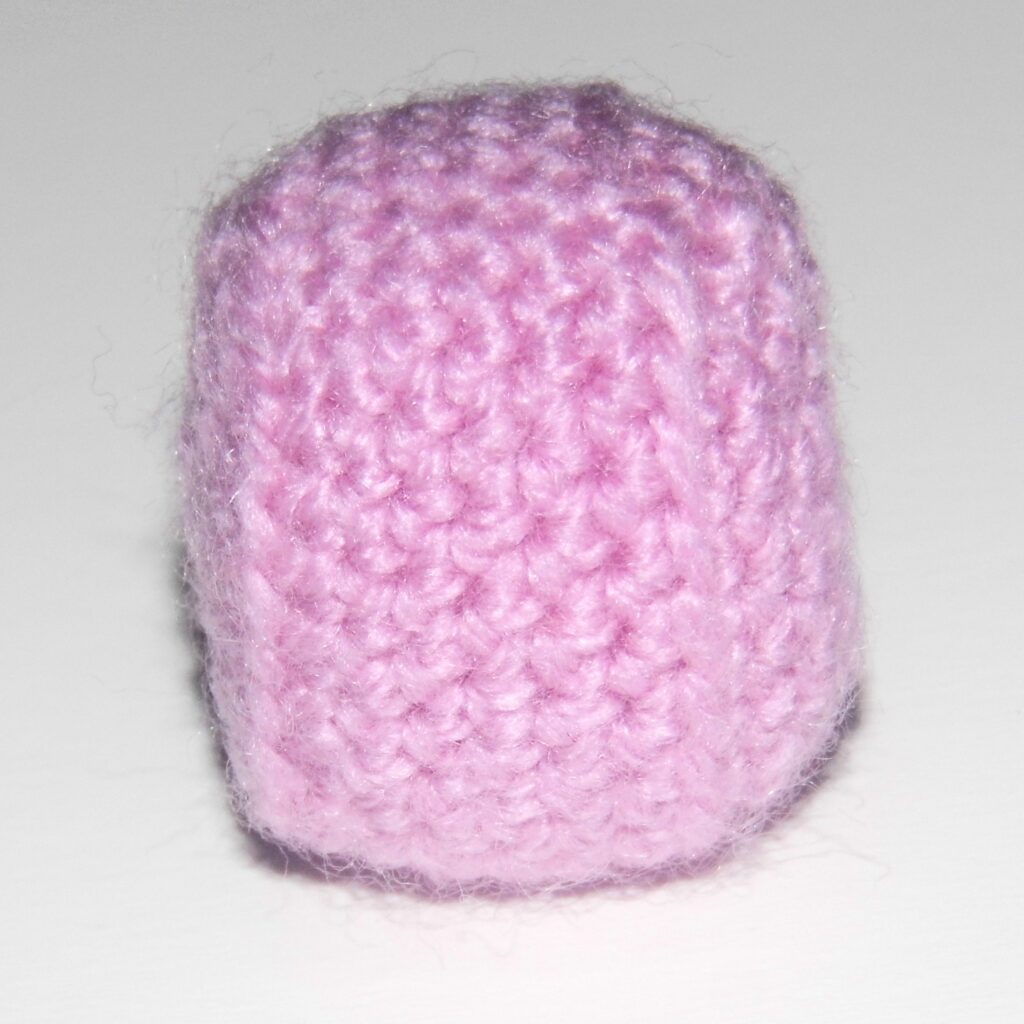
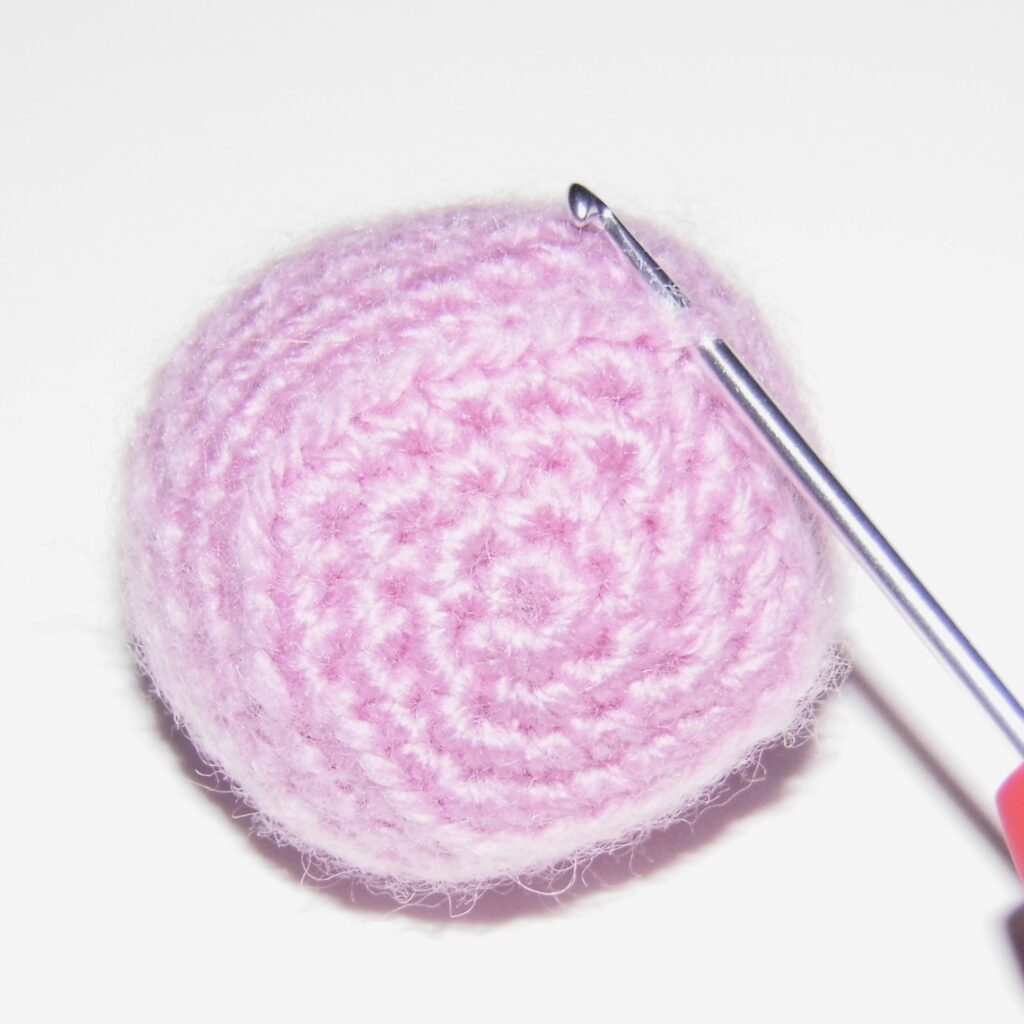
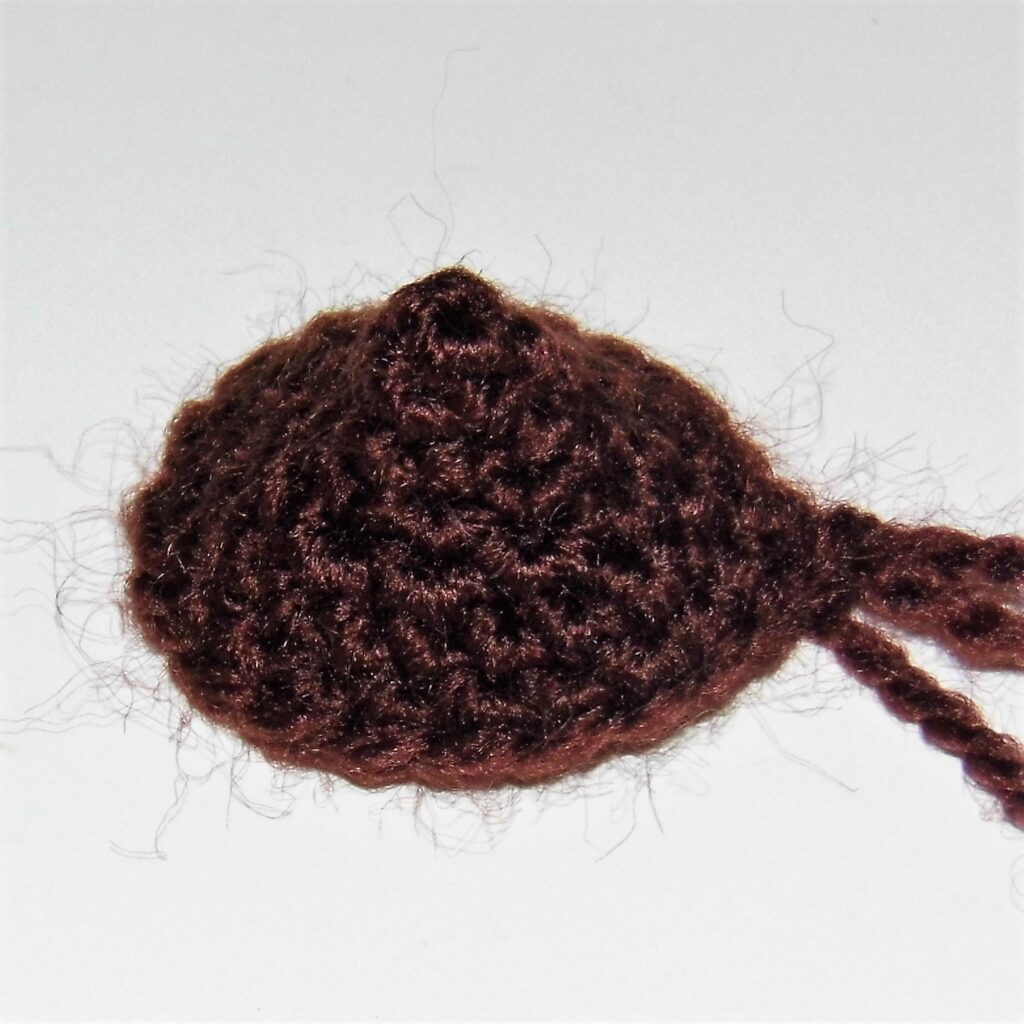
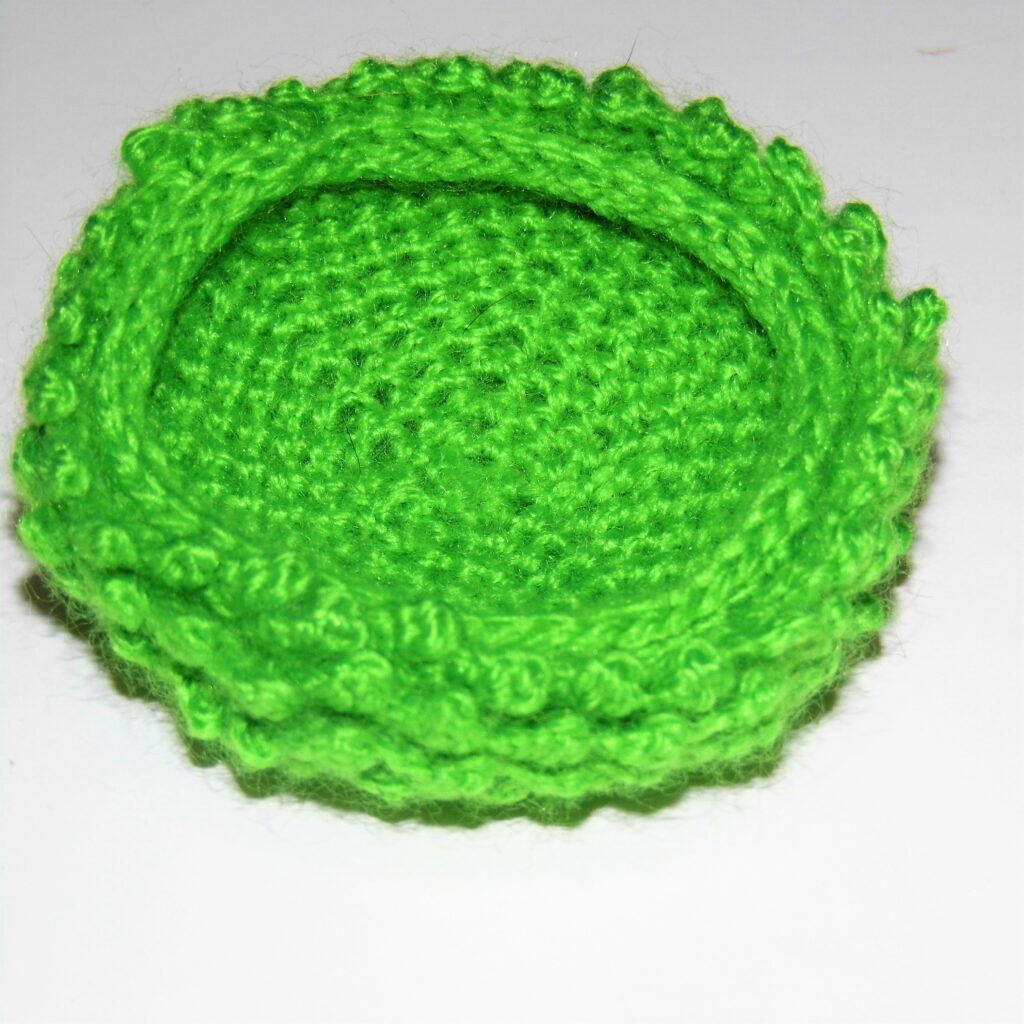
Once I added the length I want, I could finish the piece, but it doesn’t look clean. When crocheting straight, the edges have been irregular and when doing it only on one side, the shape is not unified.
How to improve the appearance of the piece?
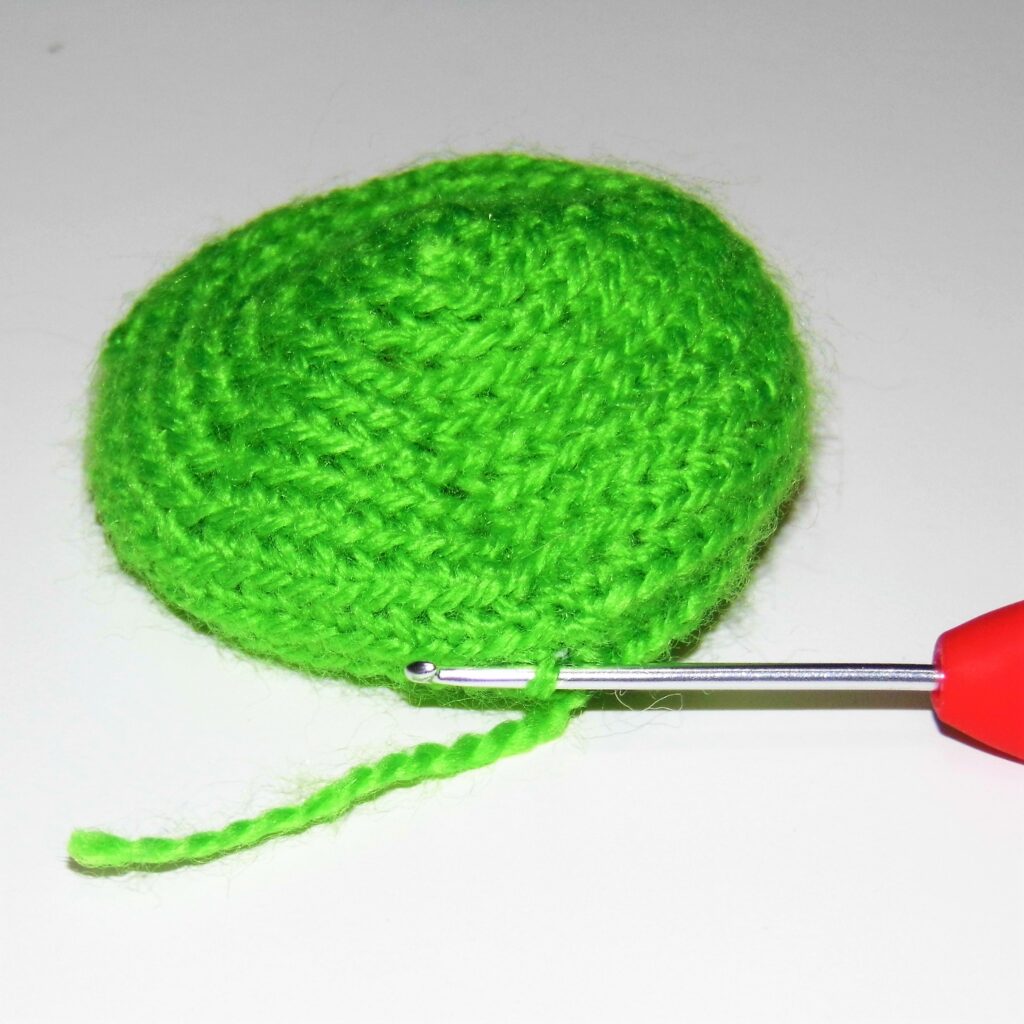
Working around all of it. By crocheting bordering the rows, I smooth out the uneven edges. By continuing on the short side, I unify the two parts of the piece.
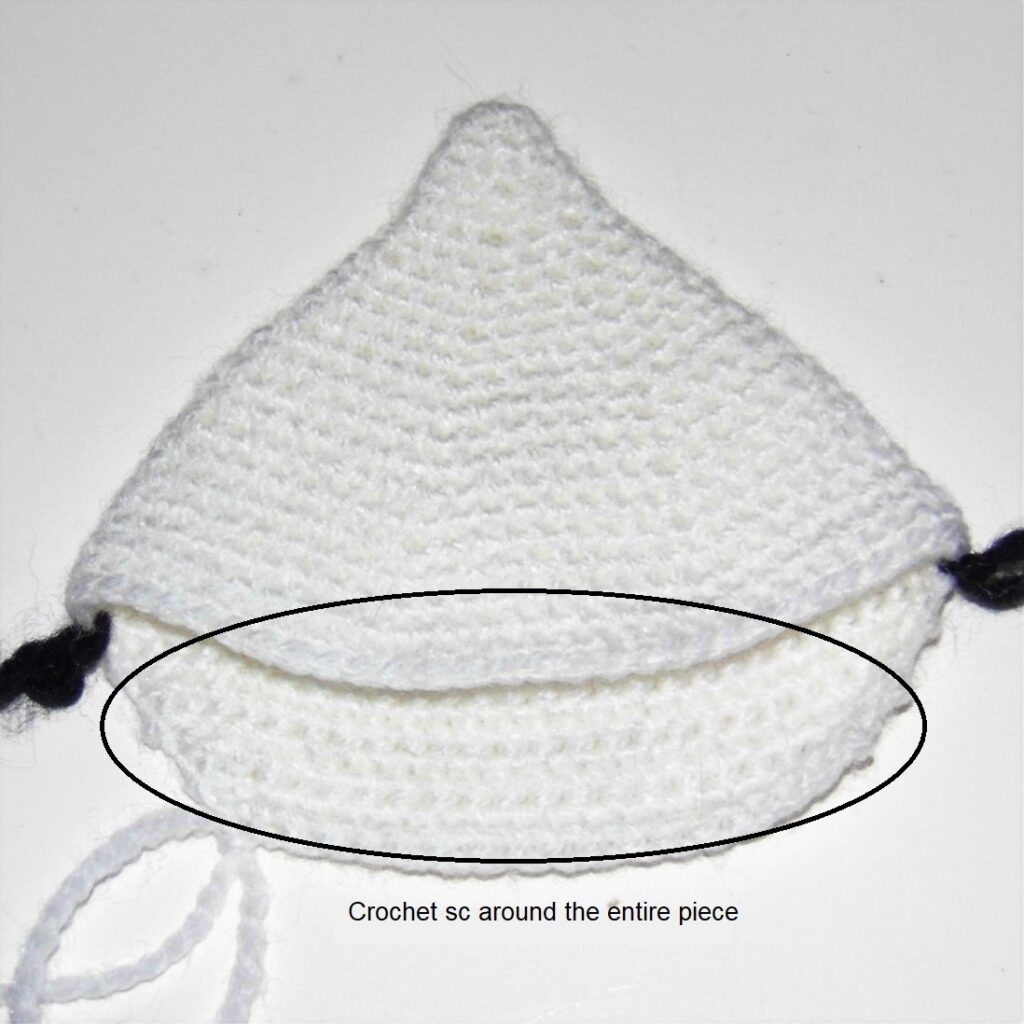
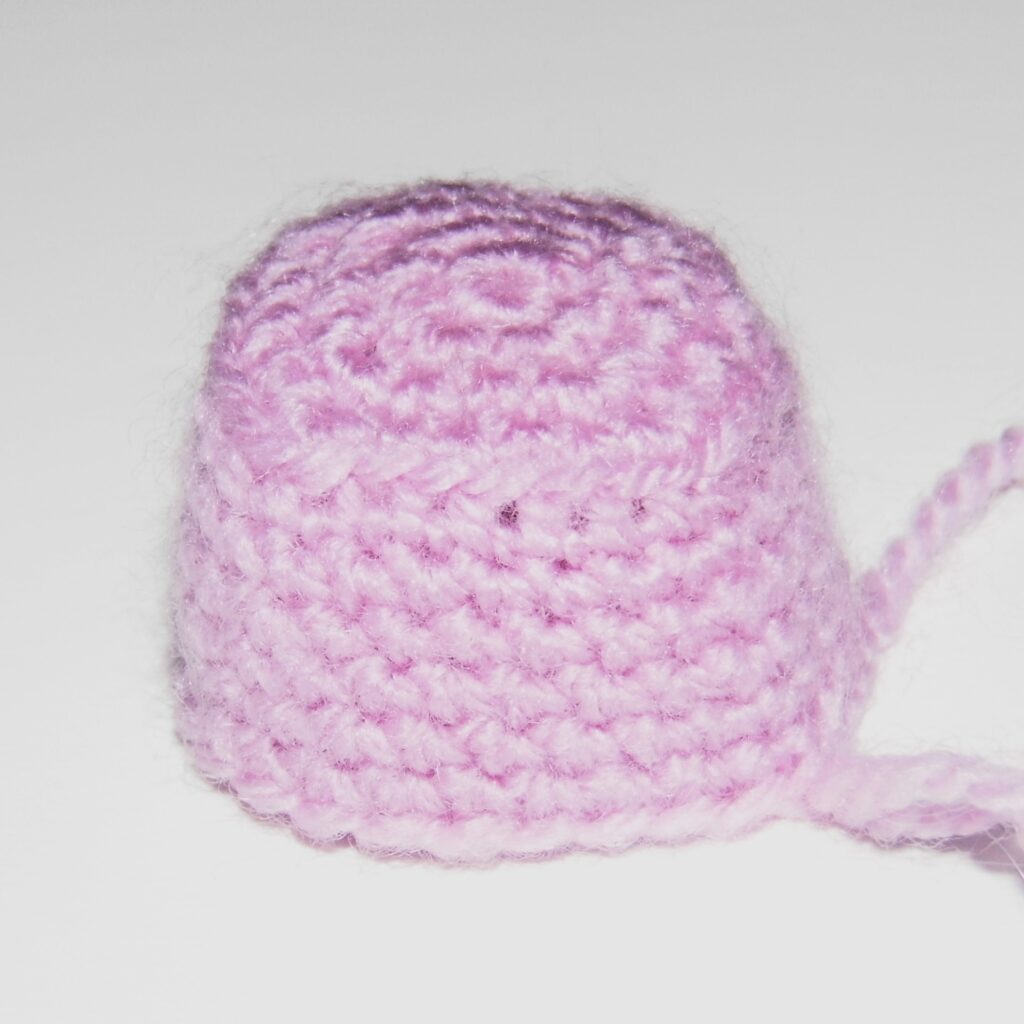
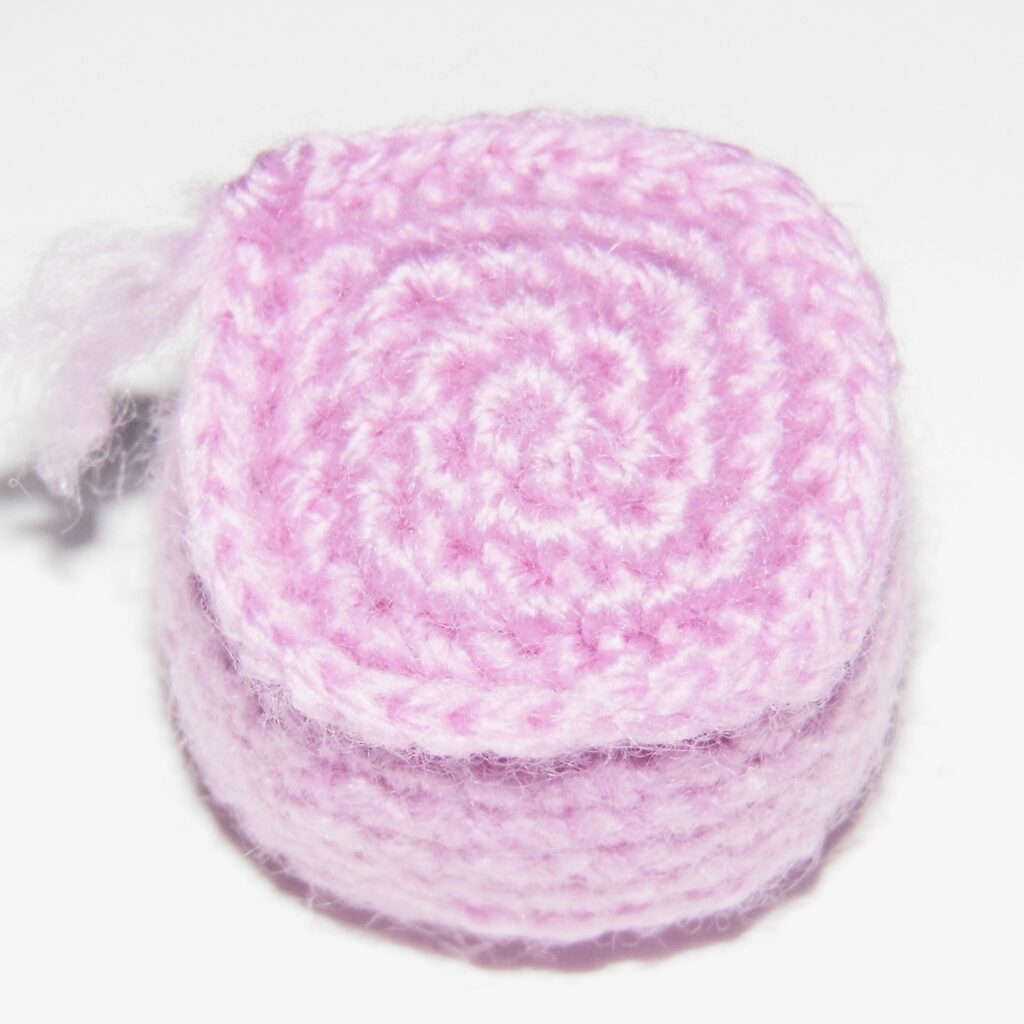
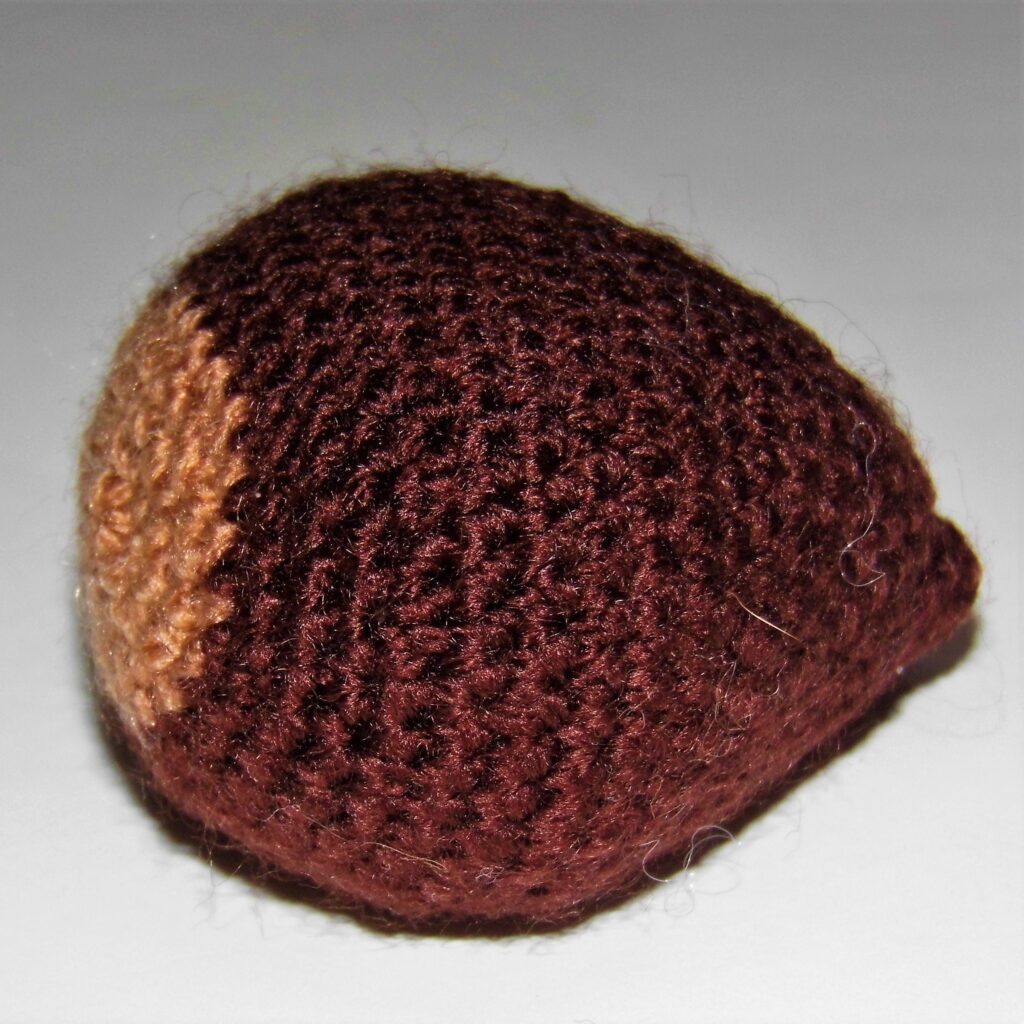
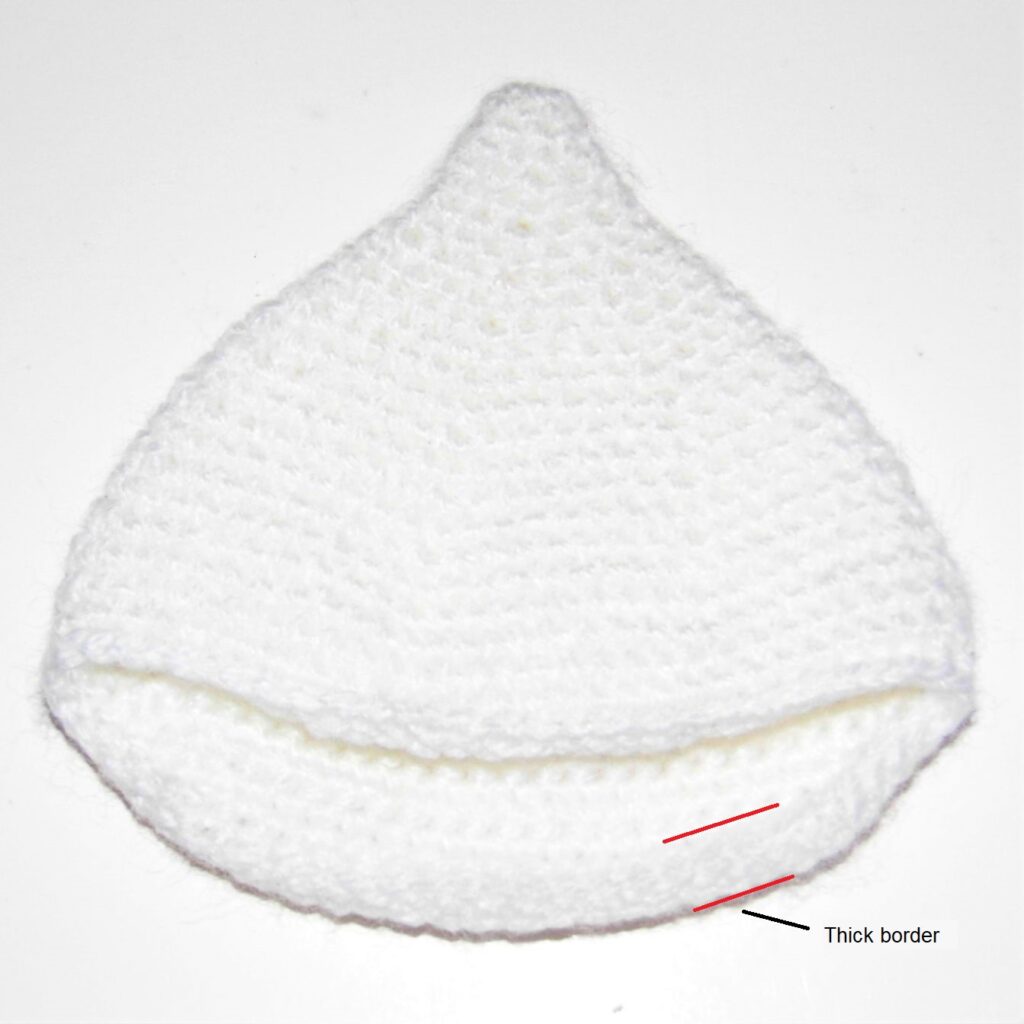
Just need to give some firmness to the edges. Let’s not forget that this is a woven piece, but it must be placed on a sheet. It is necessary that the edges do not bend so easily. Crochet a last round reinforcing the stitches and forming a thicker edge working in the post of each st. In this way the main piece of the bookmark is finished. Now we have to do the details to turn this piece into a cute little cow.
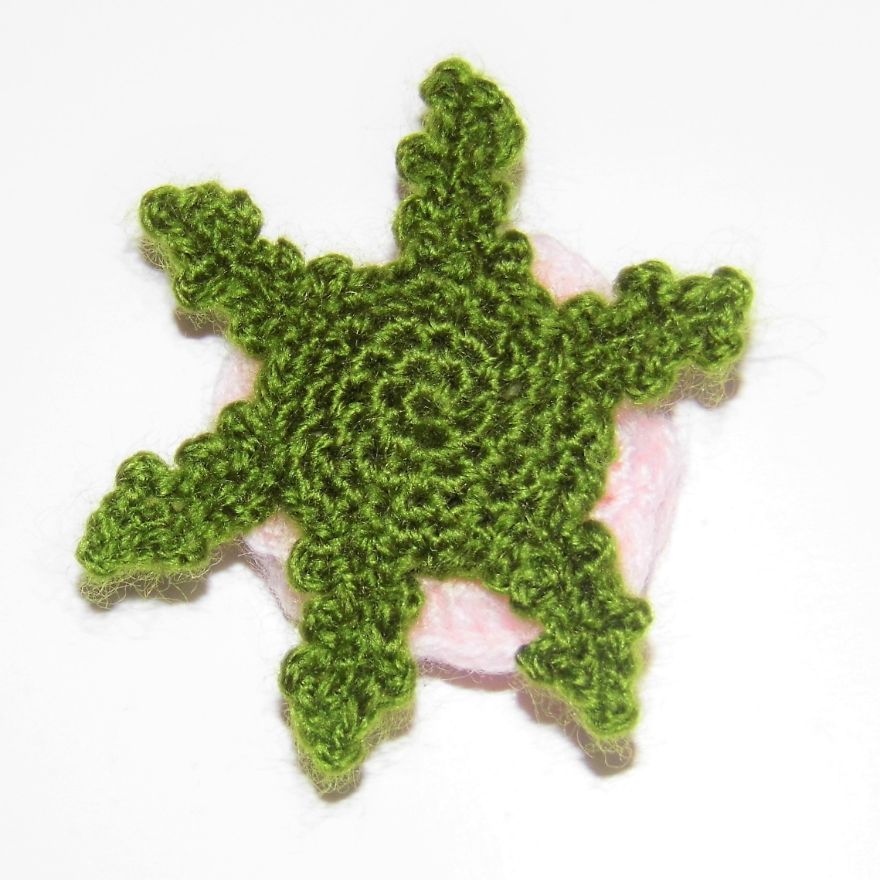
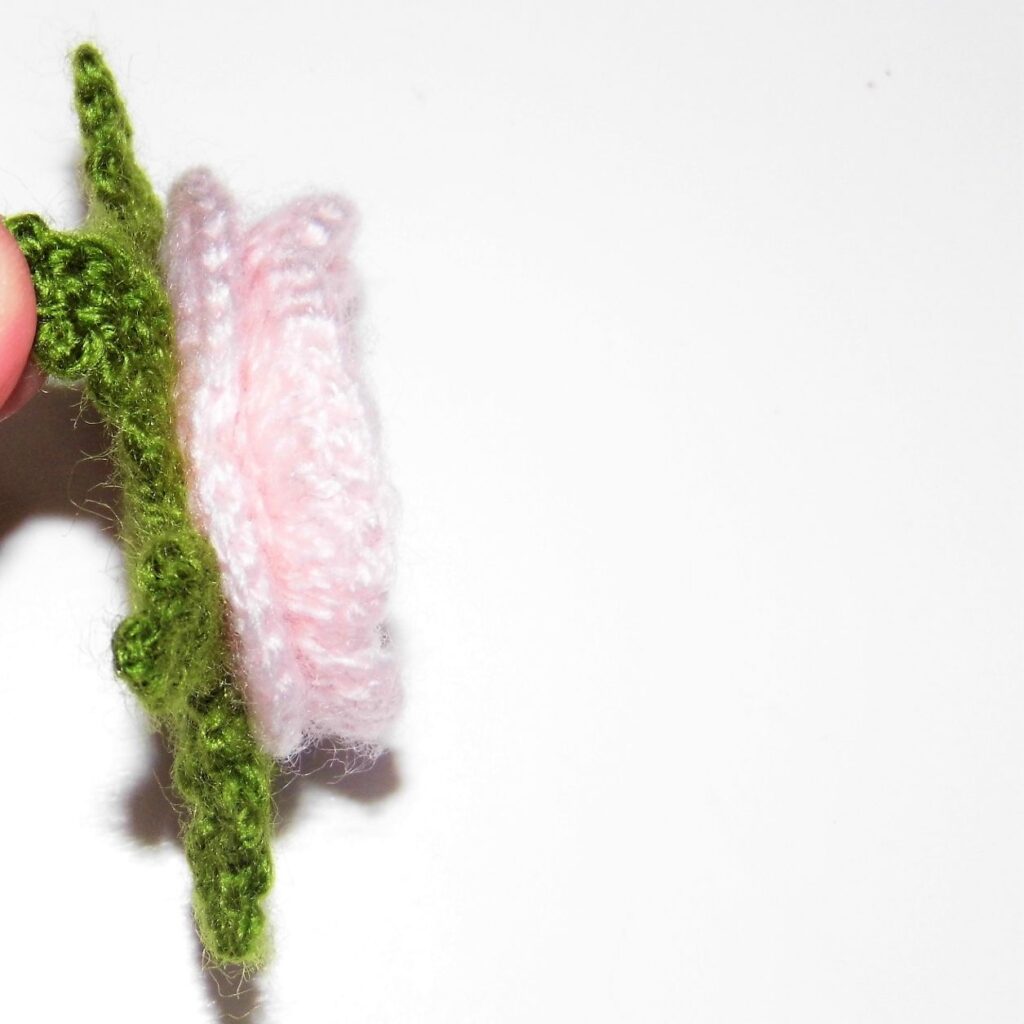
Details
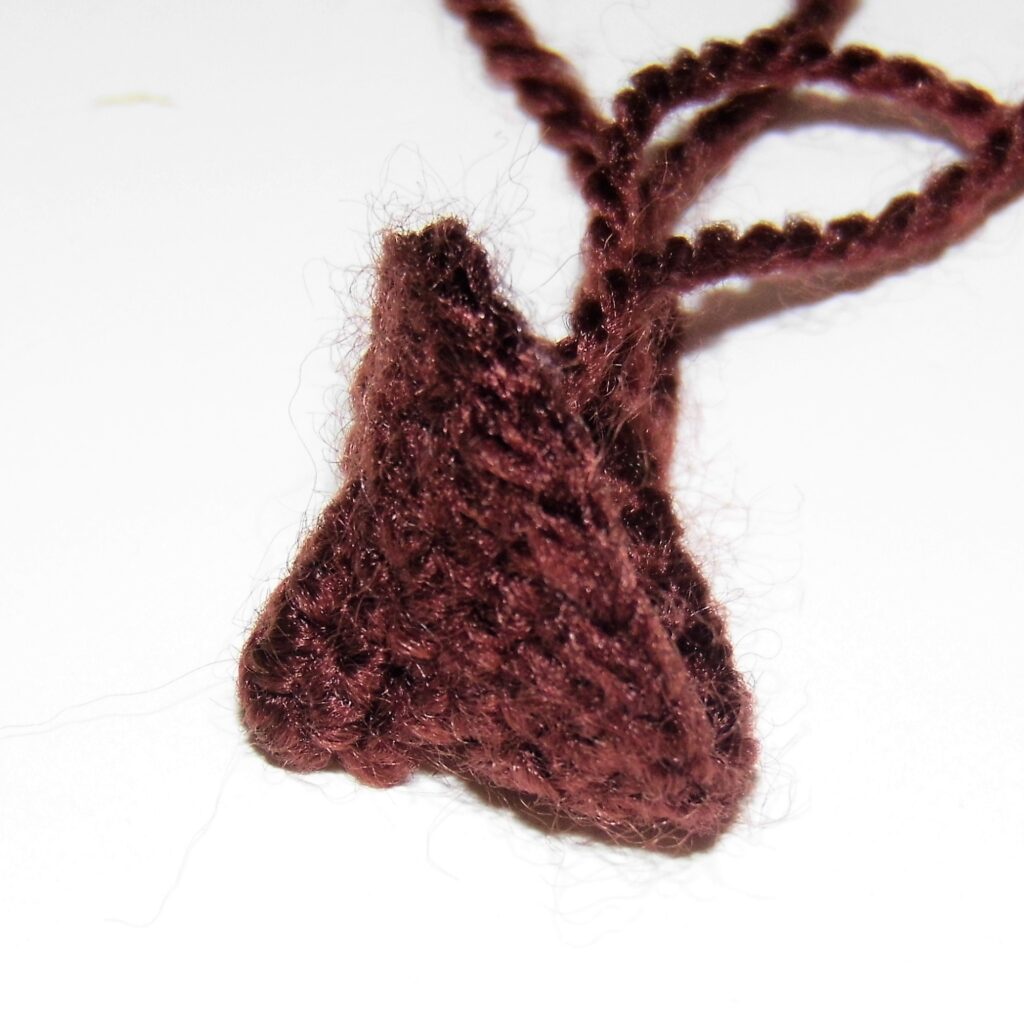
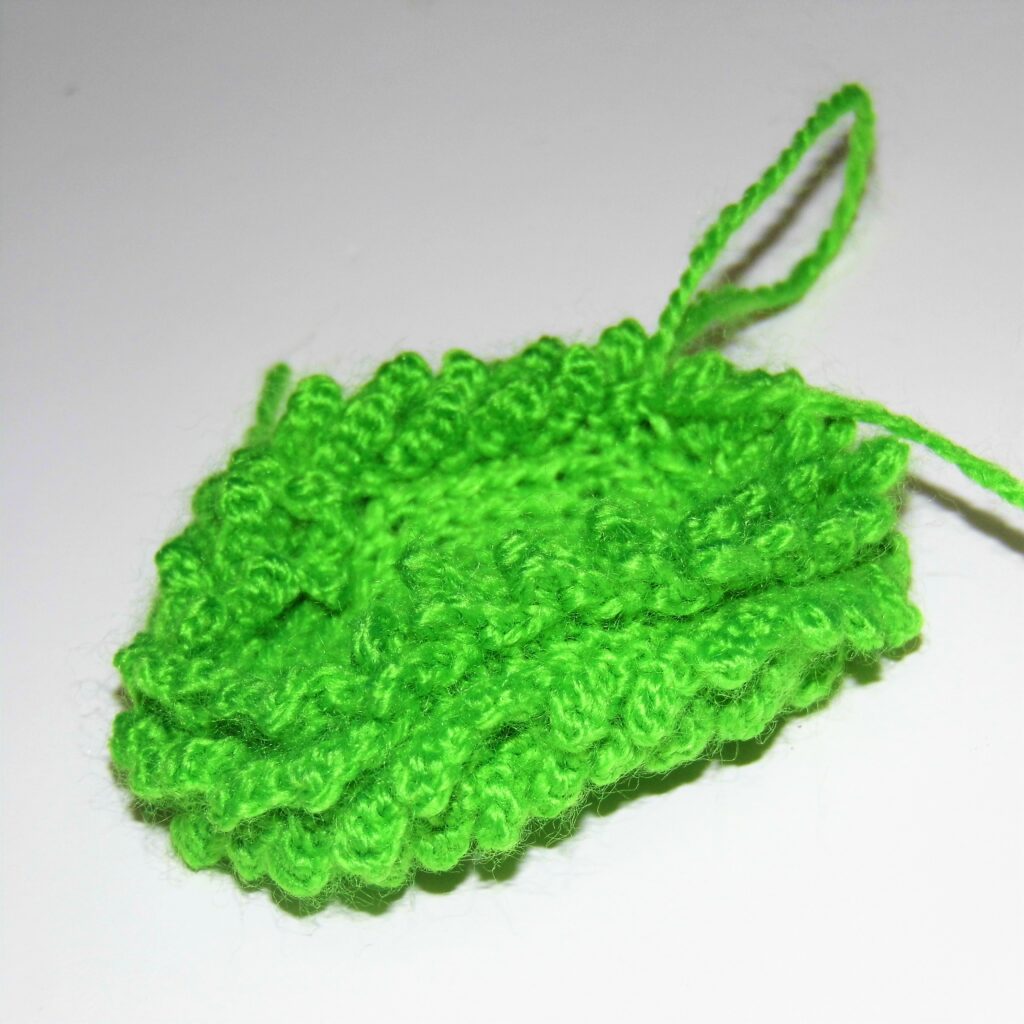
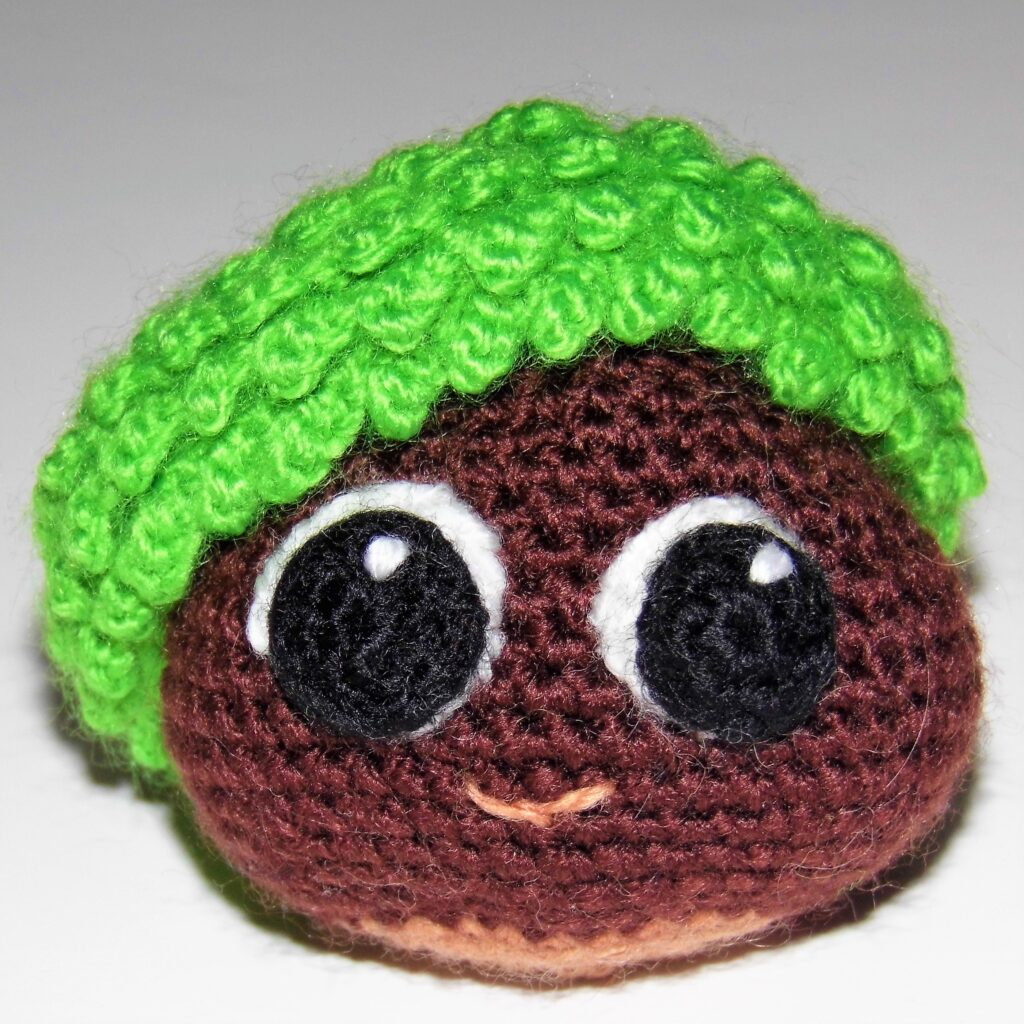
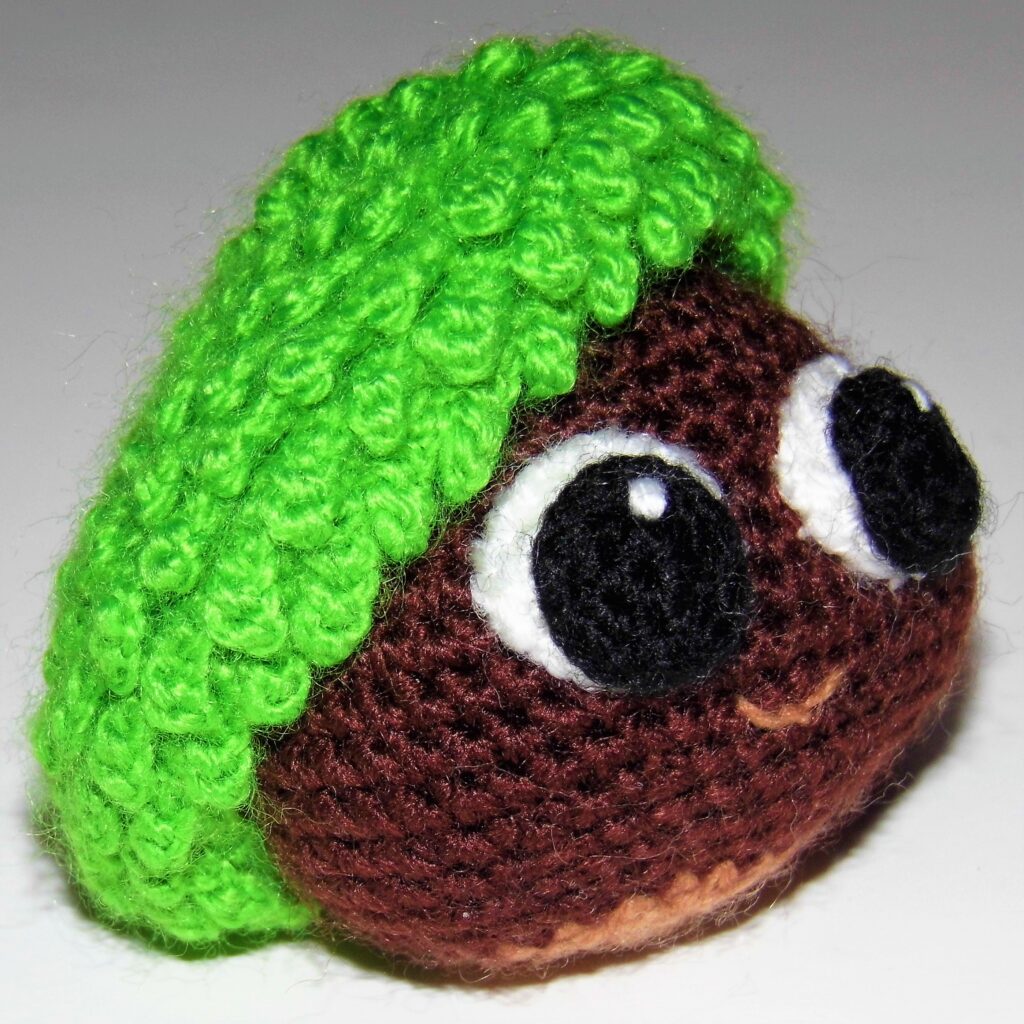
Continuing with the idea of using triangular shaped pieces, I can make them flat (spots) or three-dimensional (horns). Some pieces are even made up of both elements, such as the ears. Its base is three-dimensional to which a flat triangular piece is added.
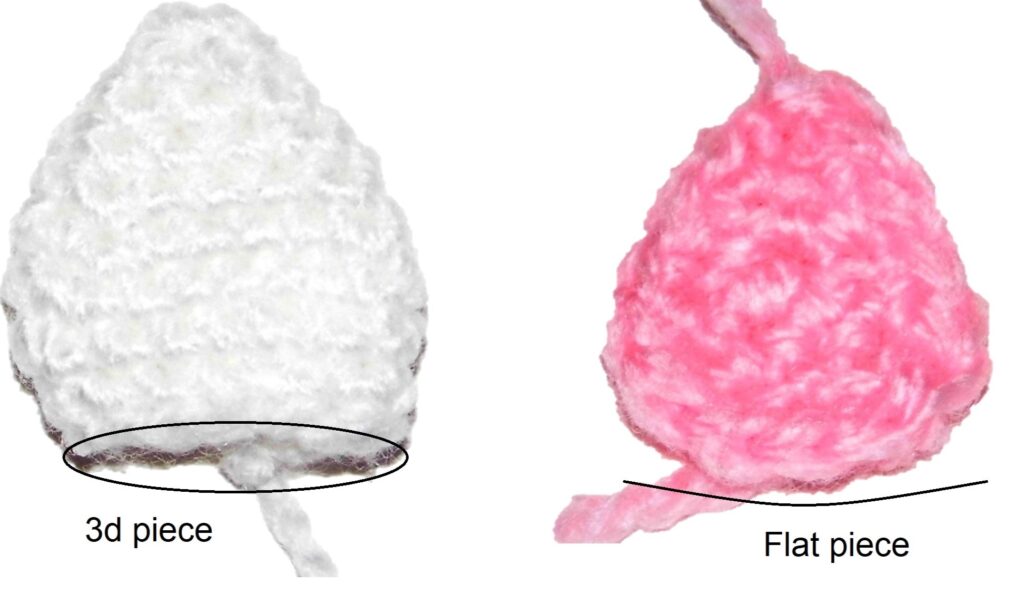
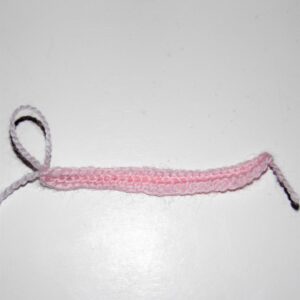
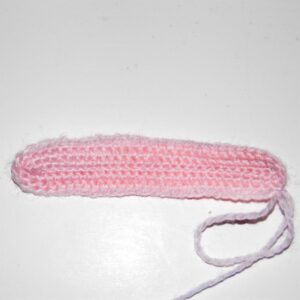
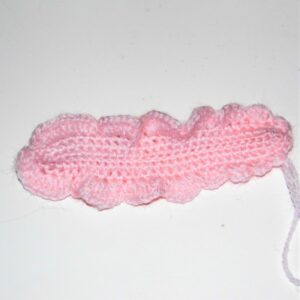
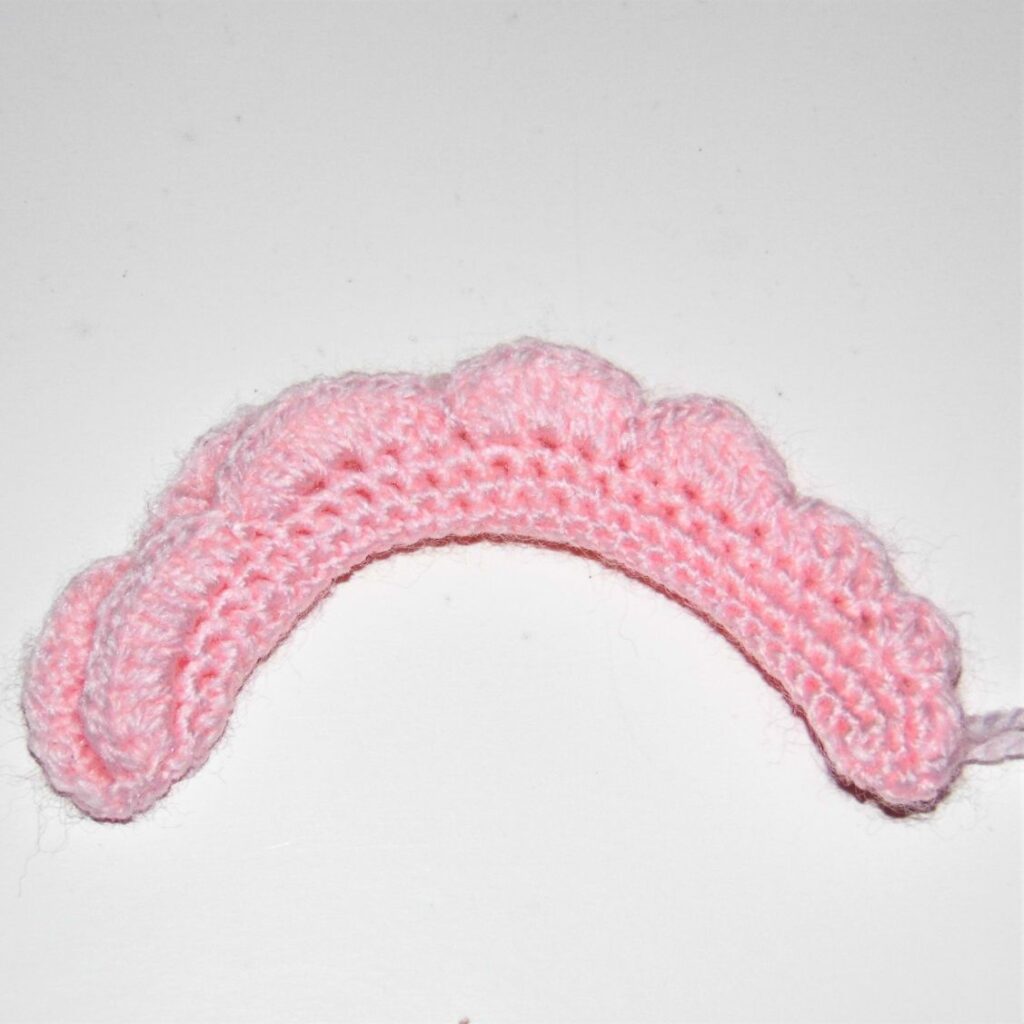
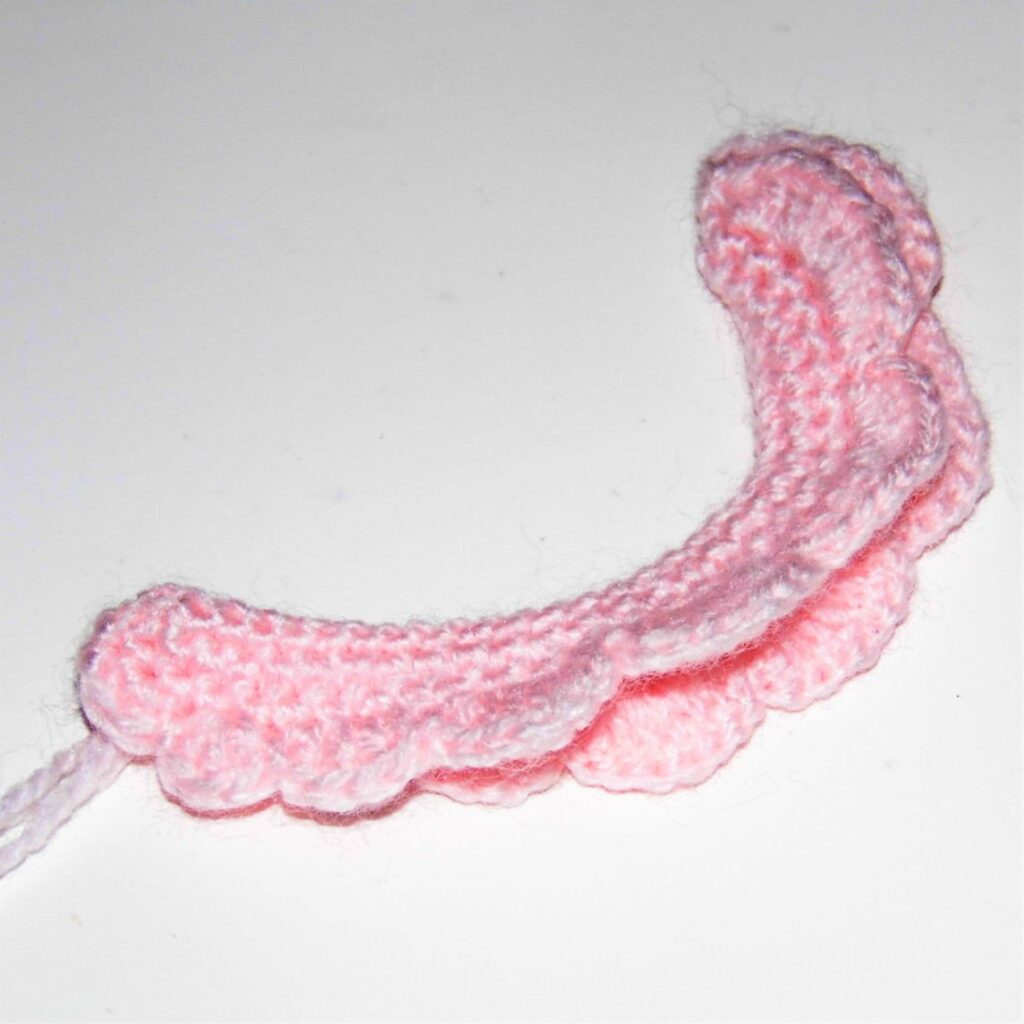
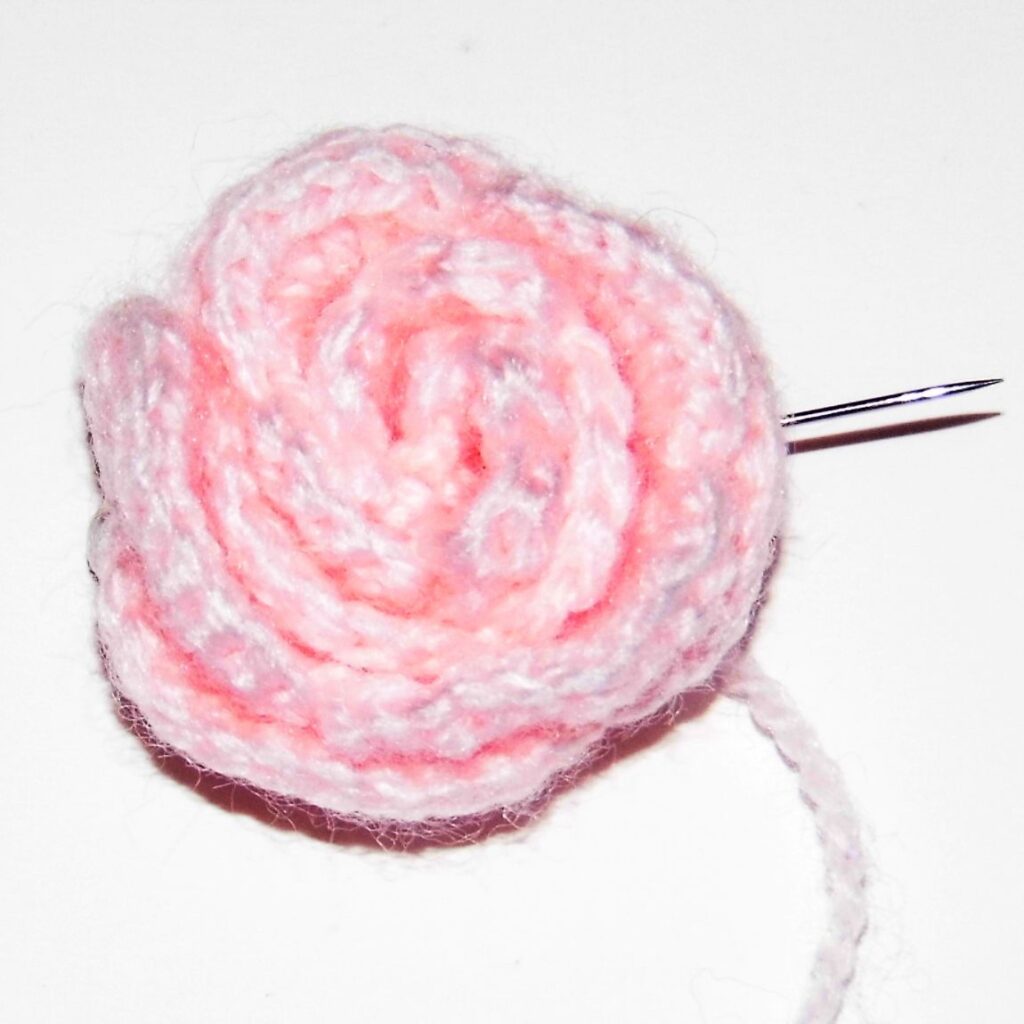
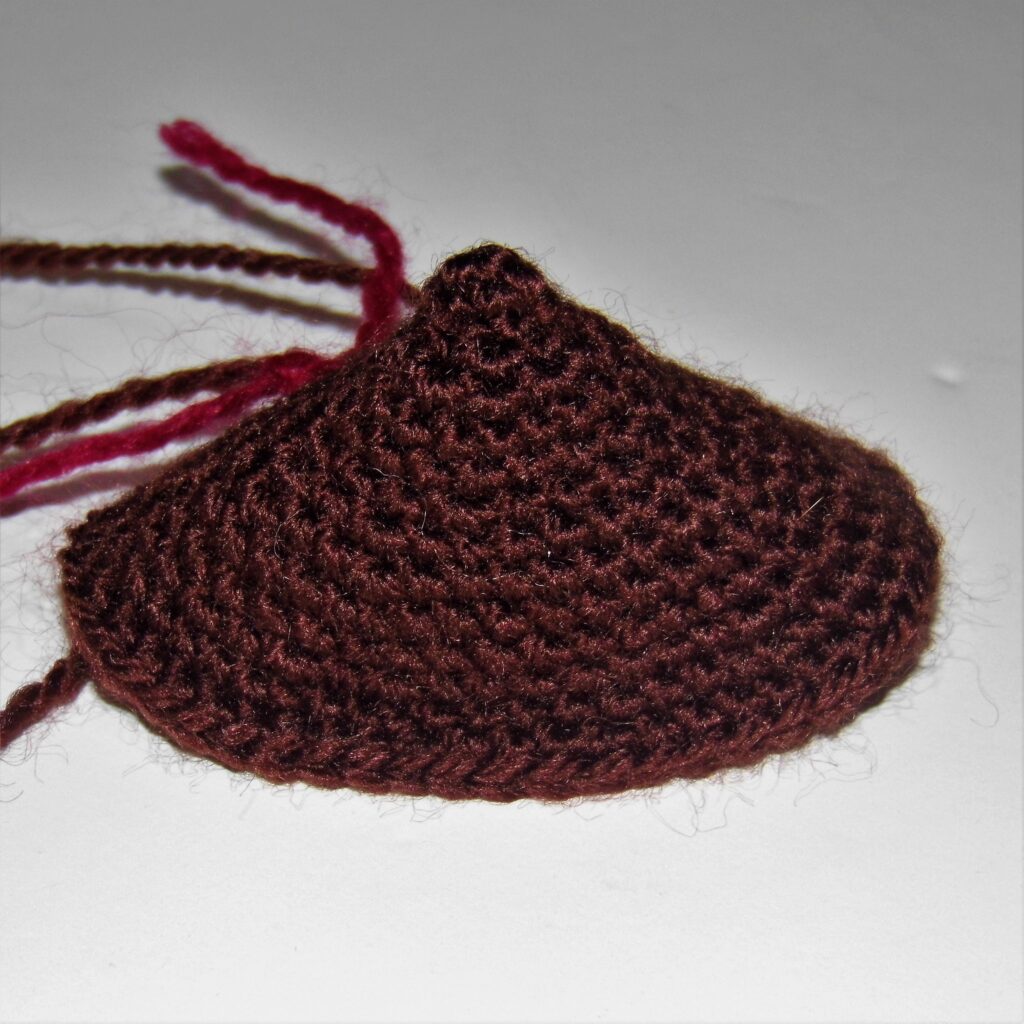
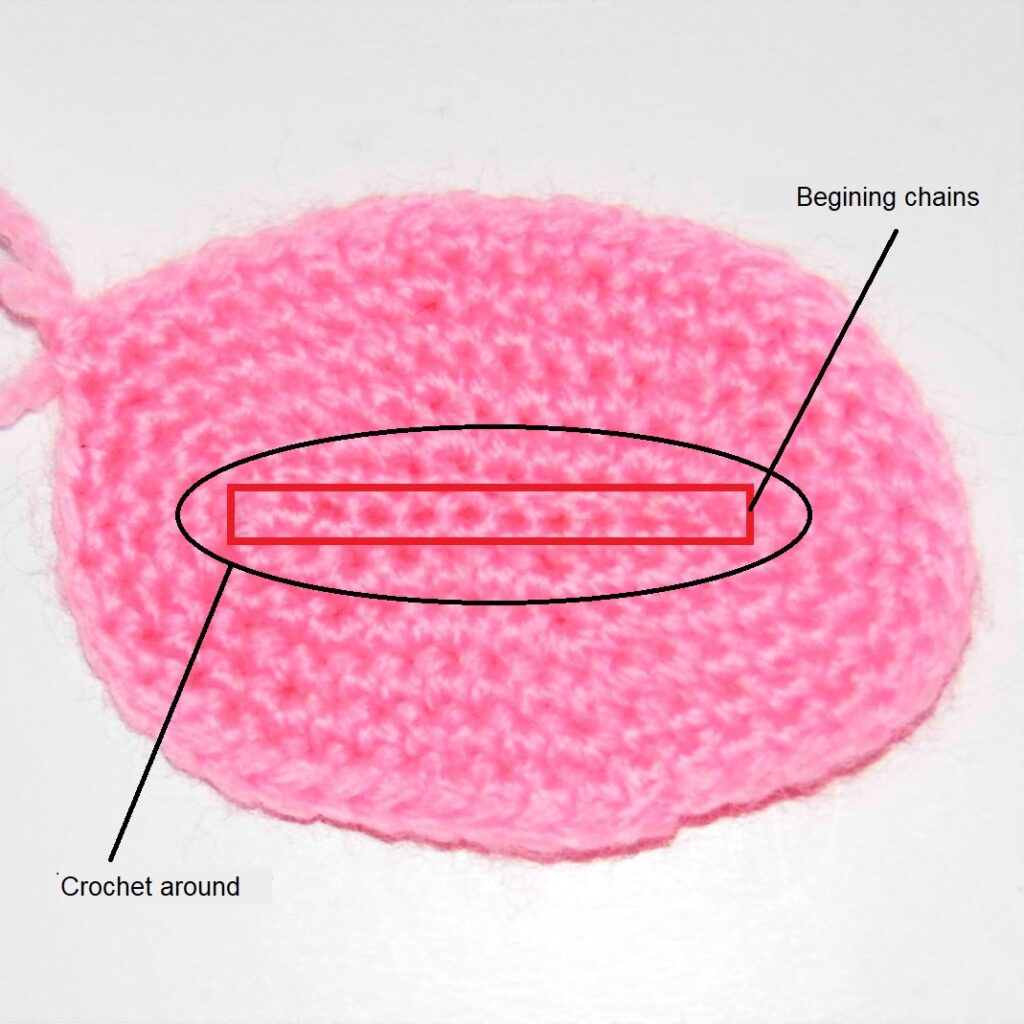
As for the most important part of the face, the snout, I needed a flat, oval piece of considerable length. The simplest thing would be to reach the required length through chains and on them achieve the oval shape. That is why, instead of crocheting in rows, you have to do it on both sides of the chains. By this way you can crochet rounds and give the piece a rounded shape. As the length was established with the beginning chains, what we have to look is the width of the piece. As we already know, to achieve this, I use the increasing rounds that I alternate with fixed rounds. The piece will maintain its flat shape.
A balance is necessary in the use of both types of rounds. The fixed rounds alone would arch the shape too soon. The increasing ones would do the same with respect to the width.
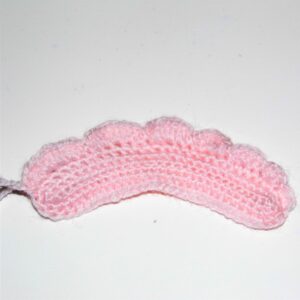
Highlight the edges
The shape of the pieces is important, but we must not forget that the details are what make the difference. I wanted my little cow to have a more striking appearance. I decided to highlight the edges of several elements in black as if they were outlined with a marker.
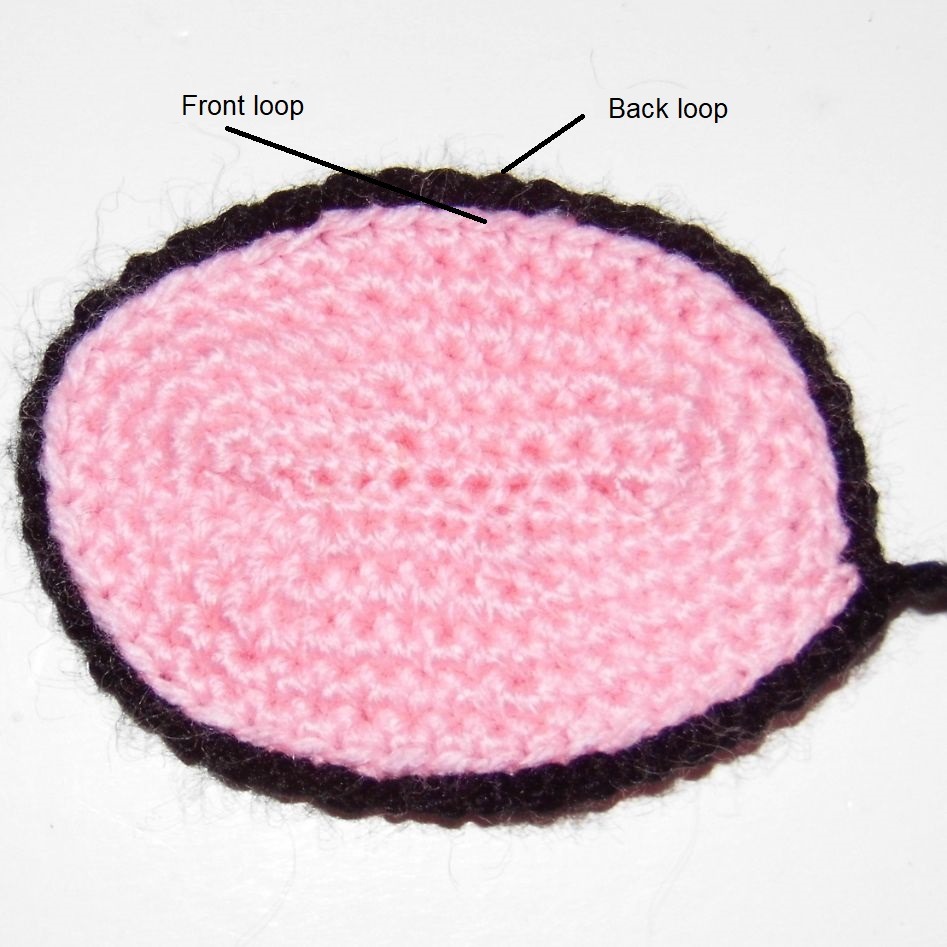
To achieve a flat edge I had to use the lowest stitches, such as slip stitches. To make it look regular, I had to work over the back loop of the stitches. In order to avoid excessive curvature of the piece I had to increase.
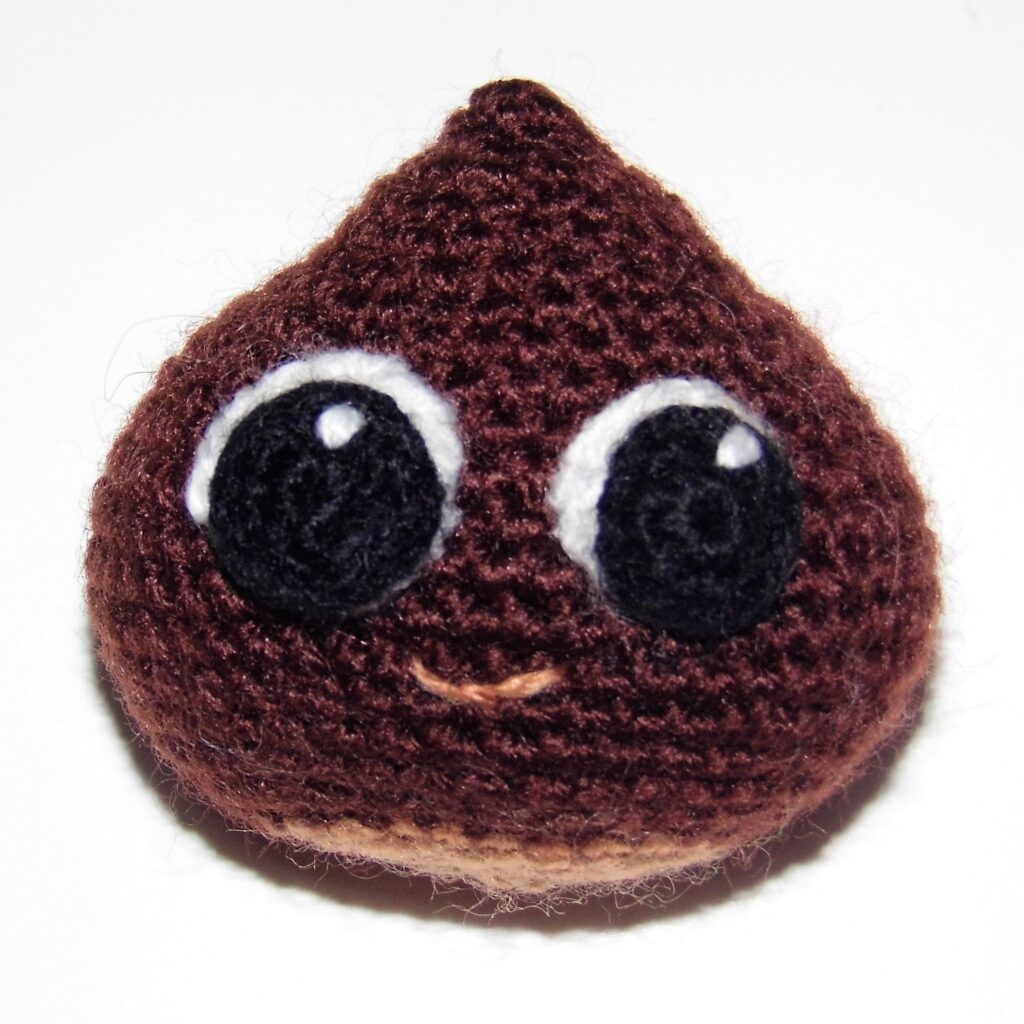
Finally, the eyes had to follow the same line as the rest of the pieces. They have to be simple, flat and with the appearance of being drawn.
The chains along with the slip stitches would allow me to shape two lines. I would sew them curved over the face to give the cow a smiling appearance. The combination of black and white colors highlights them and gives them vibrancy.
All you need to do is assemble all the pieces and the cow bookmark is finished!
>>>Vaquita Marcapáginas patrón amigurumi (Español)<<<
Did you like the tutorial Designing an amigurumi: Little Cow bookmark? Don’t forget to leave me your opinion in the comments of the post