Enjoy crocheting the Chestnut amigurumi pattern!
It is chestnut time and here in my land, in Galicia, we have the tradition of celebrating the Magosto.
Do you know it? It is a popular festival that takes place in all corners of the community between the end of October and the beginning of November and whose main ingredients are chestnuts, fire and wine.
I remember when I was little the Magosto celebration at school, with the roasted chestnuts prepared by the older ones, the fun games and our faces painted with the charcoal from the bonfires (there was no wine there, of course)
There are several theories about the origin of this tradition.
Some say that it is linked to the end of the chestnut harvest, given the importance of this fruit both in gastronomy and in the Galician economy before the arrival of the potato from America.
Another more magical theory, given that the magosto is usually celebrated at the beginning of November, relates it to the celebration of Samaín, a Celtic tradition later transformed into All Saints’ Day, on November 1. And there is also the saying: “Por San Martiño faise o magosto, con castañas asadas e viño ou mosto” (For San Martín the Magosto is made, with roasted chestnuts and wine or grape juice) (San Martin is celebrated on November 11)
They say that at that time Celtic rituals were performed that linked wine with life and chestnuts with death, each roasted chestnut symbolizing a soul that was freed from purgatory. How curious, right?
To celebrate this tradition with you I bring you a small gift:
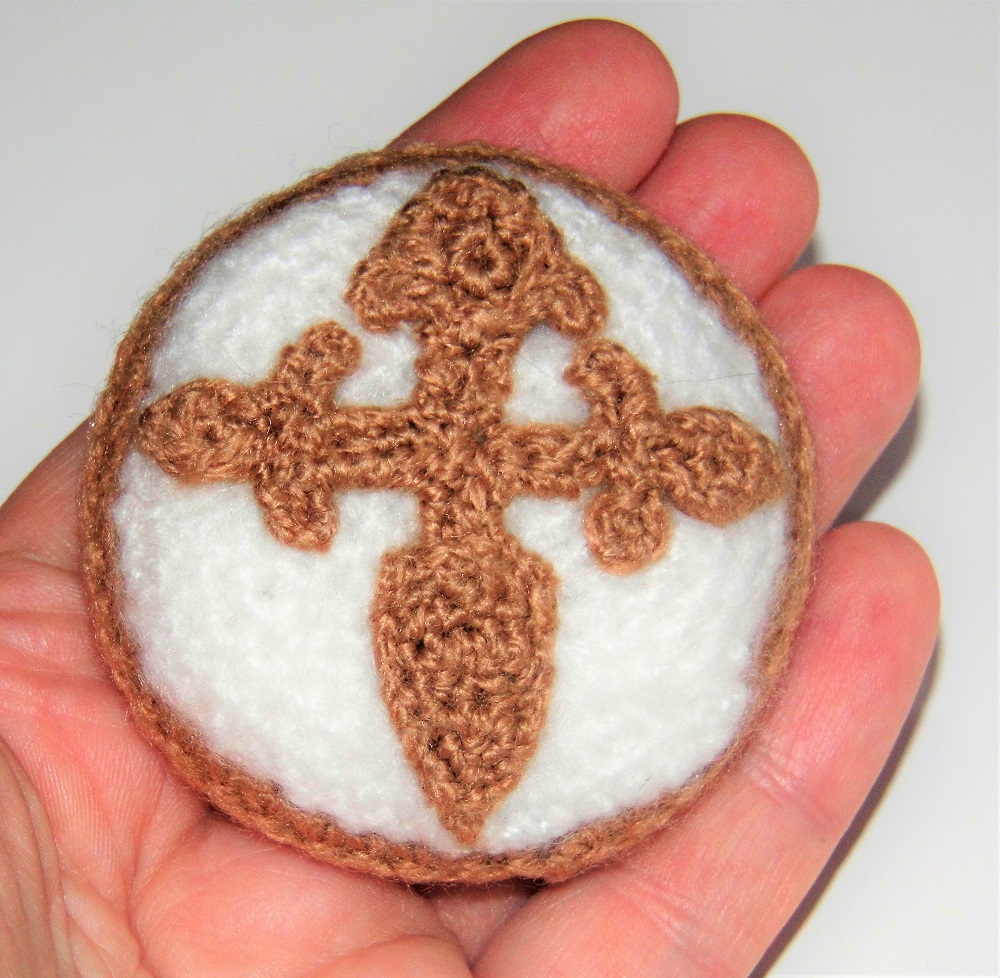
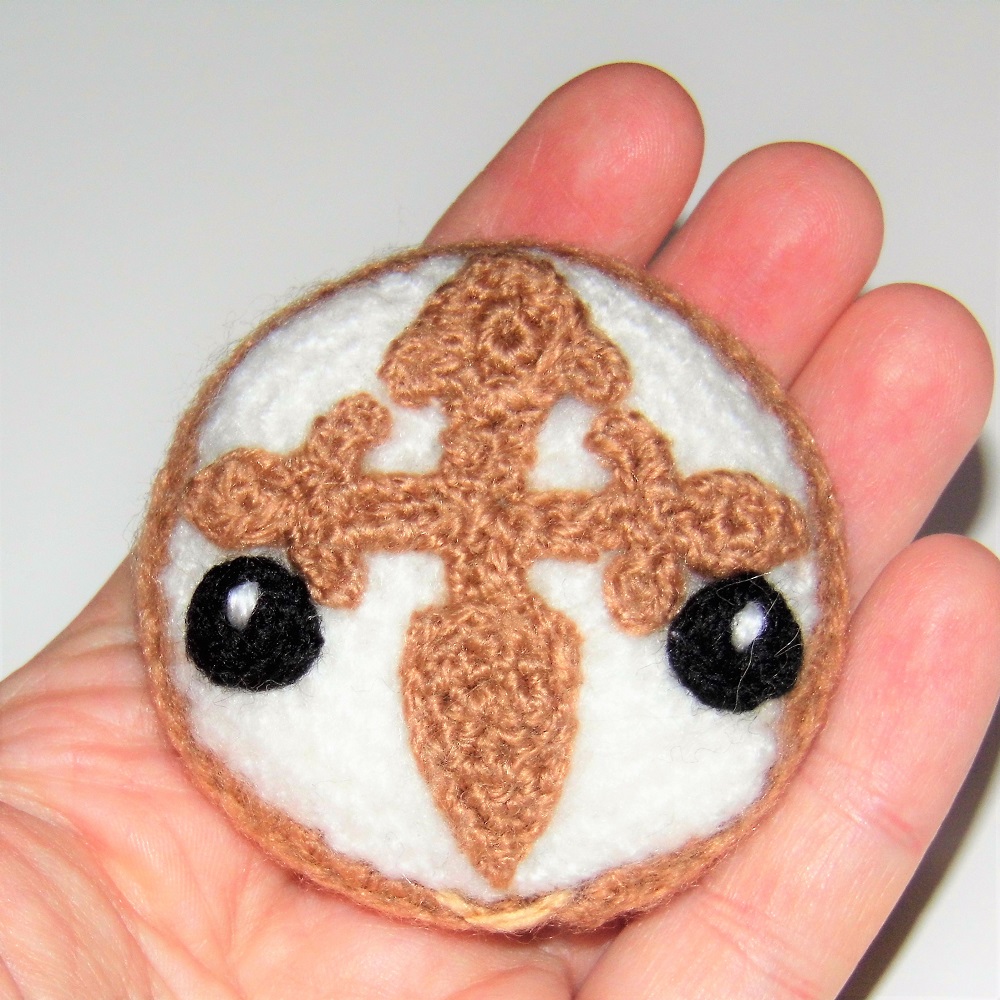
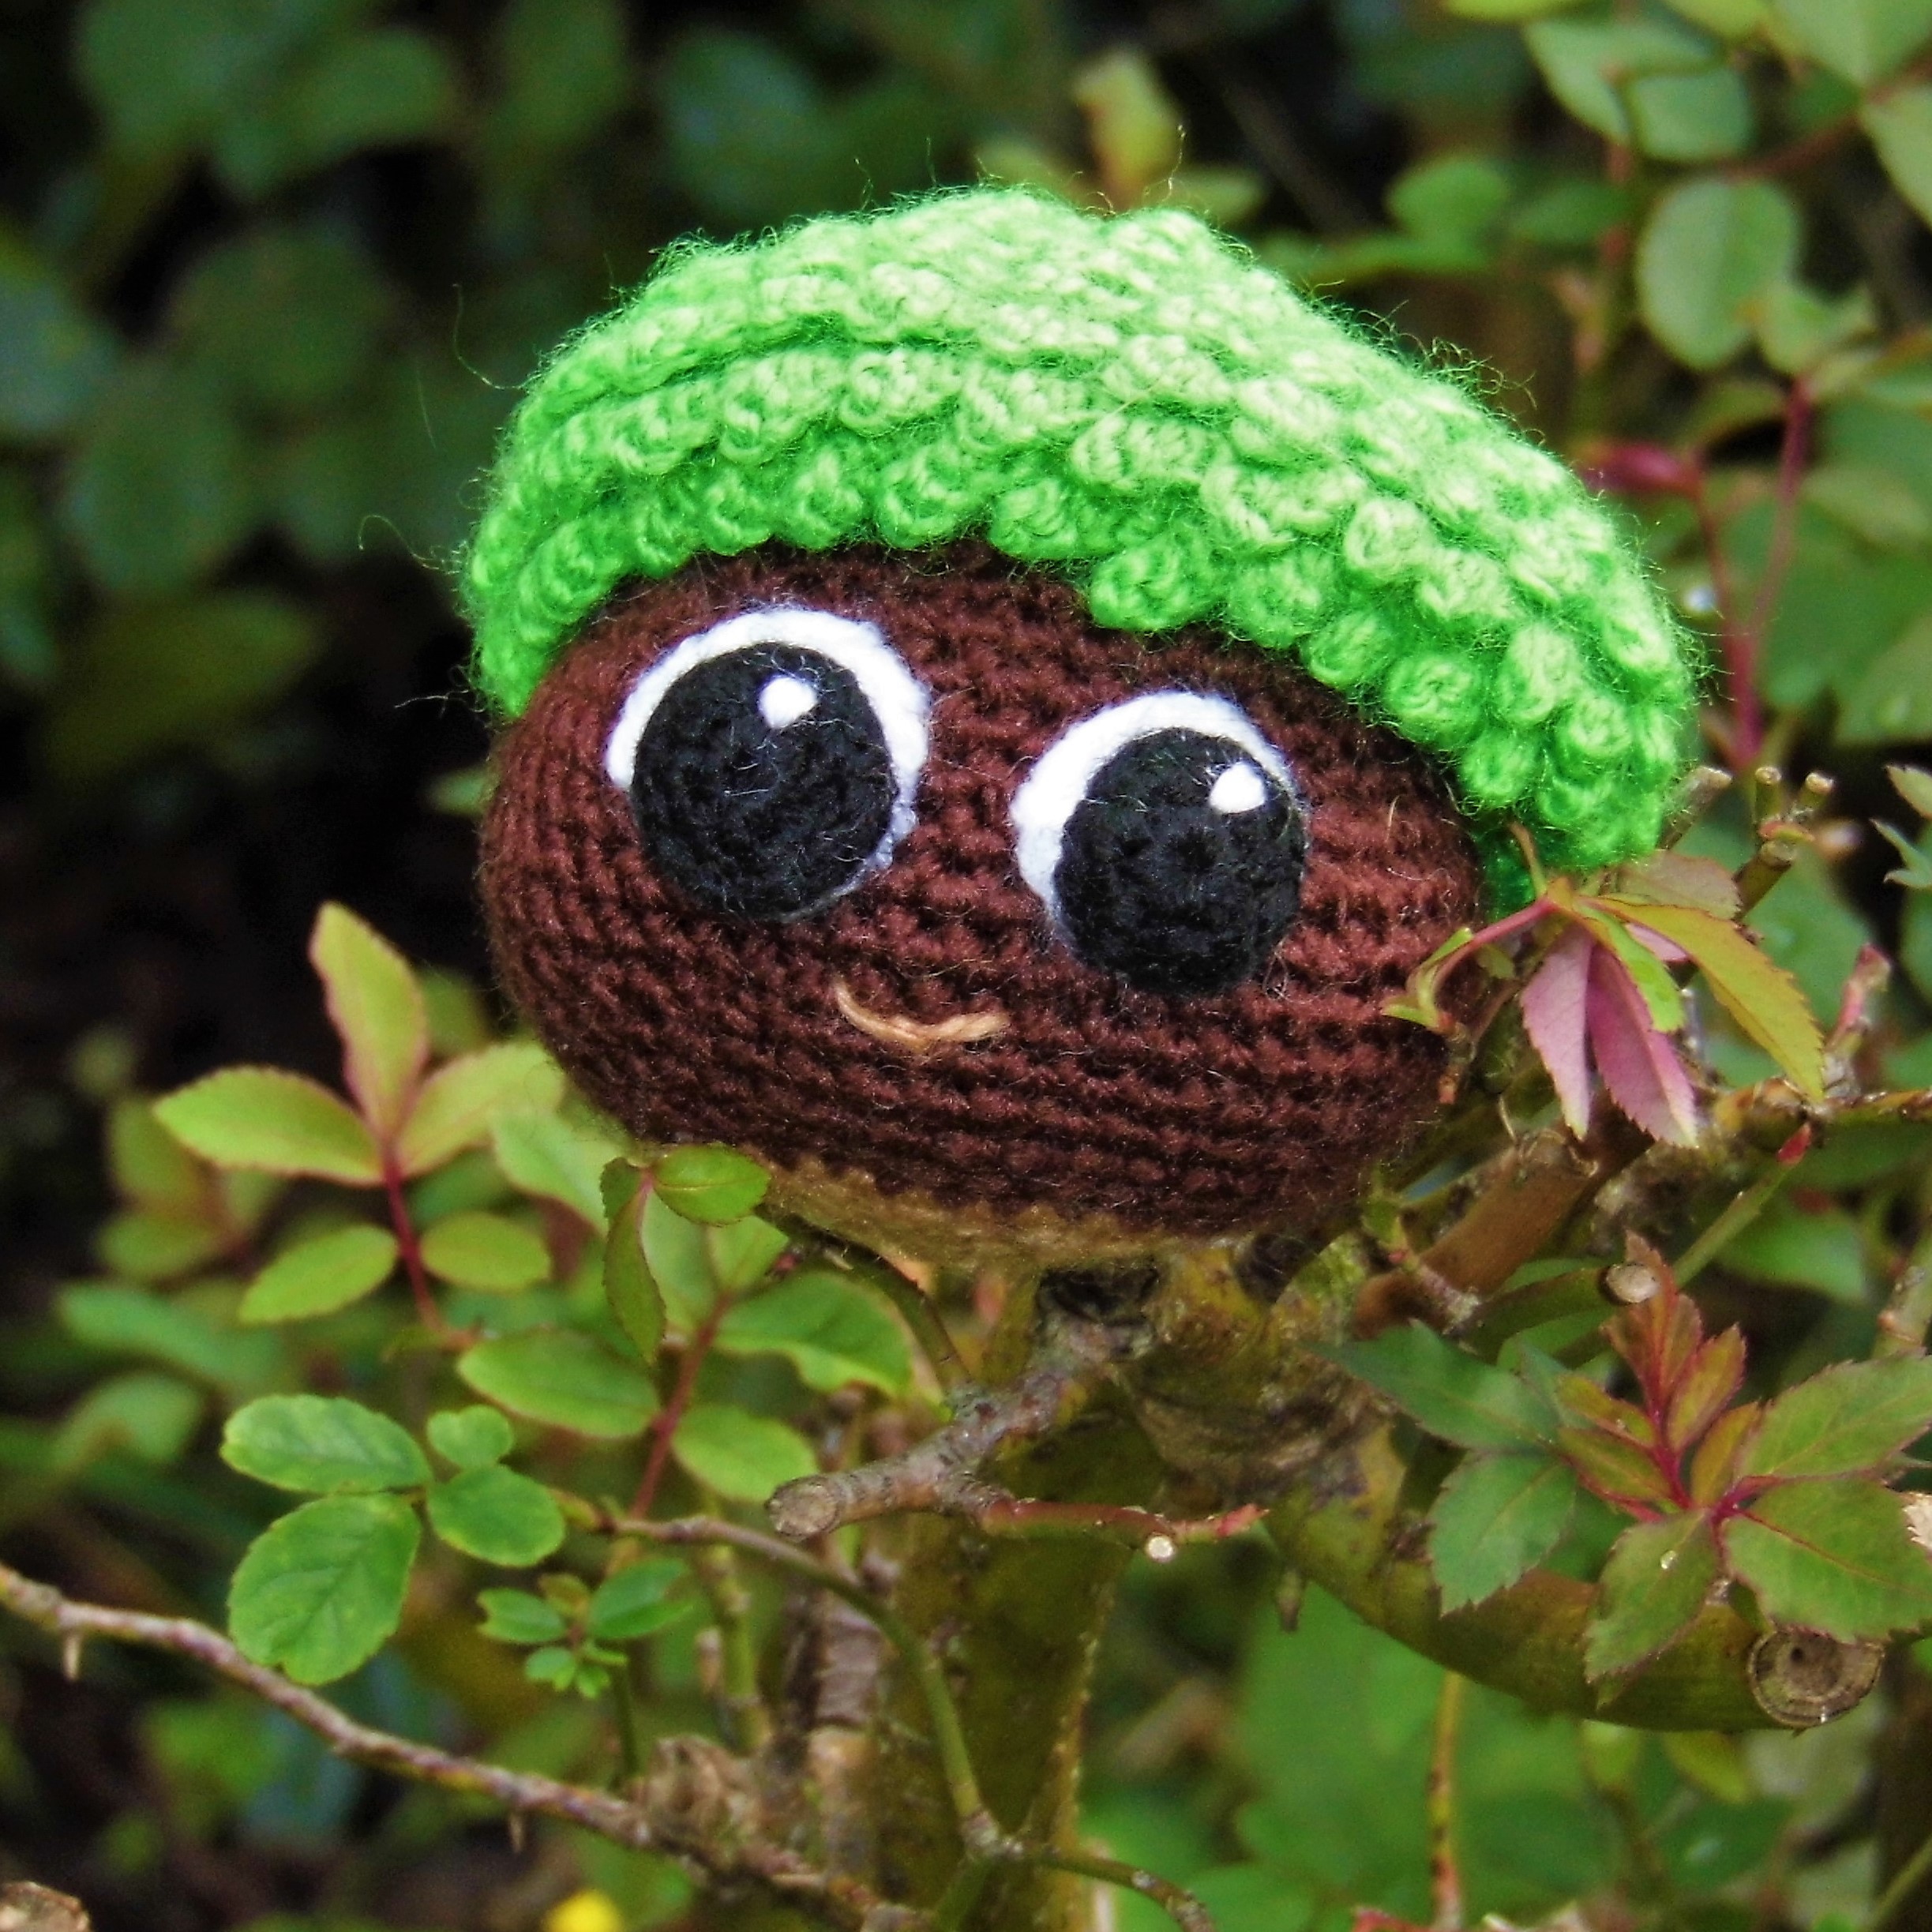
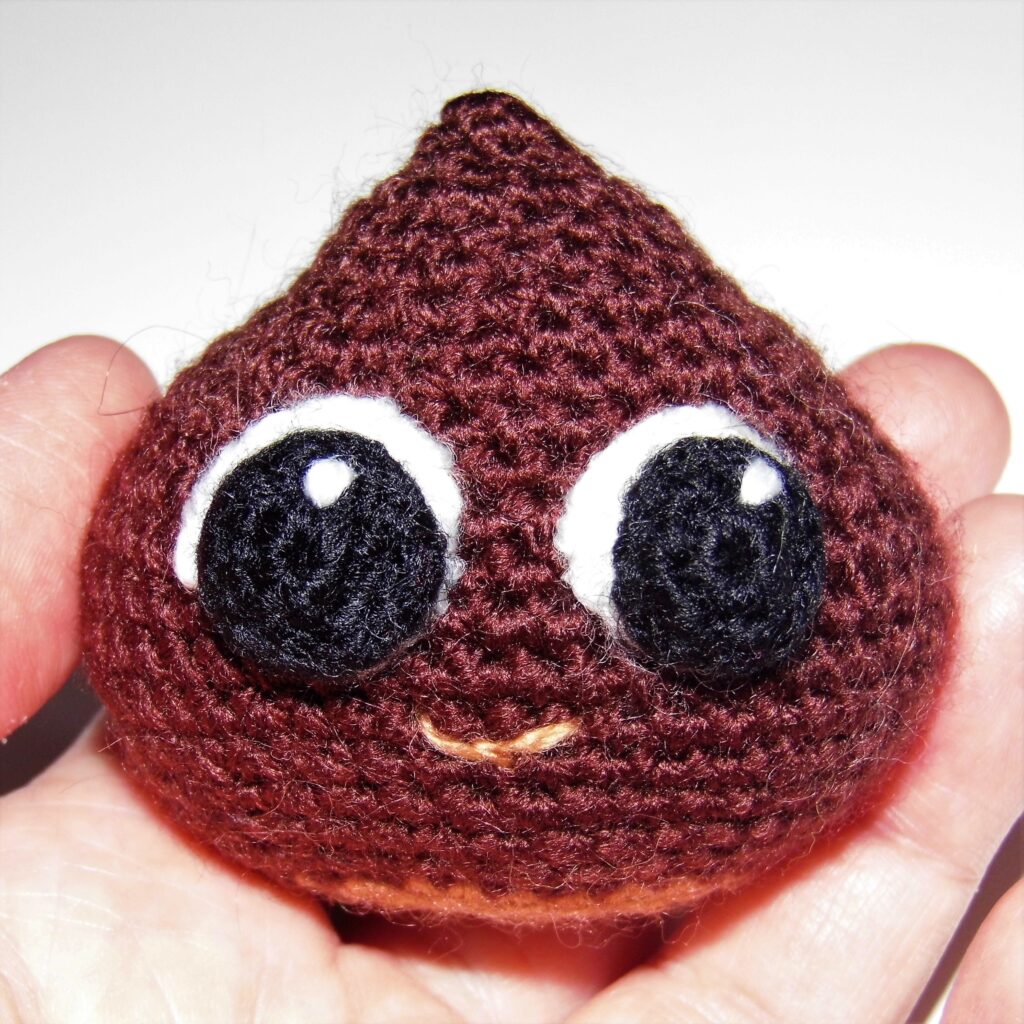
Chestnut Amigurumi Pattern
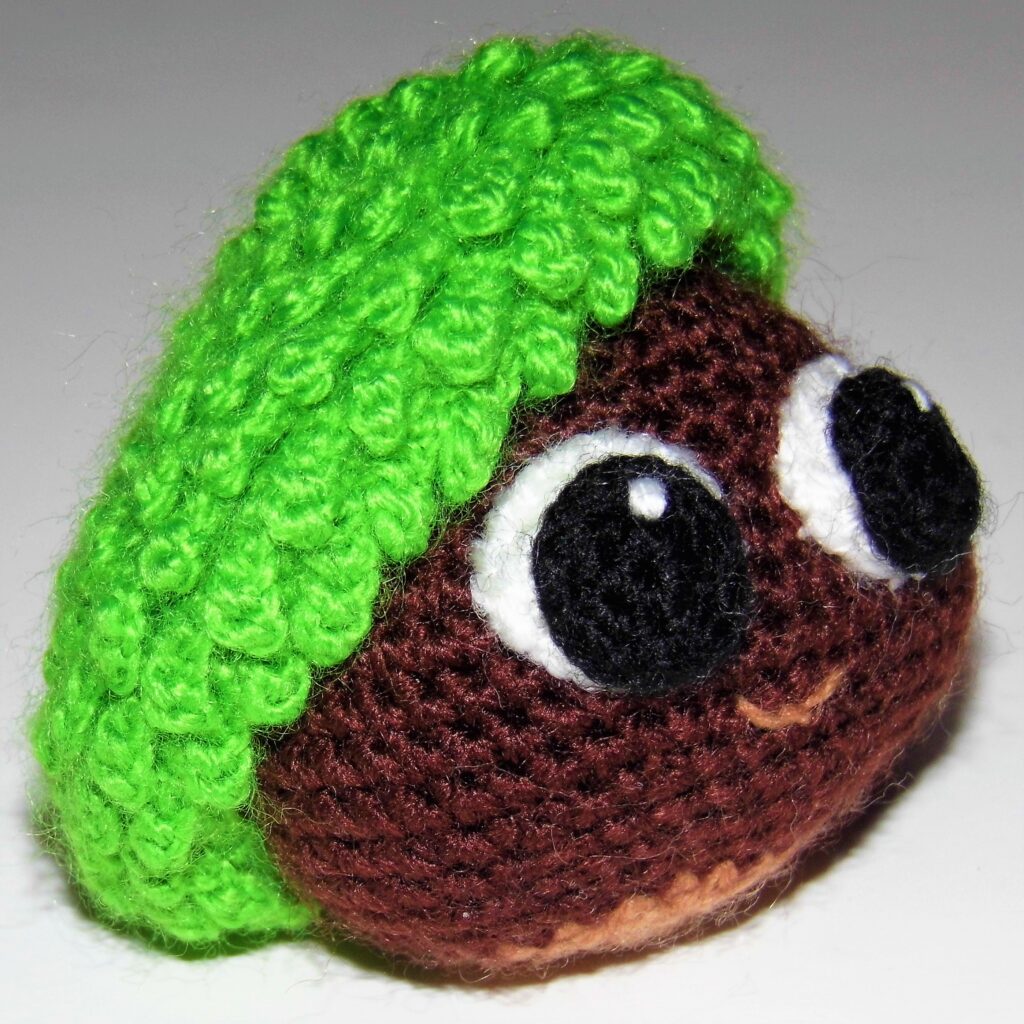
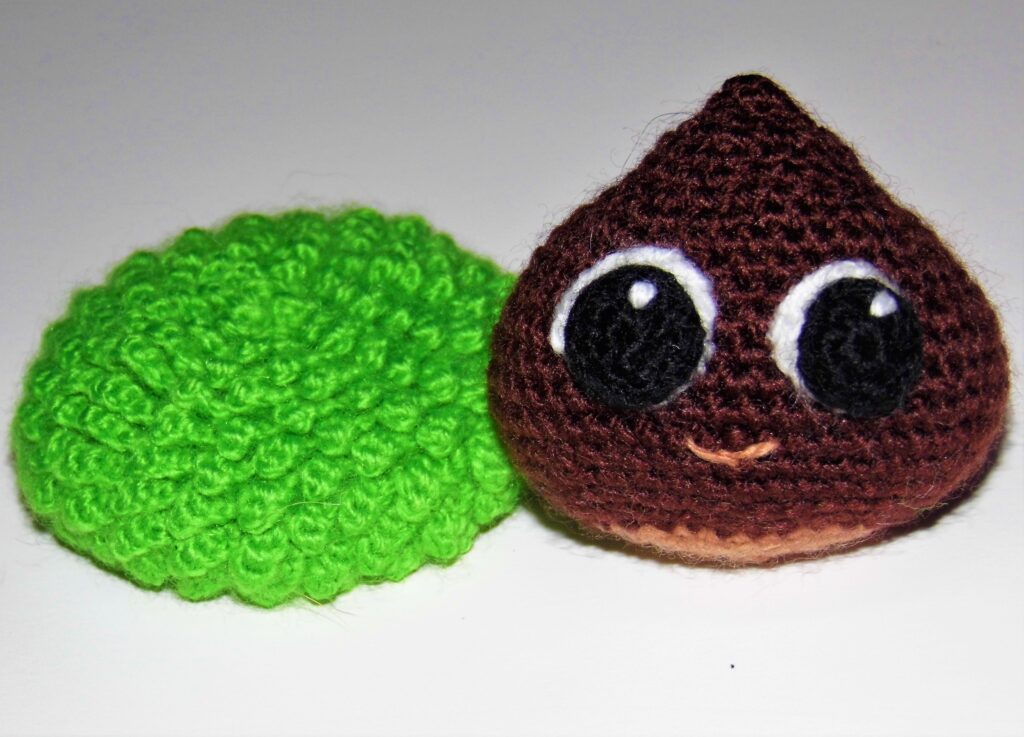
It is a simple pattern, with which you can crochet a funny chestnut with its bur, Kawaii style and like all my designs “totally soft”
Let’s begin!
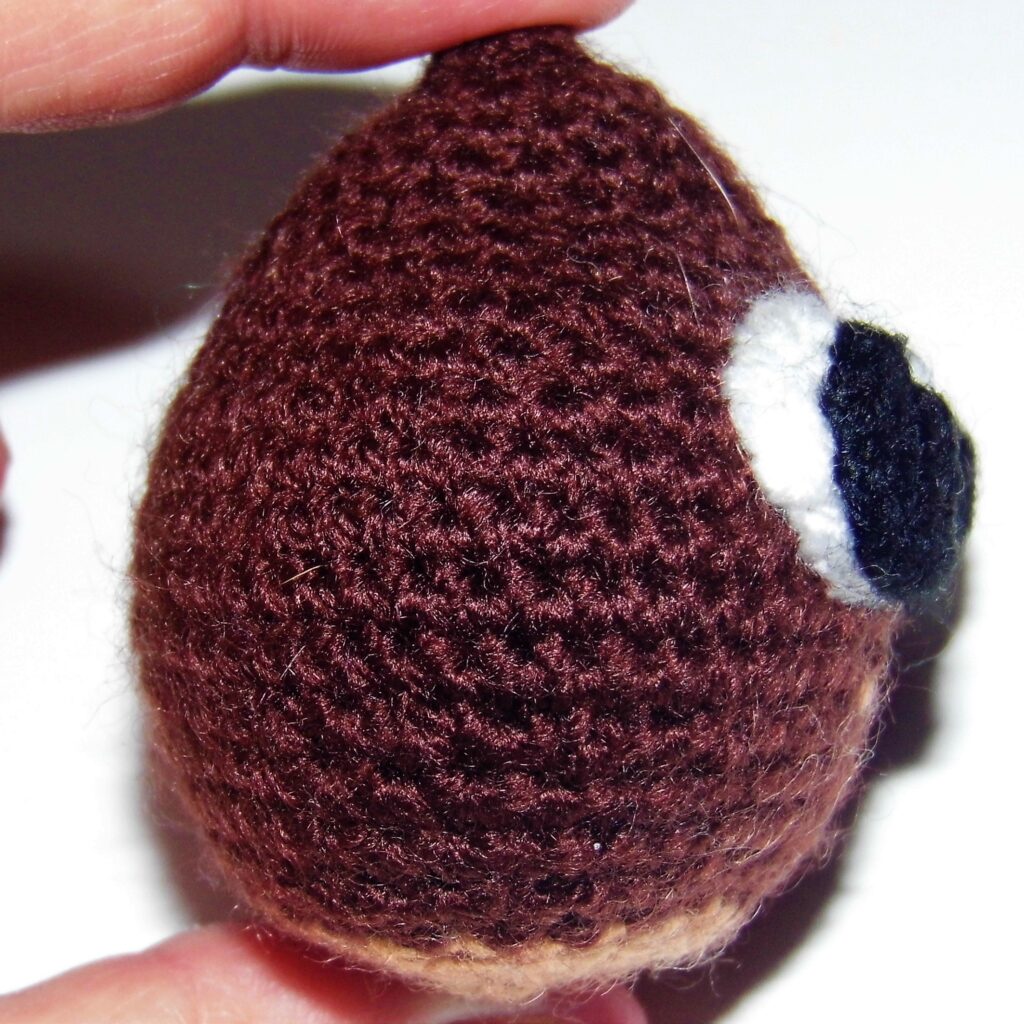
Size: 2,7” / 7 cm
Difficulty: Medium
Estimated time: 8 h
Hook: 2 mm
| MATERIALS – Yarn of different colors: white, black, brown, light brown, light green. – Thickness of the yarn: 3 mm. – Hook according to the thickness of the yarn. – Yarn needle. – Fiberfill. | ABBREVIATIONS sc: single crochet st: stitch ch: chain inc: increase dec: decrease BLO: Back Loops Only Fill the doll with fiberfill as you crochet. |
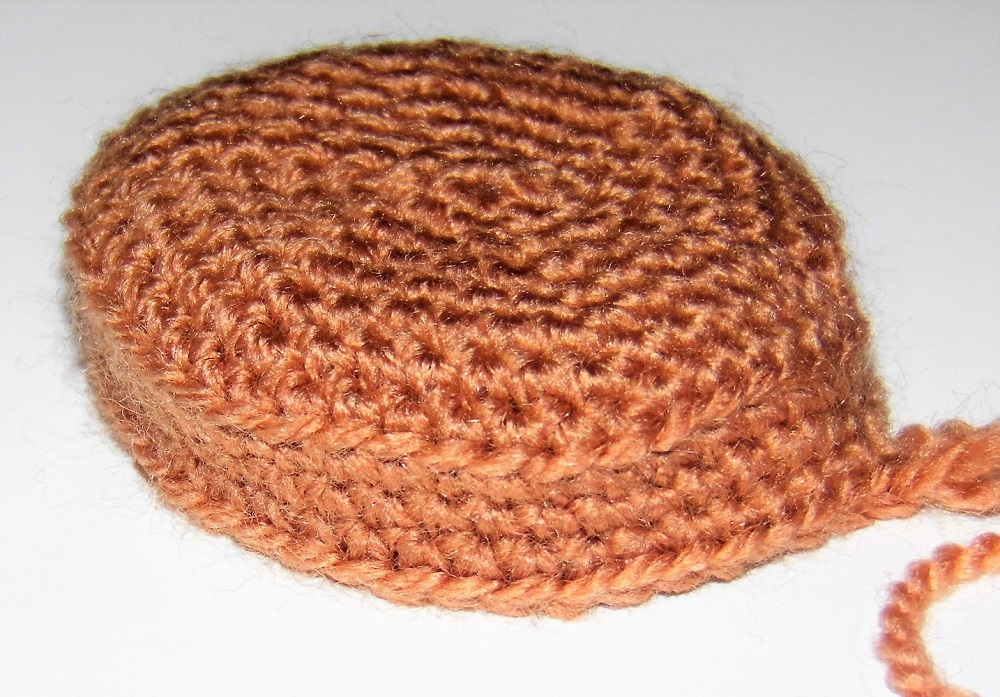
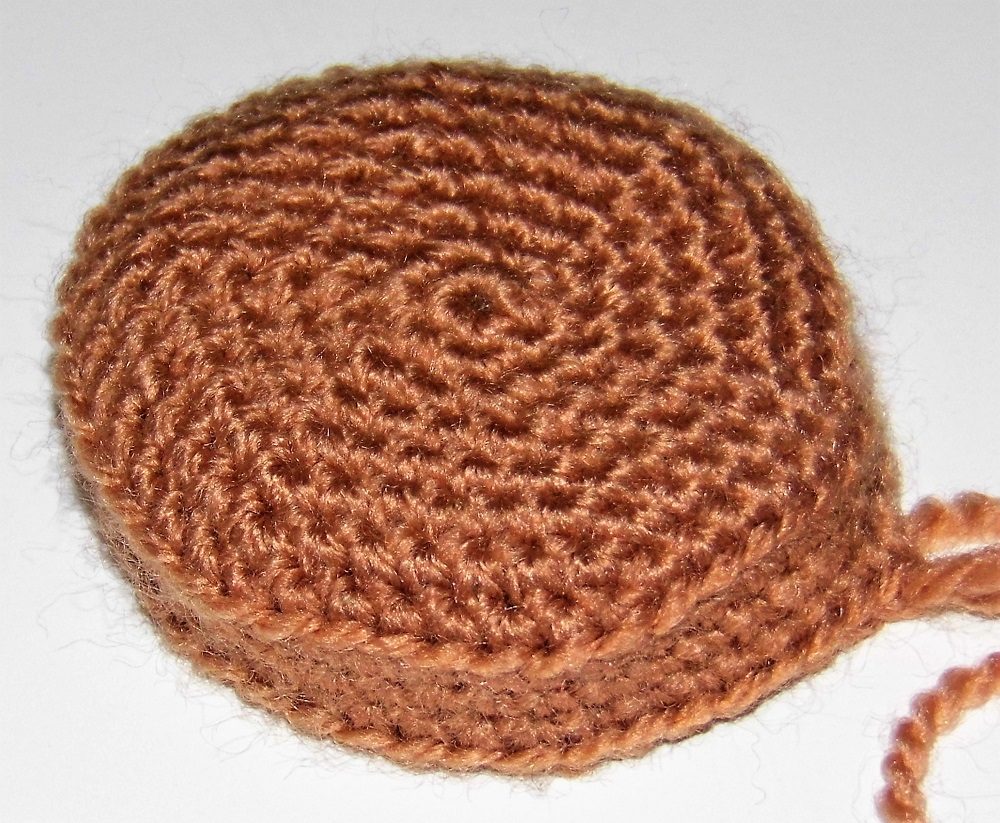
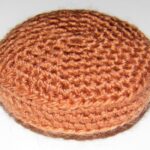
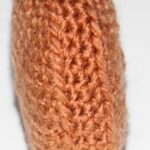
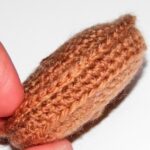
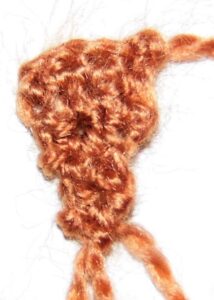
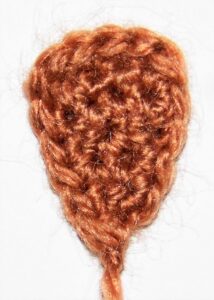
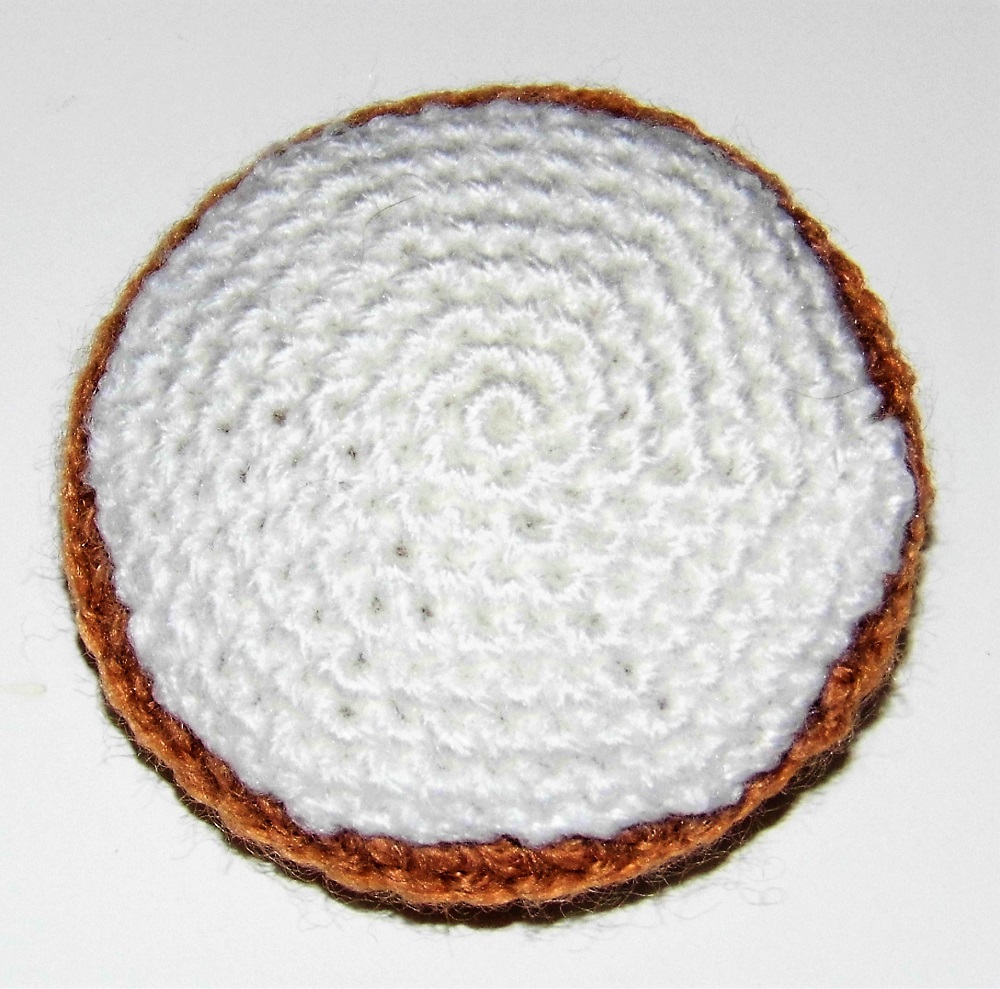
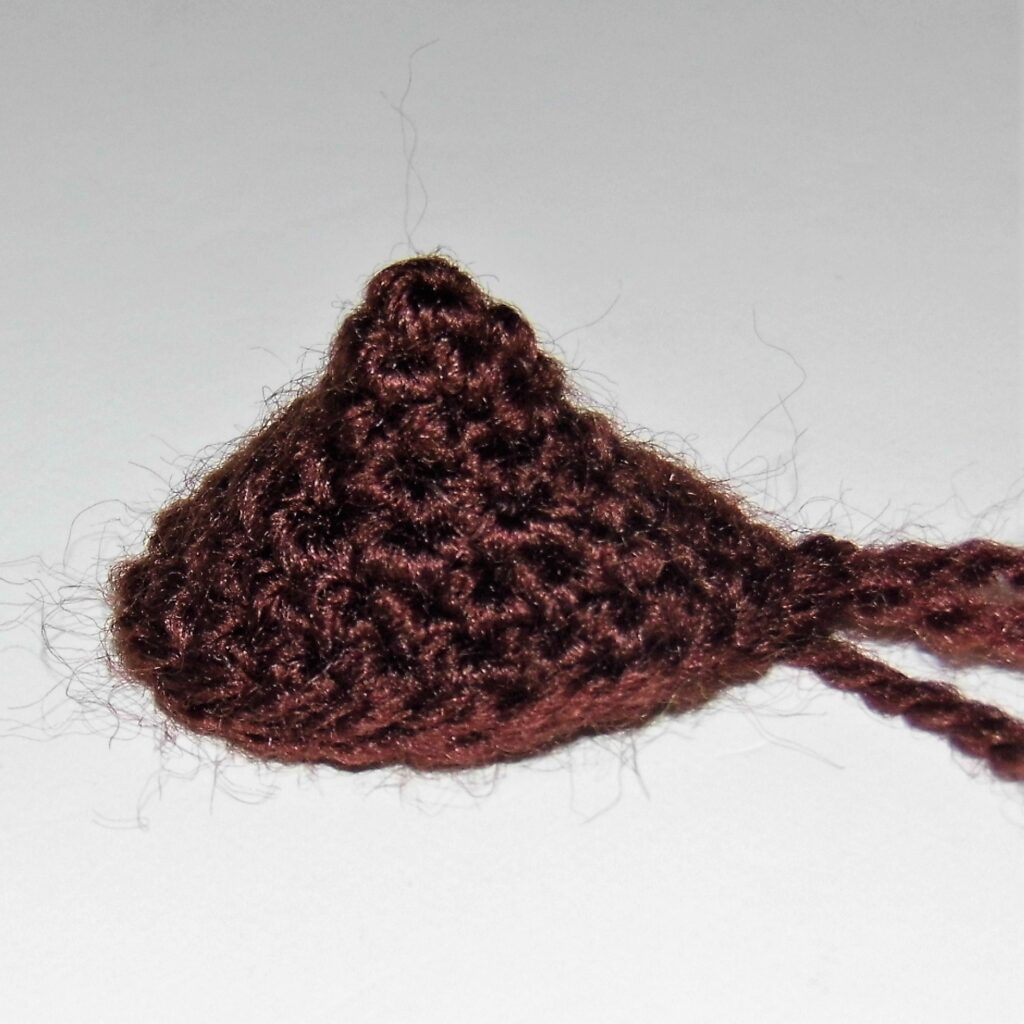
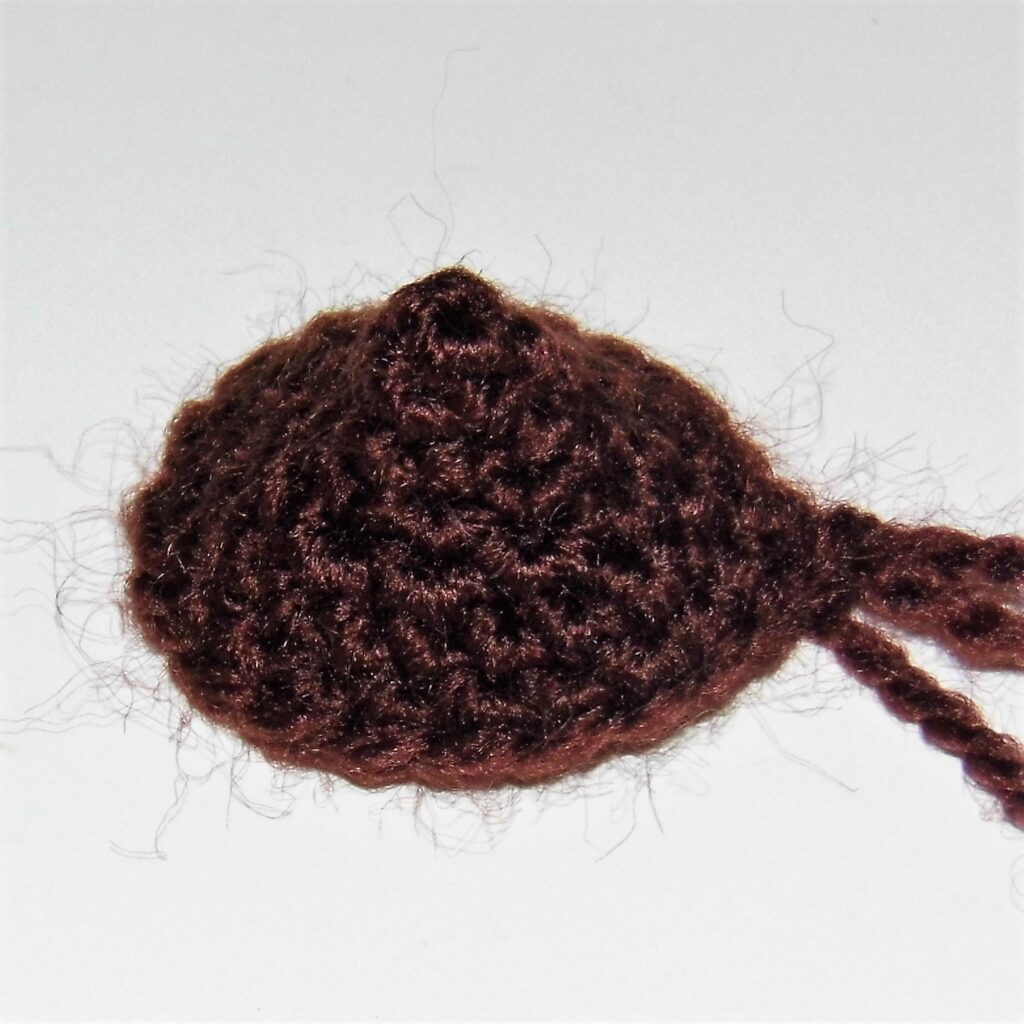
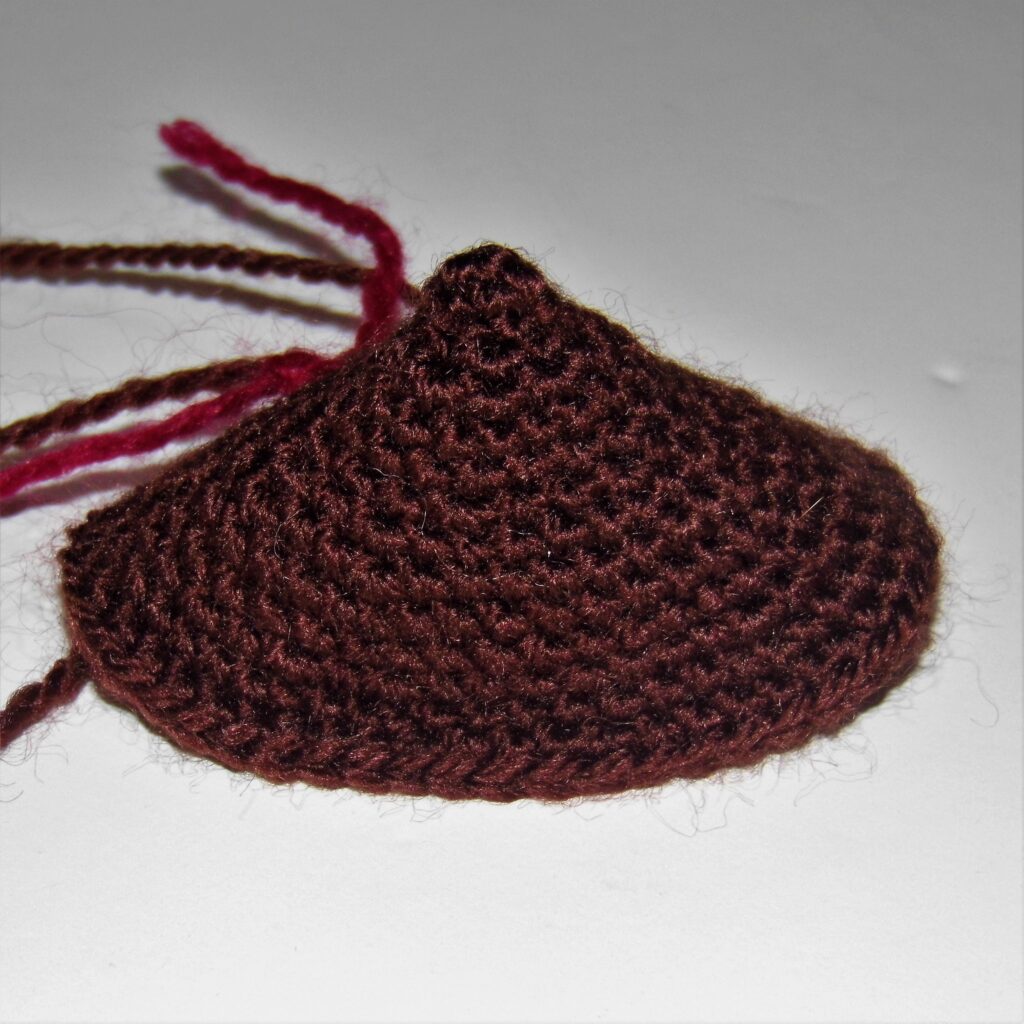
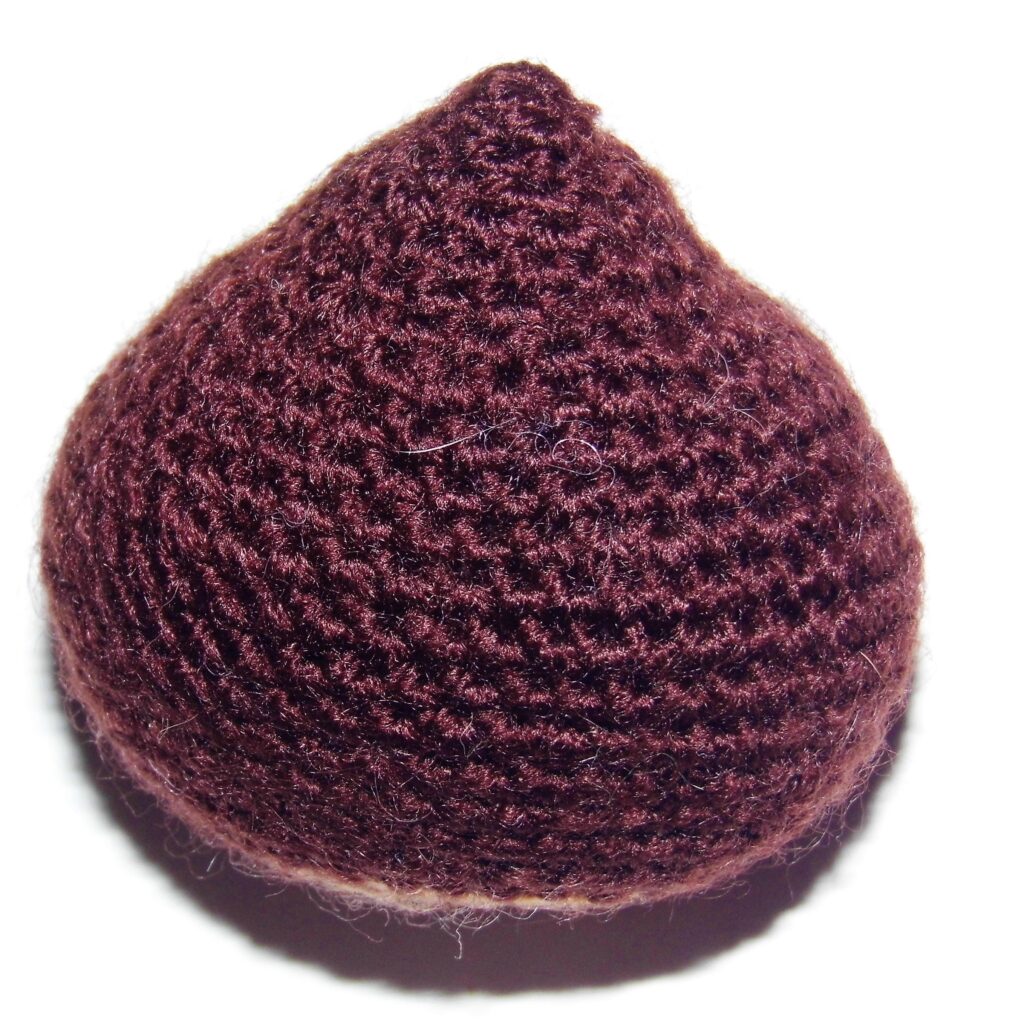
BODY
With Brown yarn
1. Work 4 sc in magic ring.
2. “1 sc, inc”, repeat (6).
3. 1 sc in each st (6).
4. “1 sc, inc”, repeat (9).
5. Inc in every st (18).
6. and 7. 1 sc in each st (18).
8. “2 sc, inc”, repeat (24).
9. “1 sc, inc” 3 times, 6 sc, “1 sc, inc” 3 times, 6 sc (30).
10. “2 sc, inc” 3 times, 6 sc, “2 sc, inc” 3 times, 6 sc (36).

11. and 12. 1 sc in each st (36).
13. 1 sc, “1 sc, inc” 6 times, 6 sc, “1 sc, inc” 6 times, 5 sc (48).
14. to 17. 1 sc in each st (48).
18. 3 sc, “1 sc, dec” 6 times, 6 sc, “1 sc, dec” 6 times, 3 sc (36).
19. and 20. 1 sc in each st (36).
21. 4 sc, “2 sc, dec” 3 times, 6 sc, “2 sc, dec” 3 times, 2 sc (30).
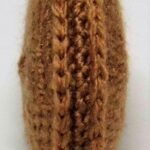
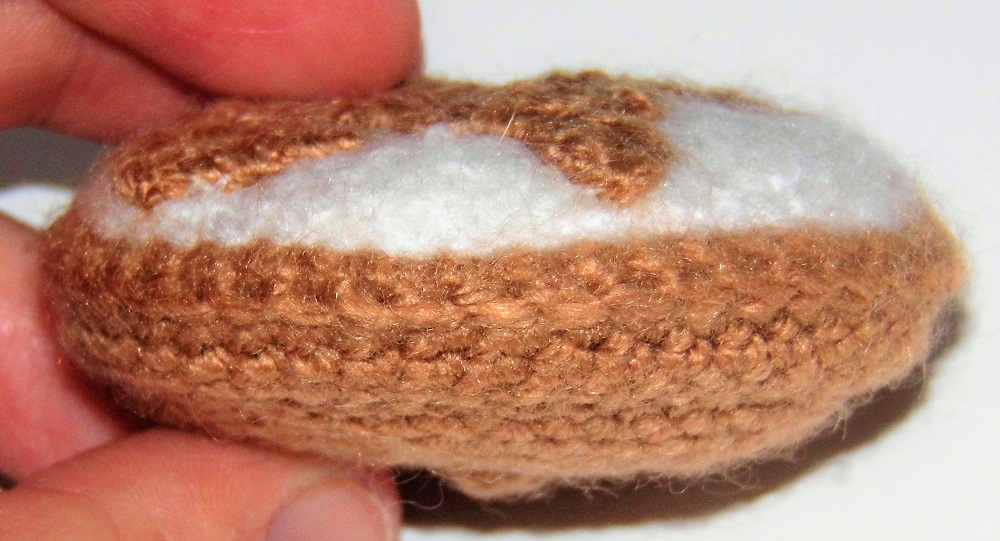
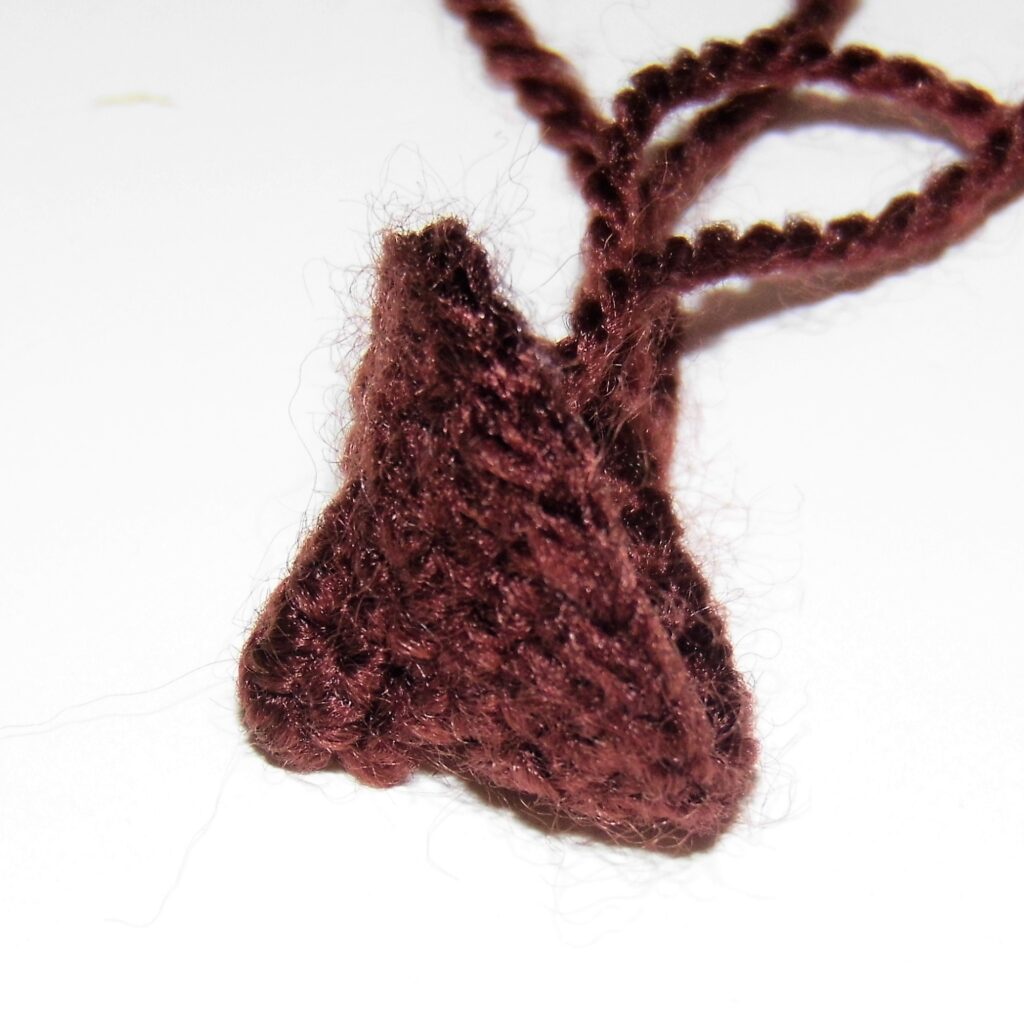
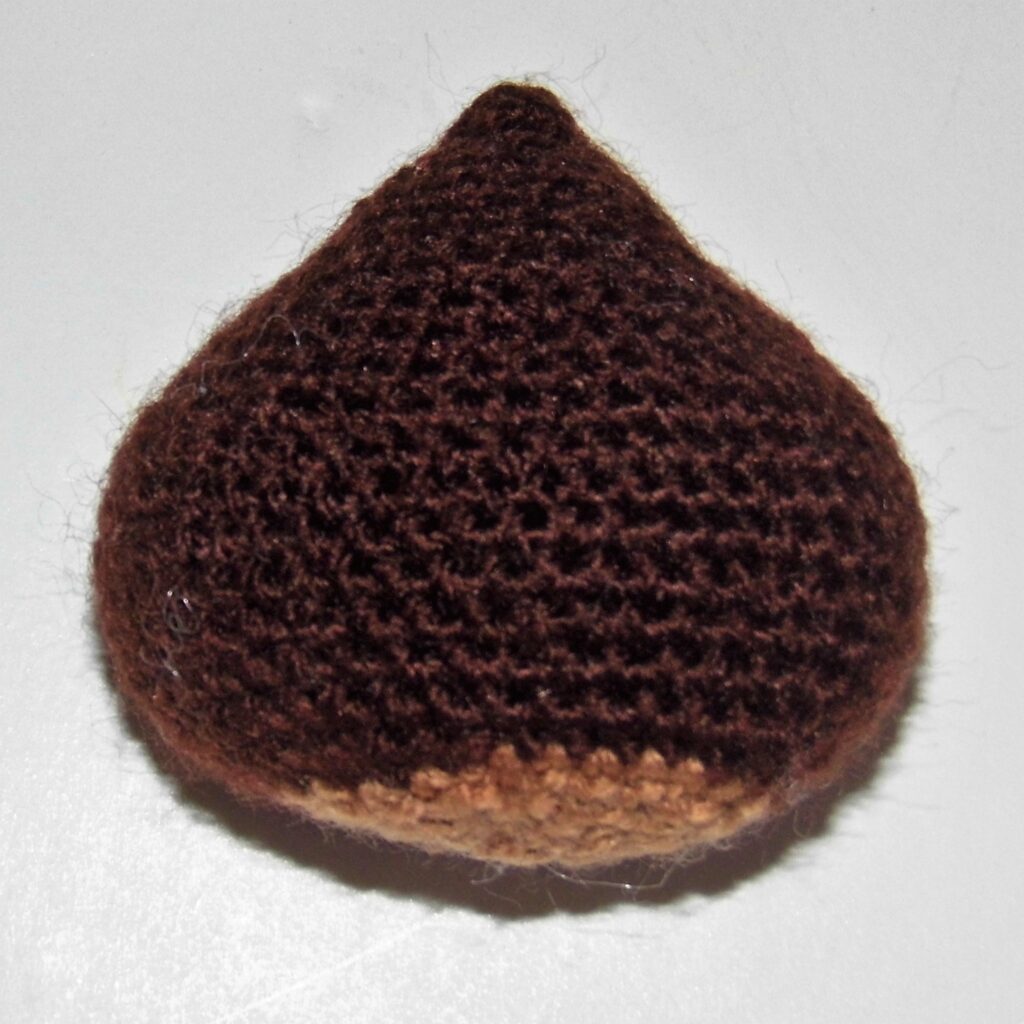
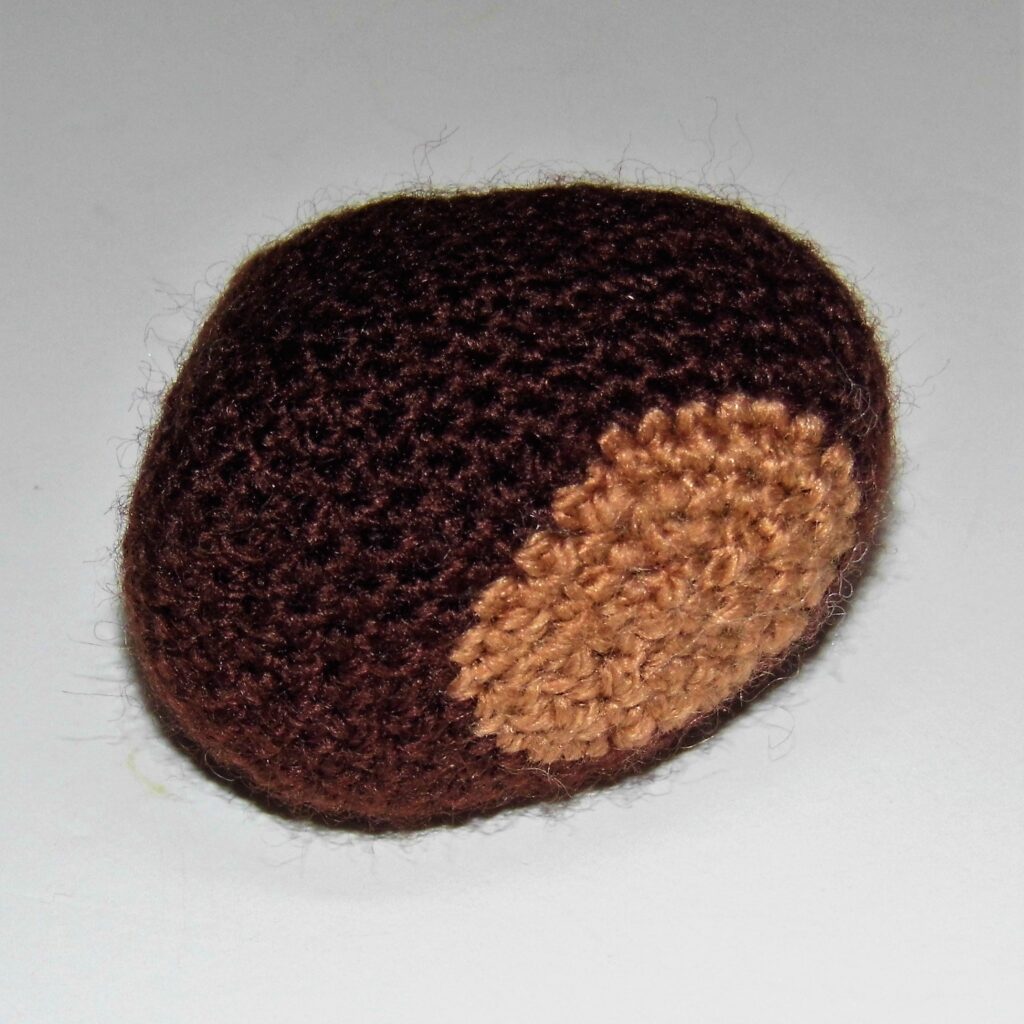
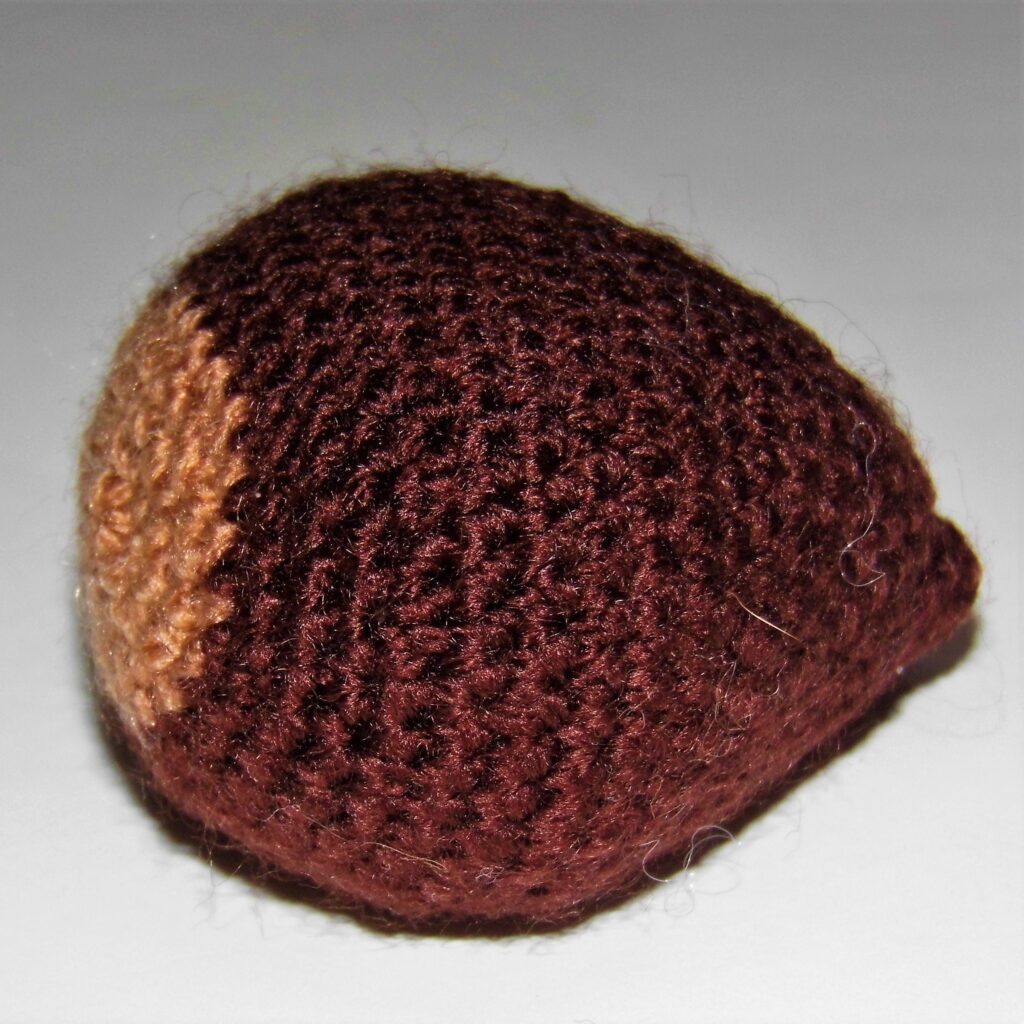
22. Change to light brown yarn and work 5 sc, “1 sc, dec” 3 times, 6 sc, “1 sc, dec” 3 times, 1 sc (24).
23. 1 dec, “2 sc, dec” 5 times, 2 sc (18).
24. “1 sc, dec”, repeat (12).
25. Dec in every st (6).
Fasten off. Sew the hole with the yarn needle.
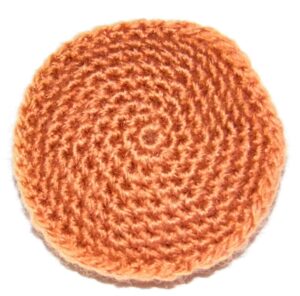
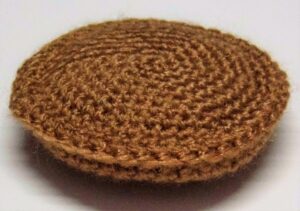
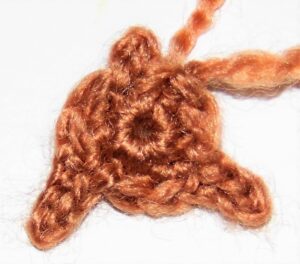
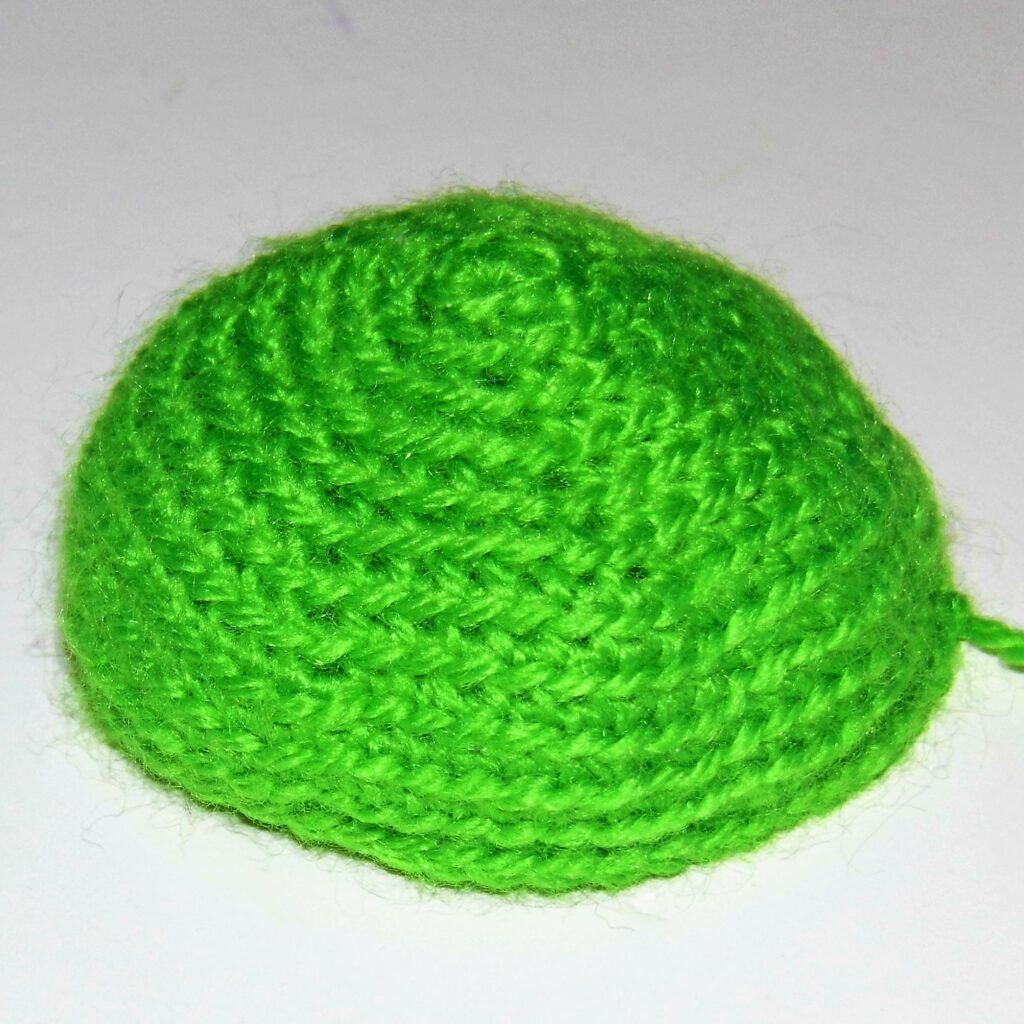
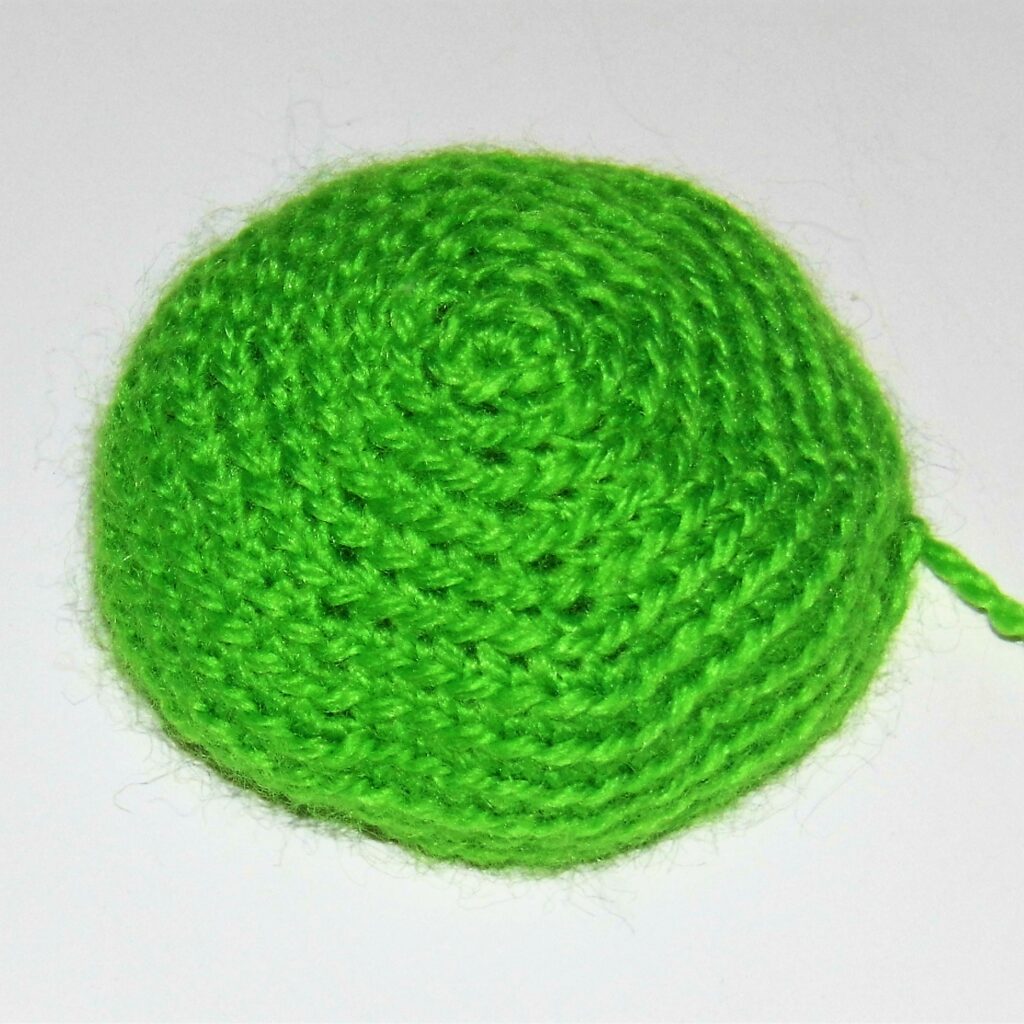
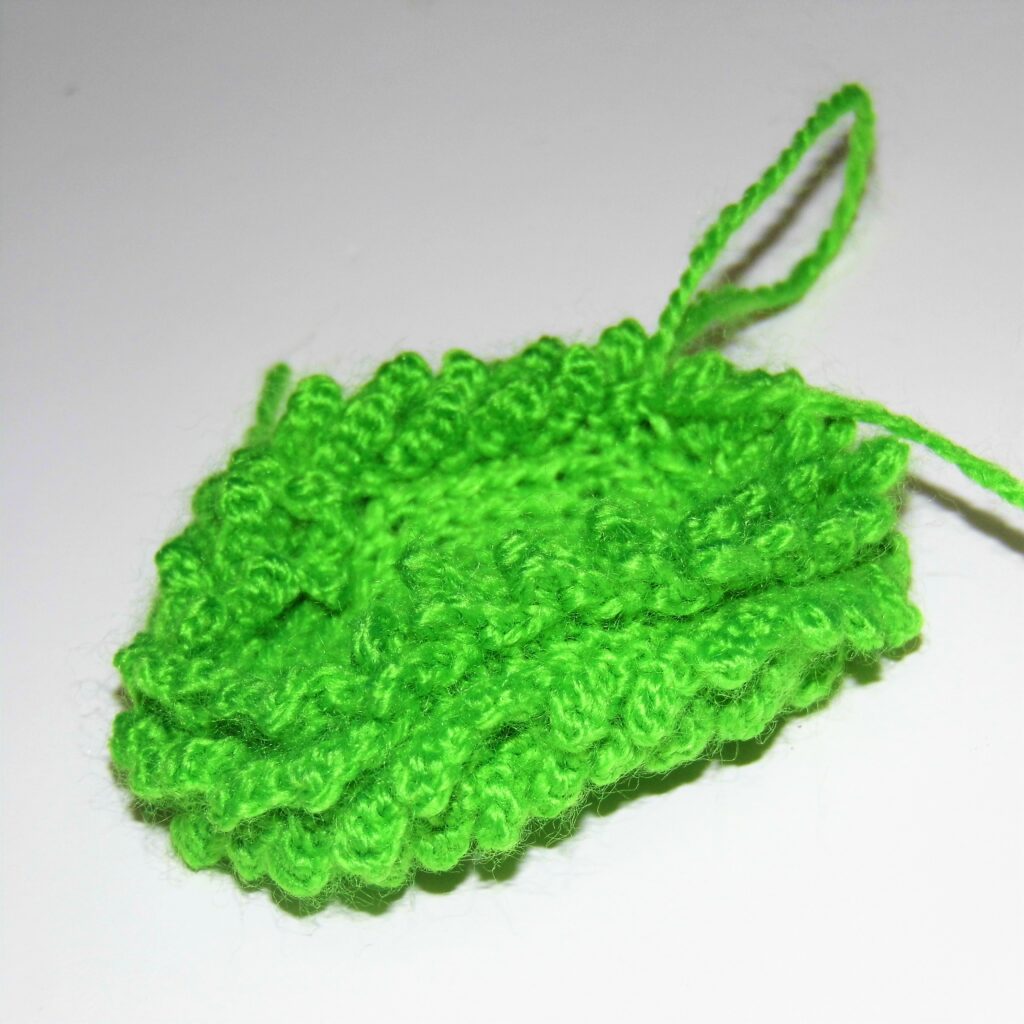
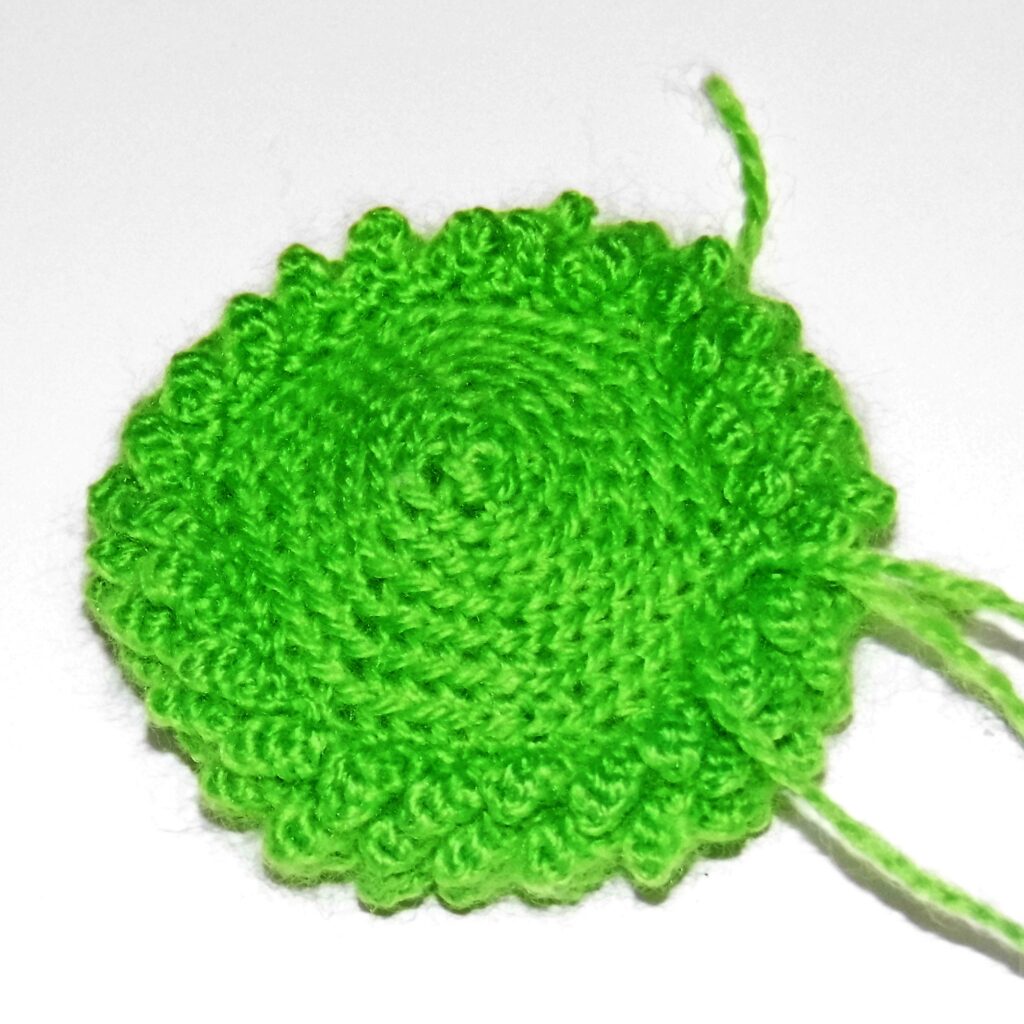
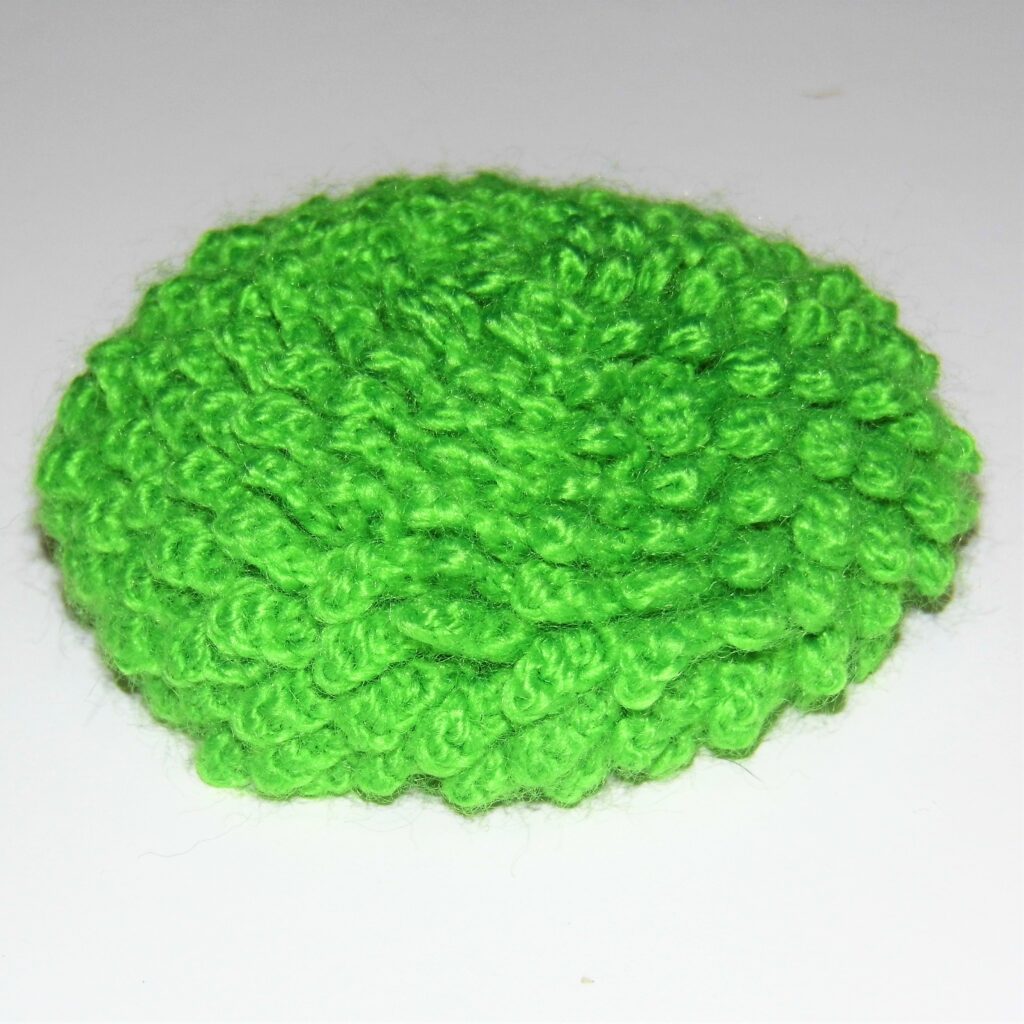
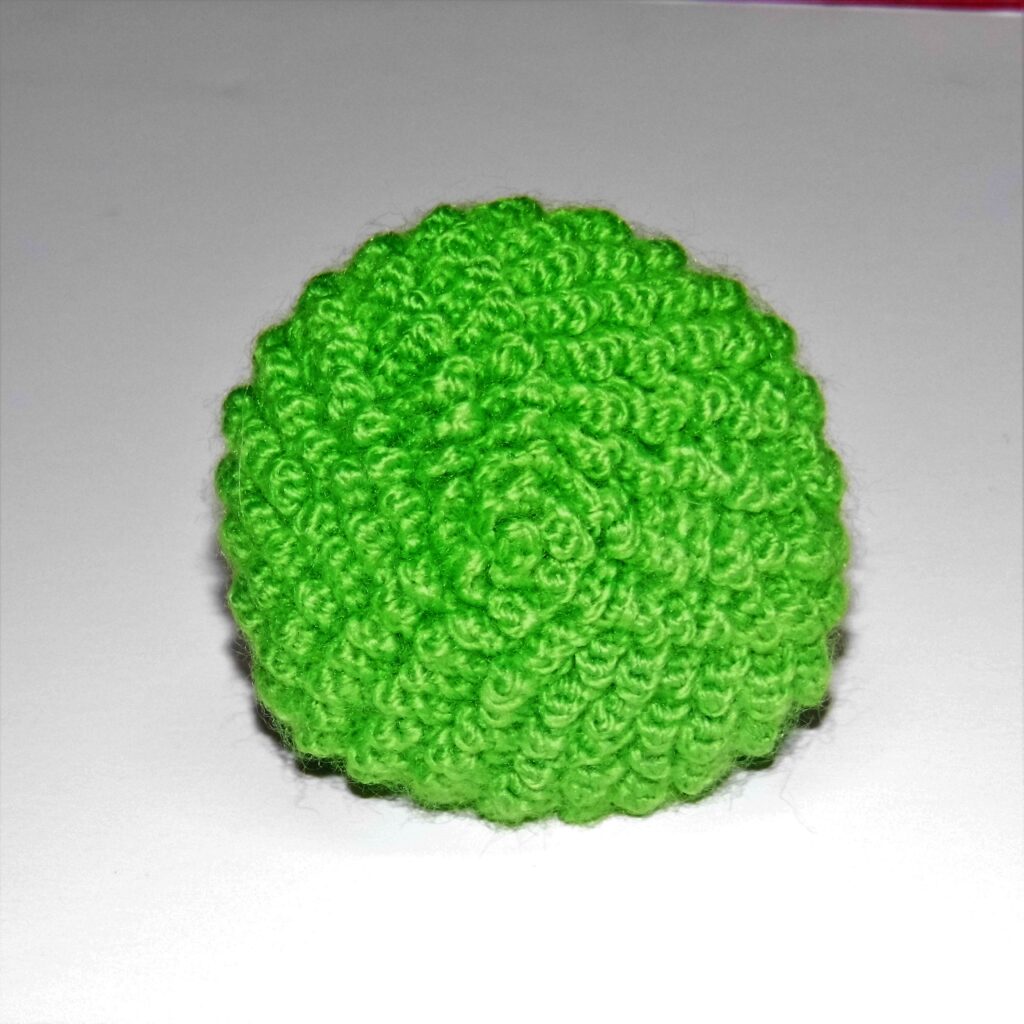
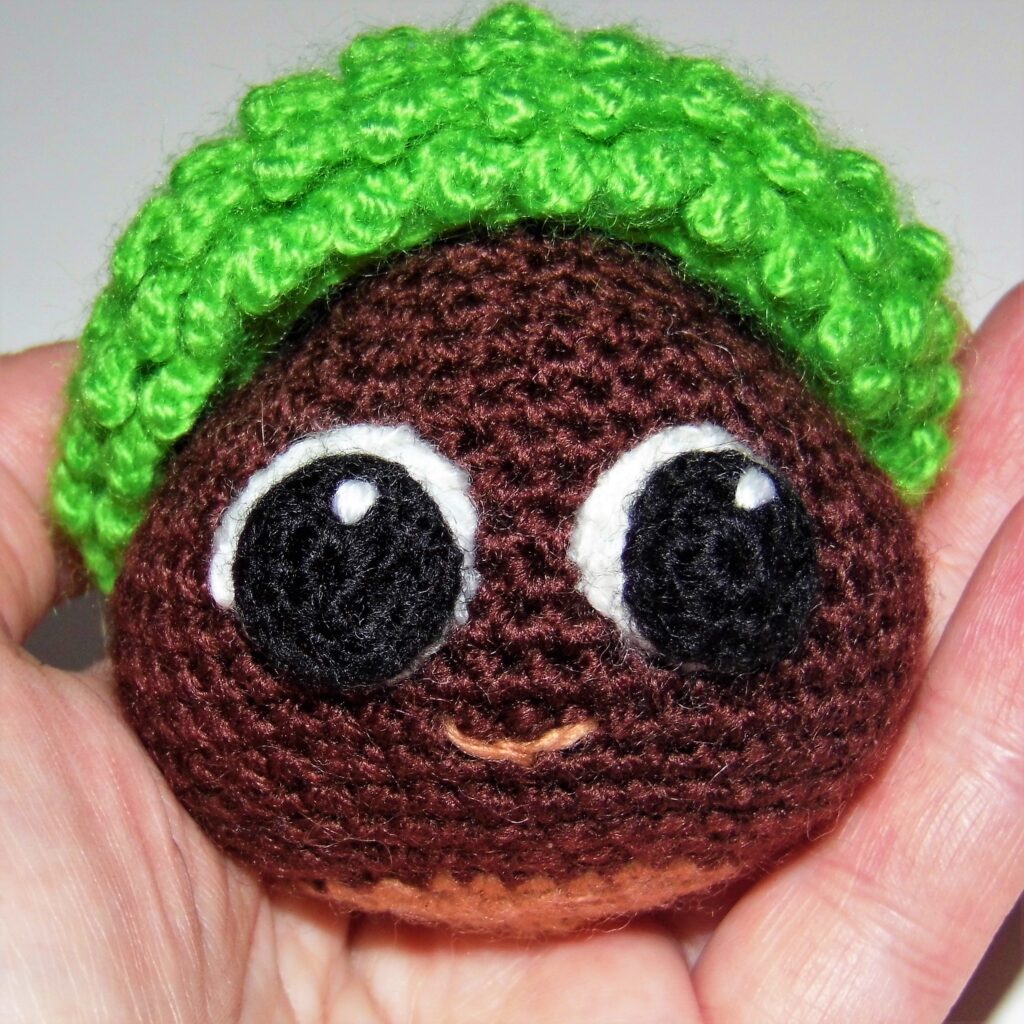
CHESTNUT BUR
With light green yarn
1. Work 6 sc in magic ring.
2. From this round and the next ones you are going to work in back loops only: Inc in every st (12).
3. BLO “1 sc, inc”, repeat (18).
4. BLO “2 sc, inc”, repeat (24).
5. BLO “3 sc, inc”, repeat (30).
6. BLO “4 sc, inc”, repeat (36).
7. BLO “5 sc, inc”, repeat (42).
8. BLO “6 sc, inc”, repeat (48).
9. BLO “7 sc, inc”, repeat (54).
10. and 11. BLO 1 sc in each st (54).
12. BLO “7 sc, dec”, repeat (48).
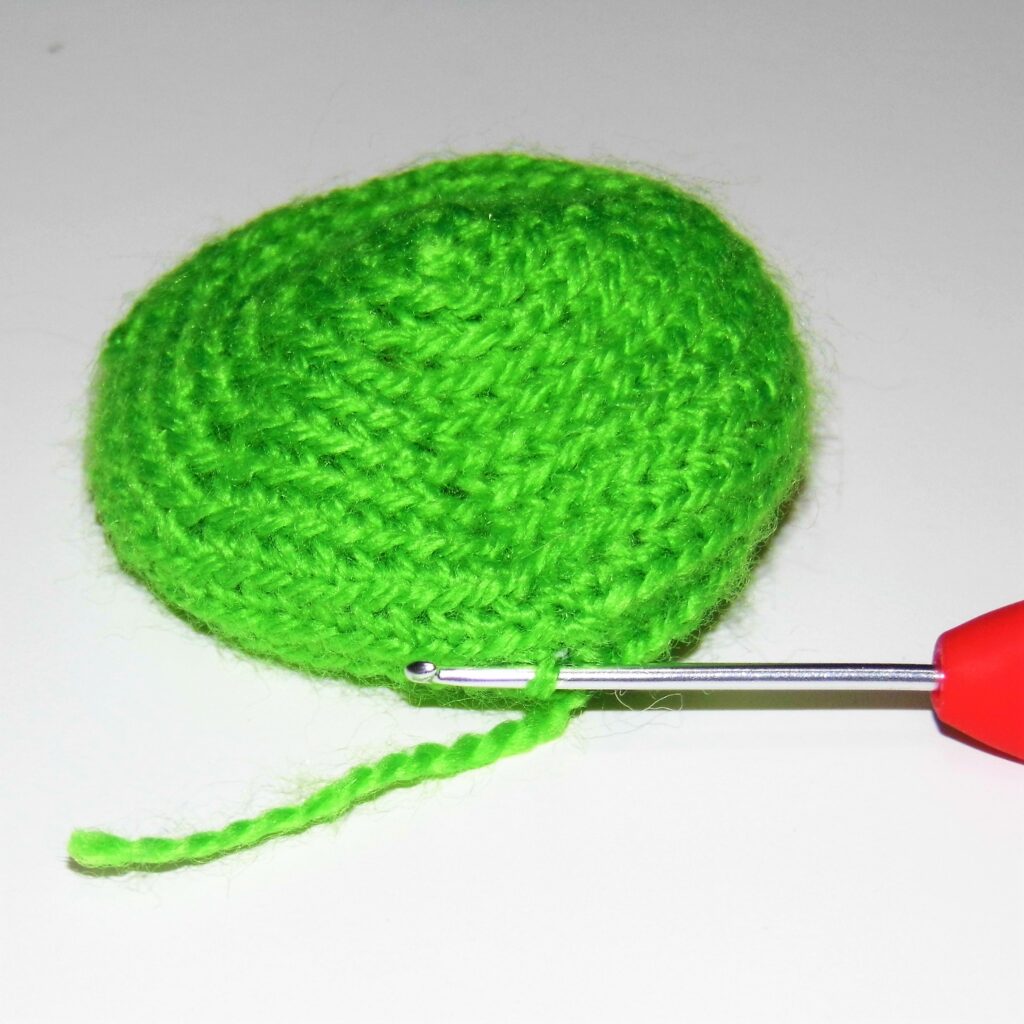
13. 1 sc in the post of each st (48).
Fasten off.
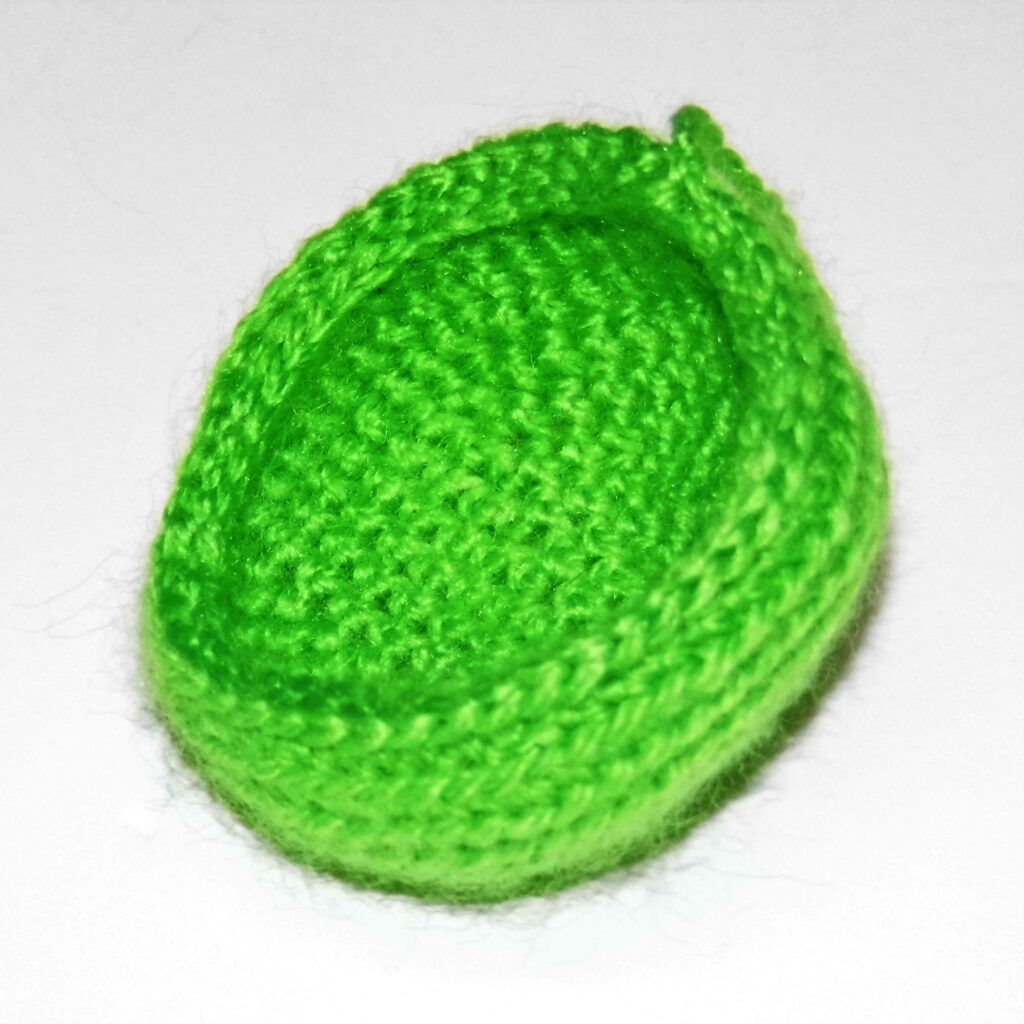
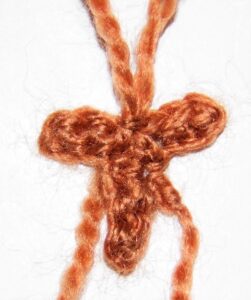
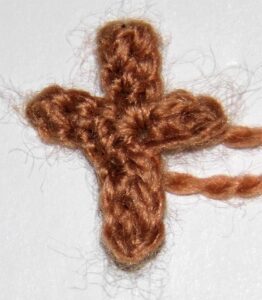
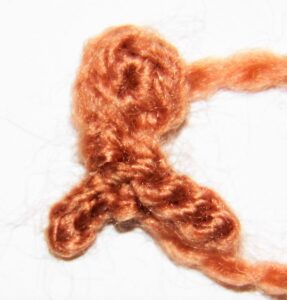
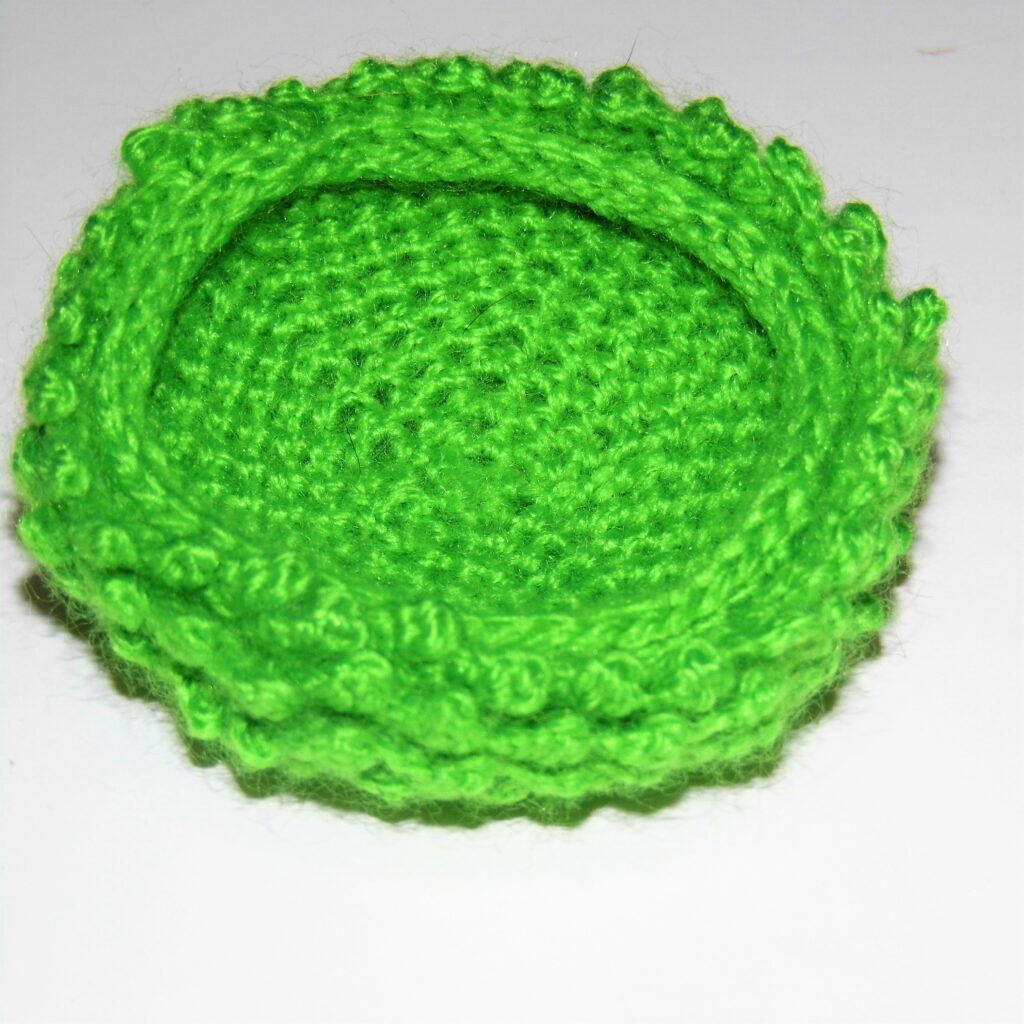
COMPLETE THE BUR
With light green yarn
Start working in the free loops from the final round until the beginning of the piece. Work the following sequence: “1 sc, ch 3, 2 slip st in the chains, 1 slip st in the point origin of the chains, 1 sc in the next st” Repeat to the end.
Fasten off.
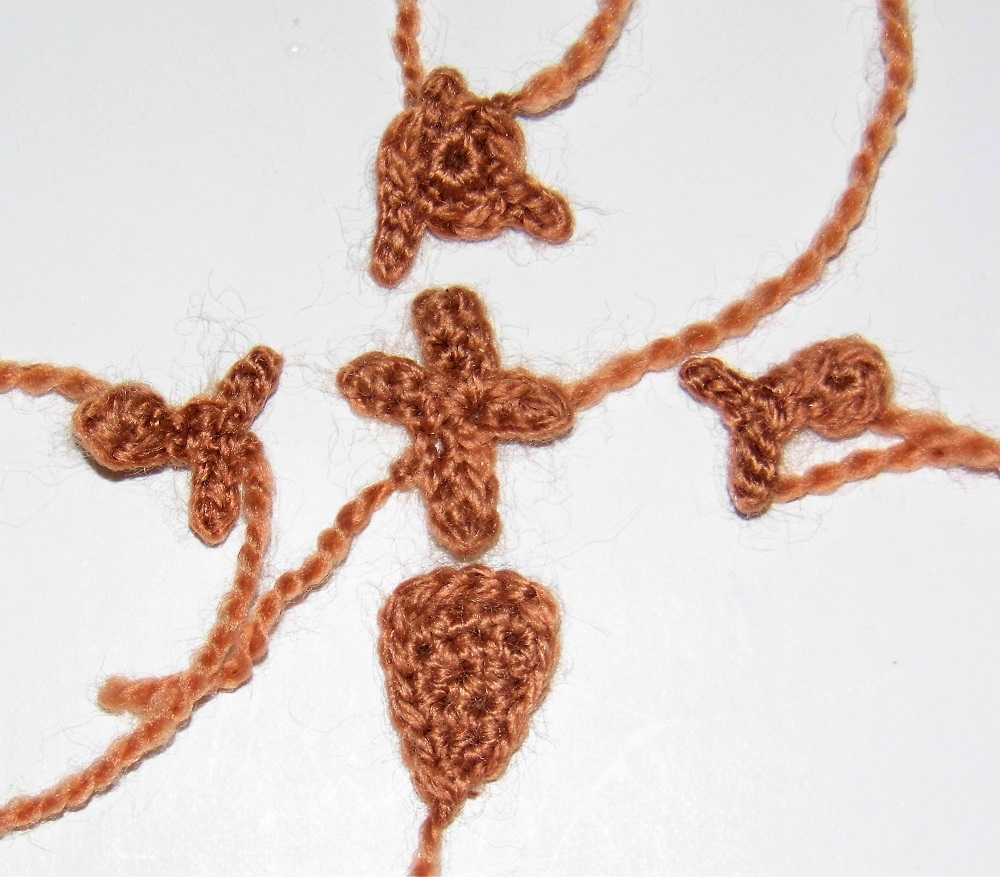
EYES (x2)
Background
With White yarn
1. Work 6 sc in magic ring.
2. Inc in every st (12).
Fasten off.
Pupil
With black yarn
1. Work 6 sc in magic ring.
2. 1 sc in each st (6).
Fasten off.

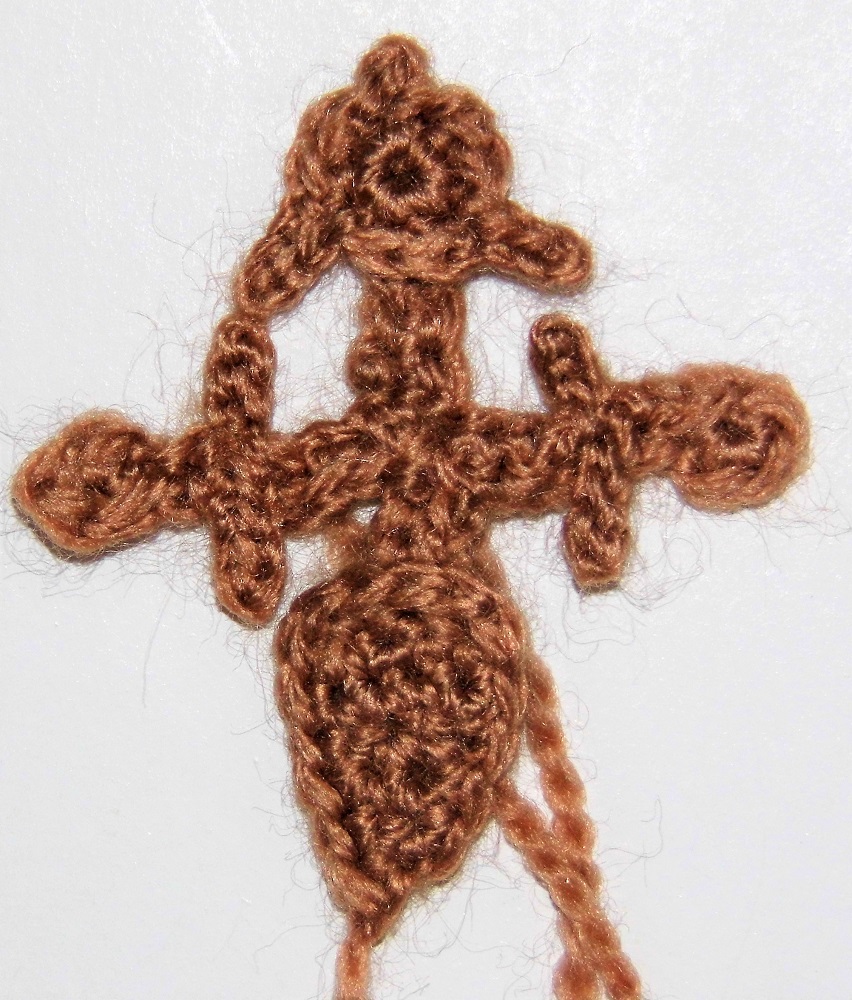
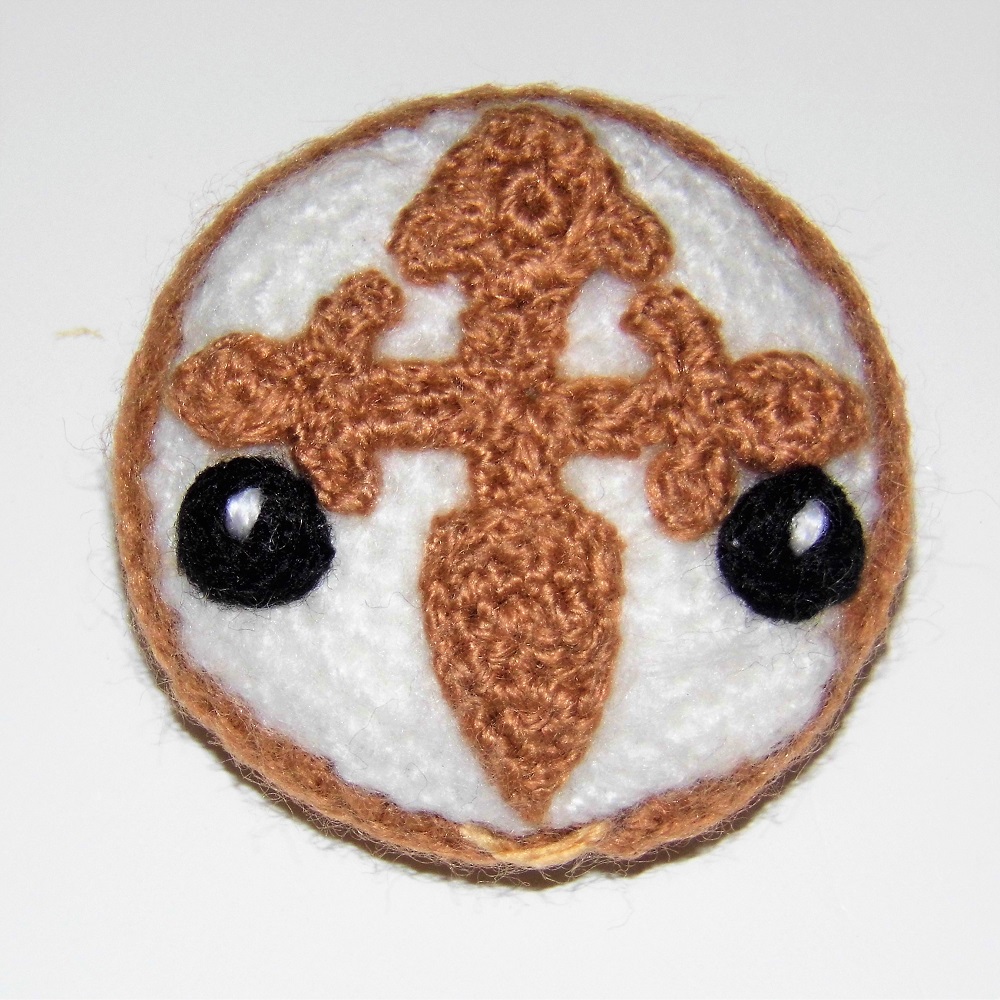
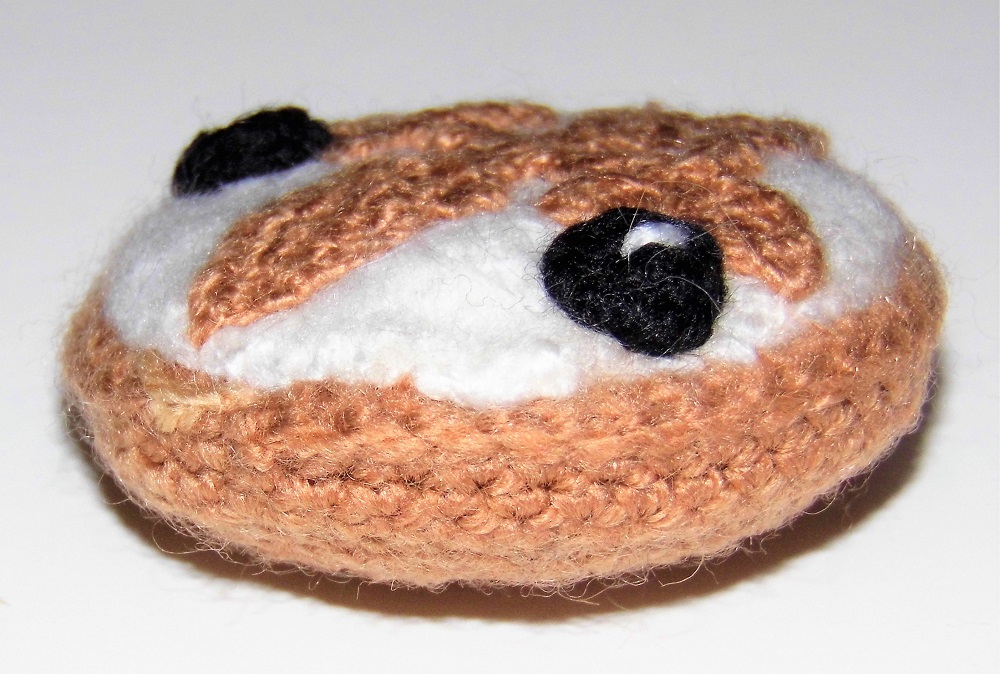
Sew the pupil attached to the bottom of the white background and the whole eye leaving 10 sc of separation from the pointed part of the chestnut and 3 sc of separation between them in the middle part. With white yarn embroider the twinkle.
Centered under the eyes, leaving 1 sc of separation, embroider the mouth with light brown yarn.
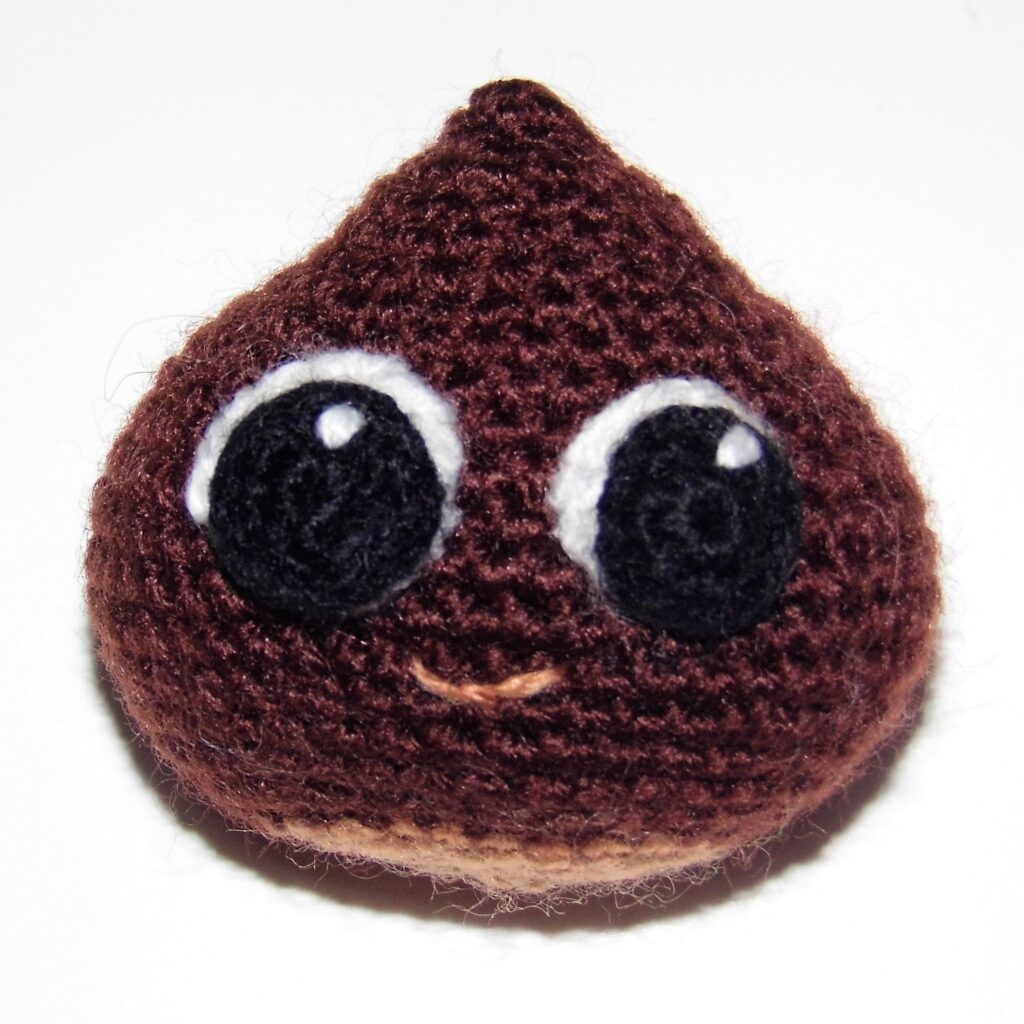
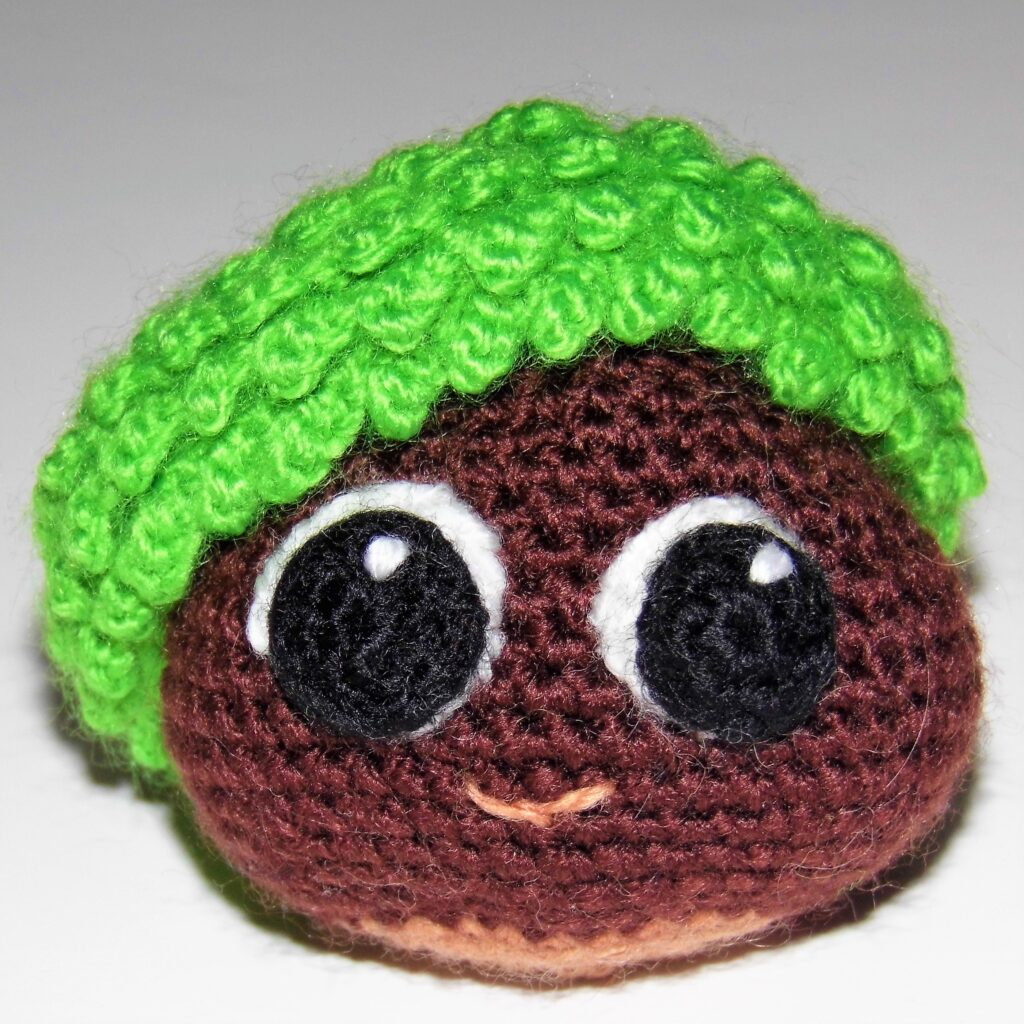
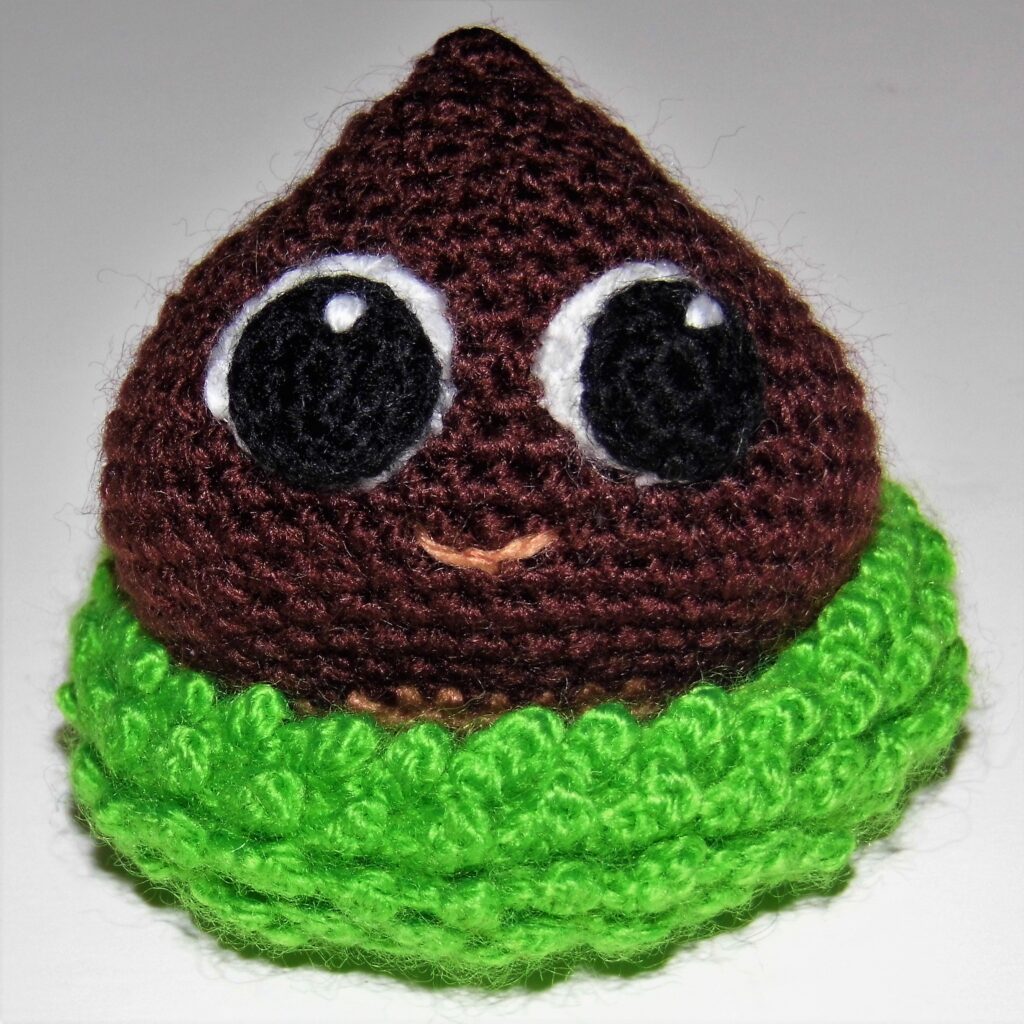
Finished!
I hope you enjoy crocheting this cute chestnut and that you liked the history of this tradition!
Remember that if you crochet it you can send me the photos by email or comment on what you want here in the post.
See you soon!
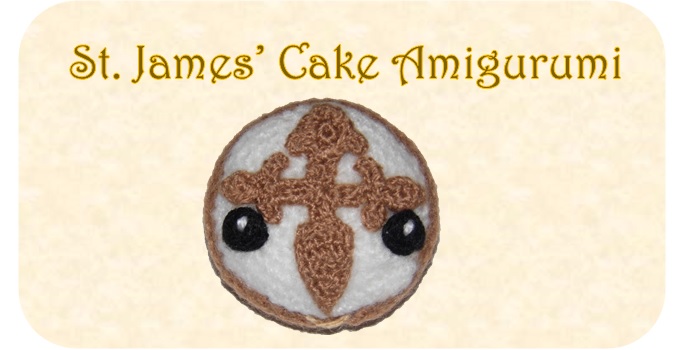
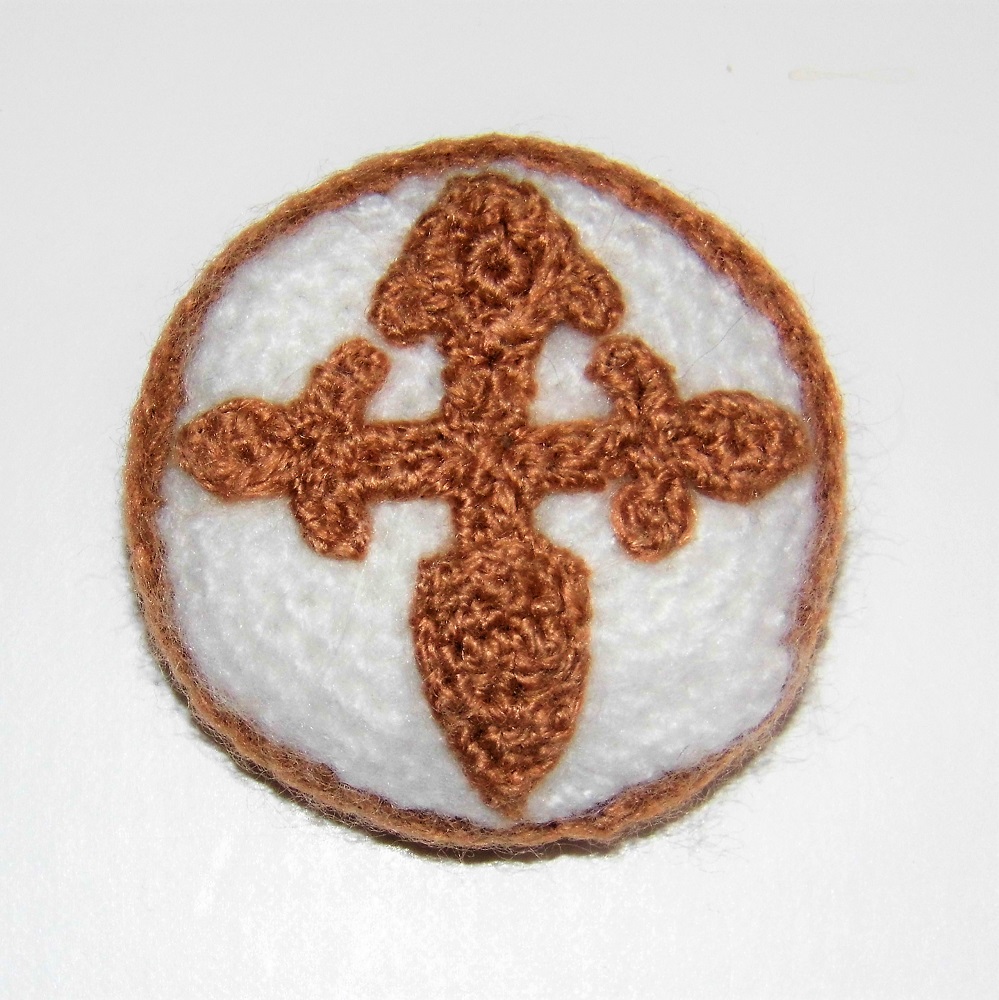
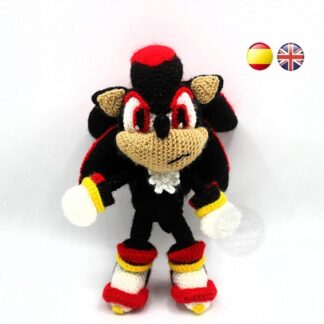
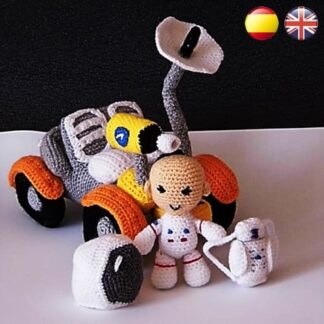
If you liked the Chestnut Amigurumi Pattern, you may want to see other patterns related to Galicia: