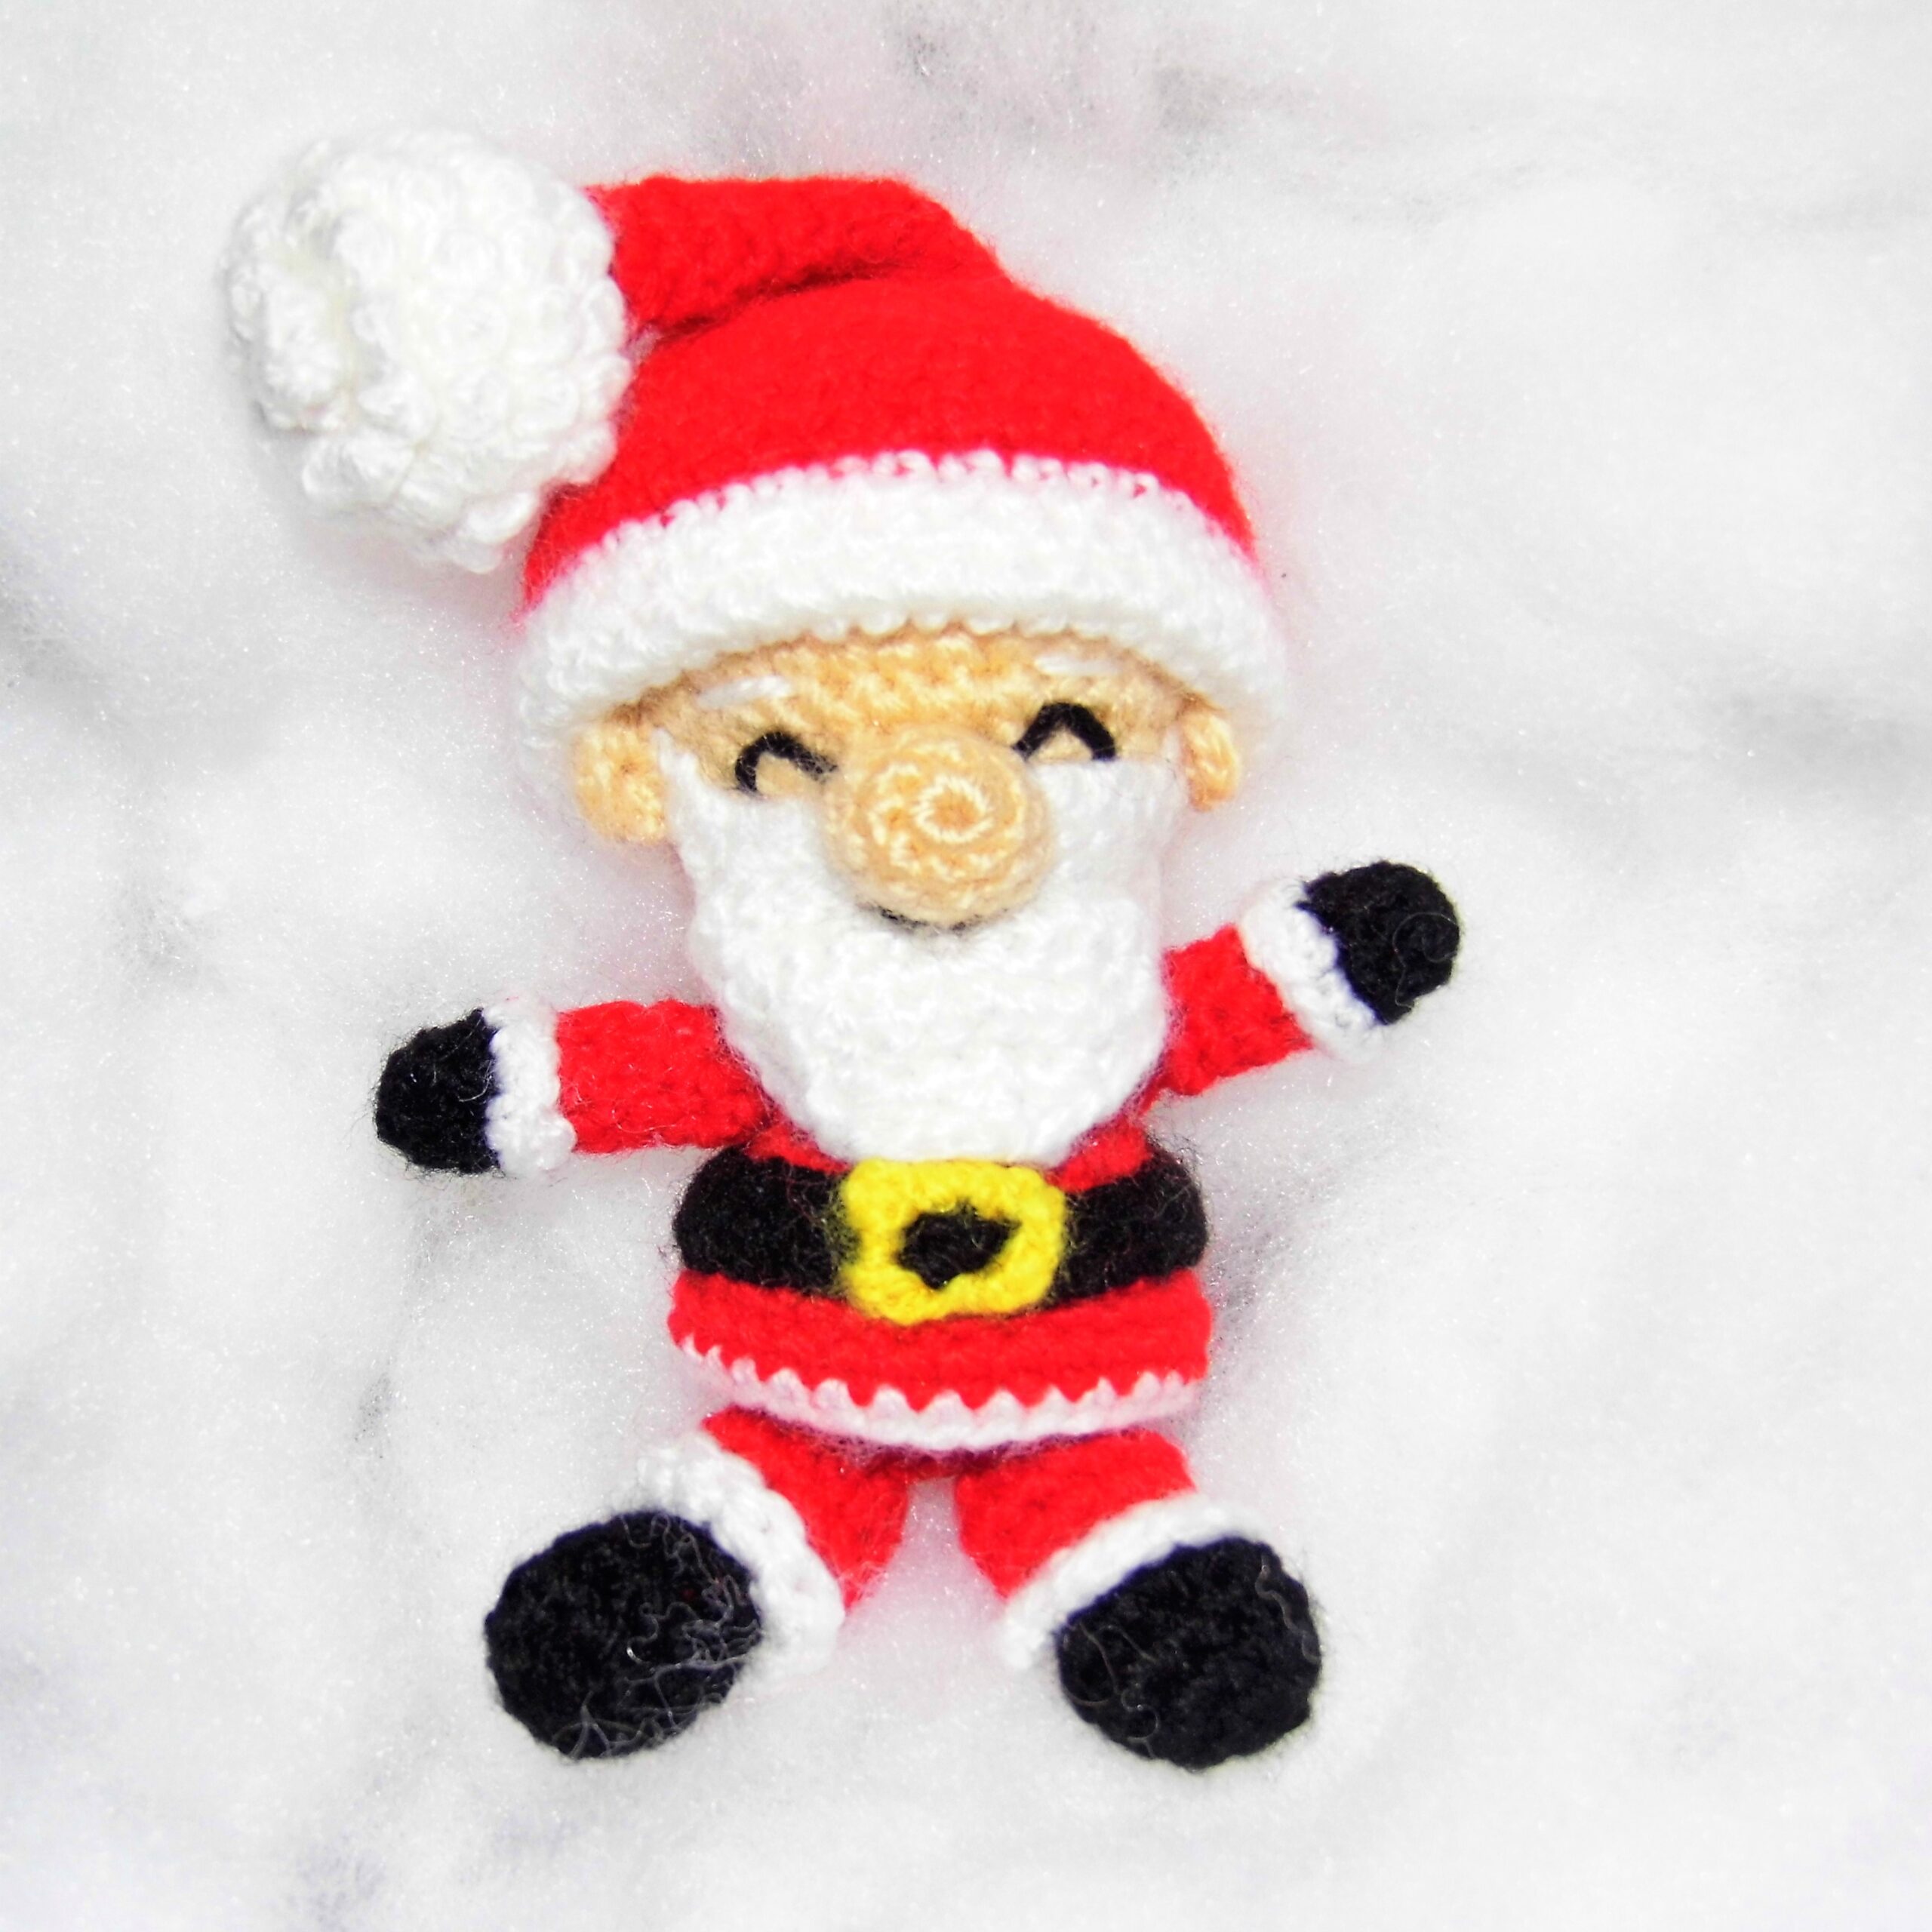
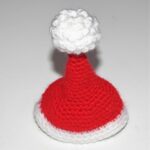
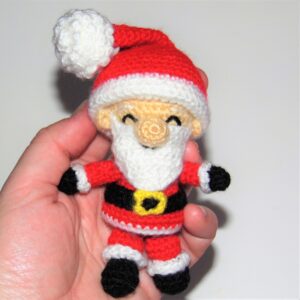
At the end of 2021 I want to wish you a Happy Holidays with the pattern of this little Santa Claus amigurumi that I am sure you will love.
MATERIALS
- Yarn of different colors: white, black, skin color, red, yellow.
- Thickness of the yarn: 3 mm.
- Hook according to the thickness of the yarn.
- Yarn needle.
- Fiberfill.
ABBREVIATIONS
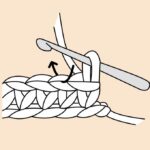
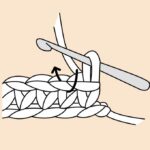
- sc: single crochet
- st: stitch
- ch: chain
- inc: increase
- dec: decrease
Fill the doll with fiberfill as you crochet.
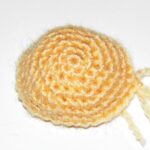
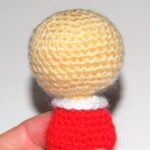
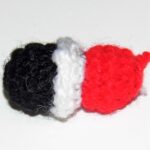
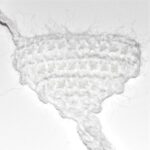
HEAD / BODY
With skin color yarn
1. Work 6 sc in magic ring.
2. Inc in every st (12).
3. “1 sc, inc”, repeat to the end of the round (18).
4. “2 sc, inc”, repeat (24).
5. “3 sc, inc”, repeat (30).
6. to 11. 1 sc in each stitch (30).
12. “3 sc, dec”, repeat (24).
13. 1 sc in each stitch (24).
14. “2 sc, dec”, repeat (18).
15. “1 sc, dec”, repeat (12).
16. Dec in every st (6).
17. Inc in every st (12).
18. Change to White yarn and work “1 sc, inc”, repeat (18).
19. Change to red yarn and work in back loops only 1 sc in each stitch (18). You will return to this round to complete the collar.
20. and 21. 1 sc in each st (18).
22. “2 sc, inc”, repeat (24).
23. “3 sc, inc”, repeat (30).
24. 1 sc in each st (30).
25. Work 1 sc in back loops only (30). You will return to this round to complete the jacket.
26. “3 sc, dec”, repeat (24).
27. “2 sc, dec”, repeat (18).
28. “1 sc, dec”, repeat (12).
29. Dec in every st (6).
Fasten off.
Sew the hole with the yarn needle.
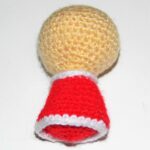
Complete the collar
With white yarn
Return to round 19 and holding the doll with the head pointing down, work in the free loops 1 sc in each stitch (18).
Fasten off.
Complete the jacket
With red yarn
1. Return to round 25 and holding the doll with the head pointing down, work in the free loops 1 sc in each stitch (30).
2. 1 sc in each st (30).
3. Change to white yarn and work 1 sc in each st (30).
Fasten off.
ARMS (x2)
With black yarn
1. Work 6 sc in magic ring.
2. and 3. 1 sc in each st (6).
4. Change to red yarn and work in back loops only 1 sc in each stitch (6). You will return to this round to complete the sleeve.
5. to 8. 1 sc in each st (6).
Fasten off.
Complete the sleeve
With white yarn
Return to round 4 of the arm and holding it with the hand pointing down work in the free loops inc in every st (12).
Fasten off.
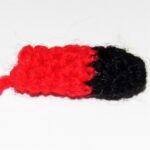
FEET / LEGS (x2)
With black yarn
1. Work 6 sc in magic ring.
2. Inc in every st (12)
3. and 4. 1 sc in each stitch (12).
5. Dec in every st (6).
6. Change to red yarn and work in back loops only inc in every st (12). You will return to this round to complete the pants.
7. and 8. 1 sc in each stitch (12).
9. Dec in every st (6).
Fasten off.
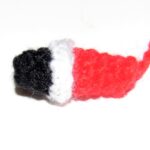
Complete the pants
With white yarn
1. Return to round 6 of the leg and holding it with the foot pointing up, work in the free loops inc in every st (12).
2. 1 sc in each st (12).
Fasten off.
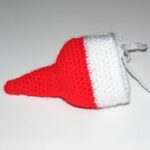
HAT
With red yarn
1. Work 6 sc in magic ring.
2. and 3. 1 sc in each st (6).
4. “1 sc, inc”, repeat (9).
5. and 6. 1 sc in each st (9).
7. “2 sc, inc”, repeat (12).
8. and 9. 1 sc in each st (12).
10. “3 sc, inc”, repeat (15).
11. and 12. 1 sc in each st (15).
13. “4 sc, inc”, repeat (18).
14. and 15. 1 sc in each st (18).
16. “2 sc, inc”, repeat (24).
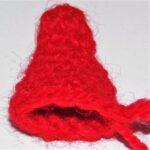
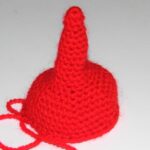
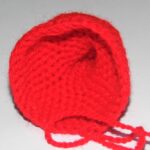
17. “3 sc, inc”, repeat (30).
18. “4 sc, inc”, repeat (36).
19. “5 sc, inc”, repeat (42).
20. to 22. 1 sc in each st (42).
23. “5 sc, dec”, repeat (36).
24. Change to white yarn and work 1 sc in each st in front loops only (36). You will return to this round to join the edge of the hat.
25. to 30. 1 sc in each st (36).
31. Join with slip stitches the sc from the last round with the loops from round 24.
Fasten off.
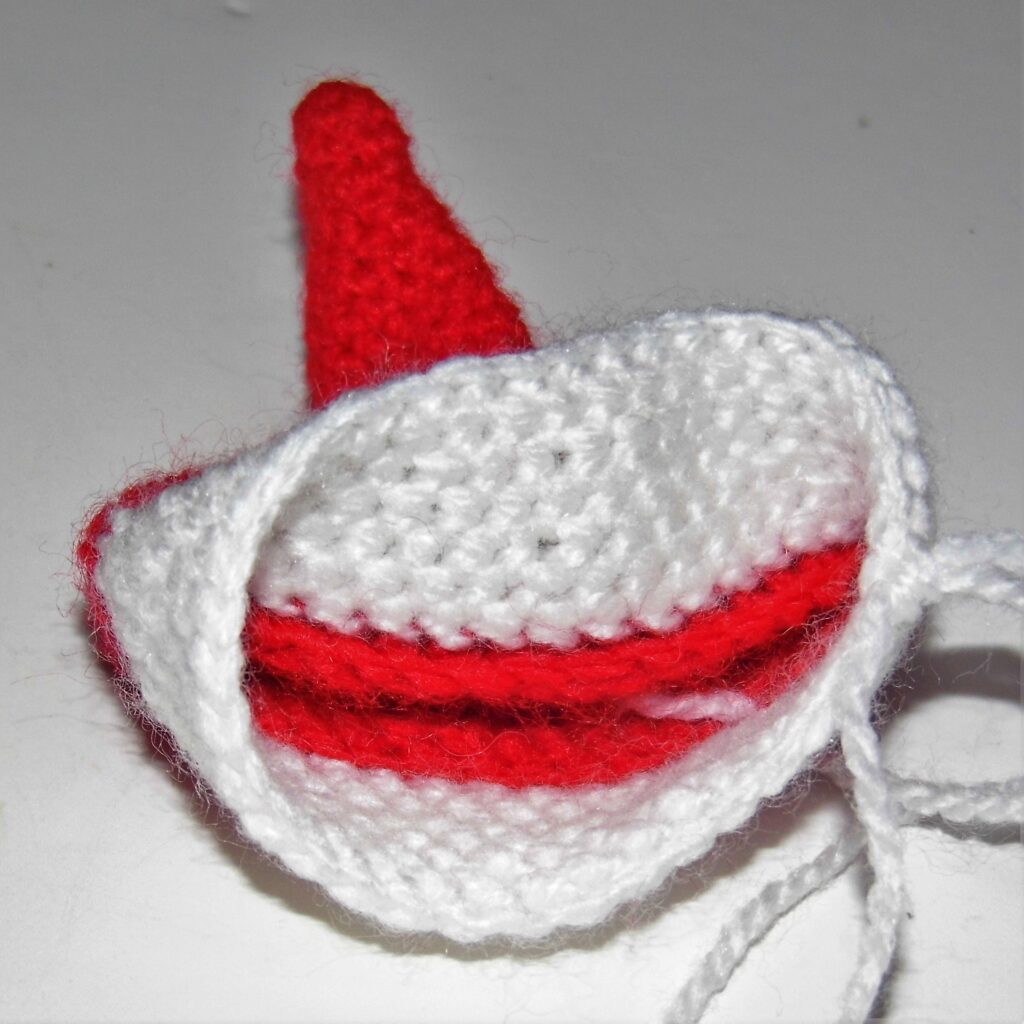


Pompom
With white yarn
1. Work 6 sc in magic ring.
2. In back loops only work inc in every st(12).
3. In back loops only work “1 sc, inc”, repeat (18).
4. and 5. In back loops only work 1 sc in each stitch (18).
6. In back loops only work “1 sc, dec”, repeat (12).
7. Dec in all stitches (6).
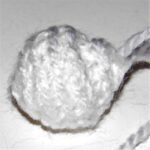
8. Turn the piece and work in the free loops: 1 slip stitch, ch 3 in the same stitch, 1 slip stitch in that same stitch. In this way you are going to crochet some small waves around the pompom until you reach the beginning of it.

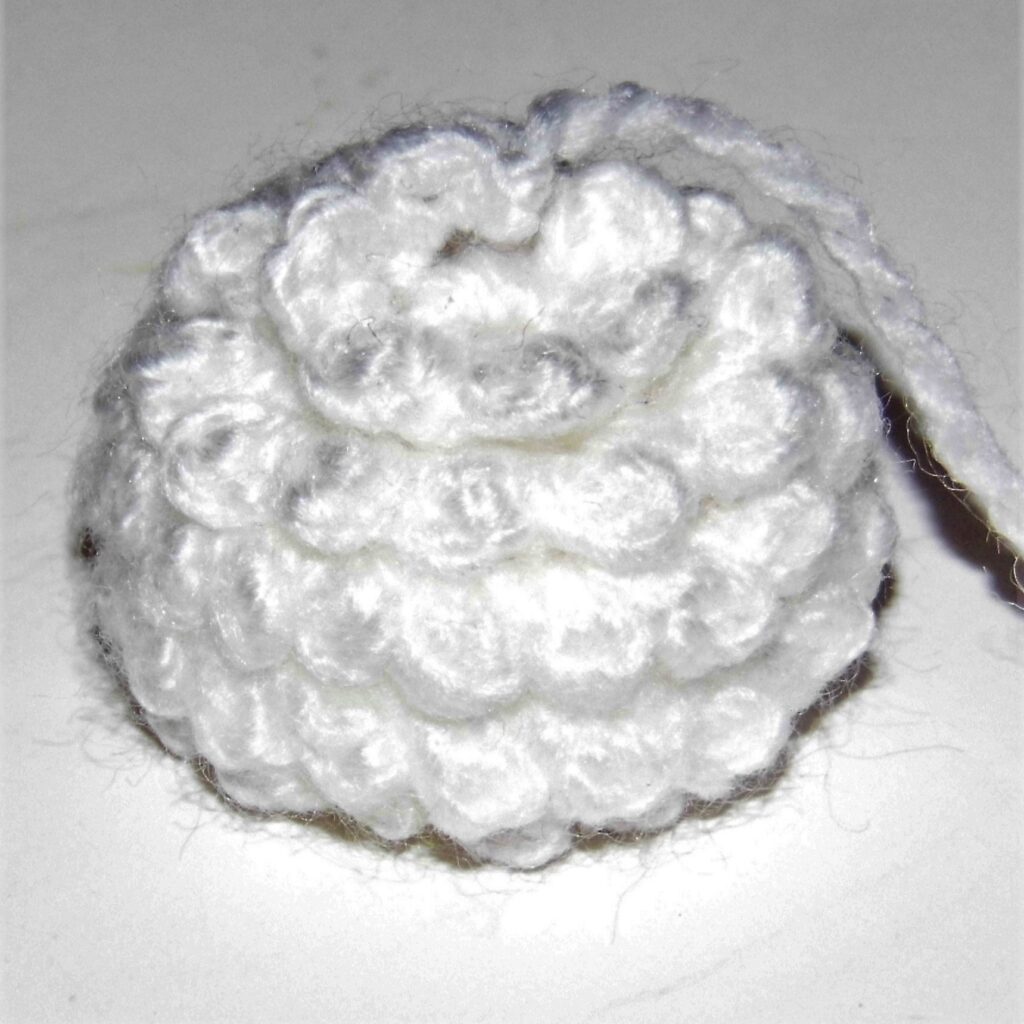
Sew the pompom to the tip of the hat.
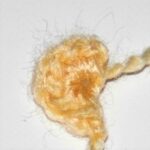
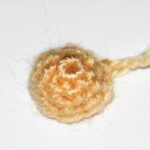
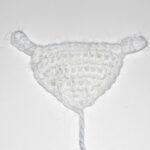
EARS (x2)
With skin color yarn
Work 6 sc in magic ring Ring without closing with the slip stitch.
NOSE
With skin color yarn
1. Work 8 sc in magic ring.
2. to 4. 1 sc in each st (8).
Fasten off.
BEARD
With white yarn
1. Ch 13 and work 12 sc on thdm
2. and 3. Ch 1, turn and work 1 sc in each stitch (12).
4. to 8. Don’t ch 1, turn and work 1 sc in each st until you reach the last 2 sc, then dec 1 (10), (8), (6), (4), (2).
9. Place the round marker to start working around the piece with sc: 8 sc + Ch 5 and work 4 sc on the chains and 1 slip stitch to the point of origin of the chains (first sideburn) +Ch 5 and work 4 sc on the chains and 1 slip stitch to the point of origin of the chains (second sideburn) + 8 sc + 2 sc.
Fasten off.
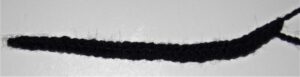
BELT
With black yarn
Ch 31 and work 30 sc on the chains.
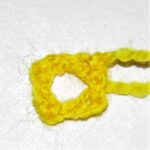
Belt buckle
With yellow yarn
Ch 3, 1 slip stitch on the last chain, Ch 3 , 1 slip stitch on the last chain of this group of 3, Ch 3, 1 slip stitch on the last chain of this group, Ch 2, 1 slip stitch on the first chain of all.
Fasten off.
ASSEMBLY
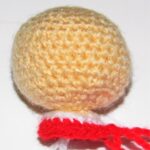
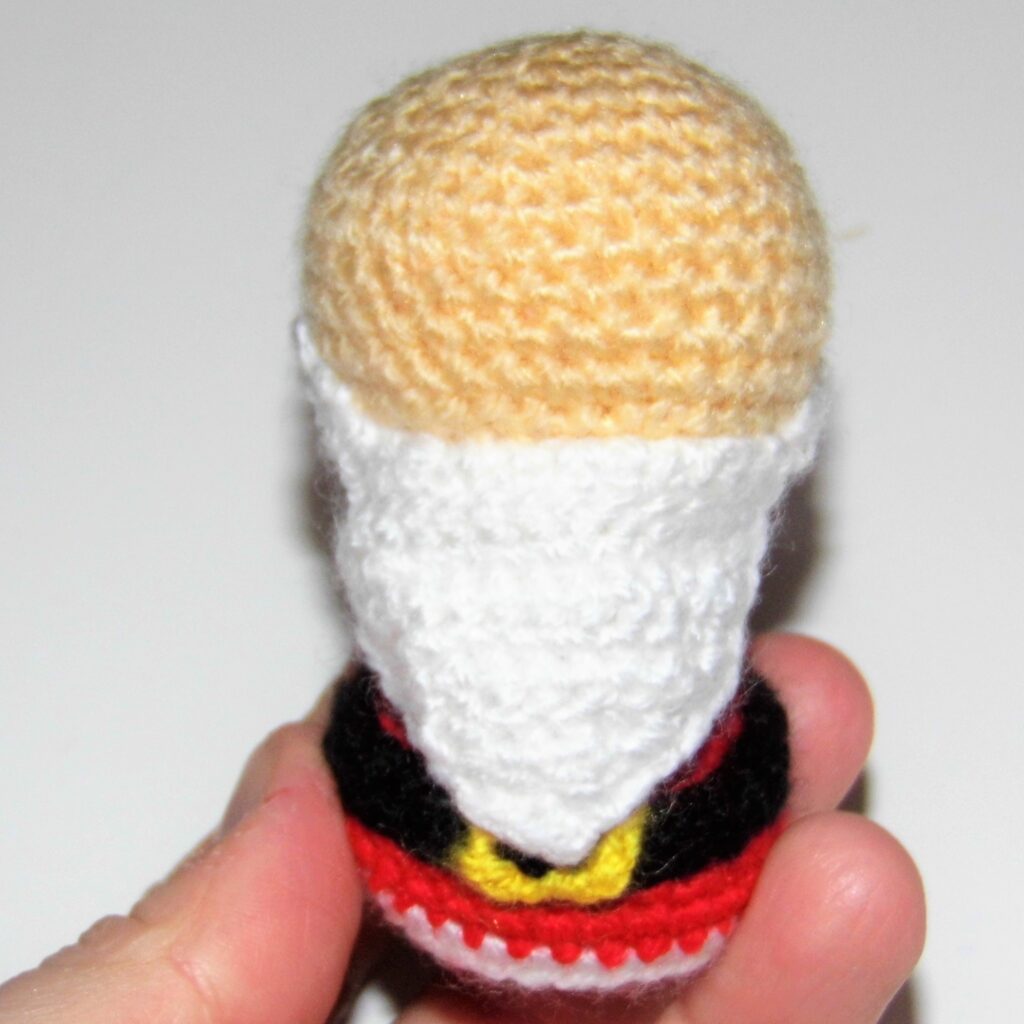
Sew the beard on round 12 of the head.
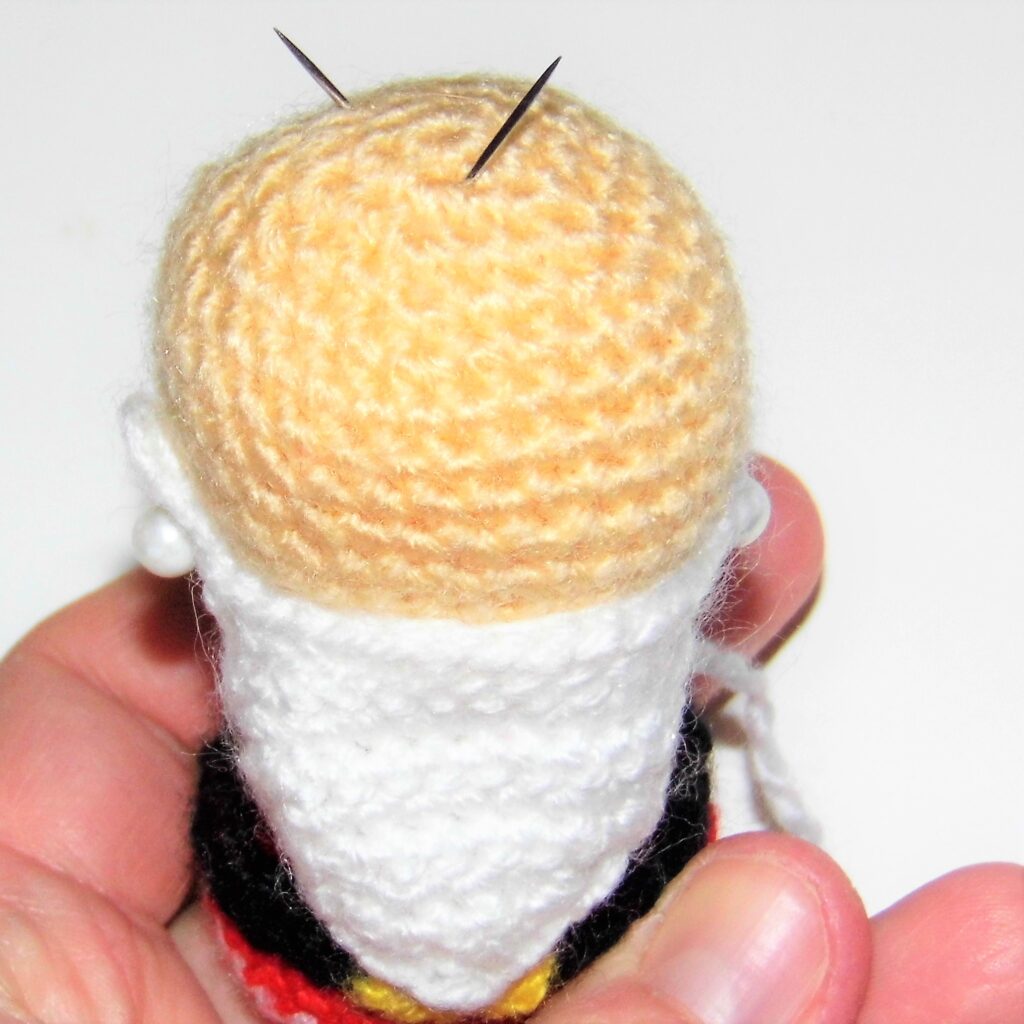
Centered on it, in that same round, sew the nose.
Underneath, with black yarn embroider the mouth in a V shape and above the beard, that is, on round 12 on both sides of the nose embroider the eyes in a reverse V shape, leaving 2 sc of separation in their open part.
With white yarn, embroider the eyebrows, leaving 1 sc of separation over the eyes and with a length of 3 sc.
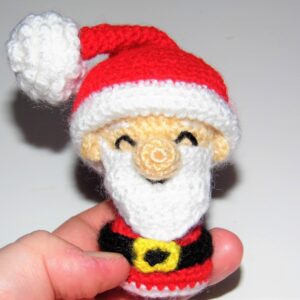
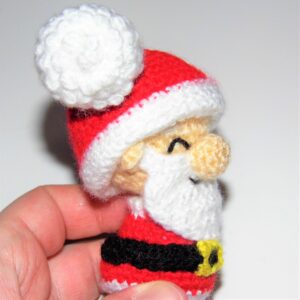
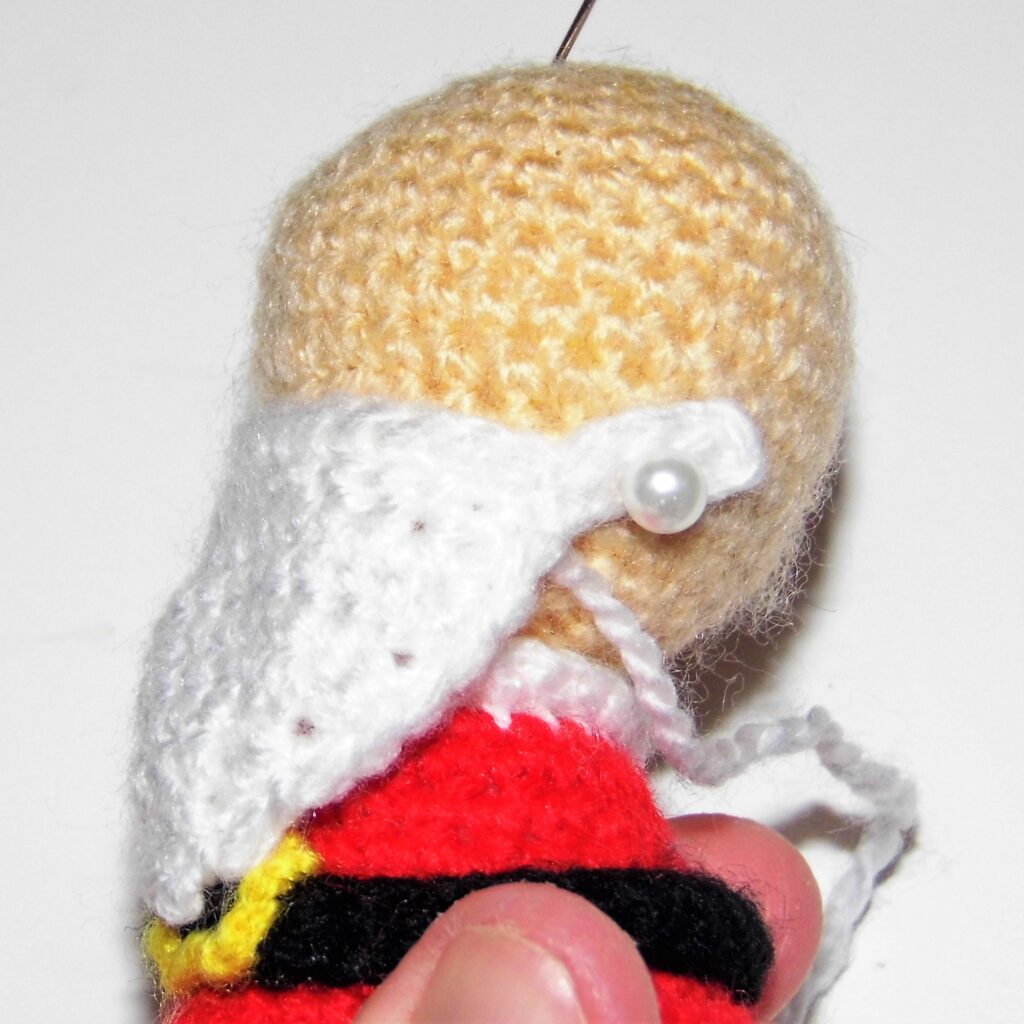
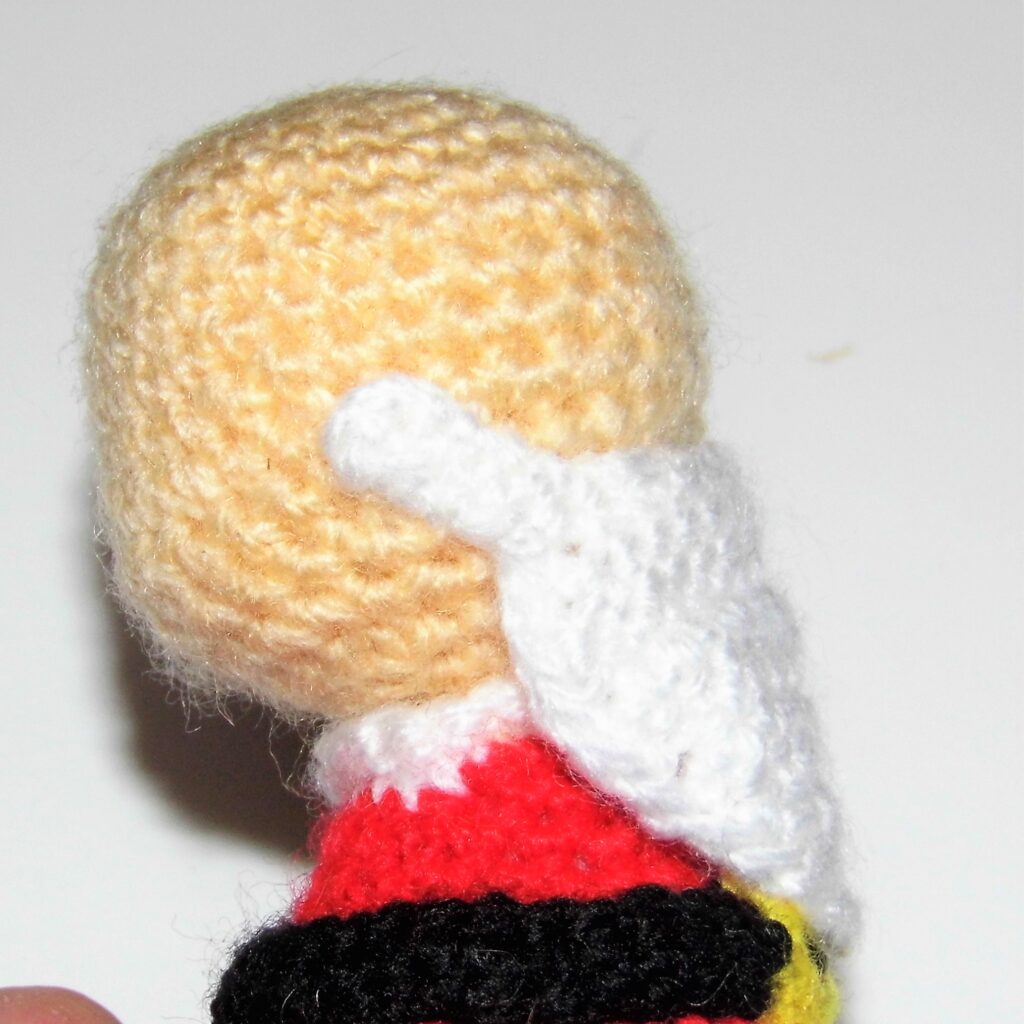
Sew the hat by placing it over the eyebrows and adjusting it behind the head, leaving 4 sc of separation from the neck line. The hat will cover part of the sideburns. Sew the ears over them so that the hat is on top, giving the doll a funny look. Fold the tip of the hat to the side and sew the pompom to it in a hidden way to keep the shape.
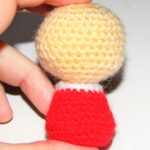
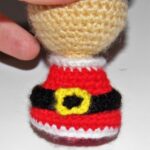
Sew the belt leaving 3 sc of separation from the last round of the jacket and on this, centered the buckle.
Sew the arms in line in relation to the ears under the color change line of the white collar and red jacket.
Finally, sew the legs centered on the lower part of the body, leaving 1 sc of separation from the last round of the body.
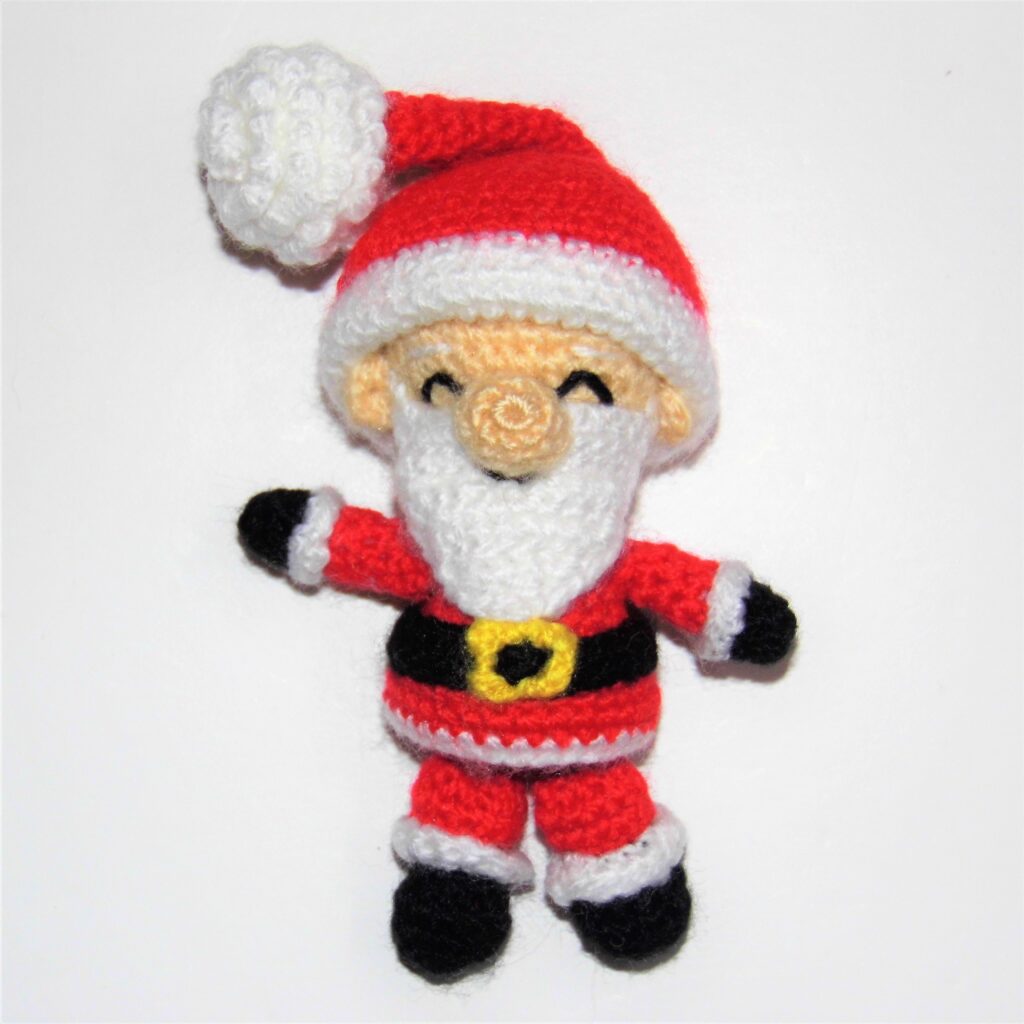
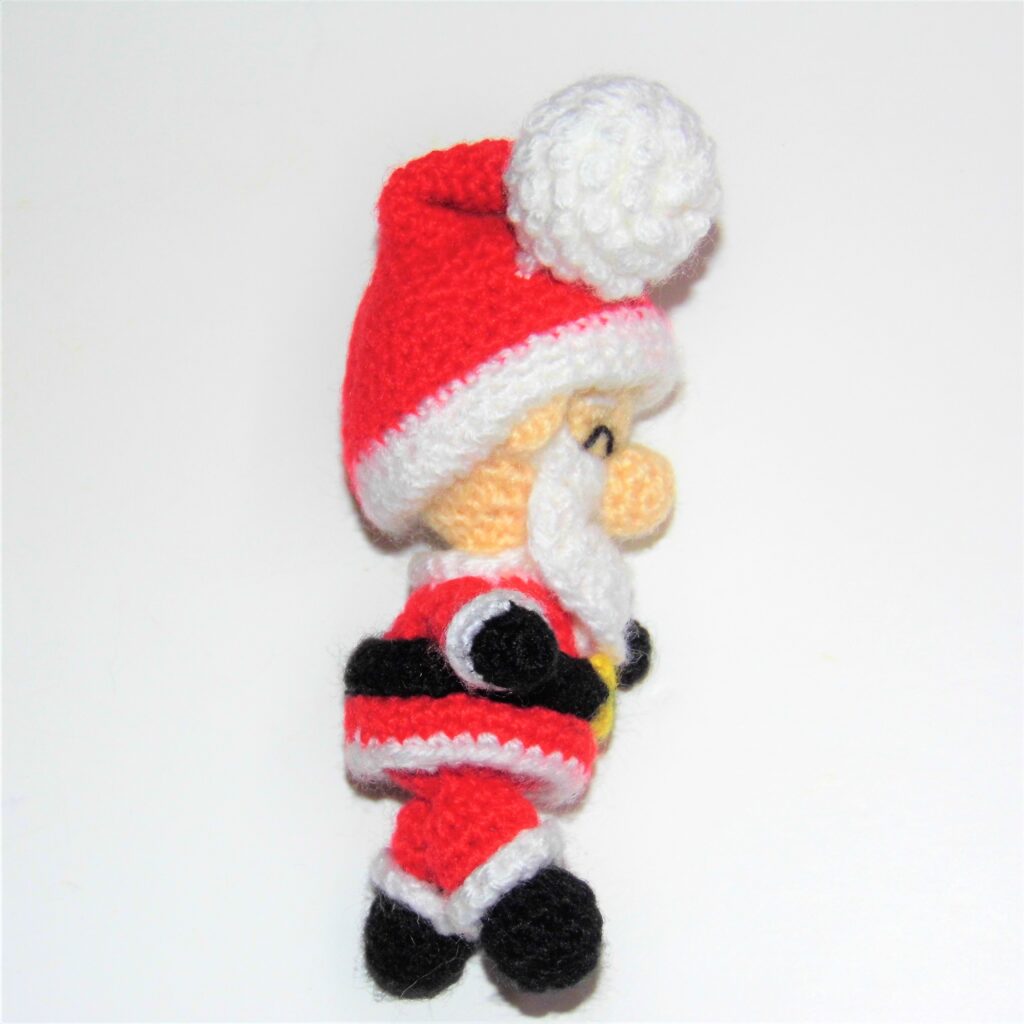
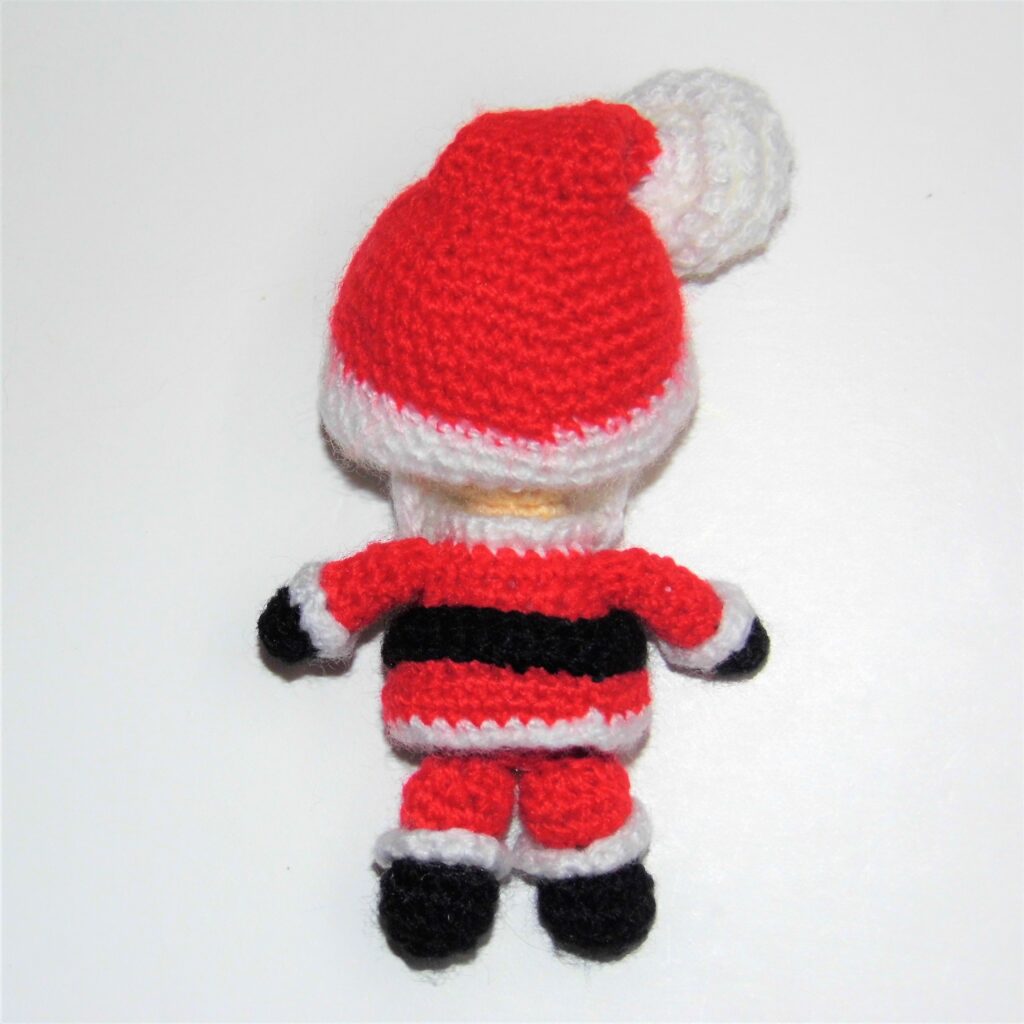
Finished your Santa Claus Amigurumi! It was easy, right?
See you very soon
Happy Holidays and Happy Crochet!