Do you know there are several ways to decrease?
One of the things that anyone who wants to crochet amigurumis must master with skill is making increases and decreases.
Today I am going to talk about the latter and the importance of doing them correctly.
In a previous post I have already told you about the decrease rounds, which are those in which we remove stitches crocheting sequences with decreases. In this way we reduce the width of our piece, modify its shape or even finish it.
Let’s see what are the different ways to decrease:
Skip a Point:
It is the basic method, but not recommended if what you want is a good aesthetic result.
Consists in:
Crochet the stitch over the second of the 2 stitches in which you must decrease, leaving the first one unworked. In theory you make a decrease, so you reduce the number of stitches. In practice, you leave holes in the fabric and a untidy look to the piece. Using it when working in the round is not a good idea, so its only use would be at the beginning of a row when we work straight.

The Traditional Method:
It is the simplest and the most used by beginners.
Consists in:
1. Insert the hook, which already has a loop on it, in the first stitch where you must decrease. Take the thread, and return. Now you have 2 loops on the hook.
2. Then introduce the hook in the next stitch and do the same. You already have 3 loops on the hook.
3. To finish the decrease take the thread and go through the 3 loops in one go.
If you realize, in steps 1 and 2 it is about starting to work the first part of 1 single crochet without actually finishing it, while in step number 3 you complete it.
In this way you join the 2 points, leaving only one.
Although this method is better than the previous one, the fabric is not clean, leaving small bumps or even holes in it.
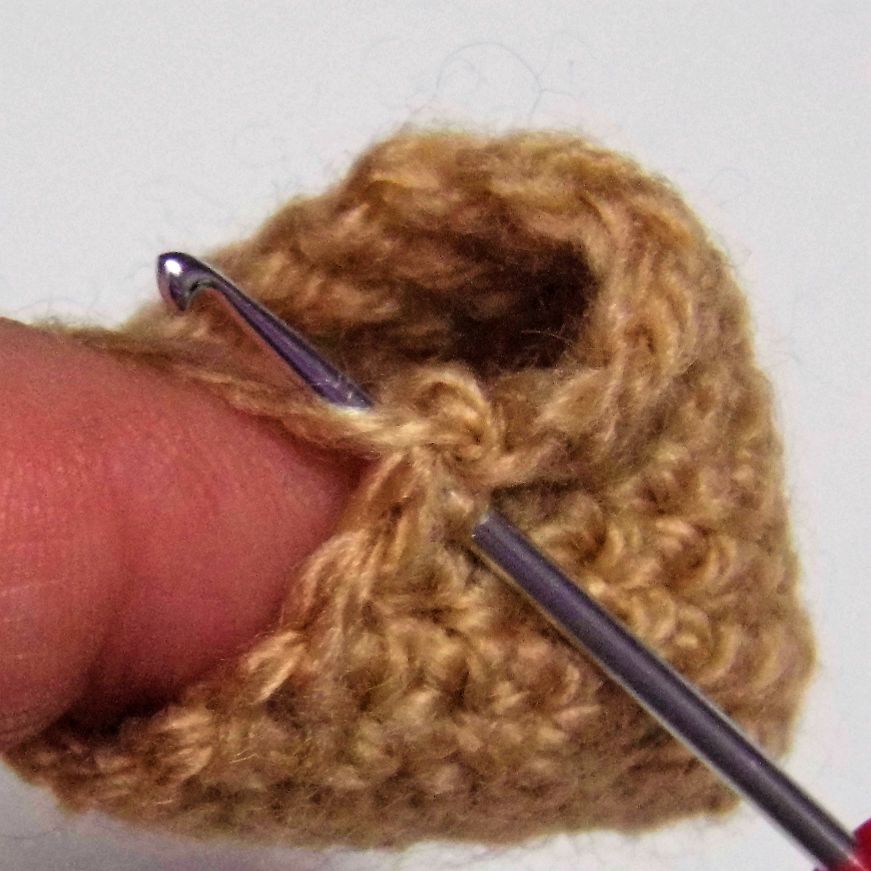
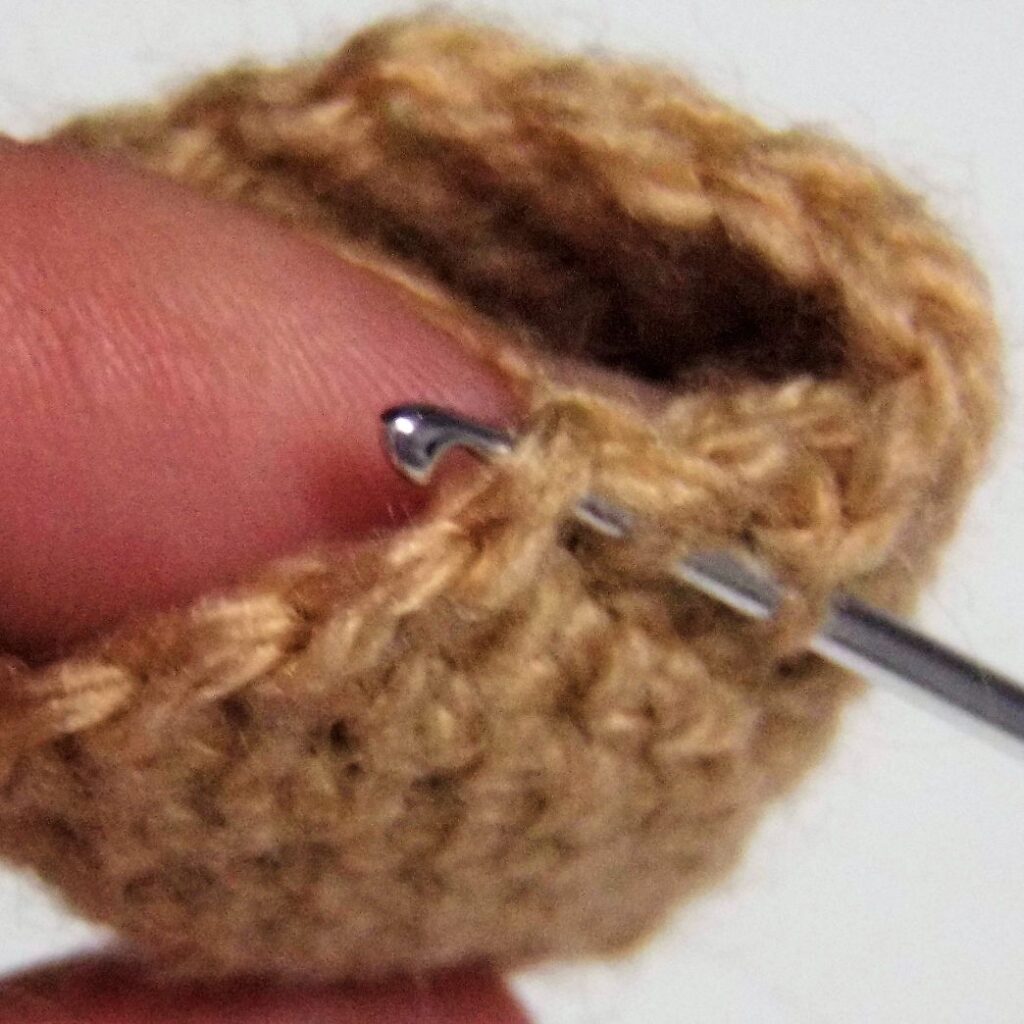
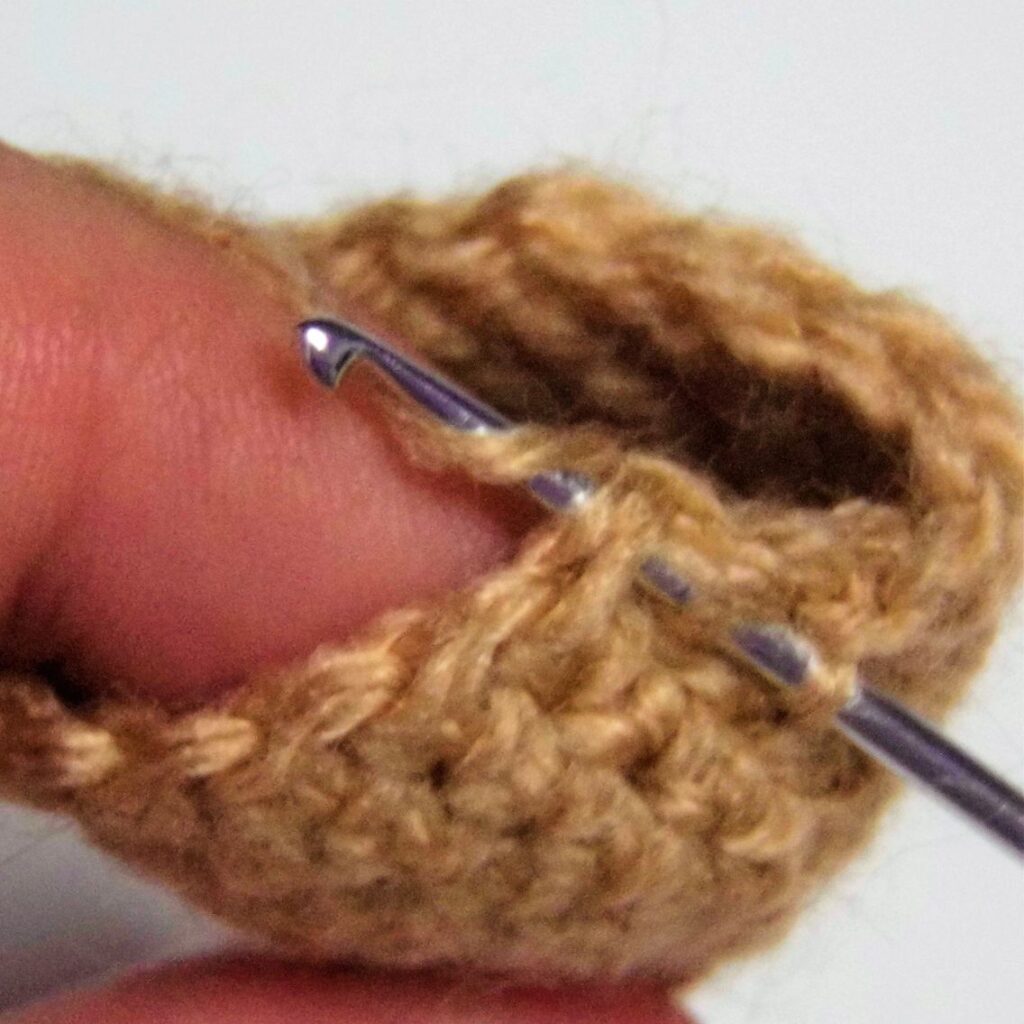
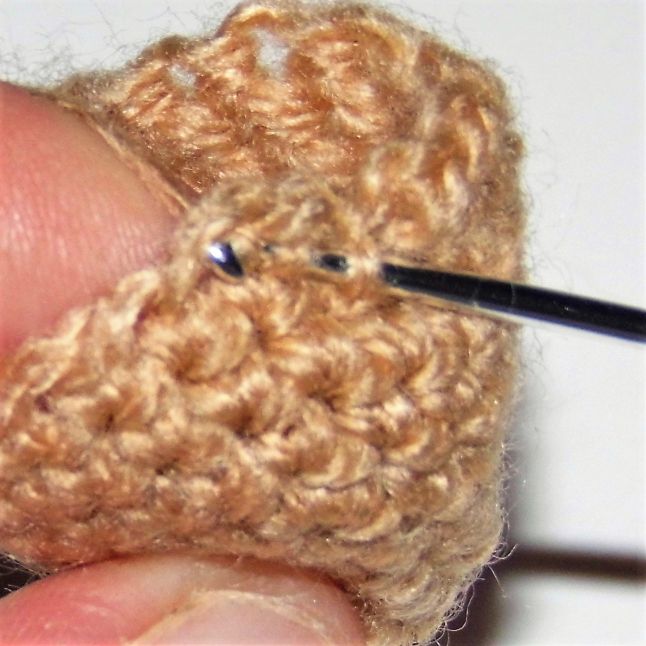
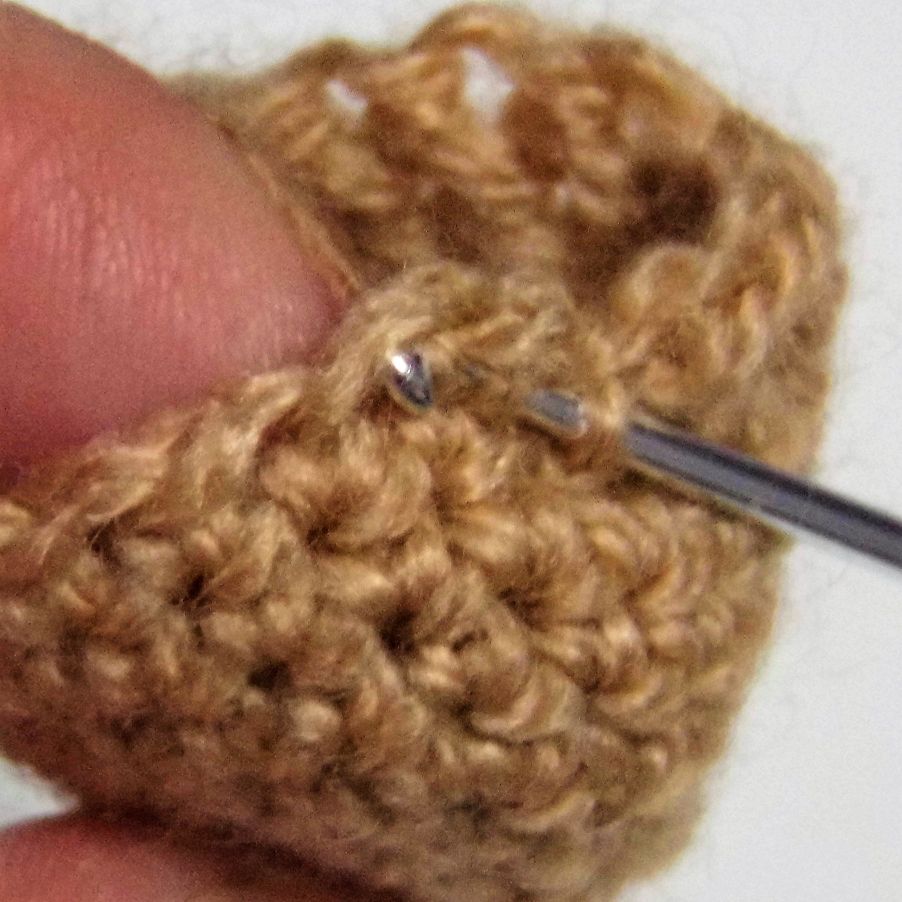
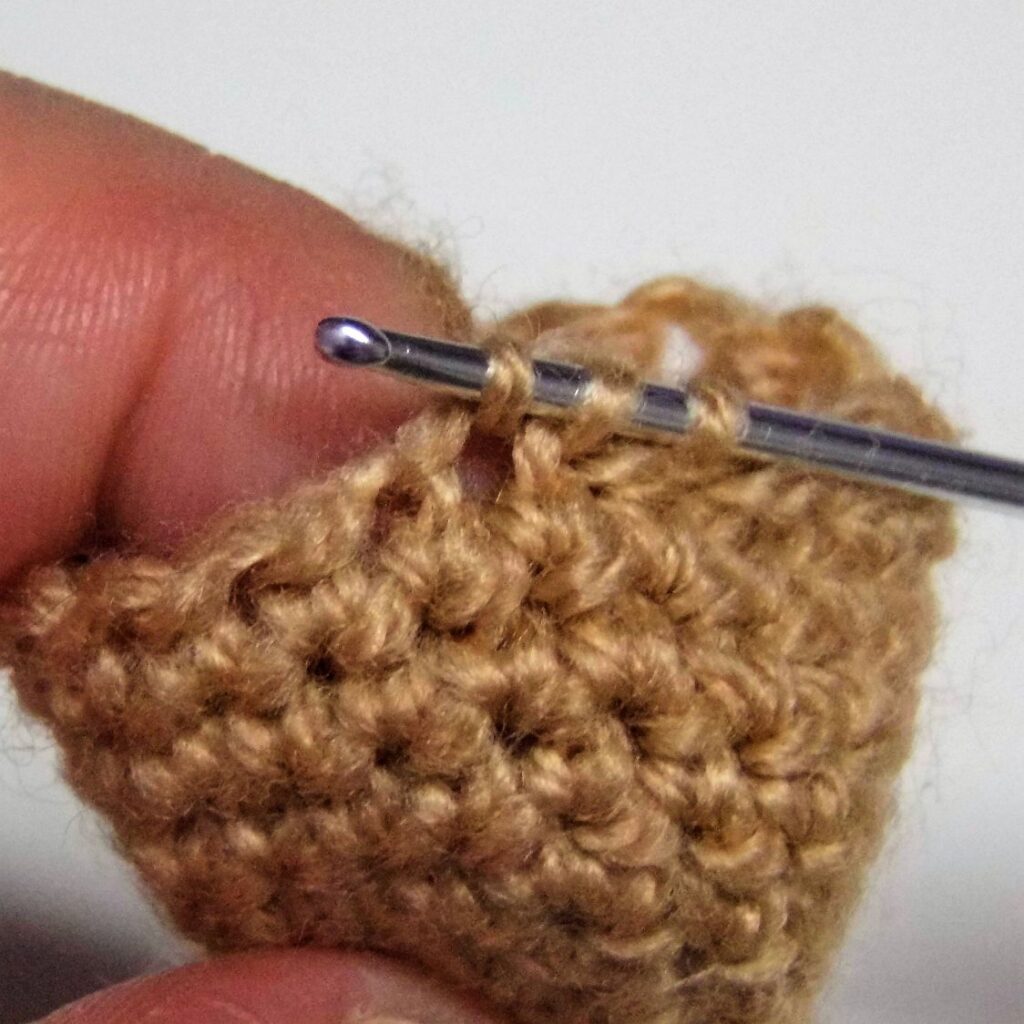
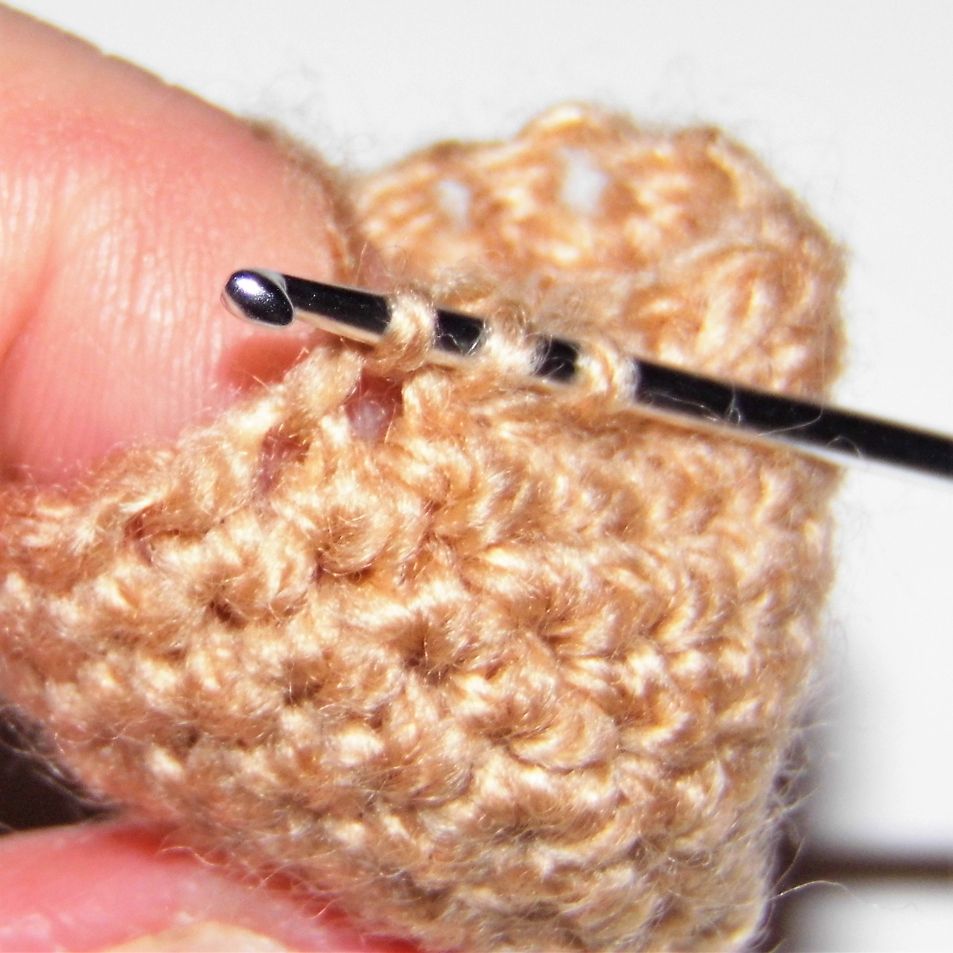
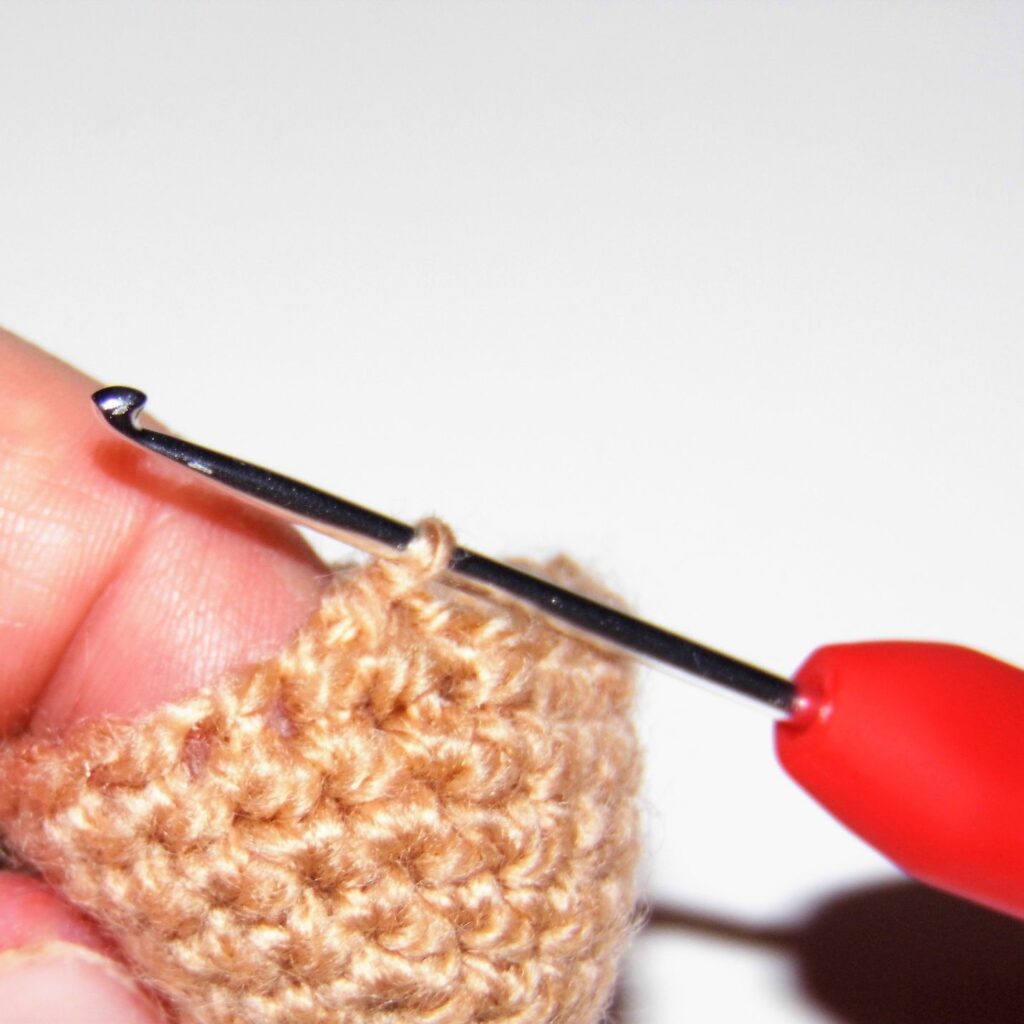
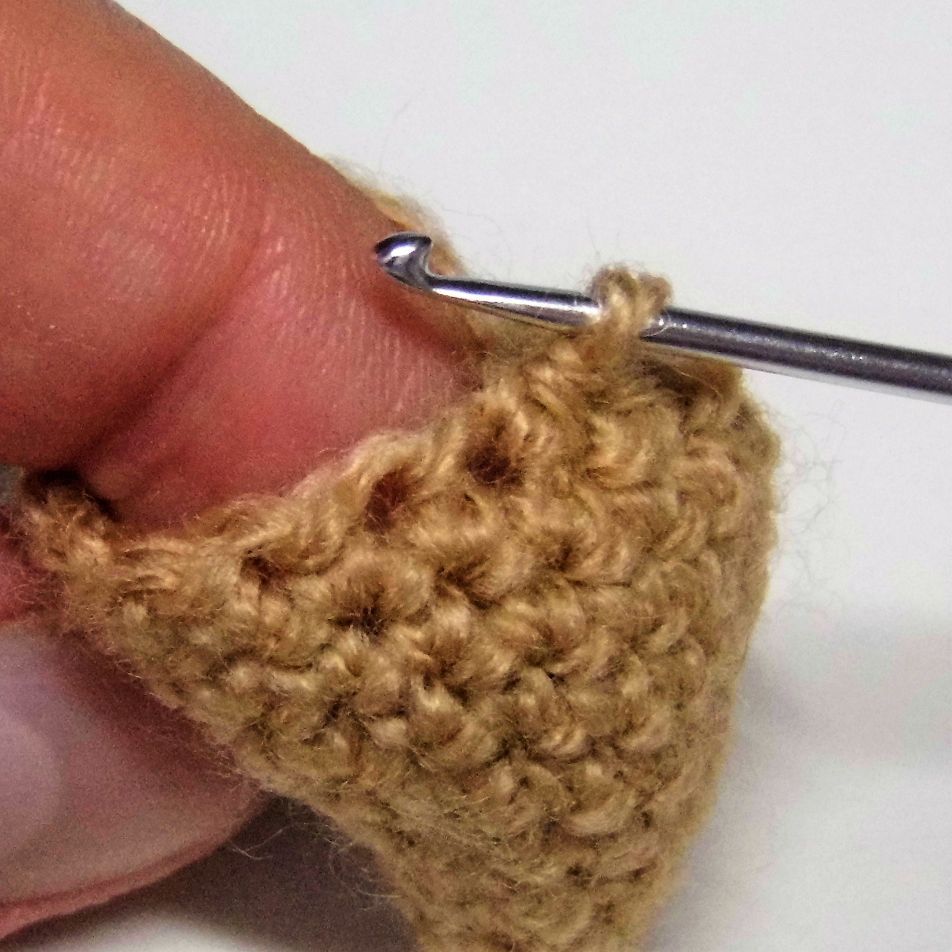
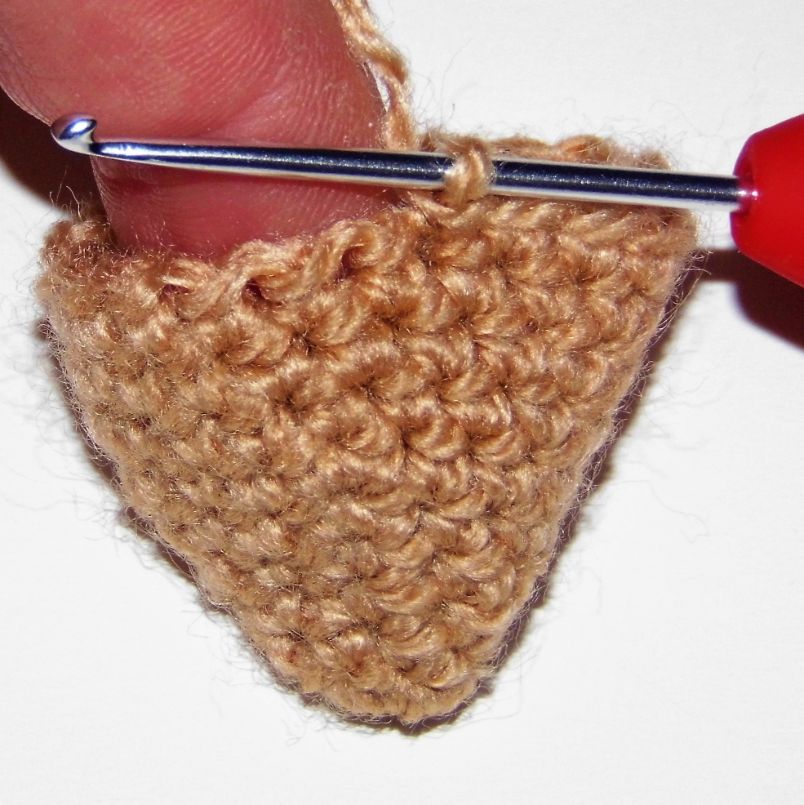
The Invisible Decrease
It is the method used by more experienced crocheters looking for a neat and tidy appearance in their amigurumis.
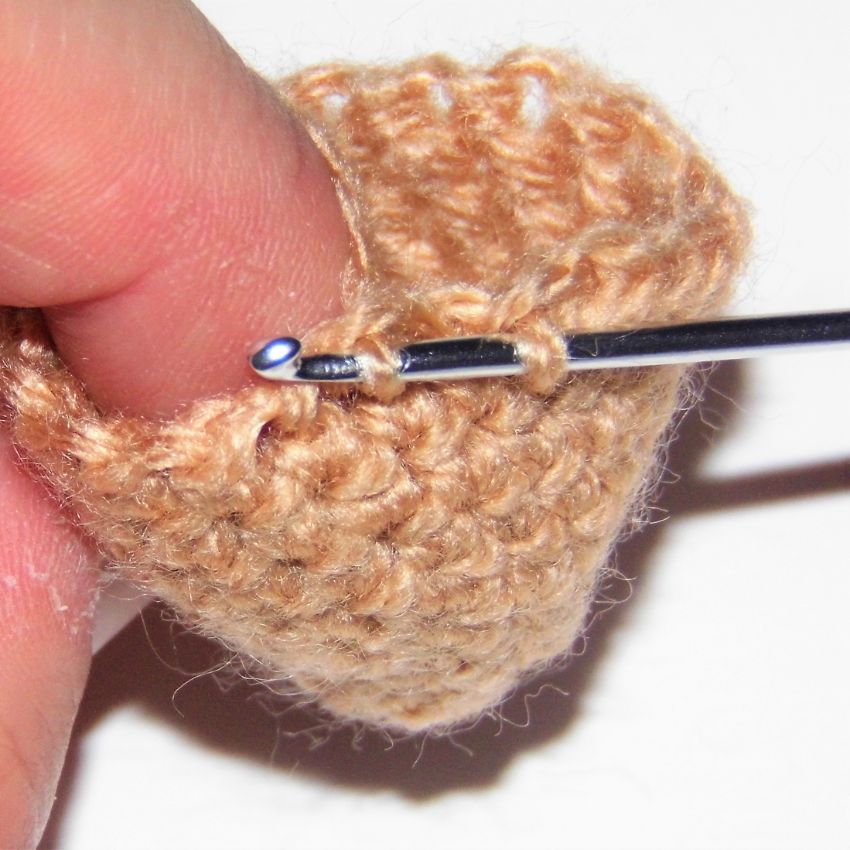
To execute it, you must first look at the points. They have 2 parts, one in front and one in back.
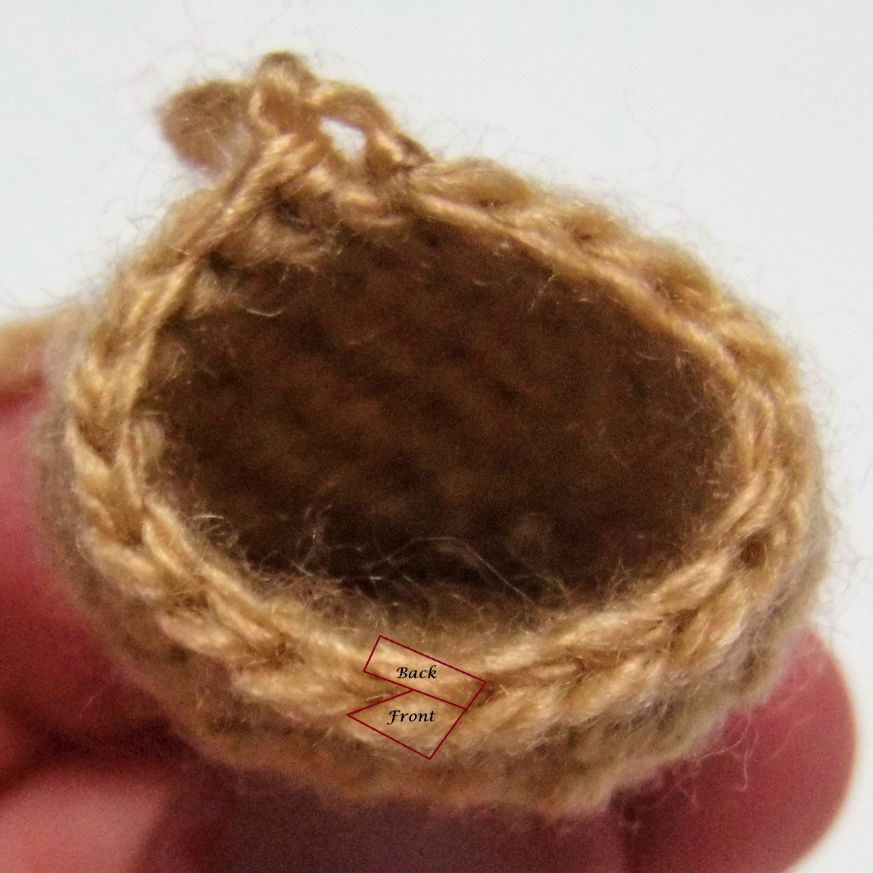
When crocheting, you normally take the entire stitch with the hook, that is, the 2 parts, but sometimes you must take only one. This is what you will do in the invisible decrease.
Consists in:
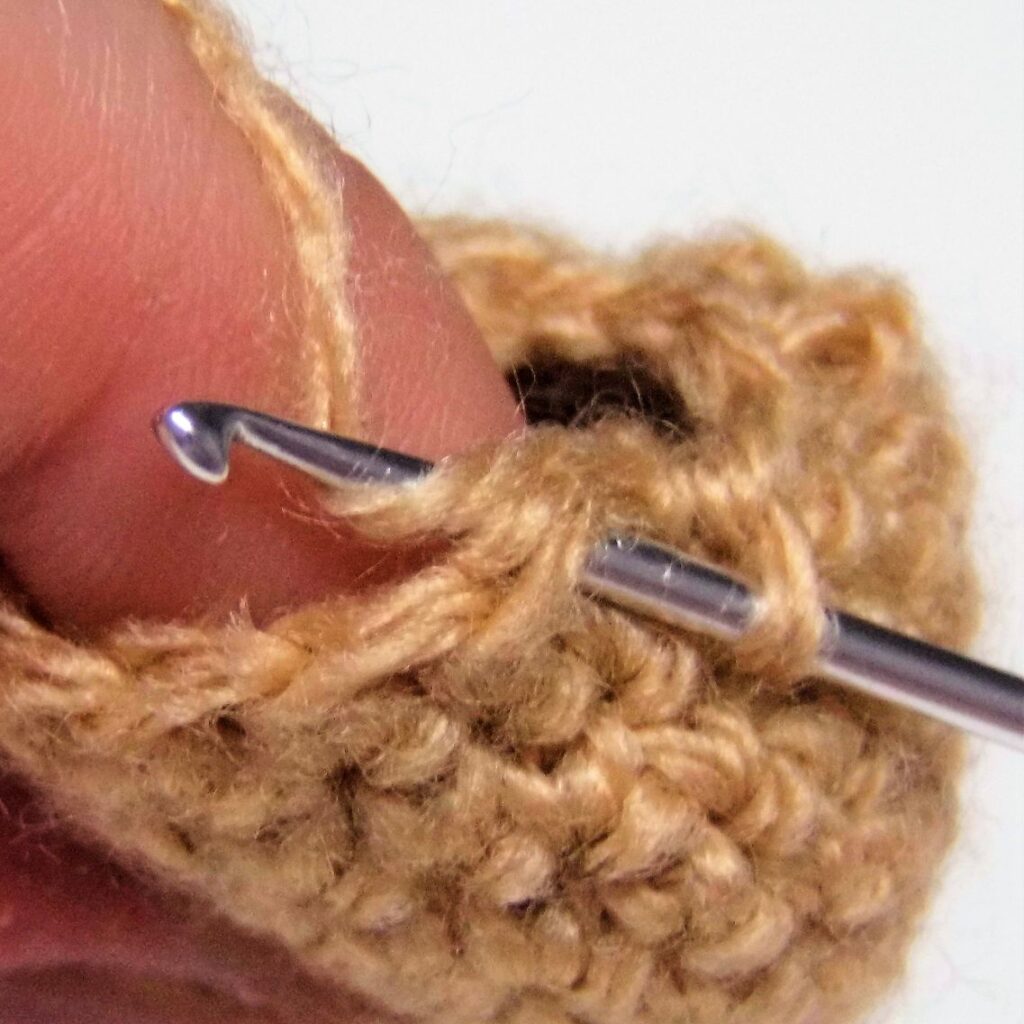
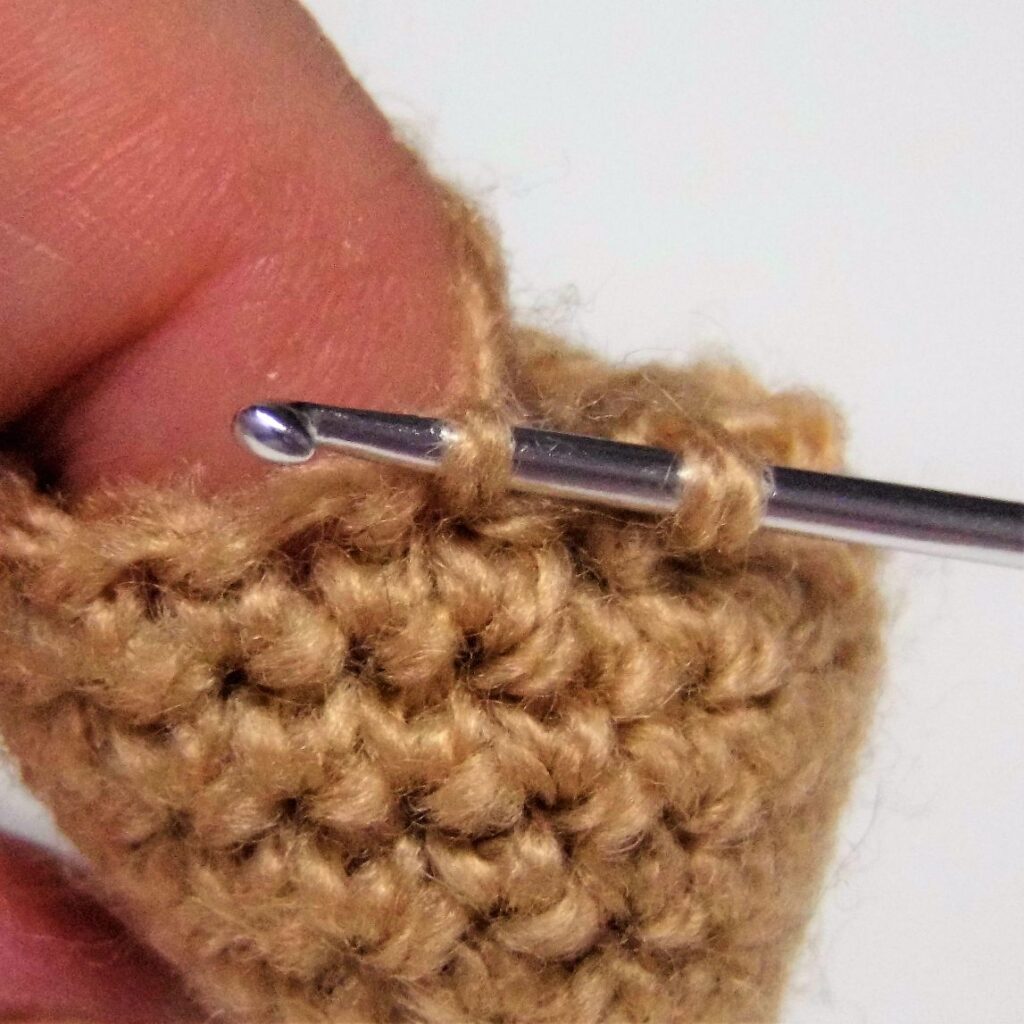
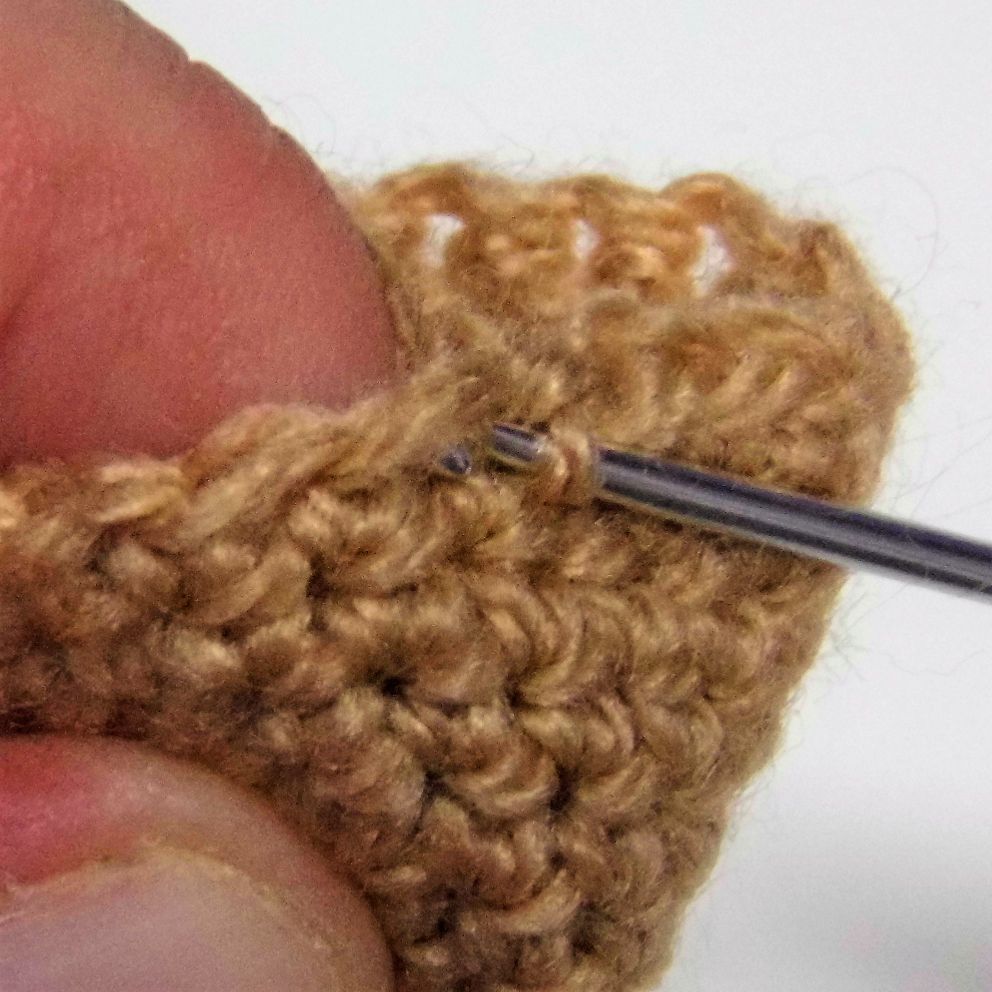
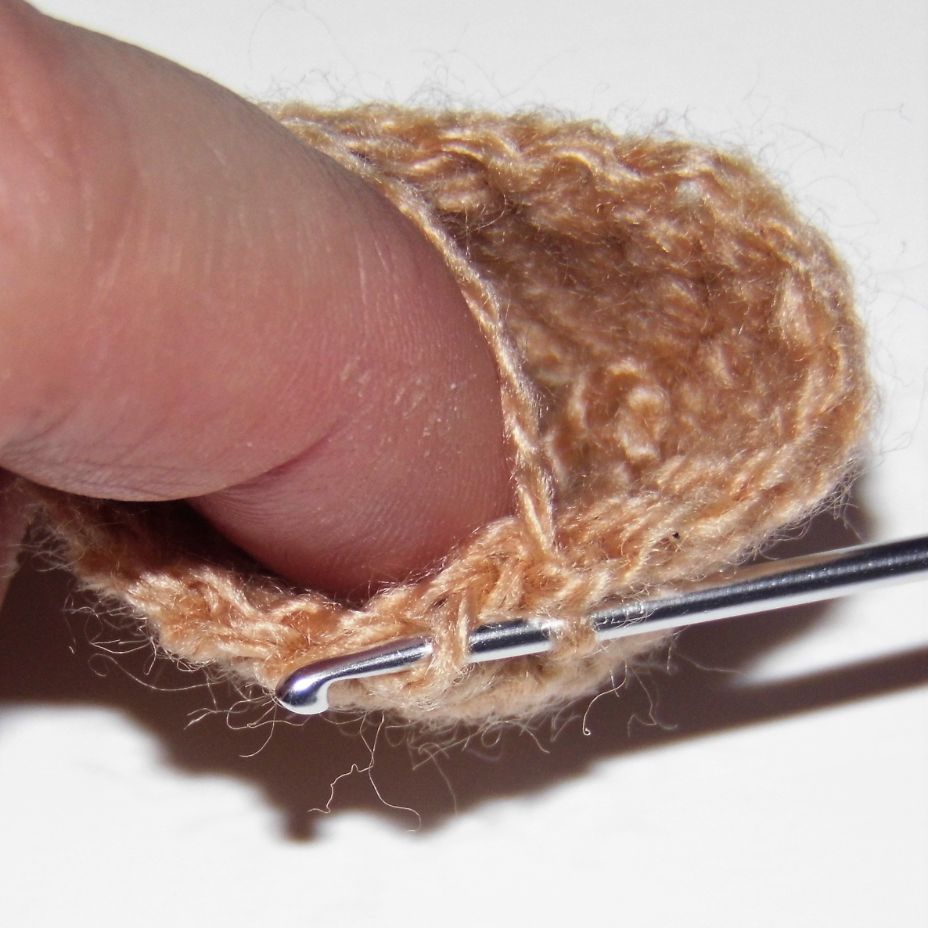
1. Insert the hook only in front loop of the first stitch in which you must decrease.
2. Insert the hook in front loop of the second stitch.
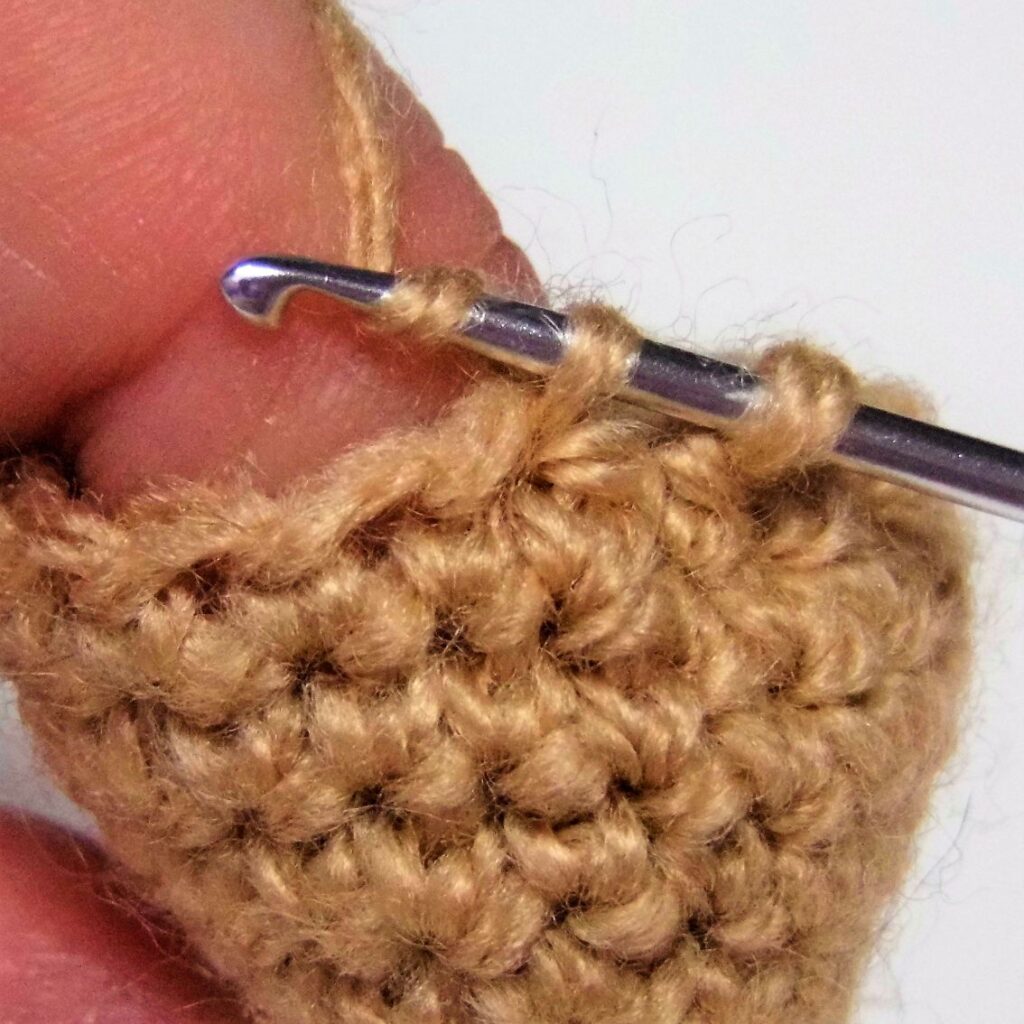
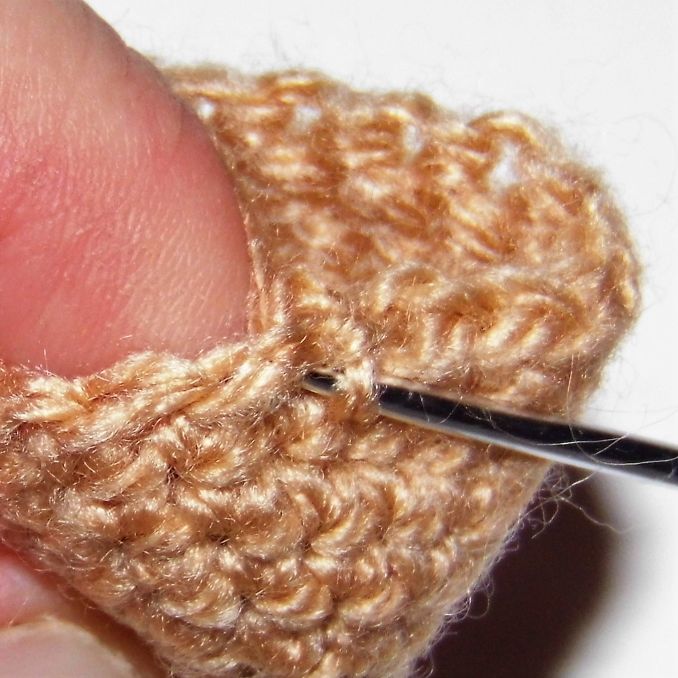
3. Take the thread and cross those 2 parts.
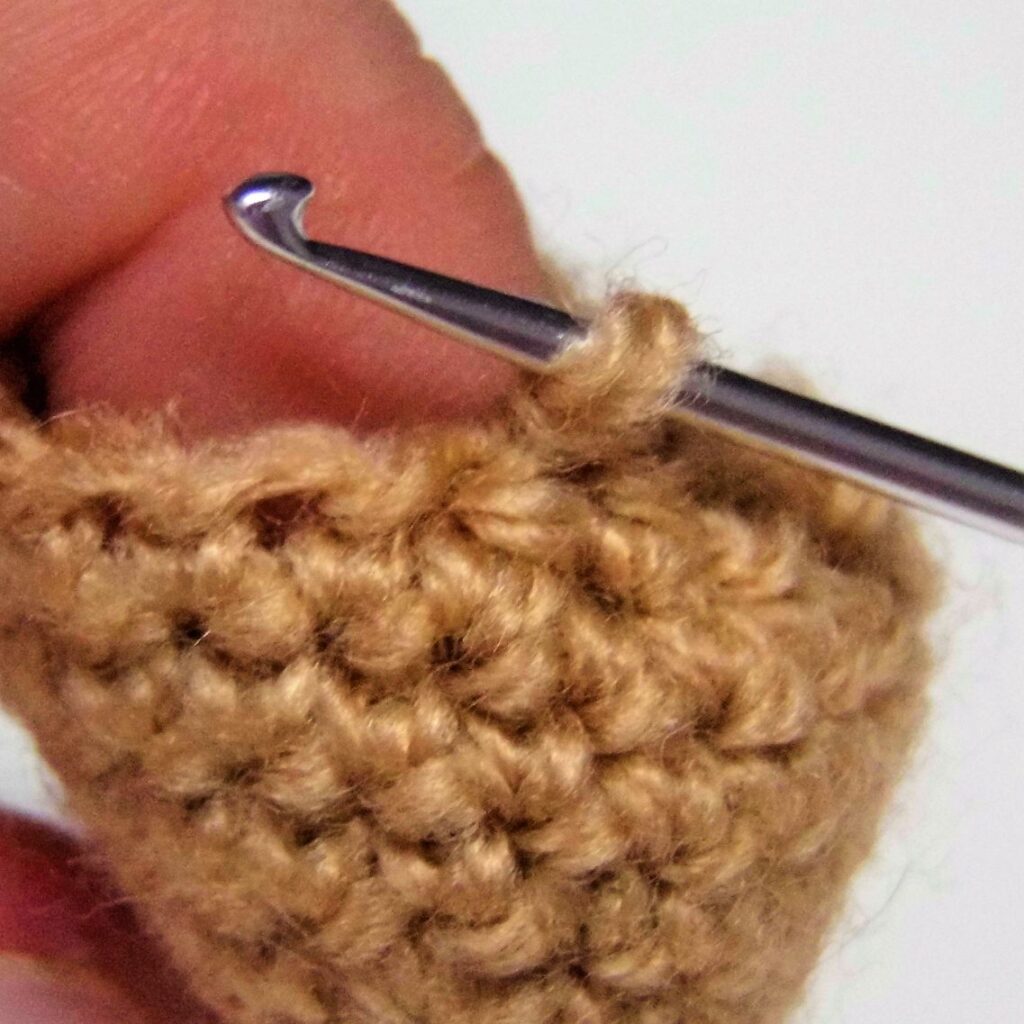
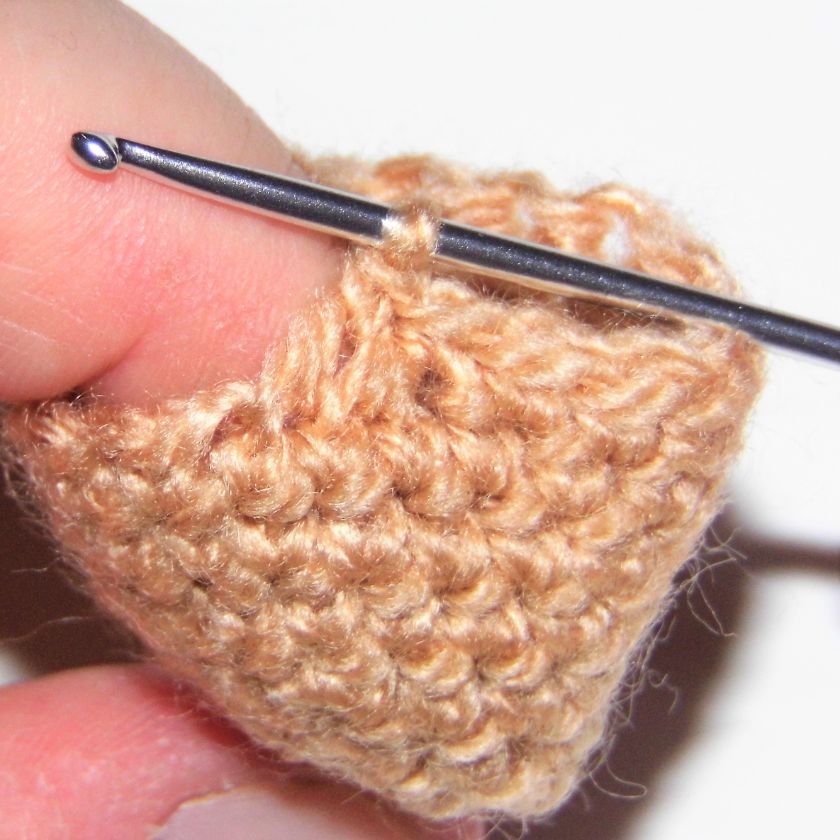
4. To finish, with 2 loops on the hook, take the thread and complete the single crochet.
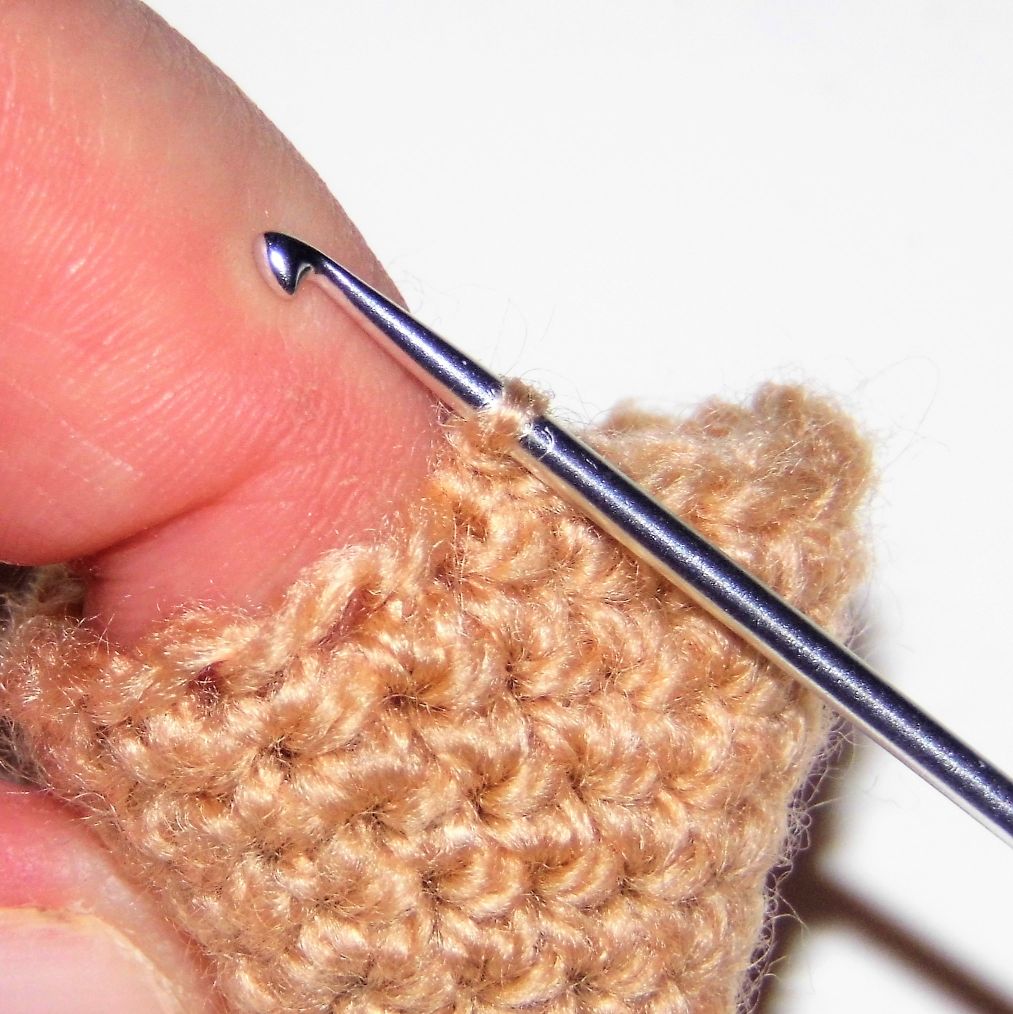
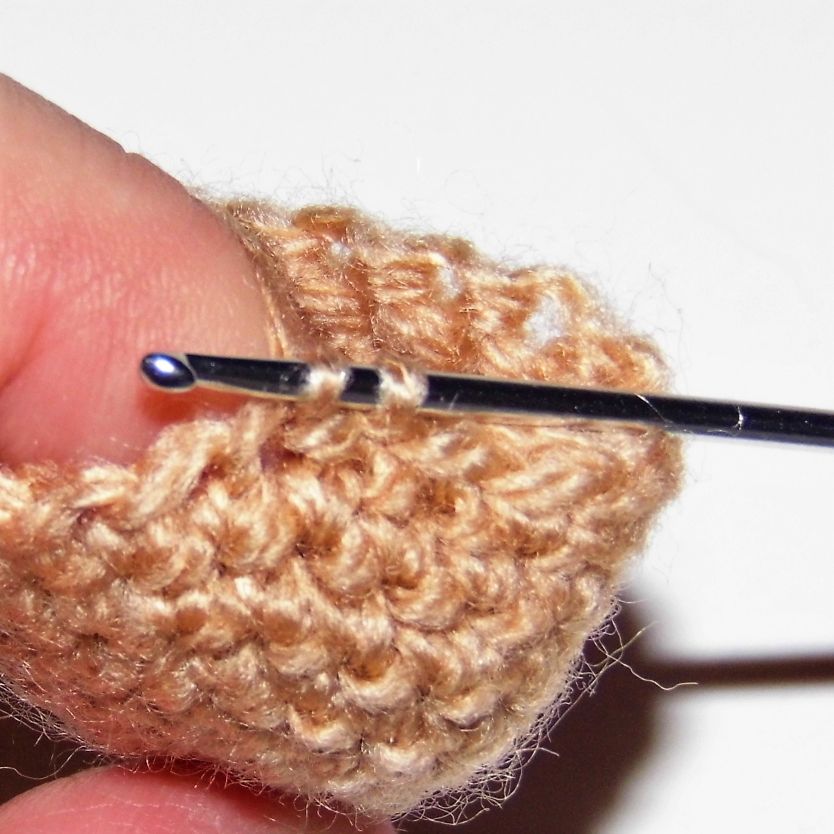
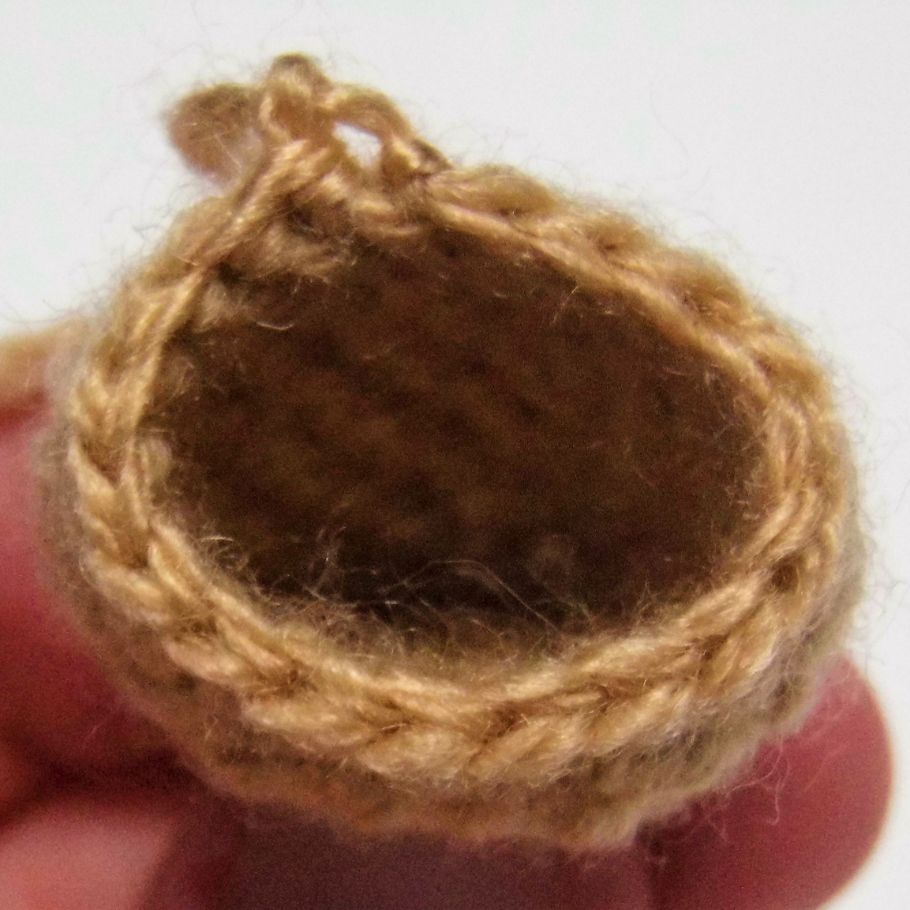
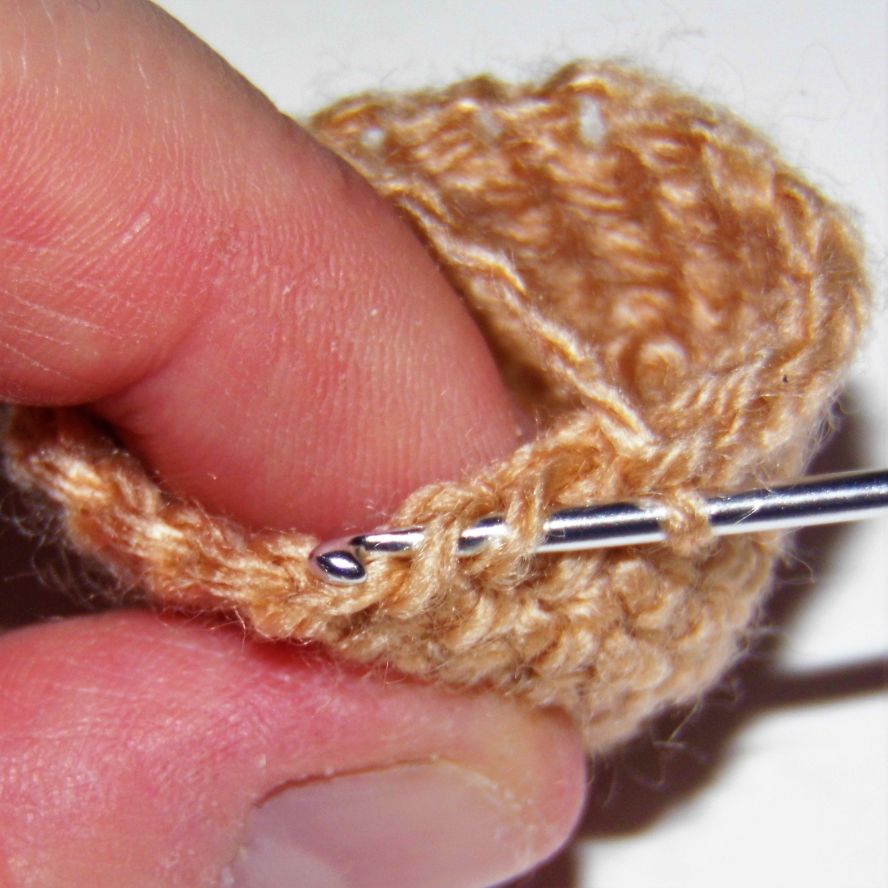
In this way you go from having 2 points to only 1, but unlike the previous method, the aesthetic result is much better. The fabric is even, without lumps or holes.
On the other hand, inside the piece you can see the back loops of the stitches that you have left unworked, something that you must take into account if you leave that part visible.


It’s not that difficult, is it? Do you dare to practice crocheting any of my patterns?
If so, send me the photo for everyone to see in the Gallery!