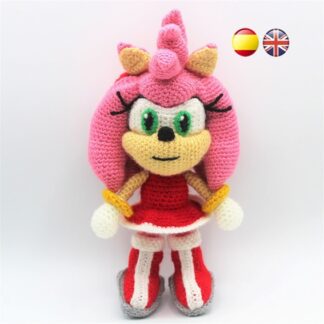
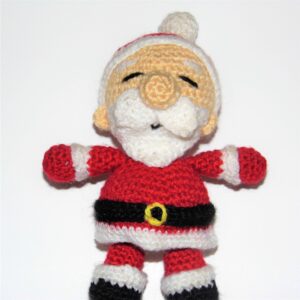
Are you looking for your amigurumis to have a natural posture? Do you find the raised arms in the shape of a cross unsightly? Don’t miss this tutorial: Sew the arms of our amigurumis
When finishing an amigurumi it is very important that we sew the pieces correctly, because their final appearance depends on it. A poorly sewn piece can easily come off and cause problems. Similarly, a poorly placed can make it ugly and spoil its design.
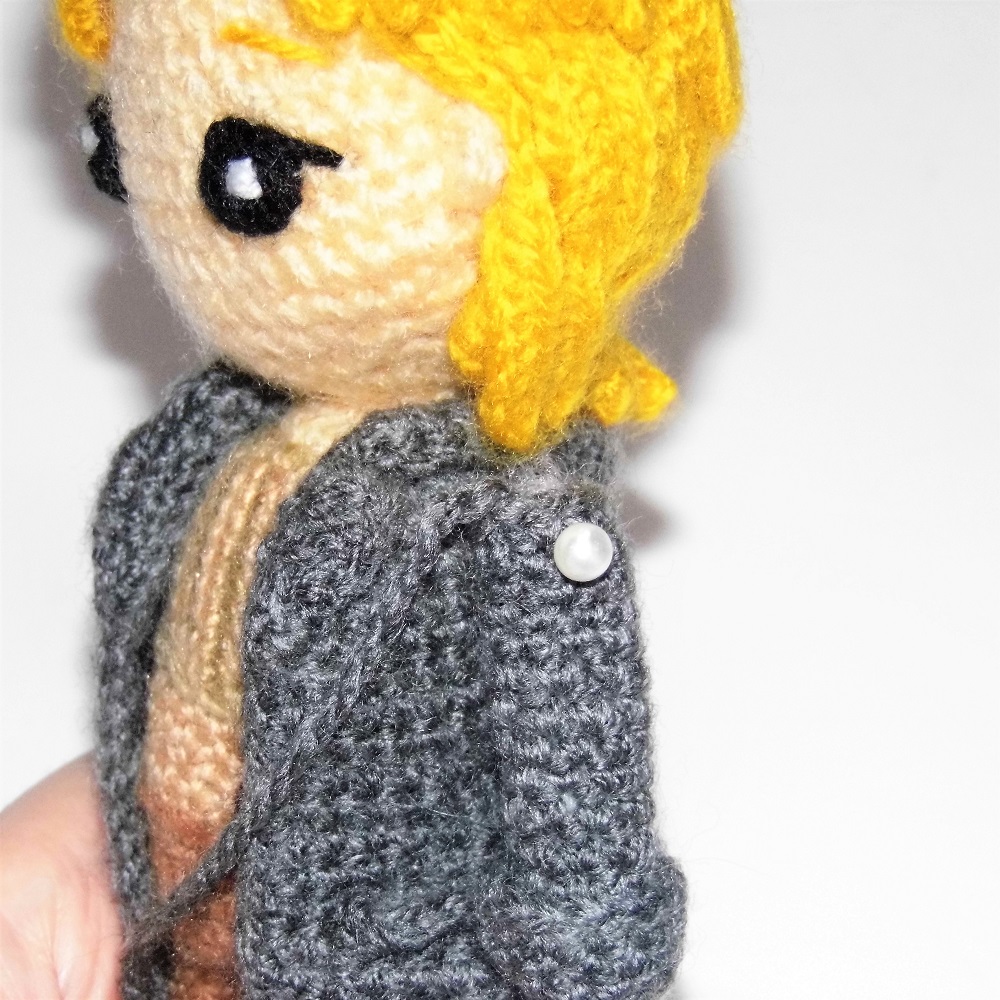
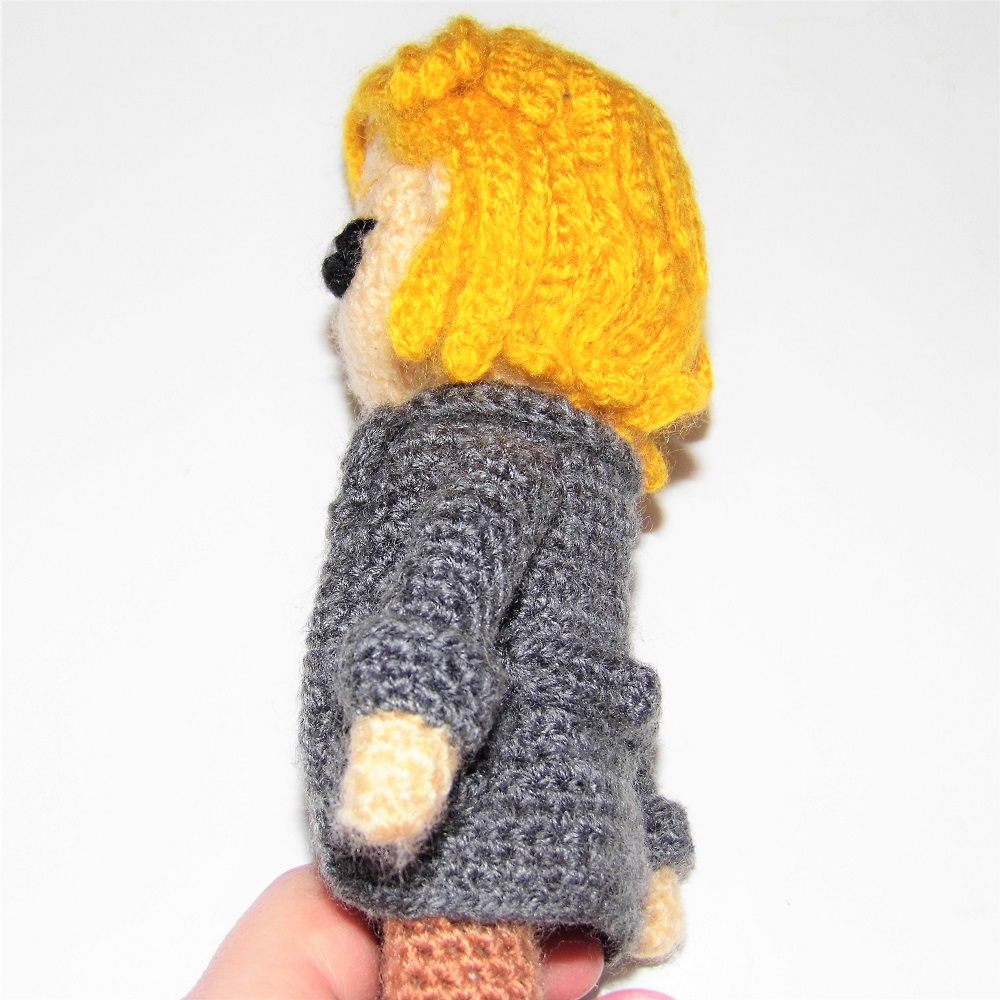
Sewing the arms of an amigurumi seems simple, but many times they can be too upright, in the shape of a cross, making the design ugly.
Today I am going to show you how to sew the arms so that our amigurumi does not have a forced appearance and at the same time, its arms maintain movement.
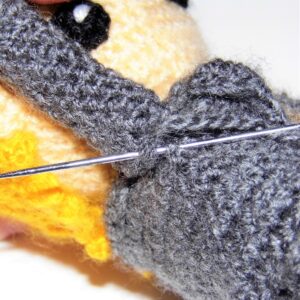
In my designs, the arm piece is left open, that is, we do not close its last round, which helps us to sew them in a simple way. Let’s see how:
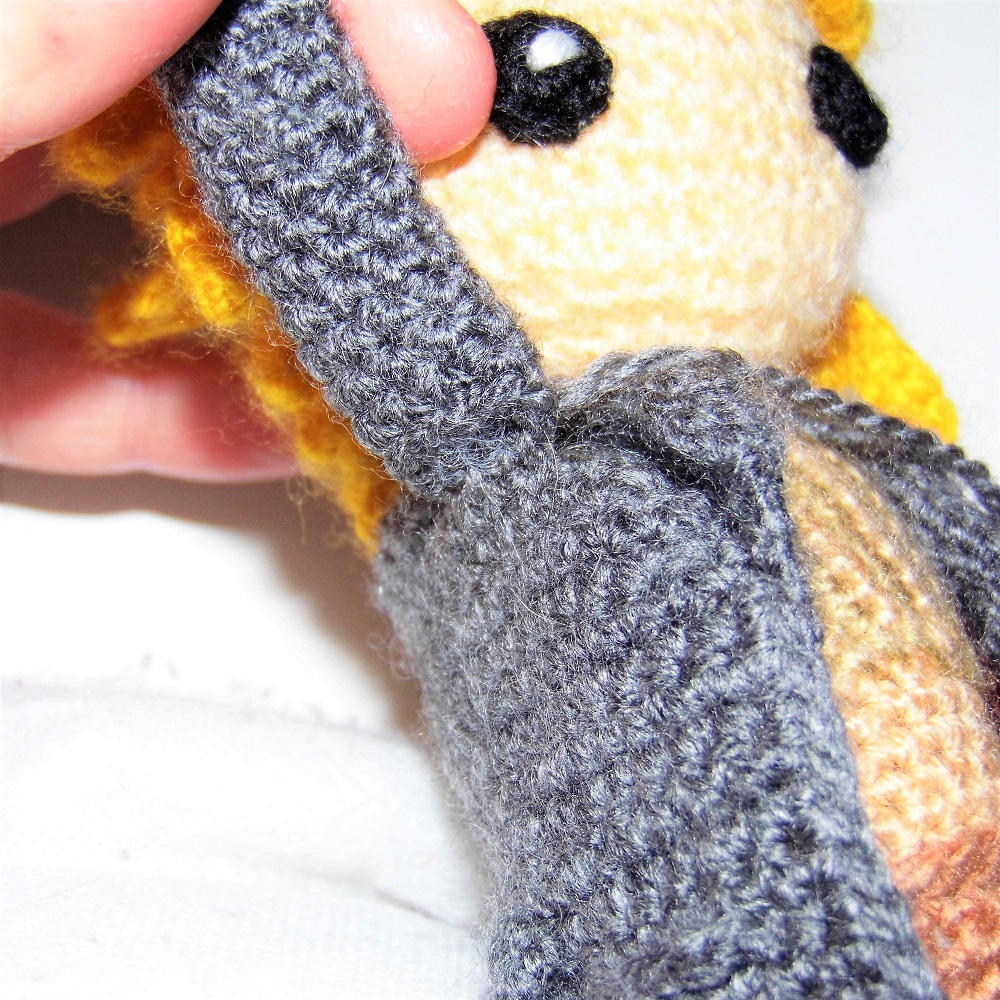
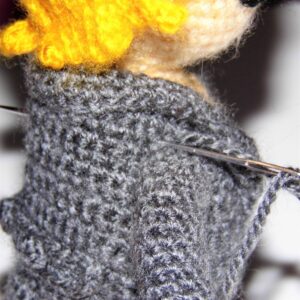
1. Put the arm in place with a pin.
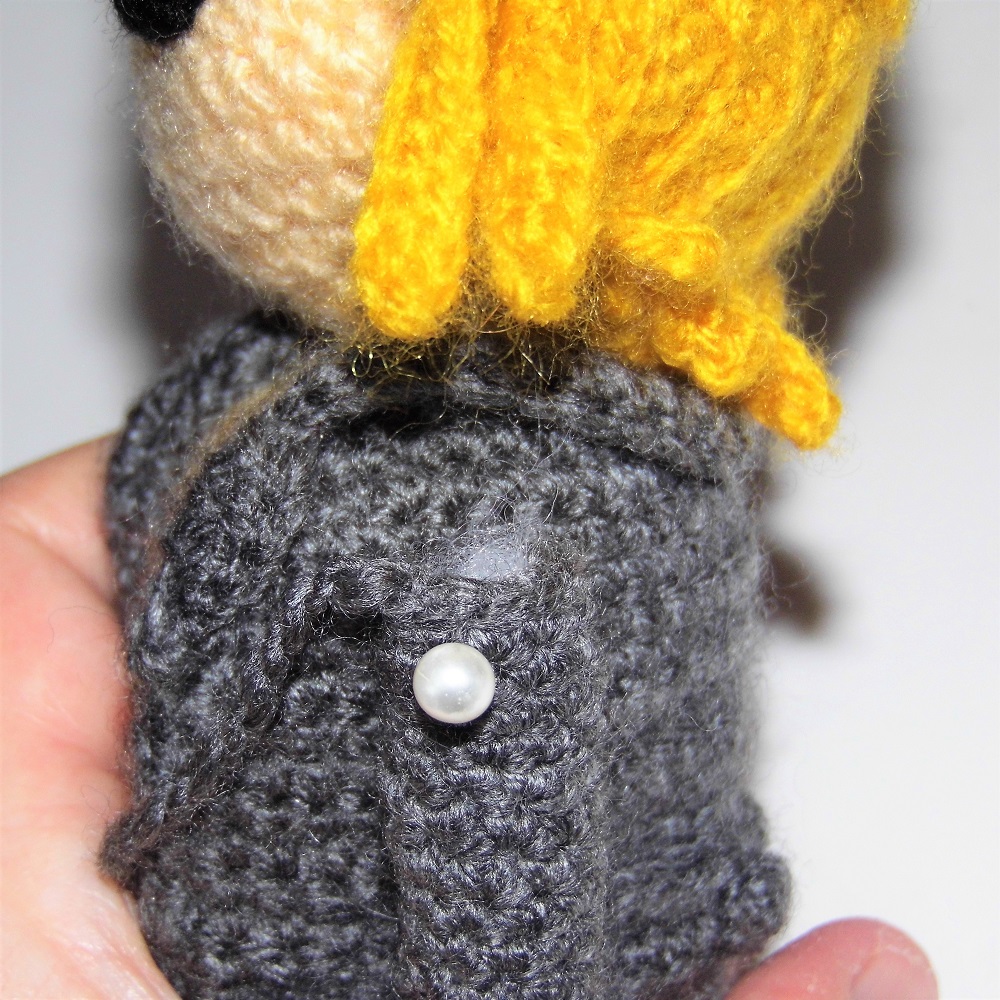
2. Look at the last round of the arm as if it had 2 parts: the upper half (shoulder) and the lower half (armpit).
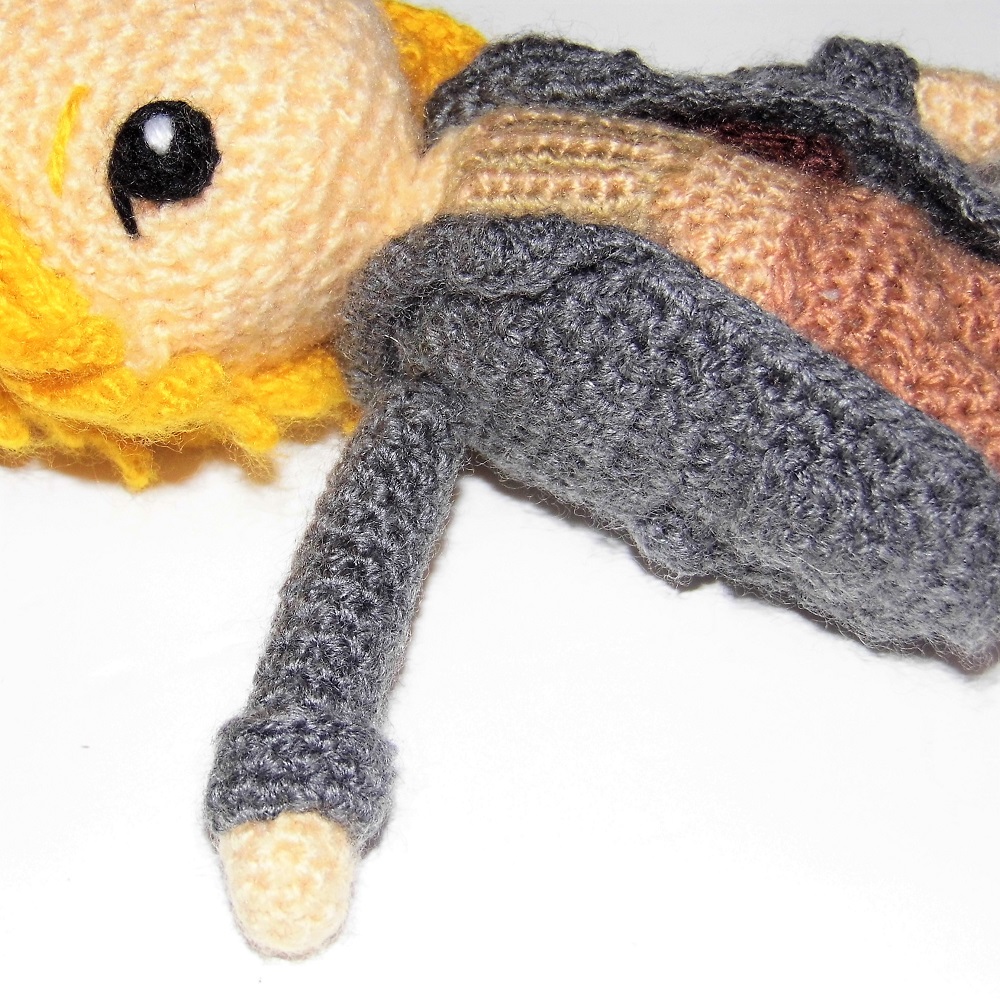
One trick to avoid stiffness is to not overstuff the end of the arm.
3. Sew the top half stitches to the body on the row you placed it on.
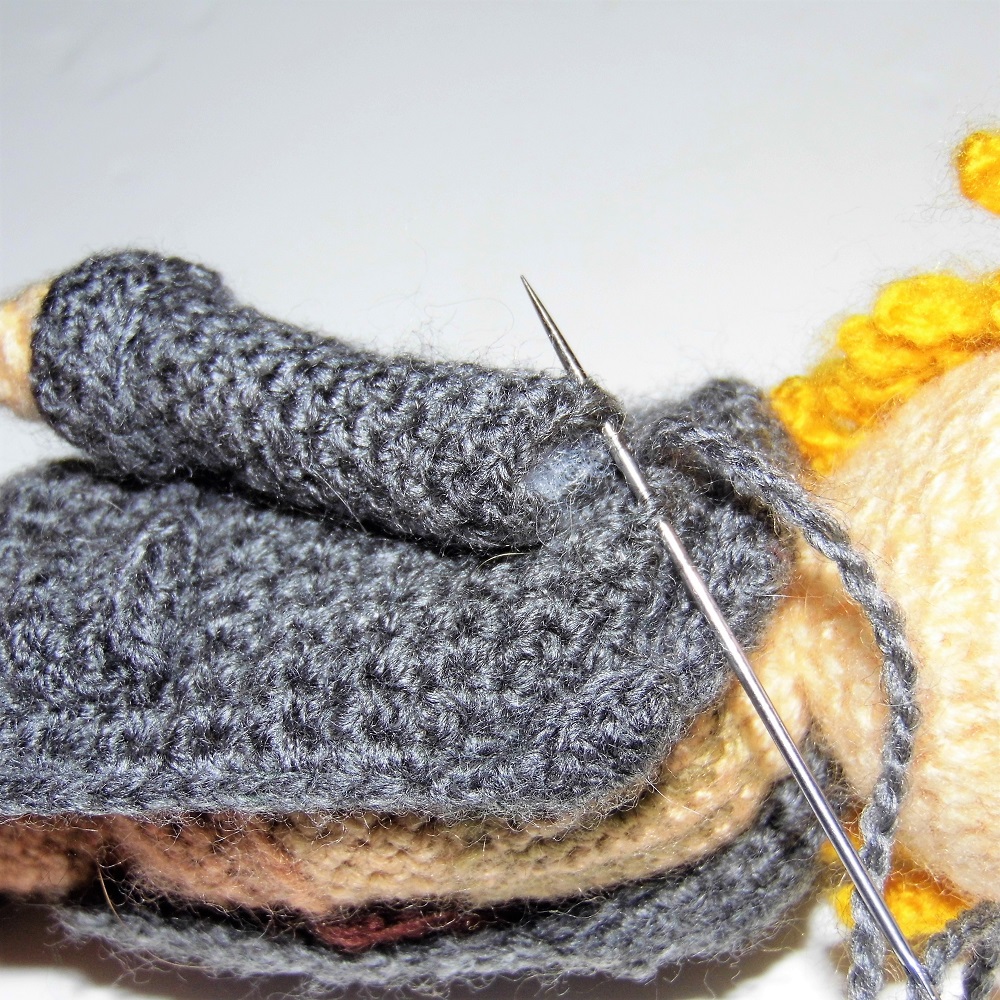

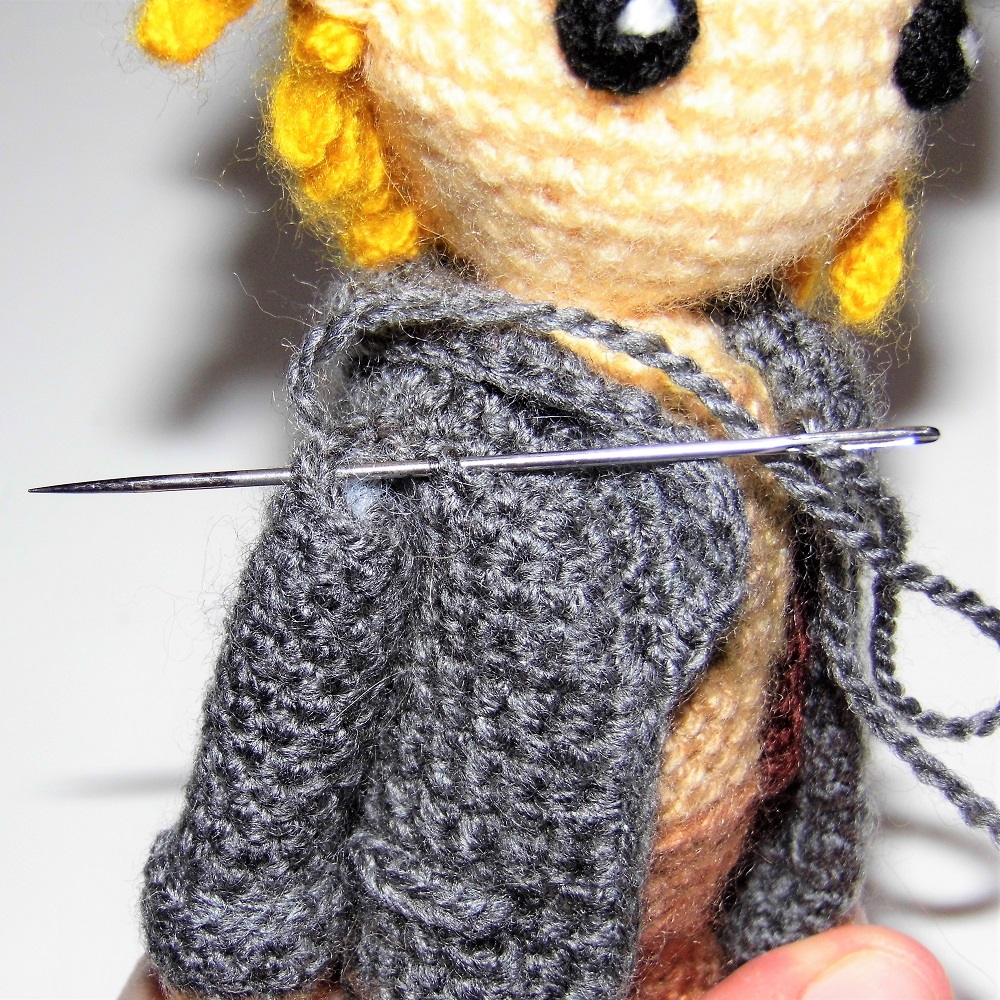
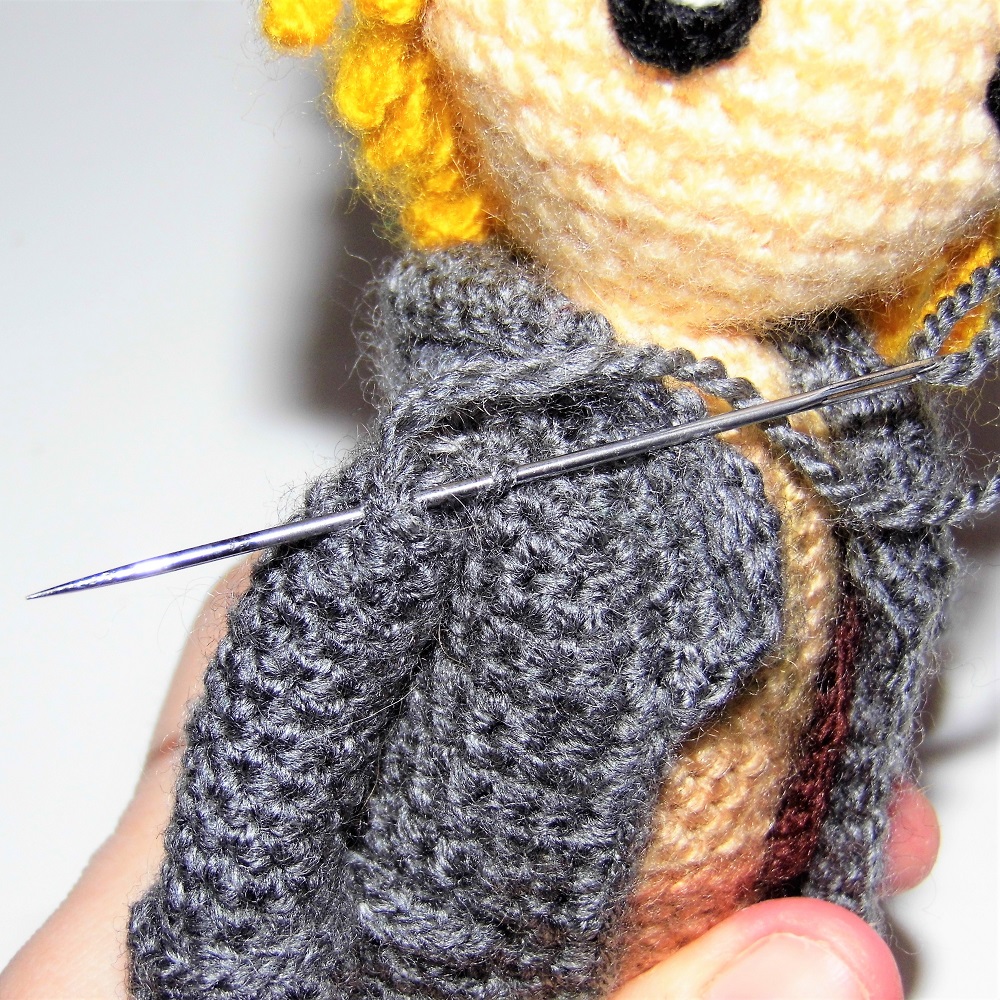
Continue sewing around the piece to finish at the bottom that you need to sew lower (2-3 rows lower).
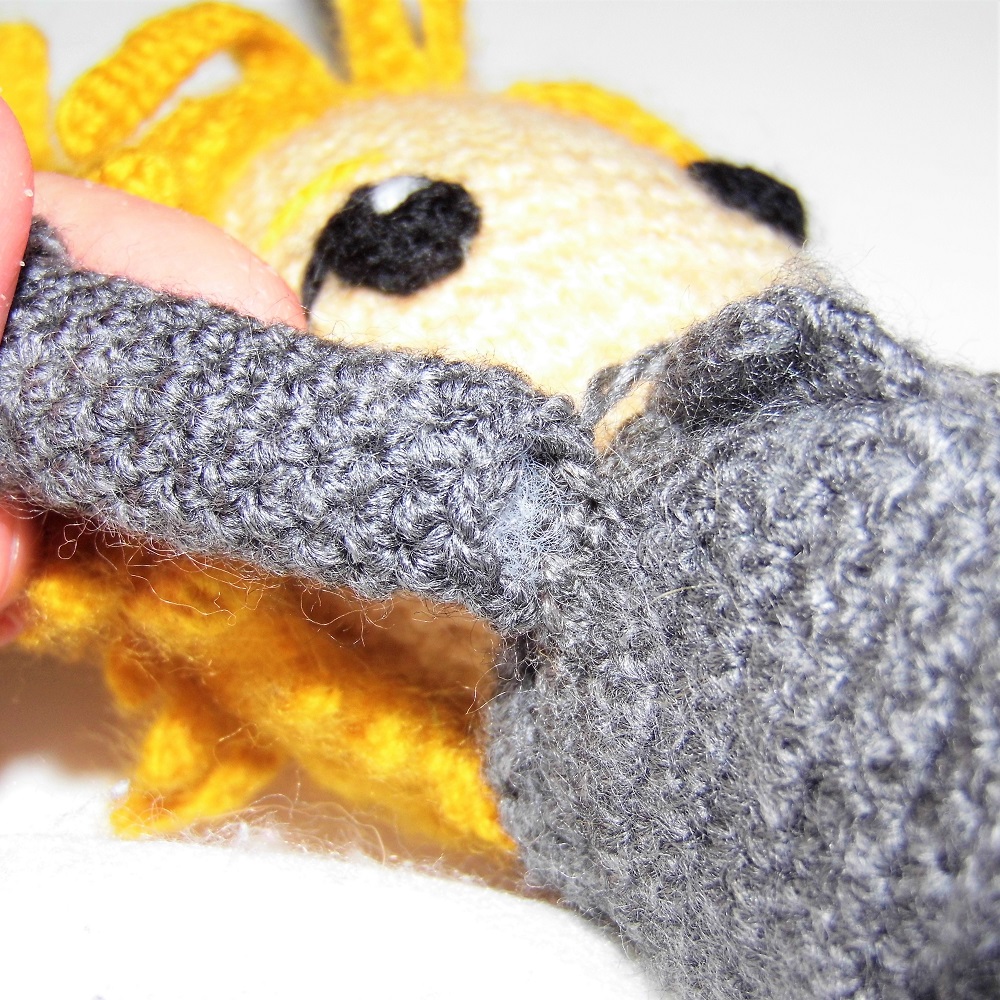
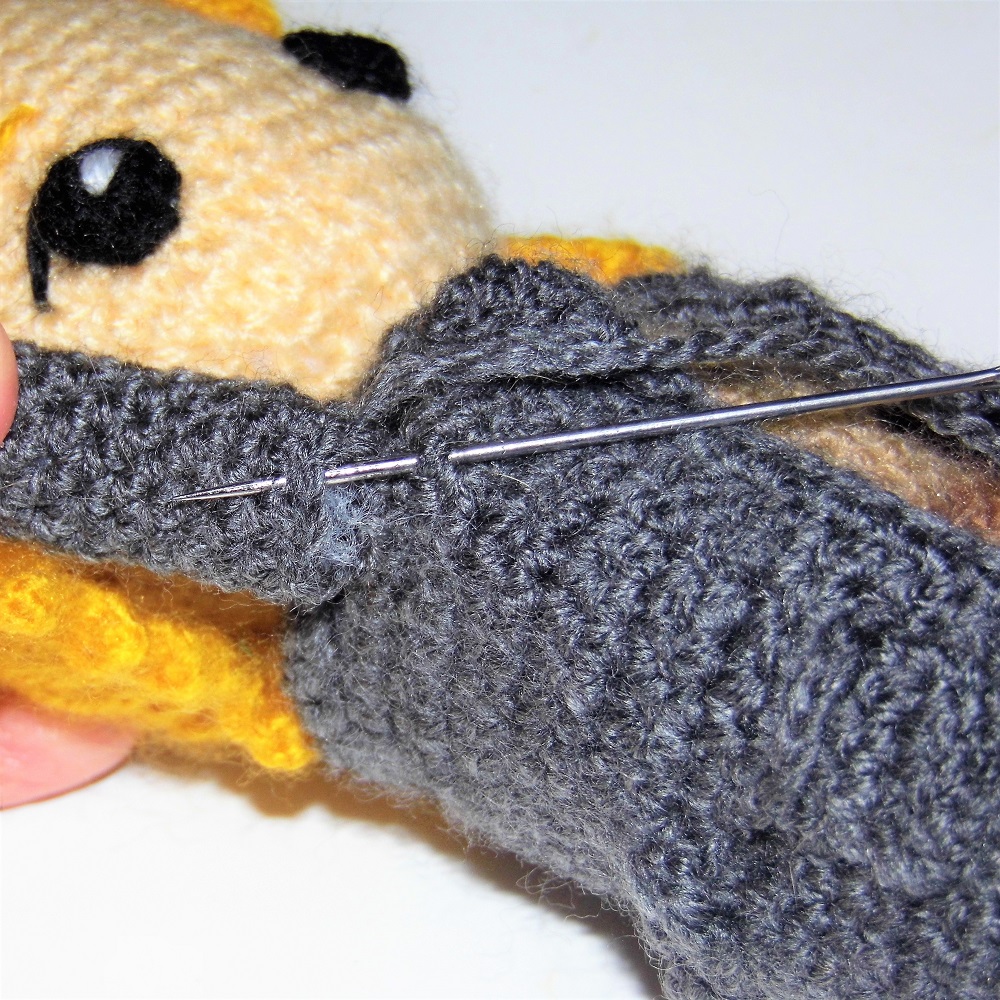
In this way, the arm is united, but continues with the open form, which allows its mobility.
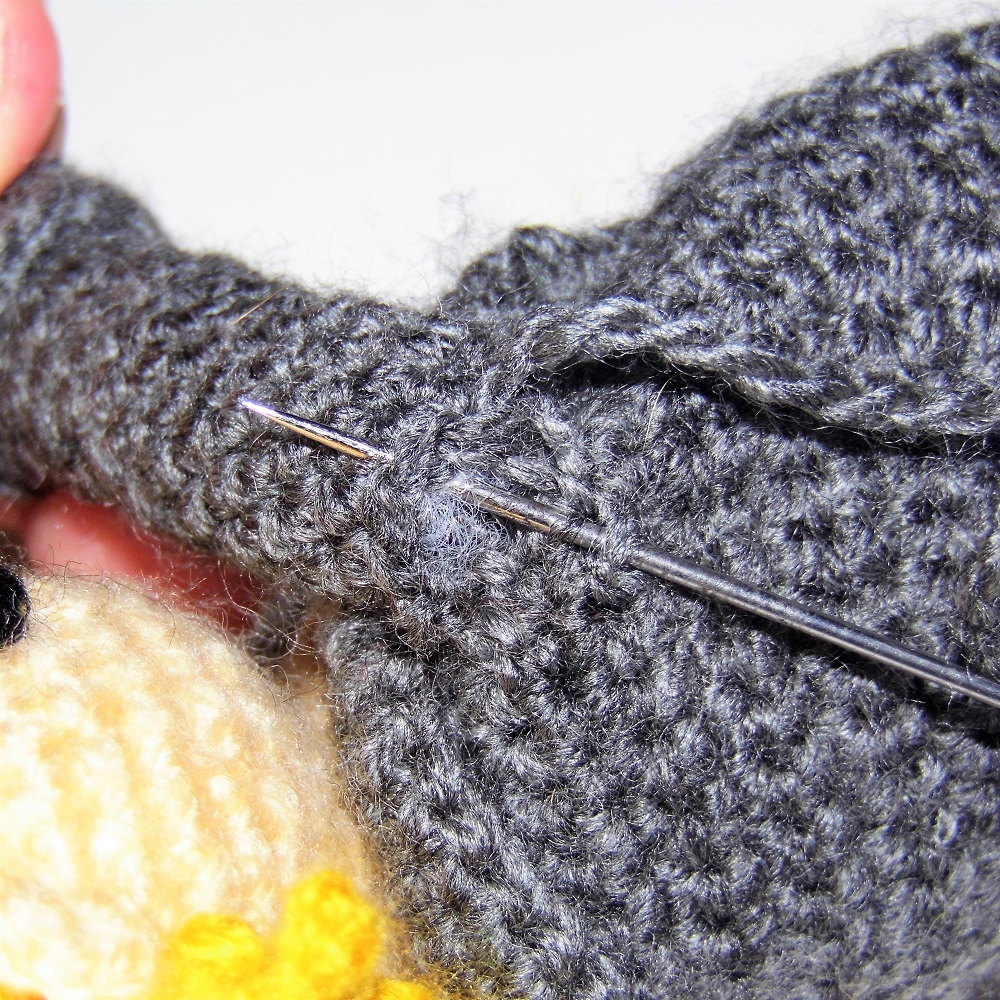
4. To finish off, insert the excess yarn from the top to lose it in the fabric. That way the arm will be a little lower.
As you can see, in a simple way you will ensure that your amigurumis retain a natural appearance and maintain the movement of their arms.
I hope you liked this tutorial about Sew the arms of our amigurumis and above all it was useful to you.
See you soon!