As you know, I am from Galicia and as I have done on previous occasions as in the Galician Octopus Amigurumi Pattern, I want to show you a little bit of my land through the St James Cake Amigurumi Pattern.
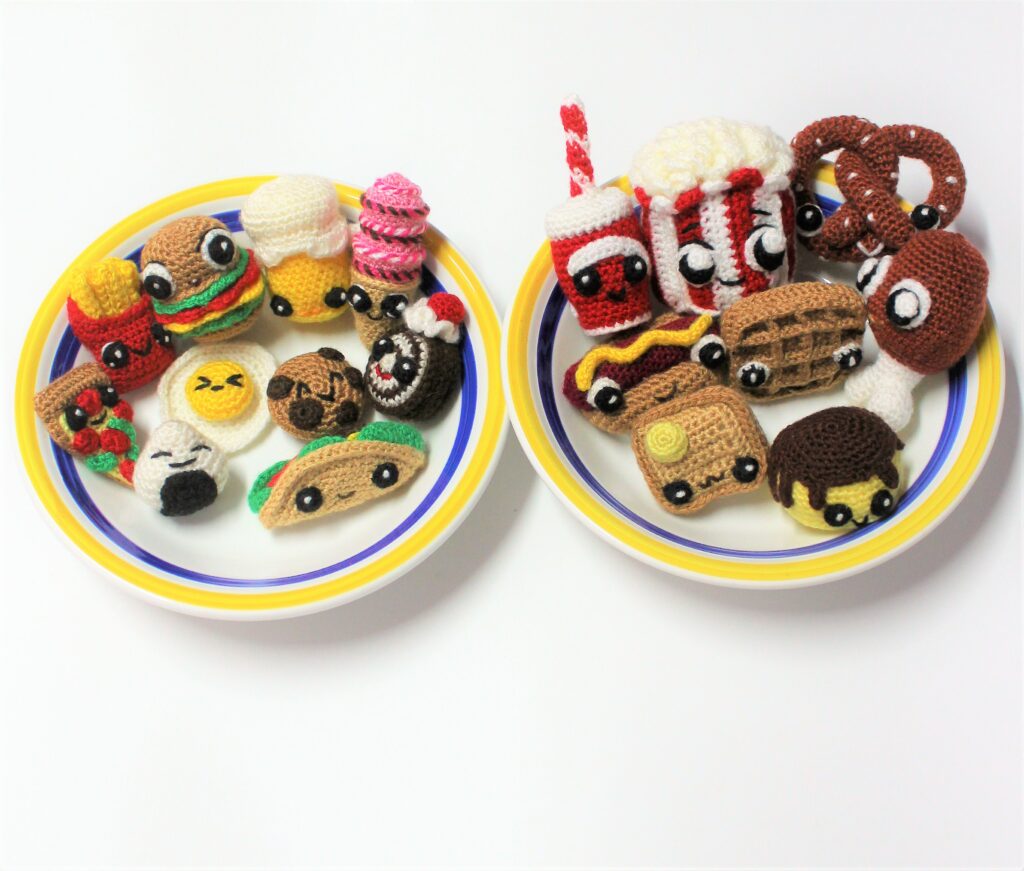
I have designed a New collection of “delicious” kawaii-style amigurumis
Delicious Amigurumis: 18 patterns to crochet amigurumi food
And I thought I could take advantage of and show you one of the most representative desserts of my land:
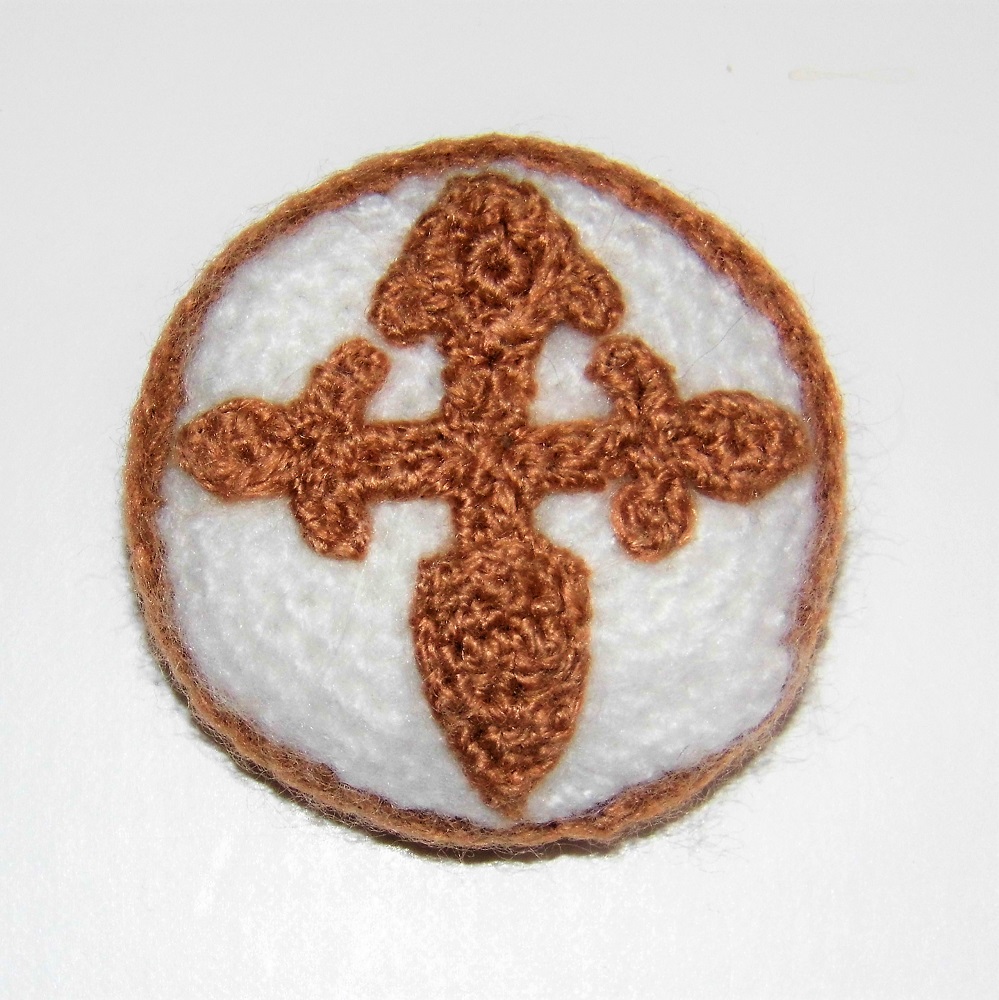
St. James’ Cake (Tarta de Santiago)
Do you know it? It is a very simple recipe since it is made only with almonds, sugar and eggs, with a little bit of cinnamon and lemon zest.
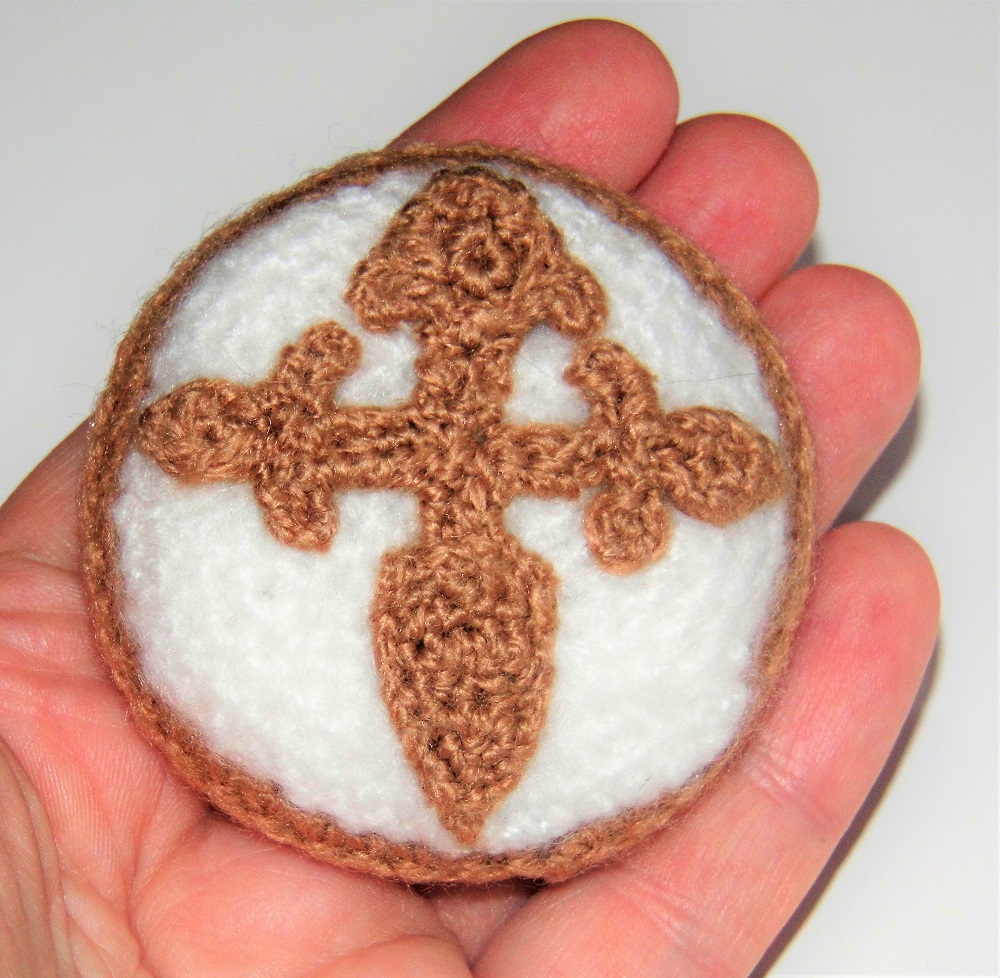
It’s delicious! But what makes it unmistakable is the drawing of St. James’ cross on the surface made with a template on which we sprinkle icing sugar.
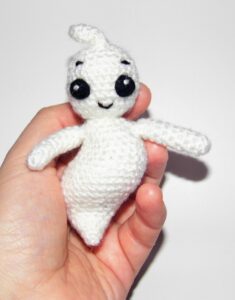
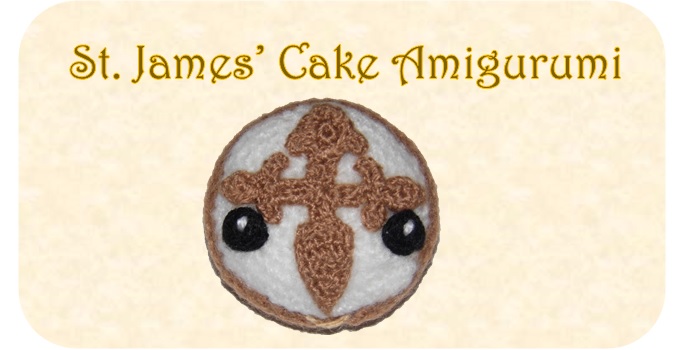
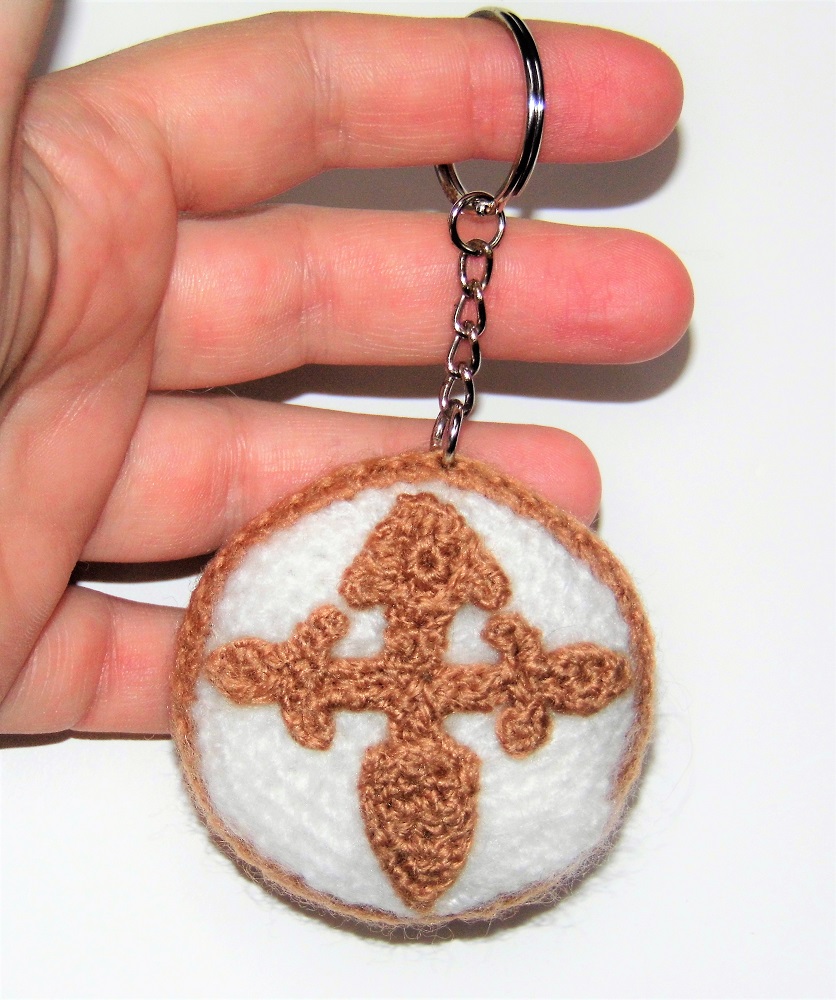
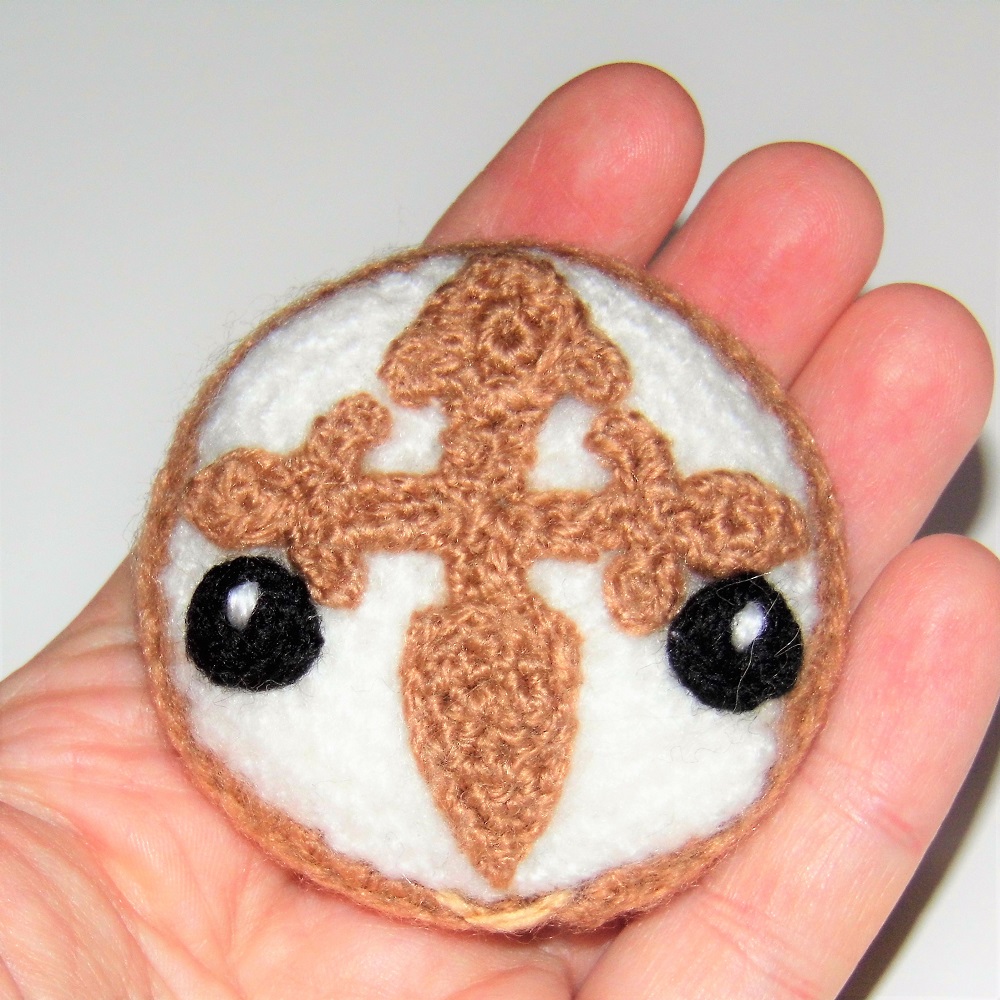
Here you have the St-James’ Cake Amigurumi Pattern that you can also turn into a funny keychain. I hope you like it!

- Size: 2,3″ / 6 cm
- Difficulty: High
- Estimated Time: 8 h
- Hook size: 2 mm
MATERIALS
- Yarn of different colors: white, black, beige, light beige.
- Thickness of the yarn: 3 mm.
- Hook according to the thickness of the yarn.
- Yarn needle.
- Fiberfill.
ABBREVIATIONS
- Sc: single crochet
- St: stitch
- Inc: increase
- Dec: decrease
- Fill the doll with fiberfill as you crochet.
If you have doubts about the stitches visit: Basic Stitches to Crochet Amigurumis
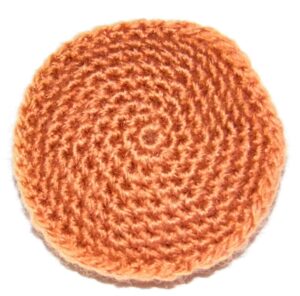
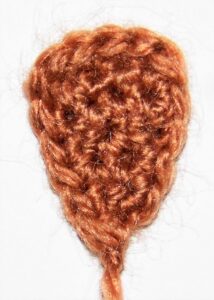
BODY
With beige yarn
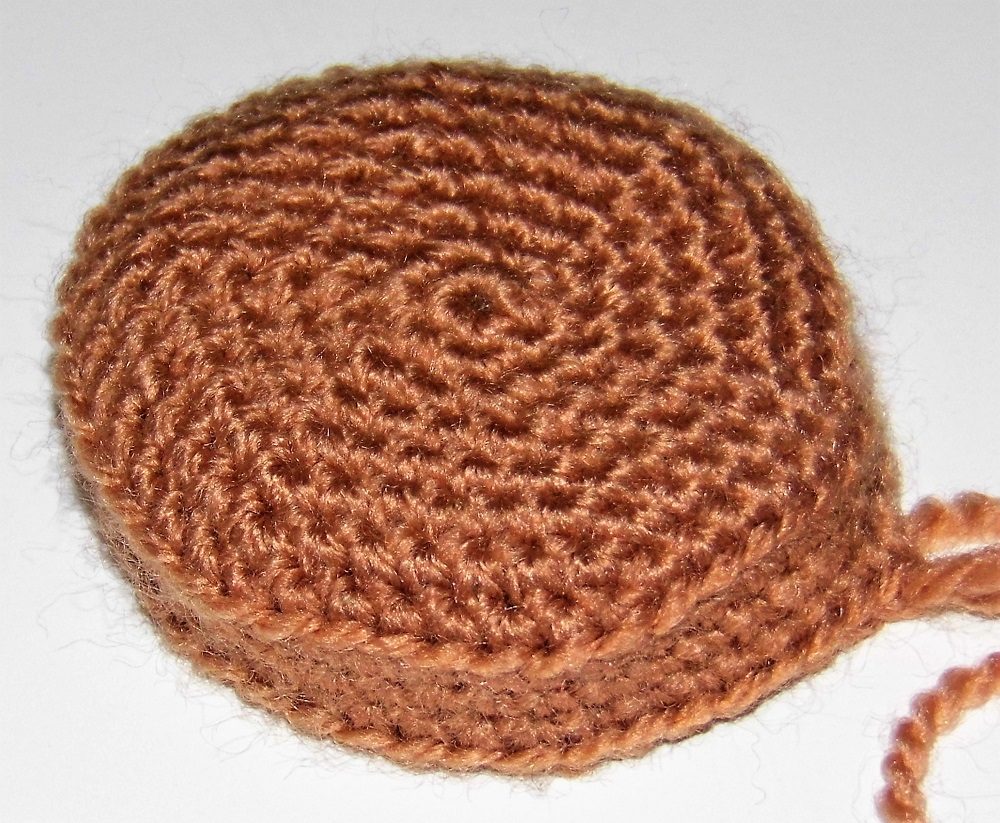
1. Work 6 sc in magic ring.
2. Inc in every st (12).
3. “1 sc, inc”, repeat (18).
4. “2 sc, inc”, repeat (24).
5. “3 sc, inc”, repeat (30).
6. “4 sc, inc”, repeat (36).
7. “5 sc, inc”, repeat (42).
8. 1 sc in each st (42).
9. Work in back loops only 1 sc in each st (42). You will return to this round to complete the cake.
10. and 11. 1 sc in each st (42).
12. Work in back loops only 1 sc in each st (42). You will return to this round to complete the cake.
13. “5 sc, dec”, repeat (36).
14. “4 sc, dec”, repeat (30).
15. “3 sc, dec”, repeat (24).
16. “2 sc, dec”, repeat (18).
17. “1 sc, dec”, repeat (12).
18. Dec in every st (6).
Fasten off. Sew the hole with the yarn needle.
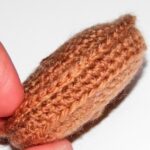
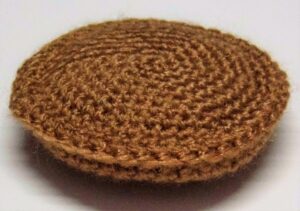
Complete the Cake
With beige yarn
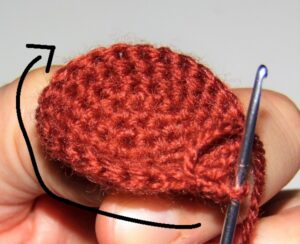
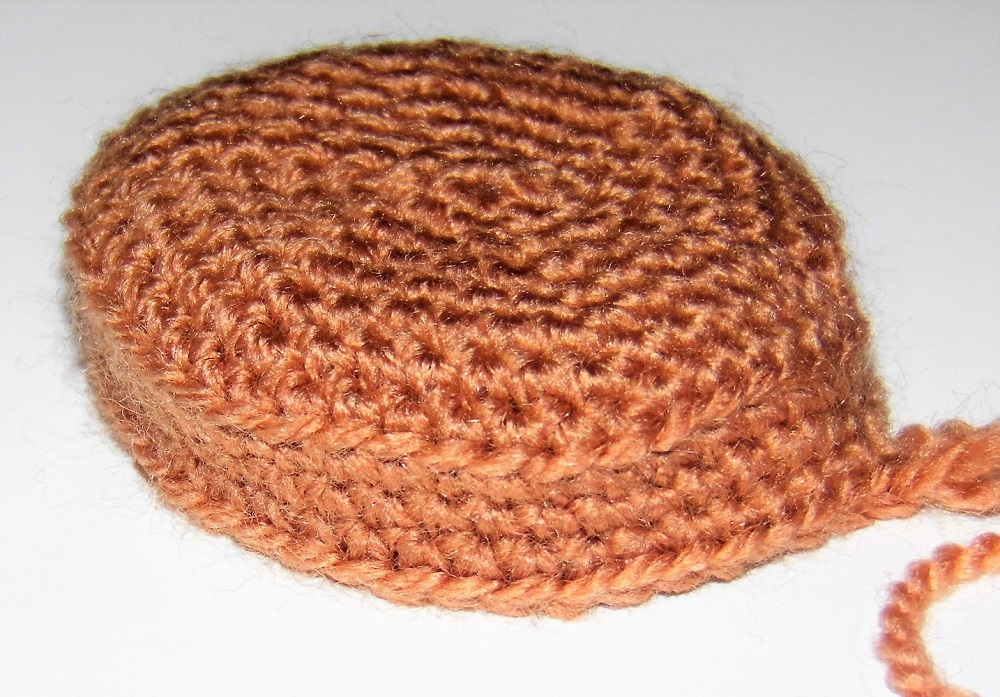
Return to round 9 and holding the piece with the magic ring pointing down, work 1 sc in each st (42). Fasten off
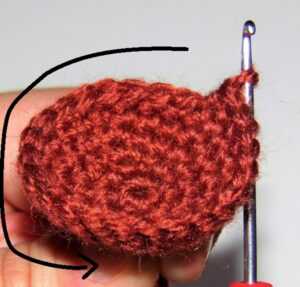
1. Return to round 12 and holding the piece with the last round pointing down, work 1 sc in each st (42).
2. and 3. 1 sc in each st (42).
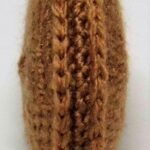
4. Join with sc the 42 sc of each side (42).
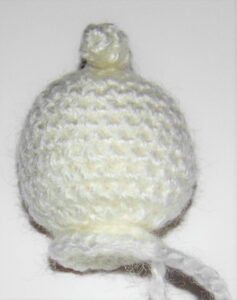
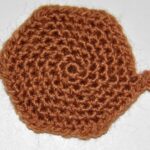
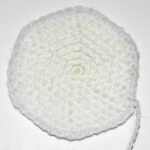
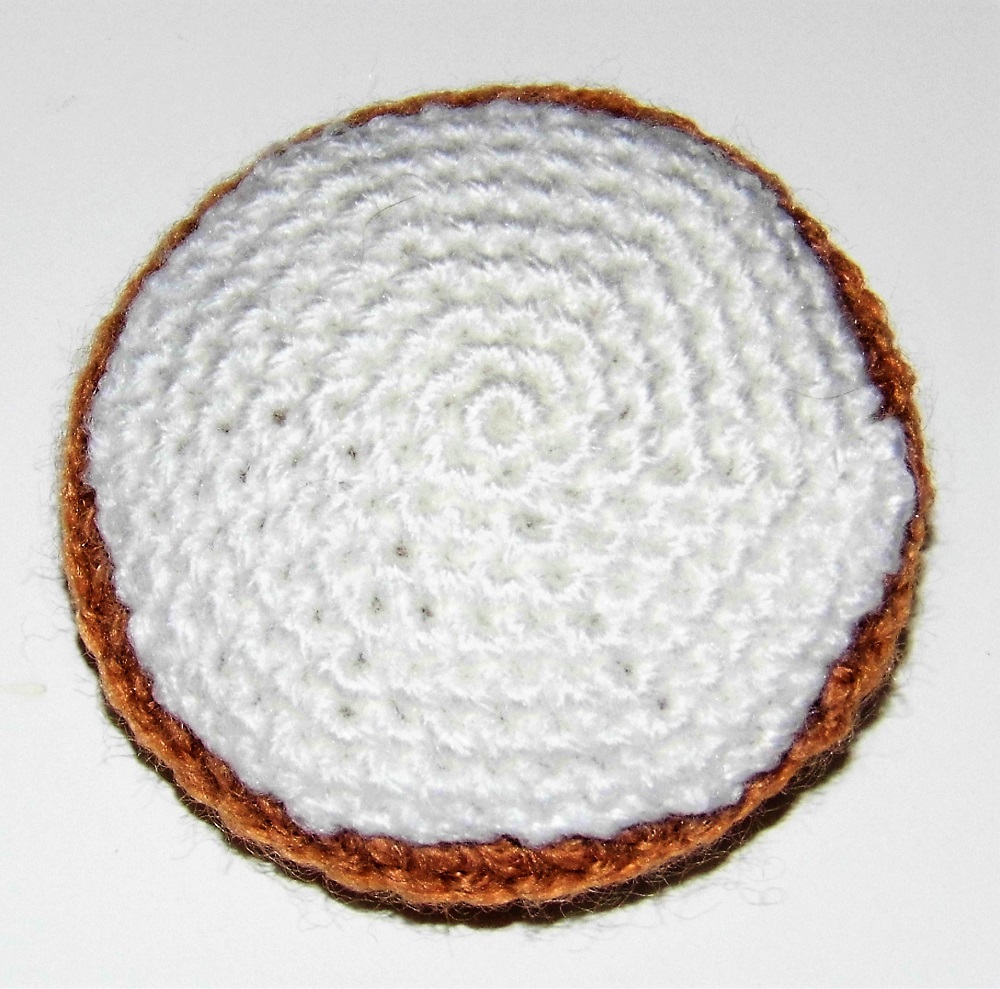
ICING SUGAR PART
With white yarn
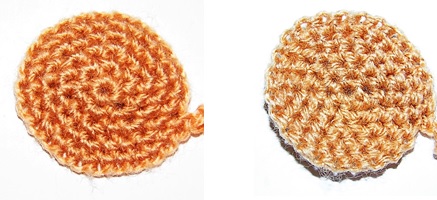
1. Work 6 sc in magic ring.
2. Inc in every st (12).
3. “1 sc, inc”, repeat (18).
4. “2 sc, inc”, repeat (24).
5. “3 sc, inc”, repeat (30).
6. “4 sc, inc”, repeat (36).
7. “5 sc, inc”, repeat (42).
8. 1 sc in each st (42).
Fasten off.
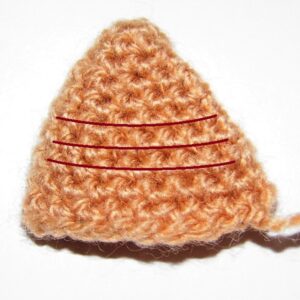
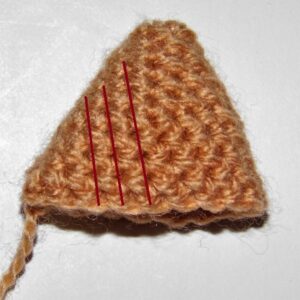
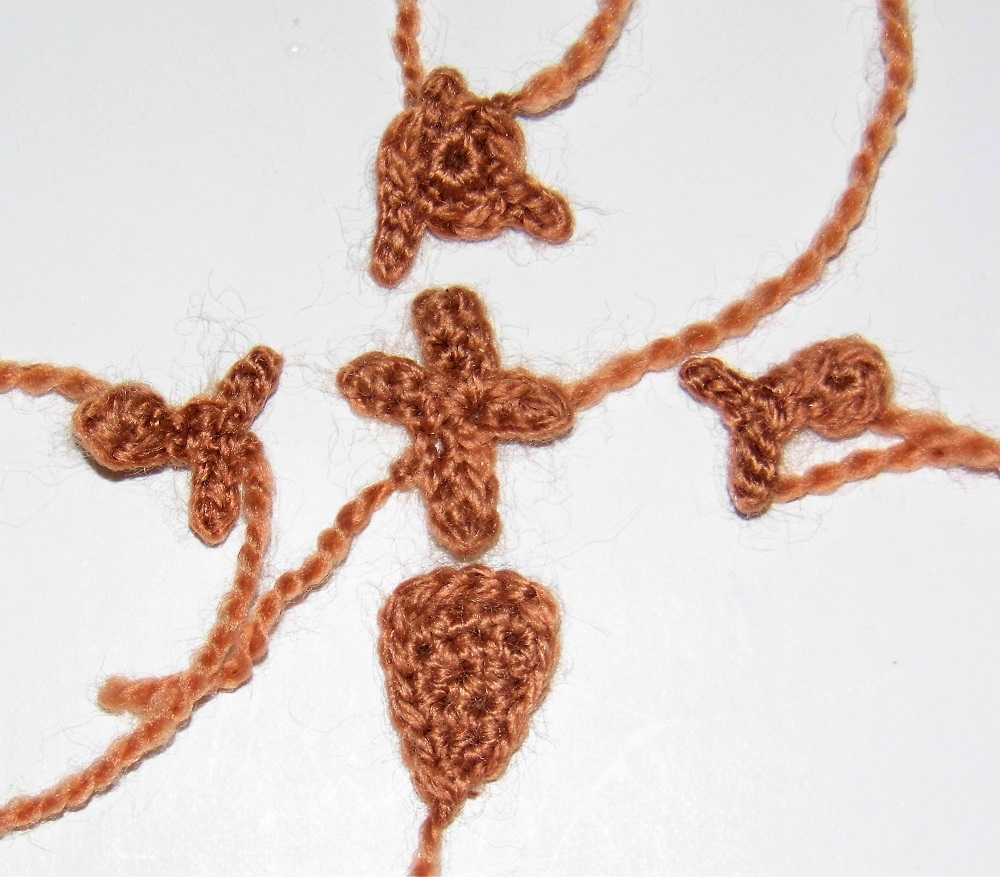
ST. JAMES’ CROSS
Bottom
With beige yarn
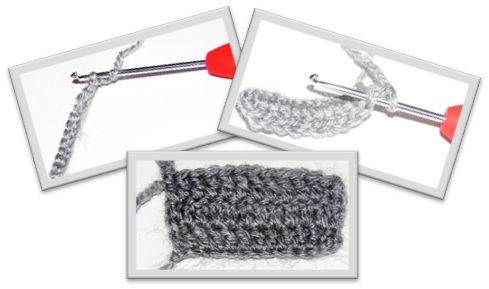
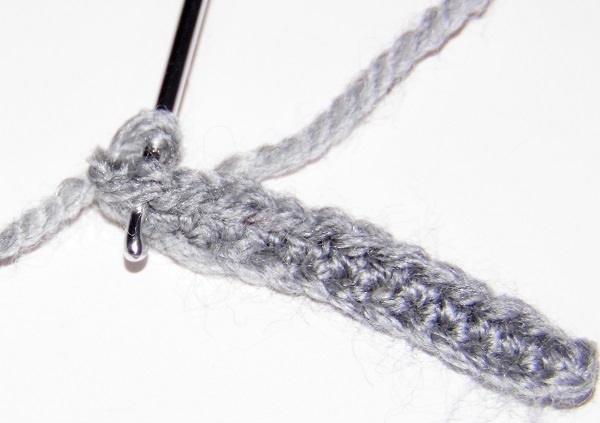
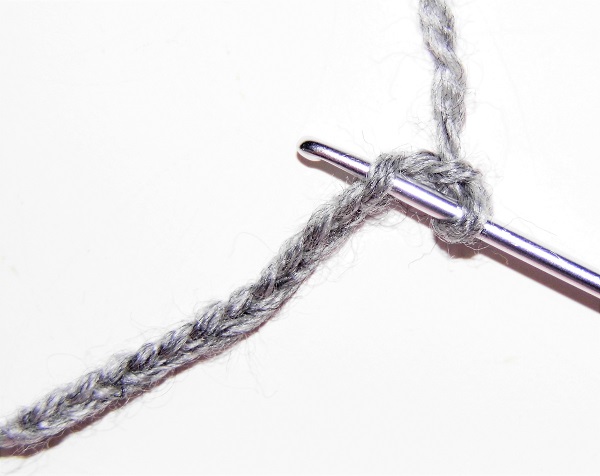
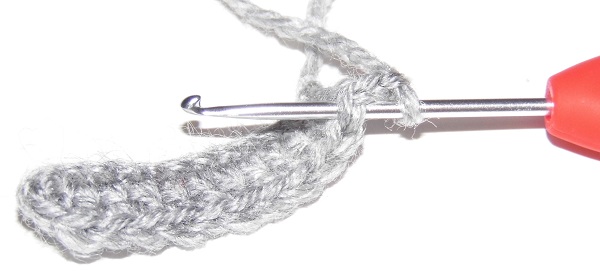
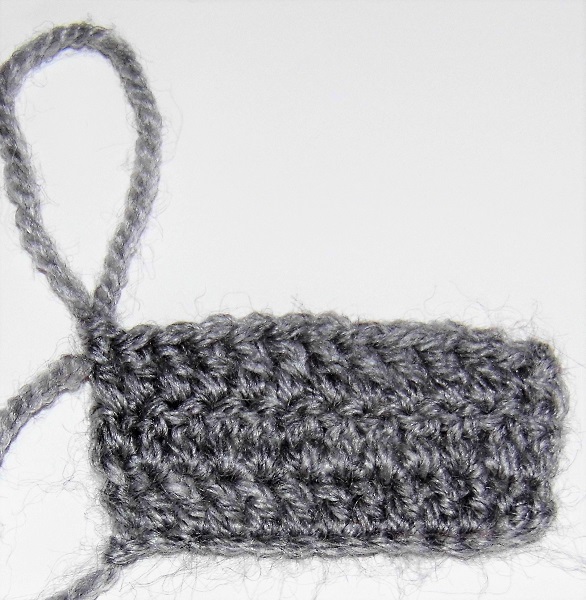
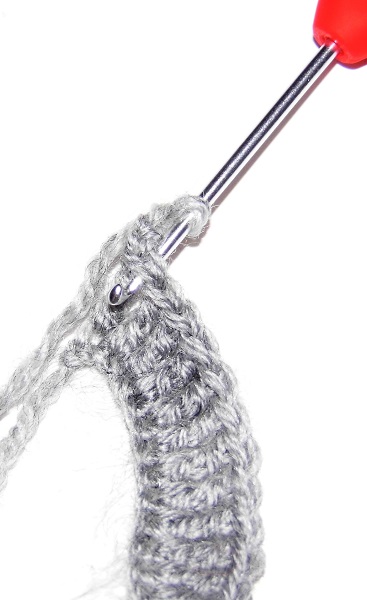
1. Ch 5 and work 4 sc on the chains.
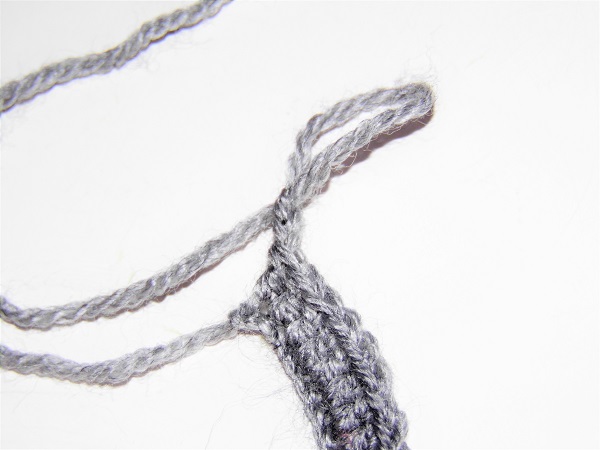
2. Ch 1, turn and work 1 sc in each st (4).
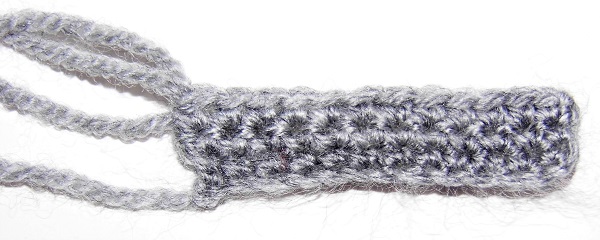
3. Don’t ch 1, turn, work 1 sc in each st until you reach the last 2 sc, then dec 1 (2).
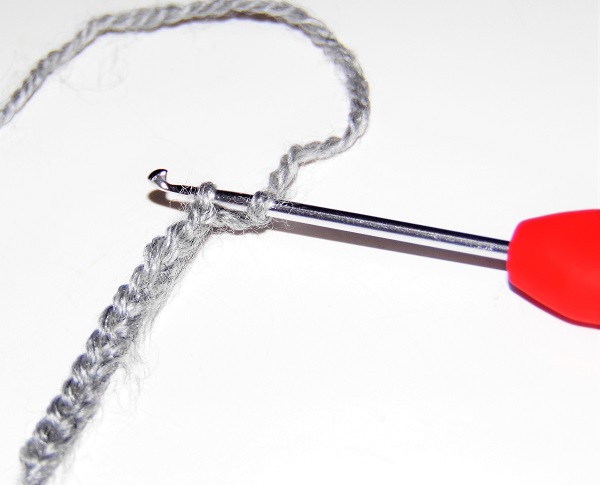
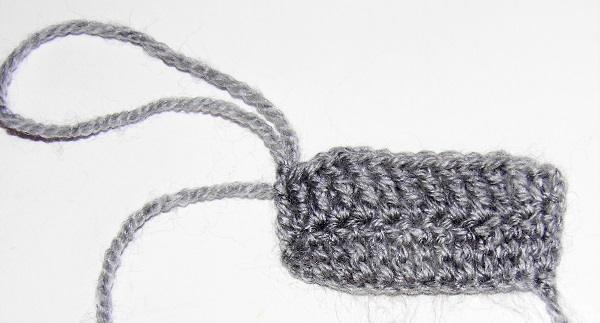
4. Ch 1, turn and work 1 sc in each st (2).
5. Don’t ch 1, turn and work 1 sc.
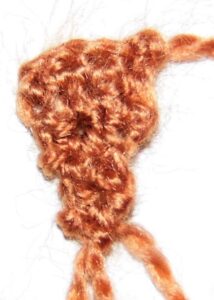
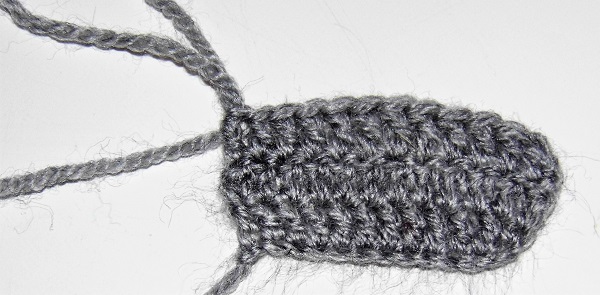
6. Place the round marker to work around the piece with sc. Work: 5 sc + 4 sc + 5 sc + 1 sc.
Fasten off.
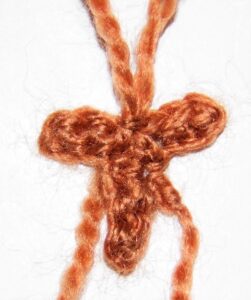
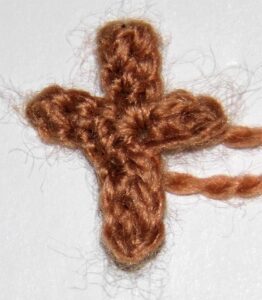
Cross
With beige yarn
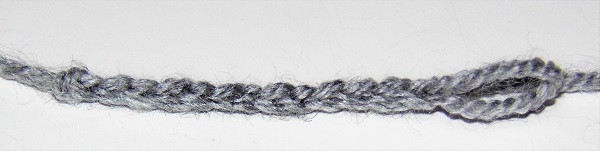
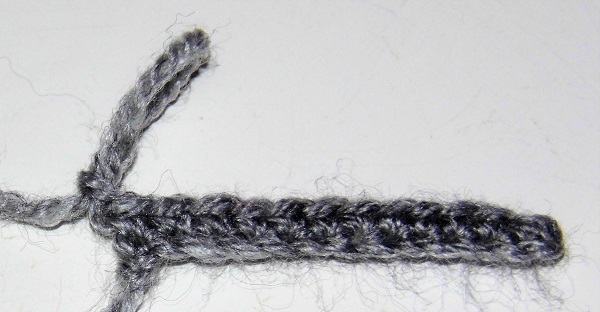
Work “Ch 4, 3 sc in the chains” 2 times, 1 slip st in the middle, “Ch 4, 3 sc in the chains, 1 slip st in the middle” 2 times.
Fasten off.
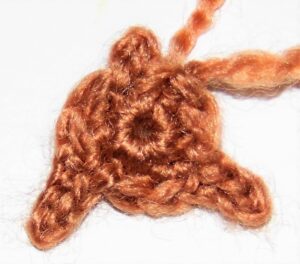
Top
With beige yarn
1. Work 6 sc in magic ring.
2. Ch 2, 1 slip st in the chains, 1 slip st in the st beginning of the chains, 2 sc in the magic ring, Ch 4, 3 slip stitches in the chains, 1 slip st in the st beginning of the chains, 2 sc in the magic ring, Ch 4, 3 slip stitches in the chains, 1 slip st in the st beginning of the chains, 1 sc in the magic ring, 1 final slip st.
Fasten off.
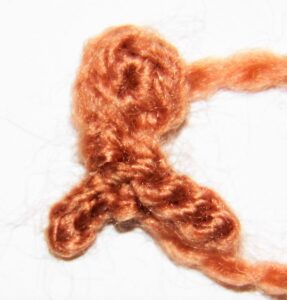
Sides (x2)
With beige yarn
1. Work 4 sc in magic ring.
2. Ch 1, 1 sc, Ch 4, 3 slip stitches in the chains, 1 slip st in the middle, Ch 4, 3 slip stitches in the chains, 1 slip st in the middle.
Fasten off.
EYES (x2)
With black yarn
Work 6 sc in magic ring.
Fasten off. With white yarn embroider the twinkle.

Final Details
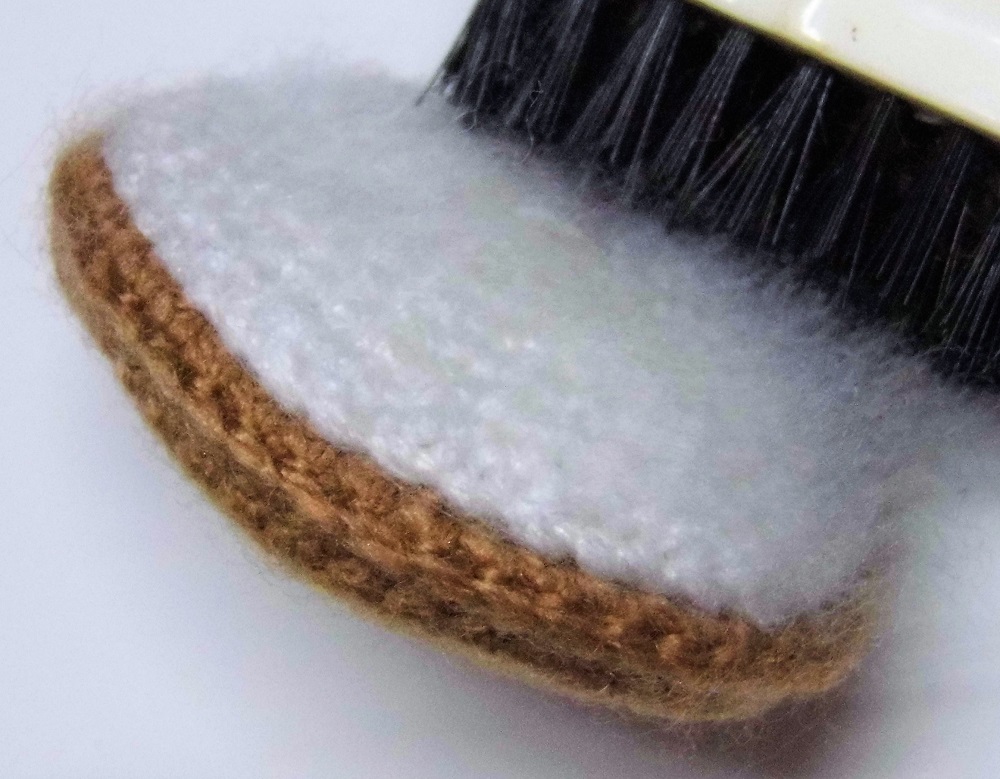
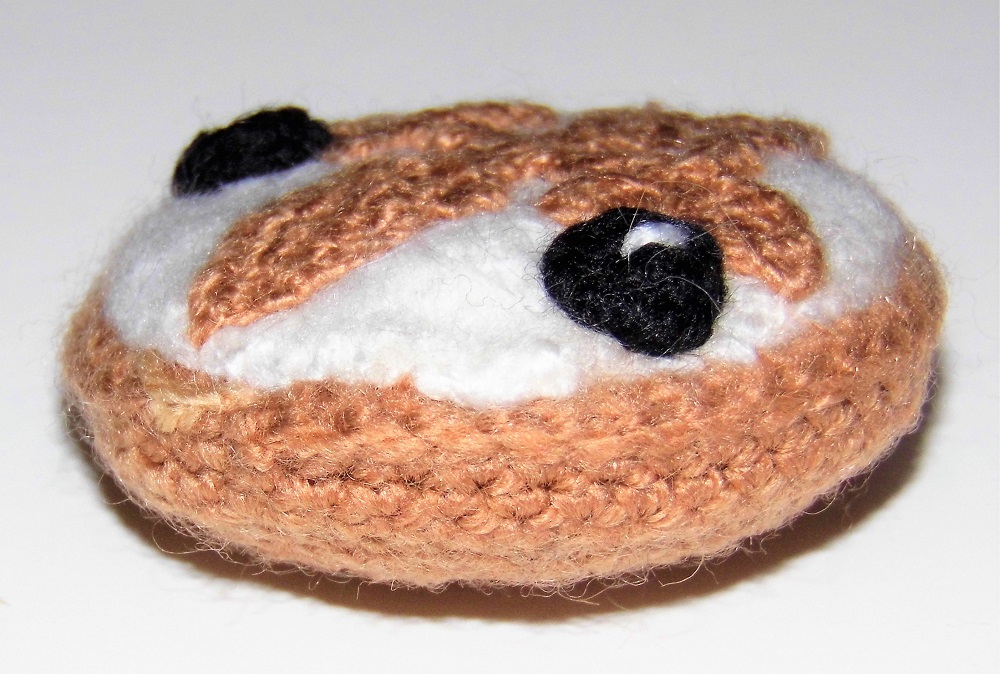
Sew the icing sugar part on the piece of cake. To give a cottony look, lightly brush the wool once it is sewn.
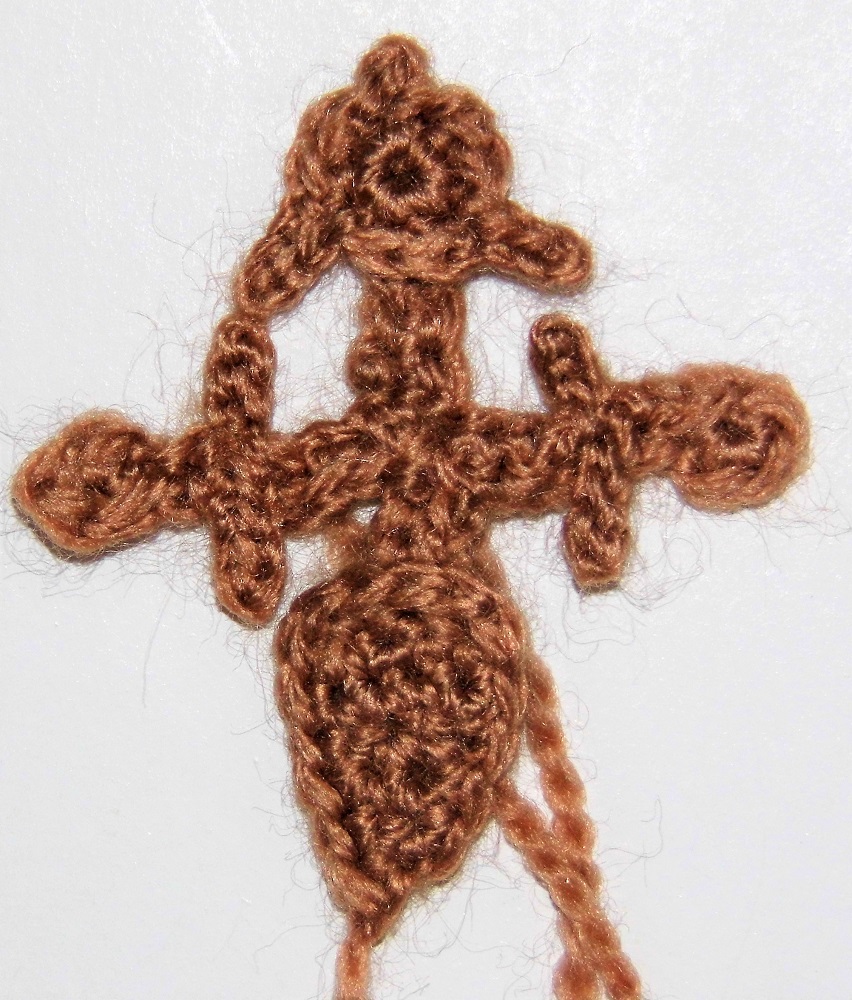
Sew the bottom, top and sides over the cross above this piece and once you have the complete Cross, sew it onto the cake. The piece of the cross that you have crocheted does not have a well-defined shape, but it will help you so that once sewn, you can embroider around it, outlining the edges. This is the trickiest part of the pattern. Do it carefully, taking the thread of the piece and sewing over it in short lengths.
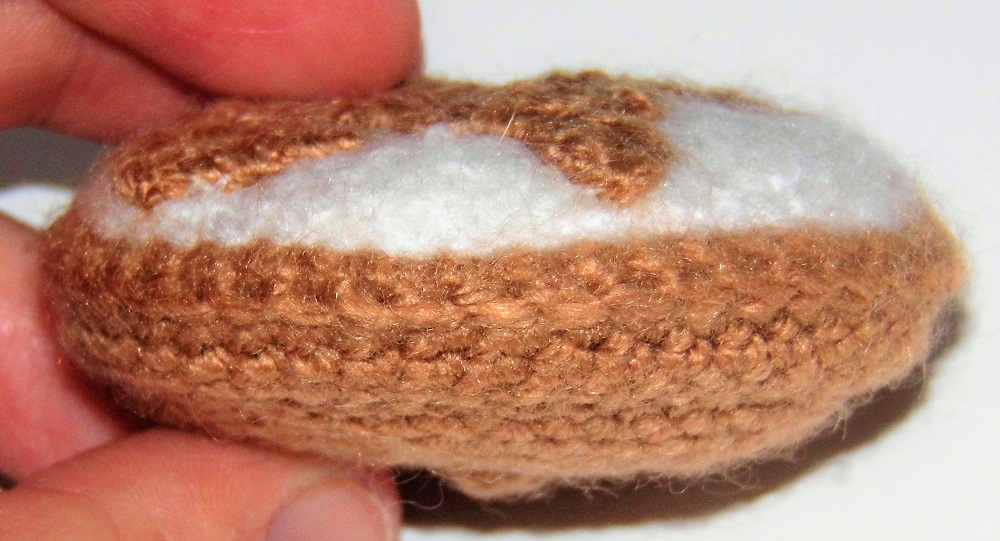
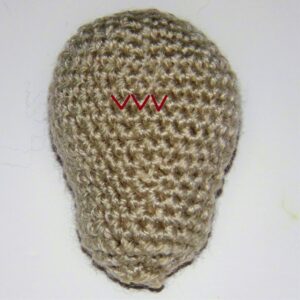
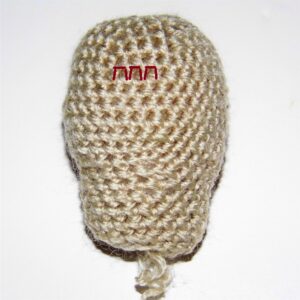
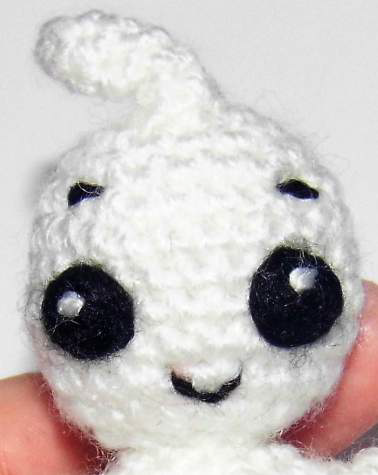
Finally, sew the eyes under the sides of the cross and embroider with light beige yarn the mouth at the bottom, leaving a little beige to show between it and the white part.
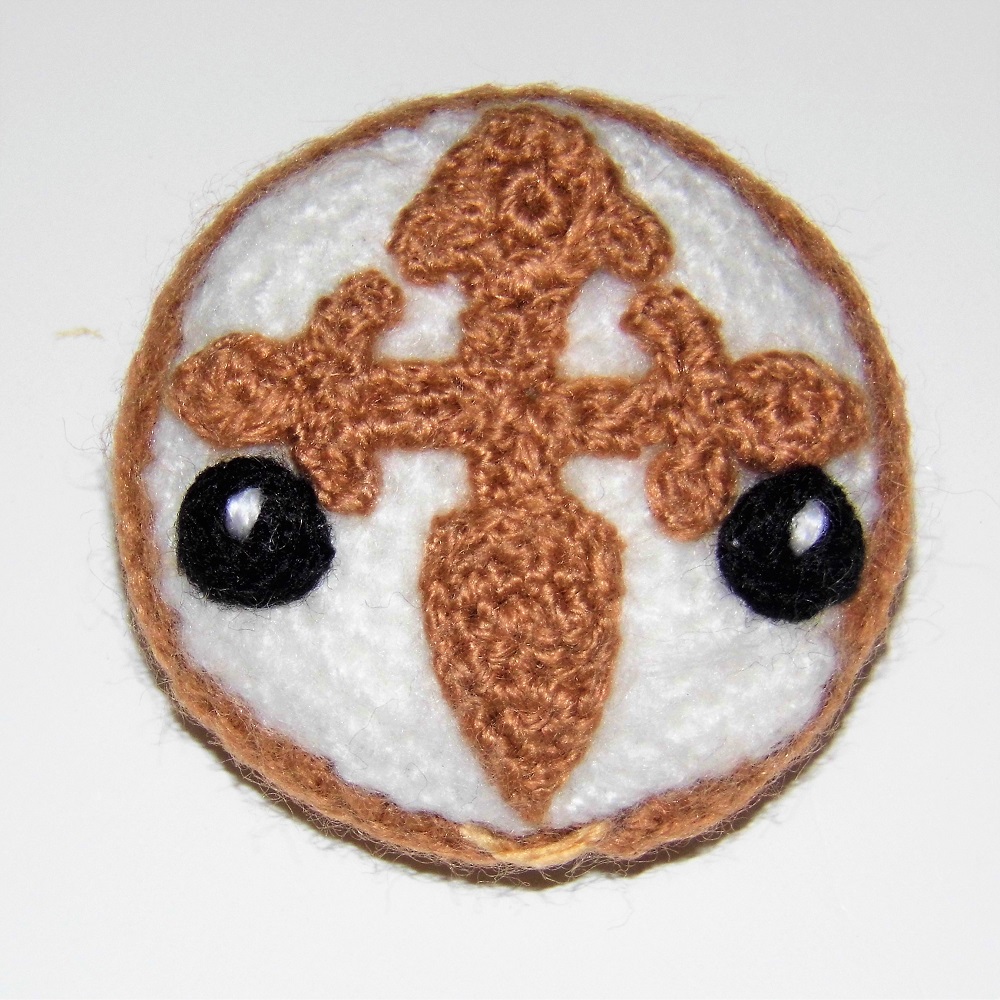
Finished!
I hope you have enjoyed the St James Cake Amigurumi Pattern
Don’t miss the new collection of delicious amigurumis!