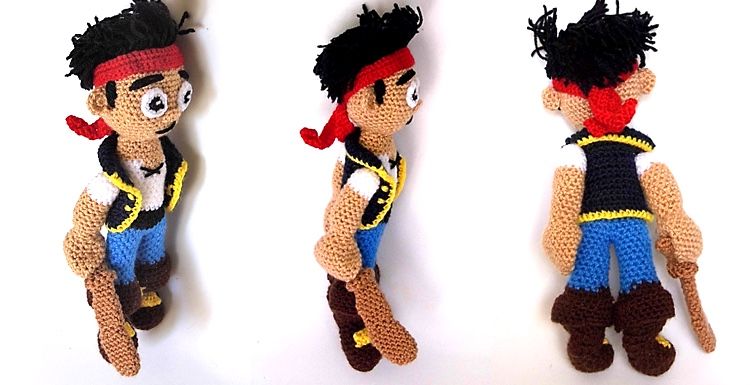
- Difficulty: High
- Estimated time: 6 h
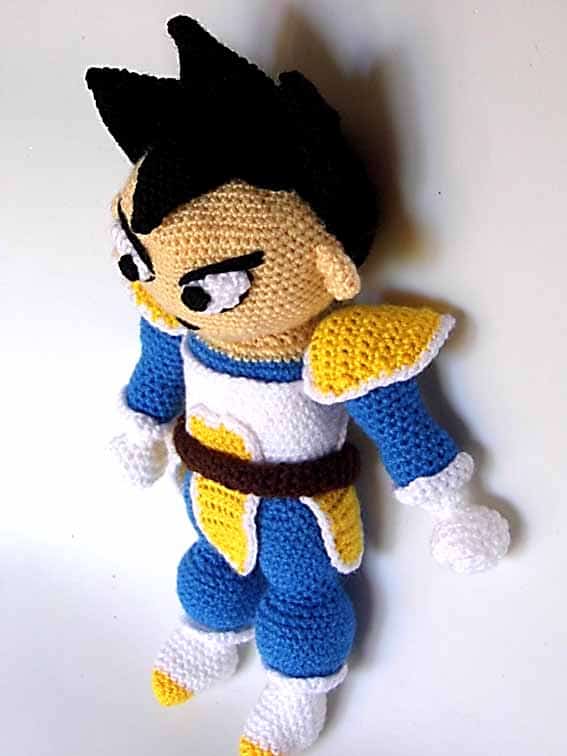
- Size: 11,8 inch / 30 cm
- Hook size: 2,5 mm
- Recommended yarn: 50% acrylic 50% cotton
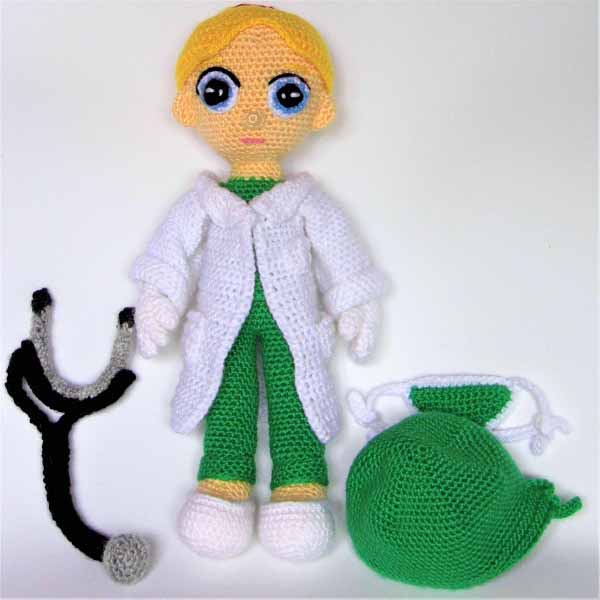
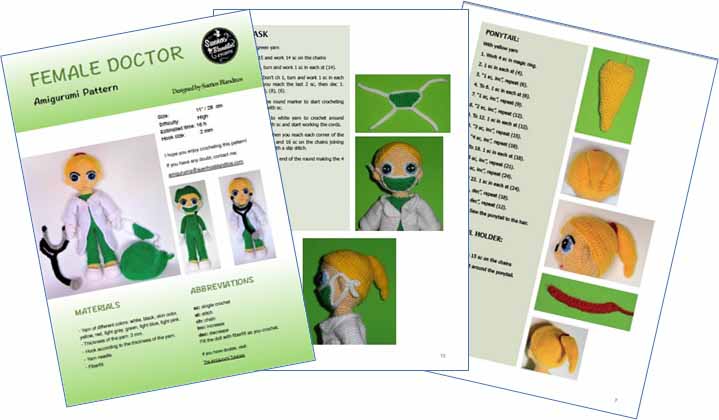
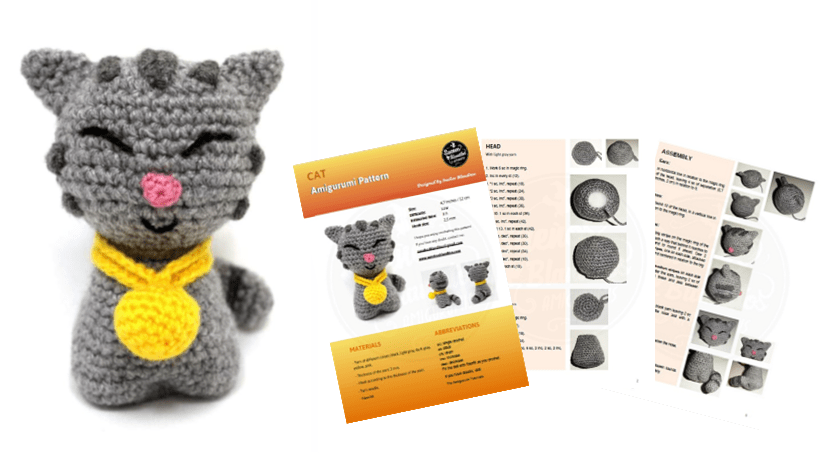
MATERIALS
- Yarn of different colors: blue, yellow, skin color, white, black, brown.
- Yarn thickness: 3.4 mm
- Crochet needle according to the thickness of the yarn
- Yarn needle
- Fiberfill
ABBREVIATIONS
- sc: single crochet
- st: stitch
- ch: chain
- inc: increase
- dec: decrease
Fill the doll with fiberfill as you crochet.
View Basic stitches tutorial
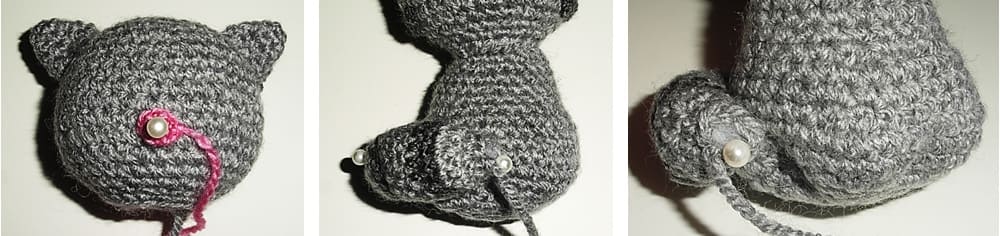
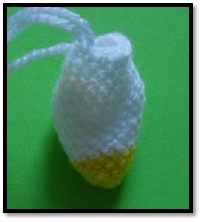
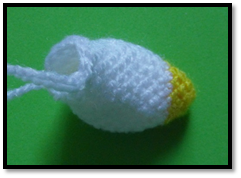
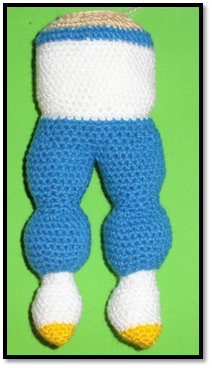
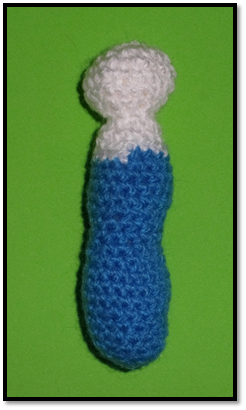
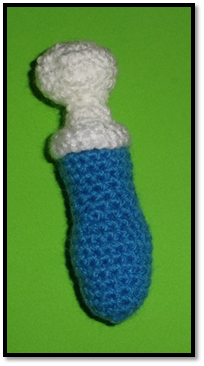
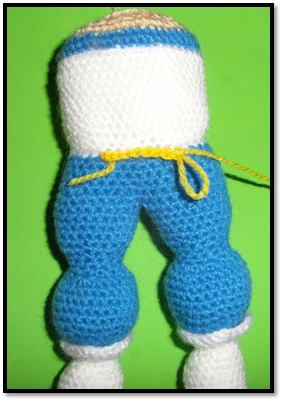
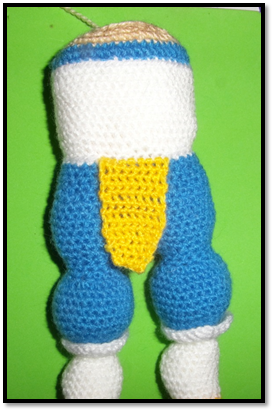
LEGS (x2)
With yellow yarn
1. Work 4 sc in magic ring.
2. “1 sc, inc” repeat until the end of the round (6).
3. “1 sc, inc” repeat (9).
4. “2 sc, inc” repeat (12).
5. 1 sc in each st (12).
6. Change to white yarn and crochet 3 inc, 9 sc (15).
7. “1 sc, inc” 3 times, 9 sc (18).
8. “2 sc, inc” 3 times, 9 sc (21).
9. “3 sc, inc” 3 times, 9 sc (24).
10. And 11. 1 sc in each st (24).
12. “3 sc, dec” 3 times, 9 sc (21).
13. “2 sc, dec” 3 times, 9 sc (18).
14. “1 sc, dec” 3 times, 9 sc (15).
15. 3 dec, 9 sc (12).
16. 1 sc in each st (12).
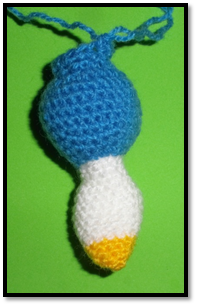
17. Change to blue yarn and crochet in back loops only 1 sc in each st (12). You will return to this round to complete the boots.
18. “1 sc, inc” repeat (18).
19. “2 sc, inc” repeat (24).
20. “3 sc, inc” repeat (30).
21. to 25. 1 sc in each st (30).
26. “3 sc, dec” repeat (24).
27. Dec in every st (12).
28. And 29. 1 sc in each st (12).
30. “1 sc, inc” repeat (18).
31. “2 sc, inc” repeat (24).
32. to 35. 1 sc in each st (24).
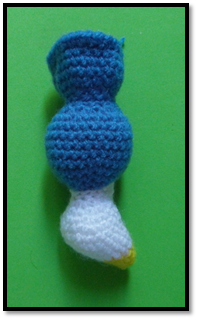
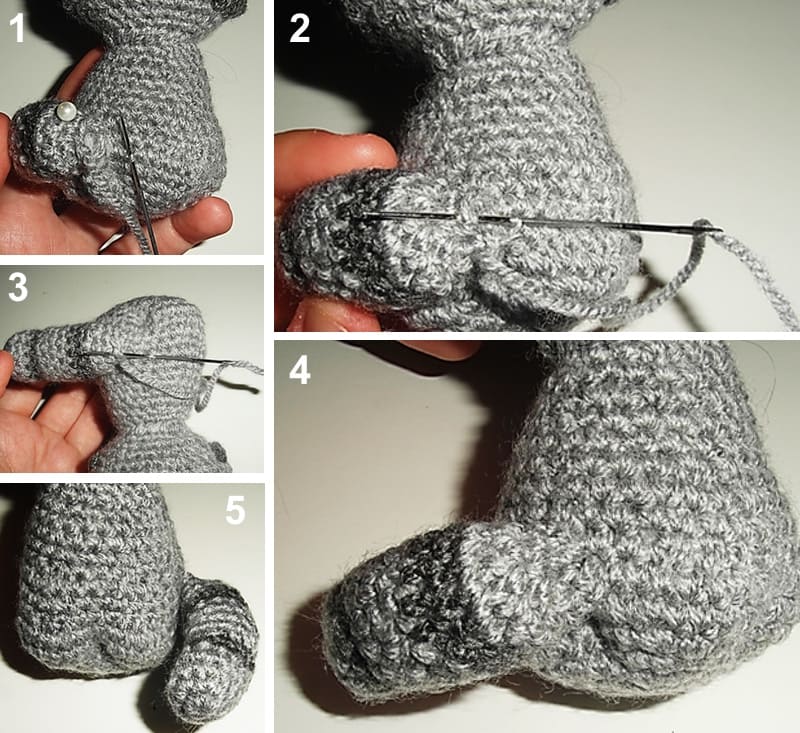
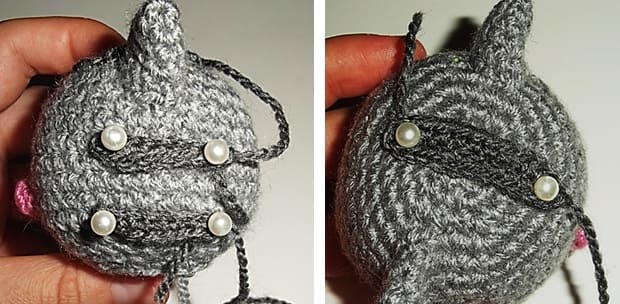
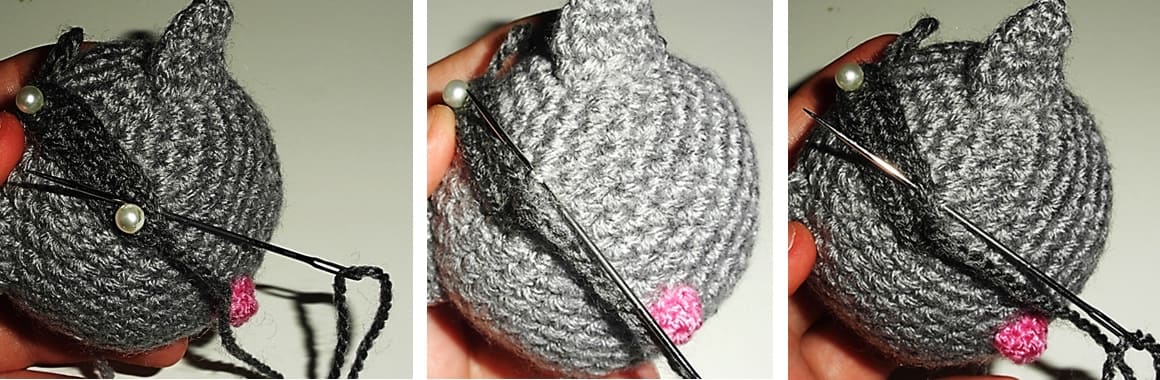
Fasten off the first leg. Follow the pattern to make the second leg and do not fasten off to join both legs. Place one leg next to the other leg; mark the center point between legs. Crochet in the leg that is not fastened off 1 sc in each st until you get the marker. Join the first leg with a sc, then sc in each st until you reach the marker and join the second leg with a sc. Sew the hole between the legs closed with the yarn needle. Continue crocheting the body:
1. You will have 48 sc.
2. 1 sc in each st (48).
3. “6 sc, dec” repeat (42).
4. “5 sc, dec” repeat (36).
5. and 6. 1 sc in each st (36).
7. Change to white yarn and crochet 1 sc in each st (36).
8. Crochet in back loops only 1 sc in each st (36). You will return to this round to complete the outfit.
9. “5 sc, inc” repeat (42).
10. “6 sc, inc” repeat (48).
11. to 19. 1 sc in each st (48).
20. Change to blue yarn and crochet in back loops only 1 sc in each st (48). You will return to this round to complete the neck.
21. 1 sc in each st (48).
22. Change to skin color yarn and crochet 1 sc in each st (48).
23. 1 sc in each st (48).
24. Dec in every st (24).
25. 1 sc in each st (24).
Fasten off.
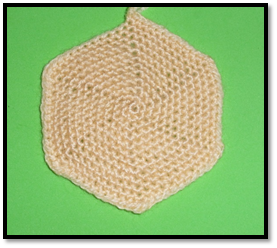
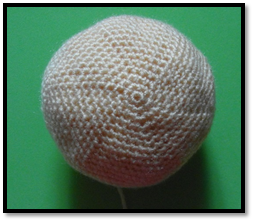
HEAD
With skin color yarn
1. Work 6 sc in magic ring.
2. Inc in every st (12).
3. “1 sc, inc” repeat until the end of the round (18).
4. “2 sc, inc” repeat (24).
5. “3 sc, inc” repeat (30).
6. “4 sc, inc” repeat (36).
7. “5 sc, inc” repeat (42).
8. “6 sc, inc” repeat (48).
9. “7 sc, inc” repeat (54).
10. “8 sc, inc” repeat (60).
11. “9 sc, inc” repeat (66).
12. “10 sc, inc” repeat (72).
13. to 25. 1 sc in each st (72).
26. “10 sc, dec” repeat (66).
27. “9 sc, dec” repeat (60).
28. “8 sc, dec” repeat (54).
29. “7 sc, dec” repeat (48).
30. “6 sc, dec” repeat (42).
31. “5 sc, dec” repeat (36).
32. “4 sc, dec” repeat (30).
33. “3 sc, dec” repeat (24).
34. “2 sc, dec” repeat (18).
35. “1 sc, dec” repeat (12).
Fasten off.
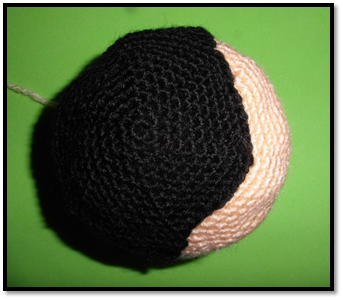
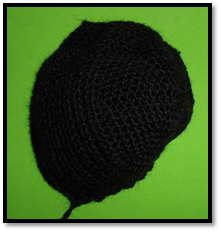
HAIR
With black yarn
1. Work 6 sc in magic ring.
2. Inc in every st (12).
3. “1 sc, inc” repeat (18).
4. “2 sc, inc” repeat (24).
5. “3 sc, inc” repeat (30).
6. “4 sc, inc” repeat (36).
7. “5 sc, inc” repeat (42).
8. “6 sc, inc” repeat (48).
9. “7 sc, inc” repeat (54).
10. “8 sc, inc” repeat (60).
11. 40 sc. Leave 20 sc unworked.
12 to 15. Ch 1, turn and crochet 1 sc in each st (40).
16. to 25. From this row don’t ch 1, so you will dec 1 sc in each row (39), (38), (37), (36), (35), (34), (33), (32), (31), (30).
Fasten off.
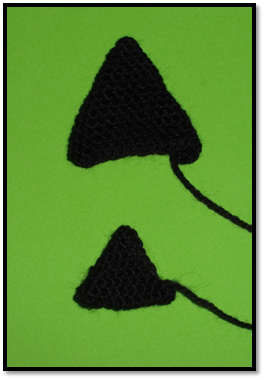
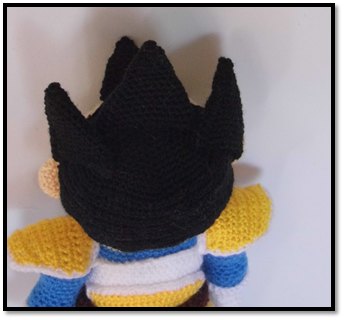
TUFTS
Crochet:
• 3 big
• 1 medium for the bangs
MEDIUM
1. Work 4 sc in magic ring.
2. 1 sc in each st (4).
3. “1 sc, inc” repeat (6).
4. “2 sc, inc” repeat (8).
5. “3 sc, inc” repeat (10).
6. “4 sc, inc” repeat (12).
7. “5 sc, inc” repeat (14).
8. “6 sc, inc” repeat (16).
9. “7 sc, inc” repeat (18).
10. “8 sc, inc” repeat (20)
BIG
11. “9 sc, inc” repeat (22).
12. “10 sc, inc” repeat (24).
13. “11 sc, inc” repeat (26).
14. “12 sc, inc” repeat (28).
15. “13 sc, inc” repeat (30).
Fasten off.
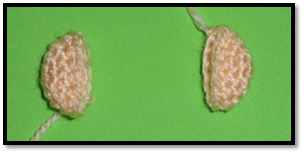
EARS (x2)
With skin color yarn
1. Work 6 sc in magic ring.
2. Inc in every st (12)
3. And 4. 1 sc in each st (12).
Fasten off, fold in half and fold when sewing.
ARMS (x2)
With blue yarn
1. Work 4 sc in magic ring.
2. Inc in every st (8).
3. “1 sc, inc” repeat (12).
4. “2 sc, inc” repeat (16).
5. and 6. 1 sc in each st (16).
7. “3 sc, inc” repeat (20).
8. to 10. 1 sc in each st (20).
11. “3 sc, dec” repeat (16).
12. “2 sc, dec” repeat (12).
13. And 14. 1 sc in each st (12).
15. “2 sc, inc” repeat (16).
16. to 19. 1 sc in each st (16).
20. Change to white yarn and crochet 1 sc in each st (16).
21. Crochet in back loops only 1 sc in each st (16). You will return to this round to complete the gloves.
22. “2 sc, dec” repeat (12).
23. Dec in every st (6).
24. Inc in every st (12).
25. “1 sc, inc” repeat (18).
26. “2 sc, inc” repeat (24).
27. And 28. 1 sc in each st (24).
29. Dec in every st (12).
30. Dec in every st (6).
Fasten off. Sew with the yarn needle.
COMPLETE THE GLOVES
With white yarn
1. Return to round 21 of the arms and holding the arm with the hand pointing up, crochet in the free loops 1 sc in each st (16).
2. “3 sc, inc” repeat (20).
3. “4 sc, inc” repeat (24).
Fasten off.
COMPLETE THE BOOTS
With white yarn
1. Return to round 17 of the legs and holding the doll with the feet pointing up, crochet in the free loops 1 sc in each st (12).
2. “1 sc, inc” repeat (18).
3. “2 sc, inc” repeat (24).
4. “3 sc, inc” repeat (30).
COMPLETE THE NECK
With white yarn
Return to round 20 of the body and holding the doll with the feet pointing down, crochet in the free loops 1 sc in each st (48).
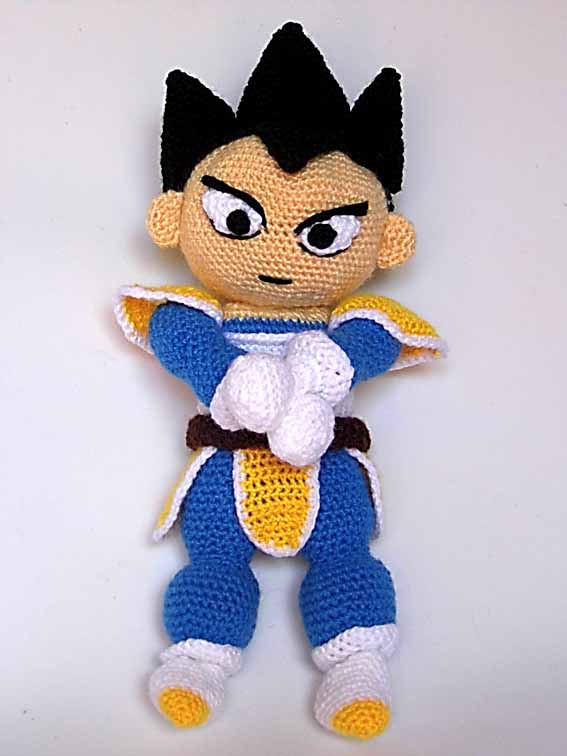
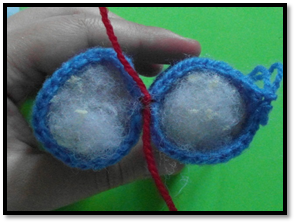
EYES (x2)
With white yarn
1. Work 6 sc in magic ring.
2. Inc in every st (12).
3. “1 sc, inc” repeat (18).
Fasten off and fold in half.
With black yarn work 4 sc in magic ring.
Sew the pupil to the eye. Embroider with black yarn the eyebrows and the edge of the eyes.
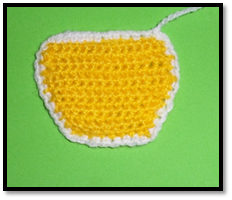
DESIGN OF THE WAIST
With yellow yarn
1. Ch 9, turn, sc in 2nd ch from hook, sc in
remaining 7 ch (8).
2. to 5. Ch 1, turn and crochet 8 sc.
Crochet with white yarn all around with sc.
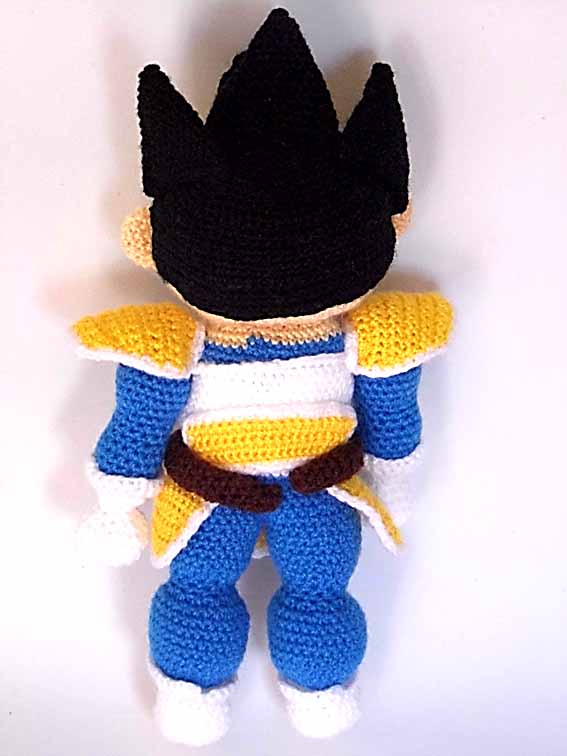
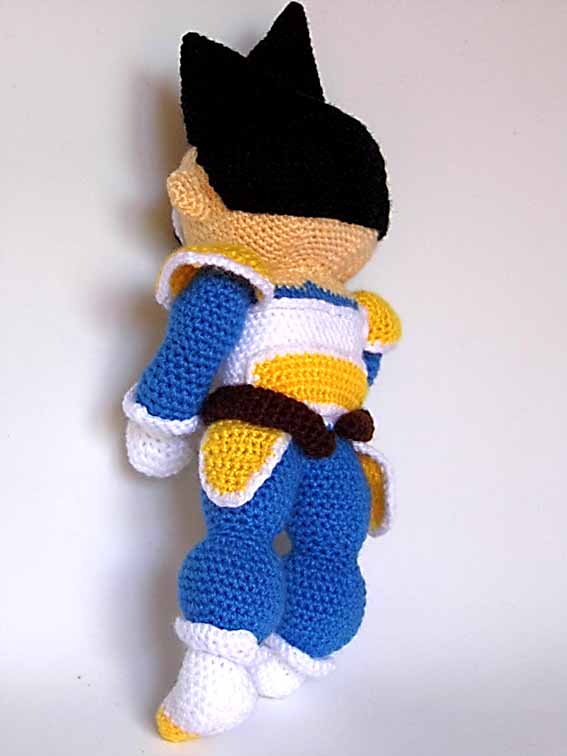
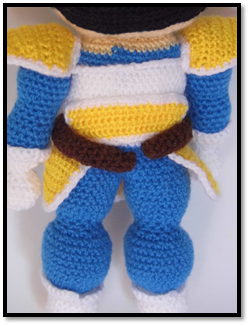
DESIGN OF THE BACK
With yellow yarn
1. Ch 21, turn, sc in 2nd ch from hook, sc in remaining 19 ch (20).
2. to 5. Ch 1, turn and crochet 20 sc.
Crochet with white yarn all around with sc.
SHOULDER PADS (x2)
With yellow yarn
1. Ch 16, turn, sc in 2nd ch from hook, sc in remaining 14 ch (15).
2. to 5. Ch 1, turn and crochet 15 sc.
6. to 12 From this row don’t ch 1, so you will dec 1 sc in each row (14), (13), (12), (11), (10), (9), (8).
Fasten off.
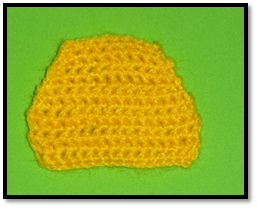
BOTTOM OUTFIT
It consists in three equal parts that you will crochet directly in the fabric, holding the doll with the feet pointing up in the free loops of round 8 of the body.
With yellow yarn
1. Mark the center st of the waist and count 4 sc to one side and 3 to the other, to get 8 sc. Crochet those 8 sc holding the doll with the feet pointing up.
2. to 9. Ch 1, turn and crochet 1 sc in each st (8).
10. to 13. From here, don´t ch 1, so you will dec 1 sc in each row (7), (6), (5), (4).
Fasten off.
Crochet with white yarn all around with sc. Skip 1 sc on each side at the waist and crochet in the same way the other two parts.
TAIL
With brown yarn
1. Work 6 sc in magic ring.
2. to 45. 1 sc in each st (6).
Fasten off. You don’t need to stuff the tail.
Sew the tail behind and go round the waist, sewing the tip to the other side.

FINISHED! HAVE FUN!
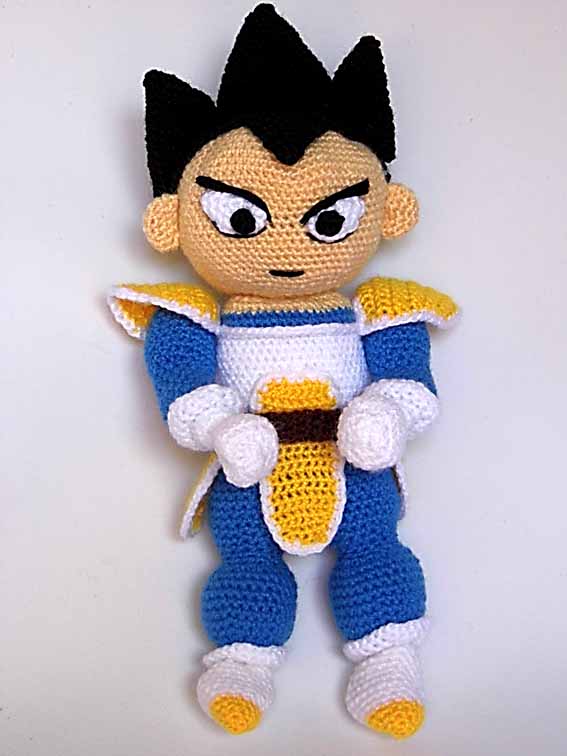
Download Vegeta free Amigurumi Pattern
Download the Spanish version here