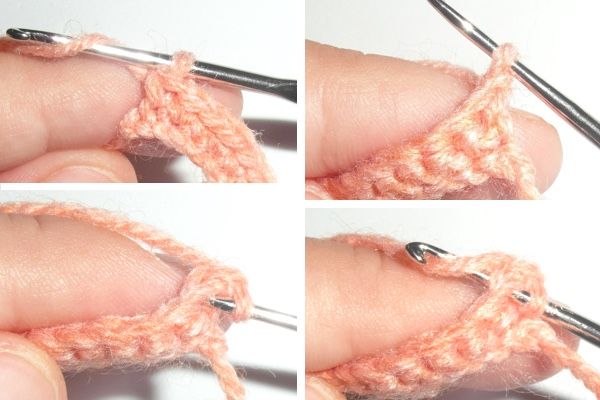
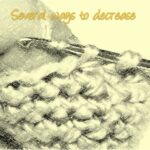
This time I will talk about the different uses that we can give to the chains and single crochets depending on where we use them and how we crochet on them.
We will see:
- Initial Chain
- Separation chain
- Crochet all around the piece with single crochets
- Complete the piece by taking only one free loop
Are practices that you can find frequently in my amigurumi patterns, so it is possible that you are familiar with them
If you are starting, I recommend you that first learn the basic stitches to crochet amigurumis.
Initial chain:
As its name suggests, it will help us to start a fabric.

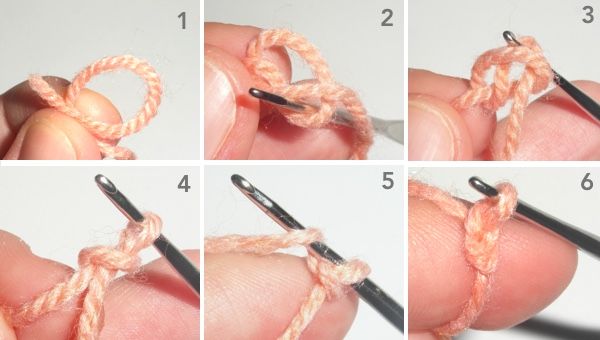
It´s the beginning of a piece crocheted in straight way, reason why it is followed of other chains that we will do to reach the necessary length.

To make a change of row we will use the Separation chain . Let’s see how to do it:
Separation Chain (ch 1)
Crocheting in rows (straight way):
At the end of each row and before turning the piece to start the next one, we must make a Separation chain (ch1) .
This is a normal chain made in order to gain some height, turn the fabric and crochet on the same single crochet where we did the chain.
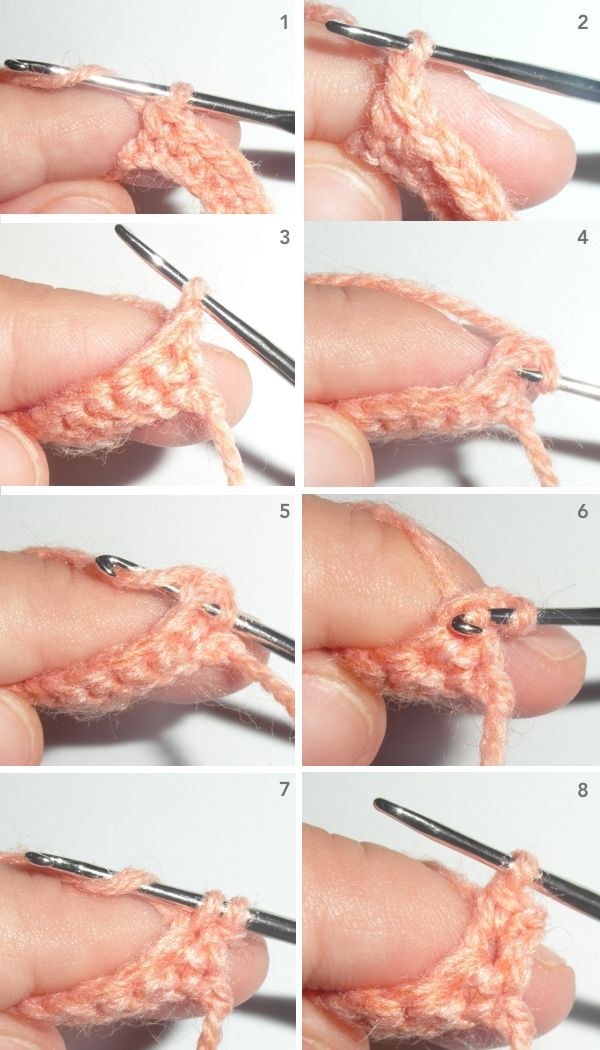
We do not count it as a stitch, but it is done to separate one row from another, hence its name.
Using a Separation chain allows us to gain space to turn the fabric and crochet on the same stitch where we have made it.
You can find it in my patterns in pieces crocheted in straight way, but it is also used for crocheting in rounds in difference of doing it in spiral.
Crochet in rounds:
Crochet in rounds or in a traditional way is to finish the round with a slip stitch on which we crochet a separation chain that allows us to gain height to make a single crochet at the same stitch.

As you see, the basis is the same, gain space to separate one stitch from another.
Triangular figures:
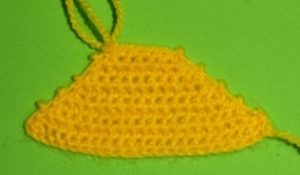
As well as the use of a Separation chain it allows us to keep the same number of stitches in the row, its absence will mean the loss of a stitch in that corner, which is useful when crocheting, for example, triangular figures.
For this, what we do is, when we reach the corner, turn without making the chain, which forces us, lacking the space that this provides us, to crochet in the next stitch and not on the same one in which we are.
In this simple way, we will lose a stitch.
If we do this in the successive rows, we will be able to narrow the fabric and give a triangular shape to it.
Crochet all around the piece with single crochets:
When we crochet in straight way, with or without separation chain, the edges of the piece remain irregular and depending on the place in which we are going to place it, it can cause a neglected aspect.
To give regularity to the fabric and also to make easier the join of the piece, at the time of sewing, we have the option of bordering it all around with single crochets.

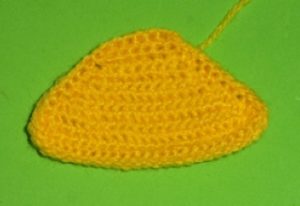
1.- To do this we place the row marker, because we are going to crochet around the whole piece and thus we indicate the beginning and the end of the row.
2.- Then we will crochet on the fabric, taking the gaps that we have left between the rows and making the single crochets on them.
We will have as many single crochets as rows we have crocheted.
By this way we outline the edges, we make them regular and visually beautiful.
Complete the piece by taking the free loops:
We have already seen in the basic stitches tutorial which involves crocheting by taking one of the parts that form the single crochet, the back or the front.
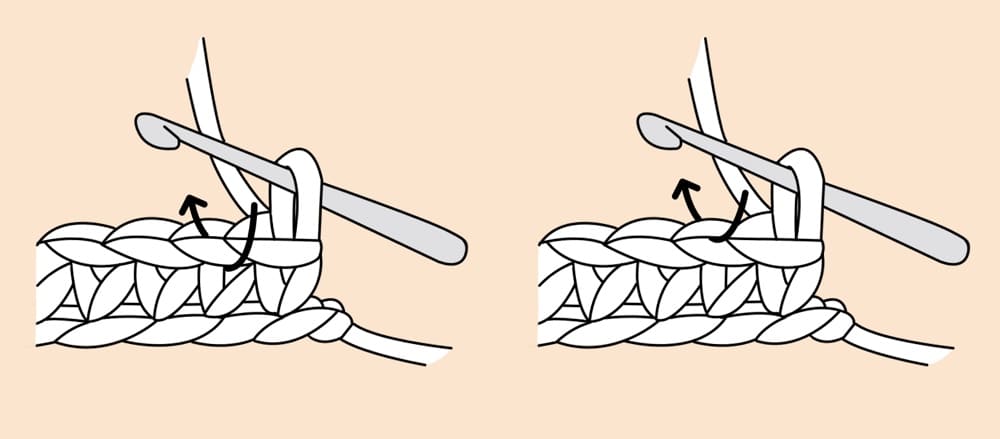
The target of leaving the front part free is to return later to complete what is missing (crochet a dress, a skirt, the bottom of pants, etc.)
In many of my patterns you will find the use of this technique.
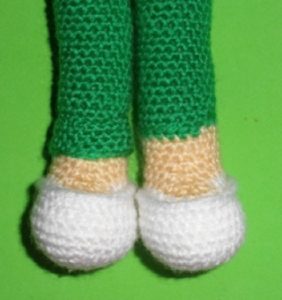
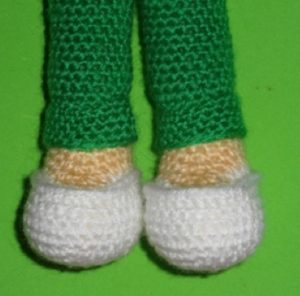
After leaving one or the necessary rows with free loops, once the piece is complete we will return to them to crochet the part that we need.
Advice: If you have trouble to find the row where you must crochet, mark with a piece of another color yarn the beginning and the end of the free loops fabric. So there will be no confusion at all.
When we know about the place where we must crochet, we must consider the direction in which we should do it.
- If what we’re going to crochet should go down, for example, a dress, a skirt, etc, we will put the doll in the opposite direction, that is, we will put it with the feet to the top.
- But if what we want to crochet should go up, for example, the collar of a sweater, place the doll right, this is, feet down.
- We must apply the same to those pieces that we have to complete and which are objects.We will place them in the opposite direction to which we want the fabric to go.


Once we have clear the place and the direction, we will crochet normally, taking each one of those parts of the stitches that we have left free.
Once the row is complete, we continue crocheting (if it´s indicated), by taking both loops that we just crocheted.


That’s all!
Next Post: 3 mistakes you should avoid when crocheting amigurumis
Share this Tutorial:
[addthis tool=”addthis_inline_share_toolbox_djcd”]




Excelente
Muy buenos los consejos gracias se agradece mucho
Me alegro Estefanía! Gracias por comentar. Saludos.
Muuuuy interesante! Muchisimas gracias, esto me encanta!
Me alegro mucho Maria de la Luz!
Saludos ?
Gracias por compartir con todas las que queremos iniciar en esta labor de tejer lo que yo llamo juguetes a ganchillo.
De nada Lucrecia! ? Gracias a ti por comentar.
Saludos